Skip to content


Acrylic display manufacturing process is not one cutting operation followed by packing. For a custom display, it is a controlled sequence: clarify the display's job, convert the concept into a buildable drawing, choose sheet and construction, fabricate the parts, finish the visible surfaces, assemble, inspect, and pack the approved unit. The practical point for a B2B buyer is to lock the decisions that change the process before a sample or bulk order begins.
At our factory, the most expensive surprises usually come from treating the drawing, appearance standard, graphics, hardware, and delivery state as separate conversations. They are one manufacturing brief. If you are sourcing a new programme, our custom acrylic fabrication service can review the complete brief before we choose the production route.
Start with the display's job, not its silhouette

A render may show a clean acrylic form, but it does not tell a production team how the product enters the display, where its load travels, which face the shopper sees first, or how the unit is secured for shipment. We begin by reviewing the product dimensions and weight, the user interaction, the installation position, and the finished display's overall dimensions. Then we identify the parts that control function: shelves, pockets, doors, openings, fixing points, bends, bonded seams, and removable panels.
I would separate fit-critical dimensions from cosmetic dimensions at this stage. A pocket that locates a bottle, a clearance that allows a lid to open, or a hole that mates to store hardware needs a defined reference. A decorative edge may allow more freedom. That distinction helps us choose a machining and assembly approach without making the buyer pay for unnecessary control across every surface.
| Manufacturing question | What the buyer should clarify | Why it changes the build |
|---|---|---|
| Display function | Product size, weight, access, replenishment, and handling | Guides support, openings, joints, and stability review |
| Visible appearance | Clear, frosted, coloured, printed, mirrored, or mixed surfaces | Establishes which faces need cosmetic protection and finish control |
| Delivery state | Assembled, partly assembled, or flat-packed | Changes joint design, hardware, instructions, and packing |
| Programme scope | Prototype, pilot, and production quantities; SKU or artwork variants | Helps separate sample work from repeat-production planning |
An incomplete brief is still useful. A sketch and a reference product can start the engineering discussion; we simply mark the open decisions before they become a quotation or sample assumption.
Turn the concept into a controlled drawing and material plan
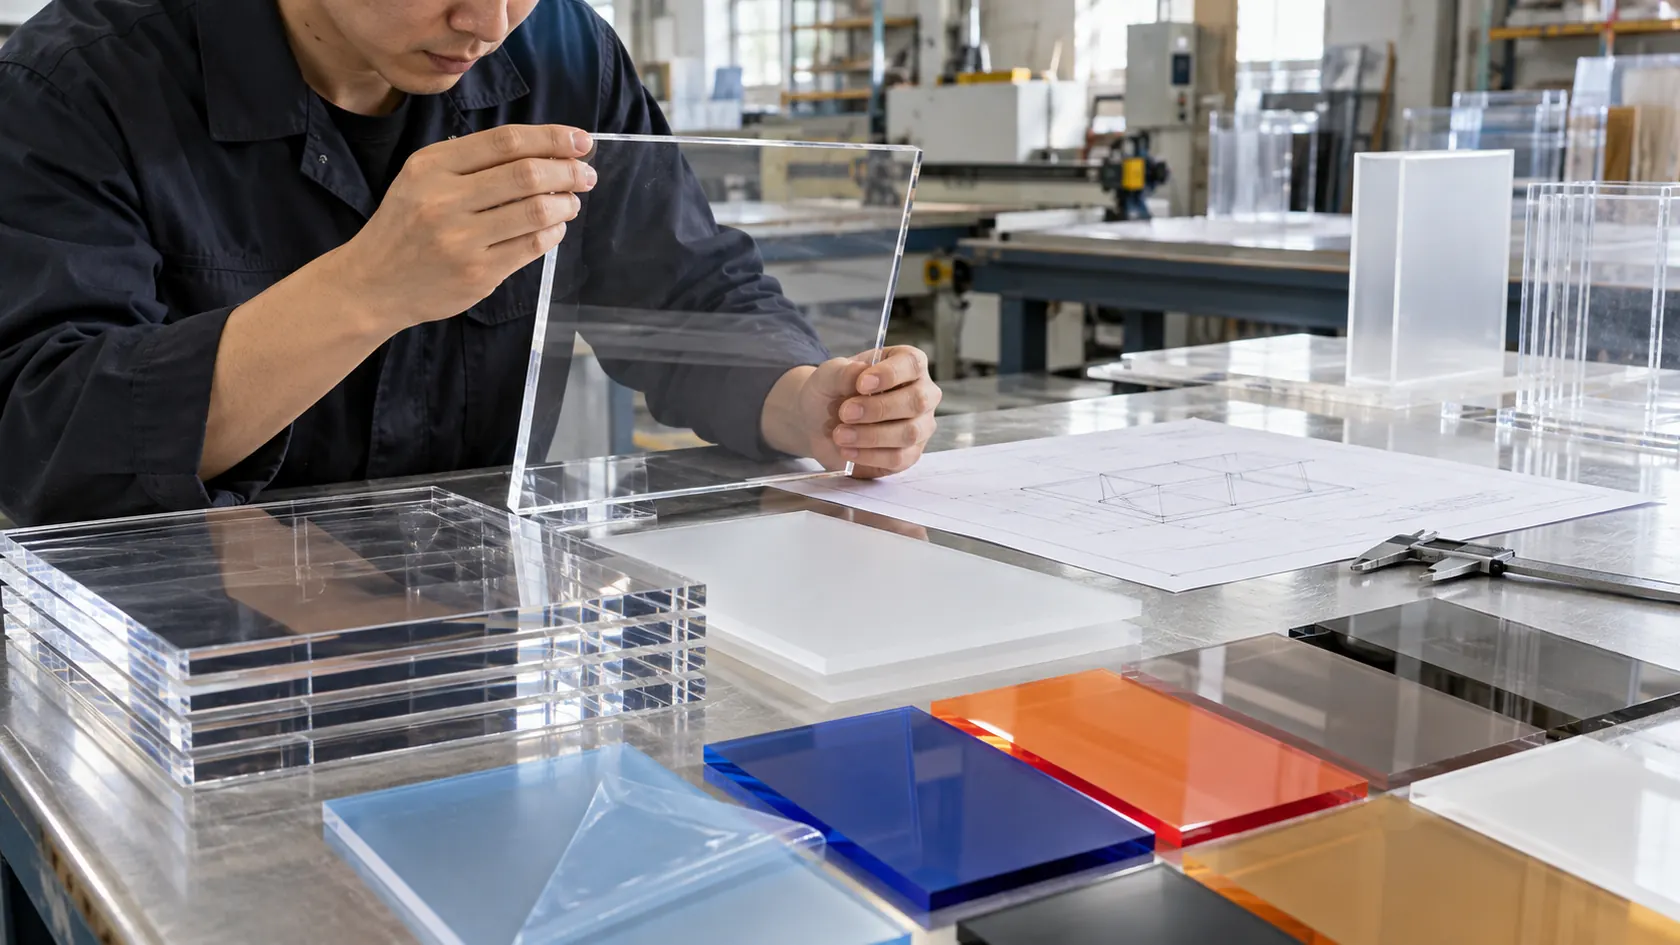
Once the display function is clear, the concept becomes a part and assembly plan. The drawing should show overall dimensions, material appearance and thickness where fixed, part relationships, hole and cut-out locations, bends, bonded joints, hardware, print faces, and the revision identifier. This does not have to be a perfect production drawing on day one, but it needs one controlled version for the team to discuss.
Sheet choice is also a construction decision. Clear PMMA can make a product appear to float, while frosted or coloured acrylic may hide minor visual clutter and change how a printed graphic reads. Cast and extruded acrylic can behave differently during machining, heat work, and bonding, so the required visual standard and fabrication route matter as much as the nominal thickness. For a broad product starting point, buyers can compare the formats in our custom acrylic displays range.
Our team reviews support span, fixing points, edge distance around holes, center of gravity, and access for assembly before release. I would not select thickness from a product photo alone: a clear countertop riser and a multi-level unit carrying heavier merchandise can look related yet need very different load paths.
Choose cutting and machining from the geometry
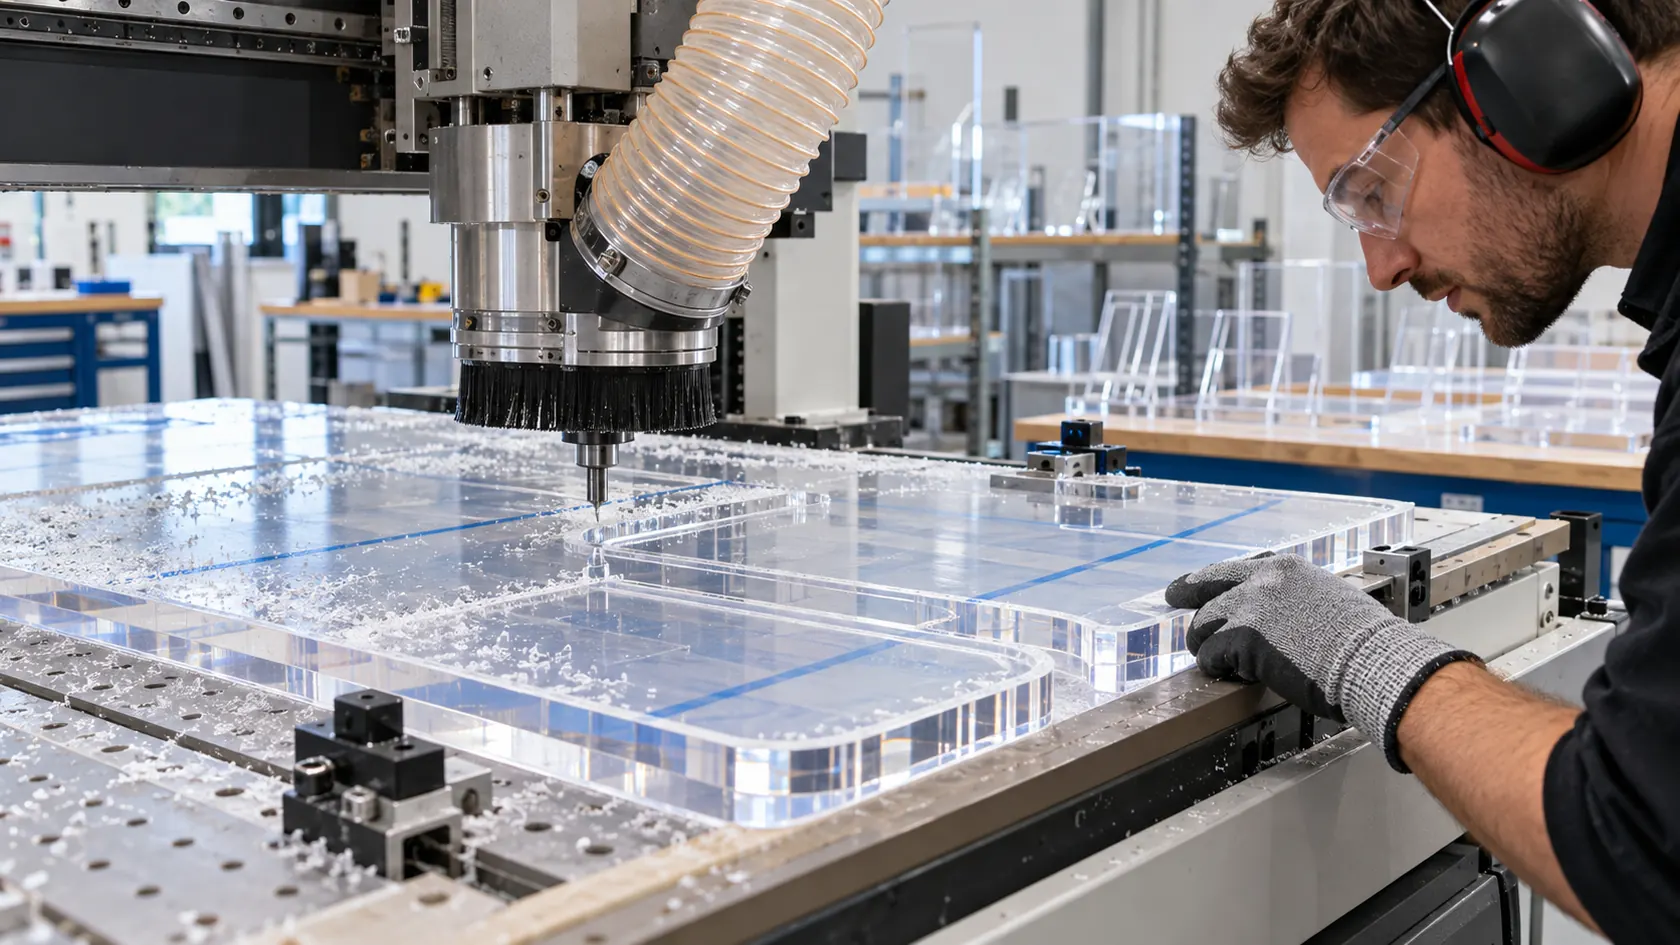
Laser cutting is a practical route for many profiles, outlines, and repeat flat parts. CNC machining becomes especially useful when the display needs controlled pockets, slots, countersinks, drilled patterns, shaped edges, or features that depend on a defined datum. Drilling and engraving may be separate operations when their accuracy or visual result needs its own control.
The important buyer decision is not which machine sounds more advanced. It is whether the finished geometry and appearance are clearly defined. Tight product-fit features should be identified separately from open decorative profiles. Hole locations need to relate to assembly references, not only to an outside edge that may later be finished. During machining, heat, vibration, chips, and tool condition can affect edge quality and introduce stress; ACRYLITE's fabrication guidance also notes that overheating and notching can create high-stress areas that may contribute to crazing. Review the technical guidance when a sensitive machined feature is central to the design.
For a new display, we normally identify the visible edges and fit-critical features before the first sample. That gives the operator a clear priority when an edge finish, a pocket, and a fastener hole compete for the same small piece of material.
Form, finish, and protect the surfaces buyers will see
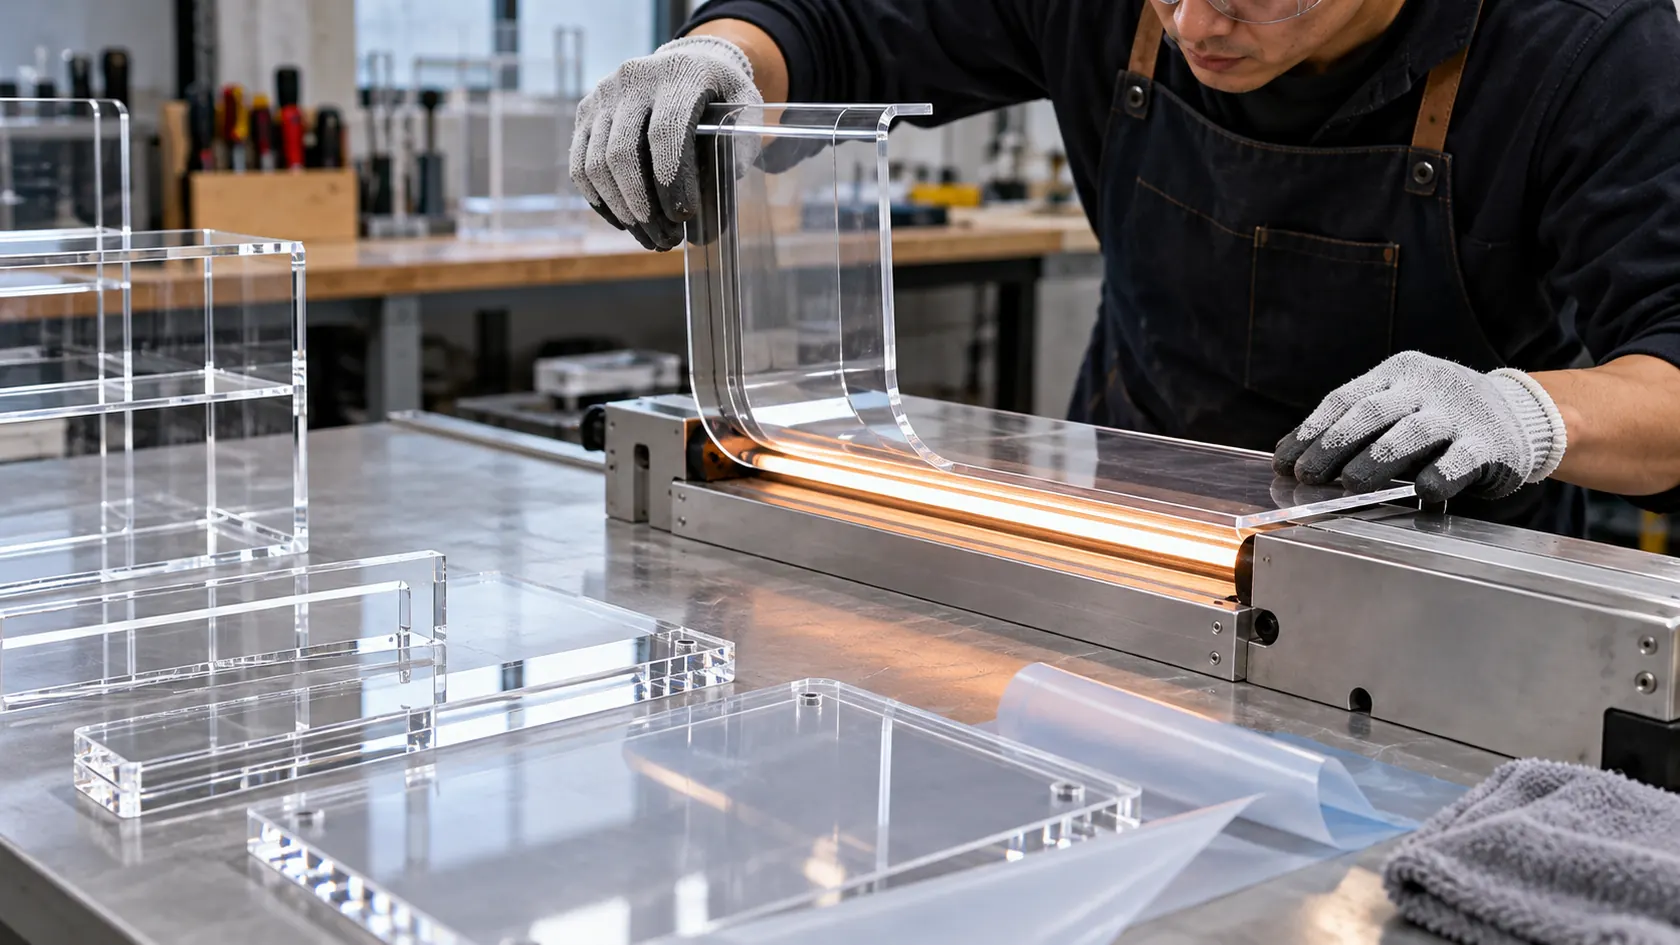
Flat parts may need heat bending to become a shelf, stand, sign holder, or wraparound form. Bending should be considered alongside the material, thickness, bend position, graphic placement, and intended load—not added after the flat part has already been approved. A bend line near a printed area, hole, or bonded joint can alter both the production sequence and the appearance risk.
Finishing is where a display begins to look like a retail fixture rather than a cut sheet. Depending on the design, the route may include edge preparation, polishing, surface cleaning, engraving, printing, and protective-film management. A high-lustre edge takes preparation; it is not simply a default setting applied to every cut. ACRYLITE's edge-finishing brief likewise distinguishes prepared machined edges from saw-cut edges and warns against excessive heat during polishing. Its finishing reference is useful background for buyers setting a visible-edge expectation.
In a premium clear display, I ask the buyer to mark the customer-facing faces and the expected appearance of exposed edges and seams. That lets the sample focus on the surfaces that will actually influence approval, rather than spending the same finishing effort everywhere.
Build the assembly around joints, graphics, and service access
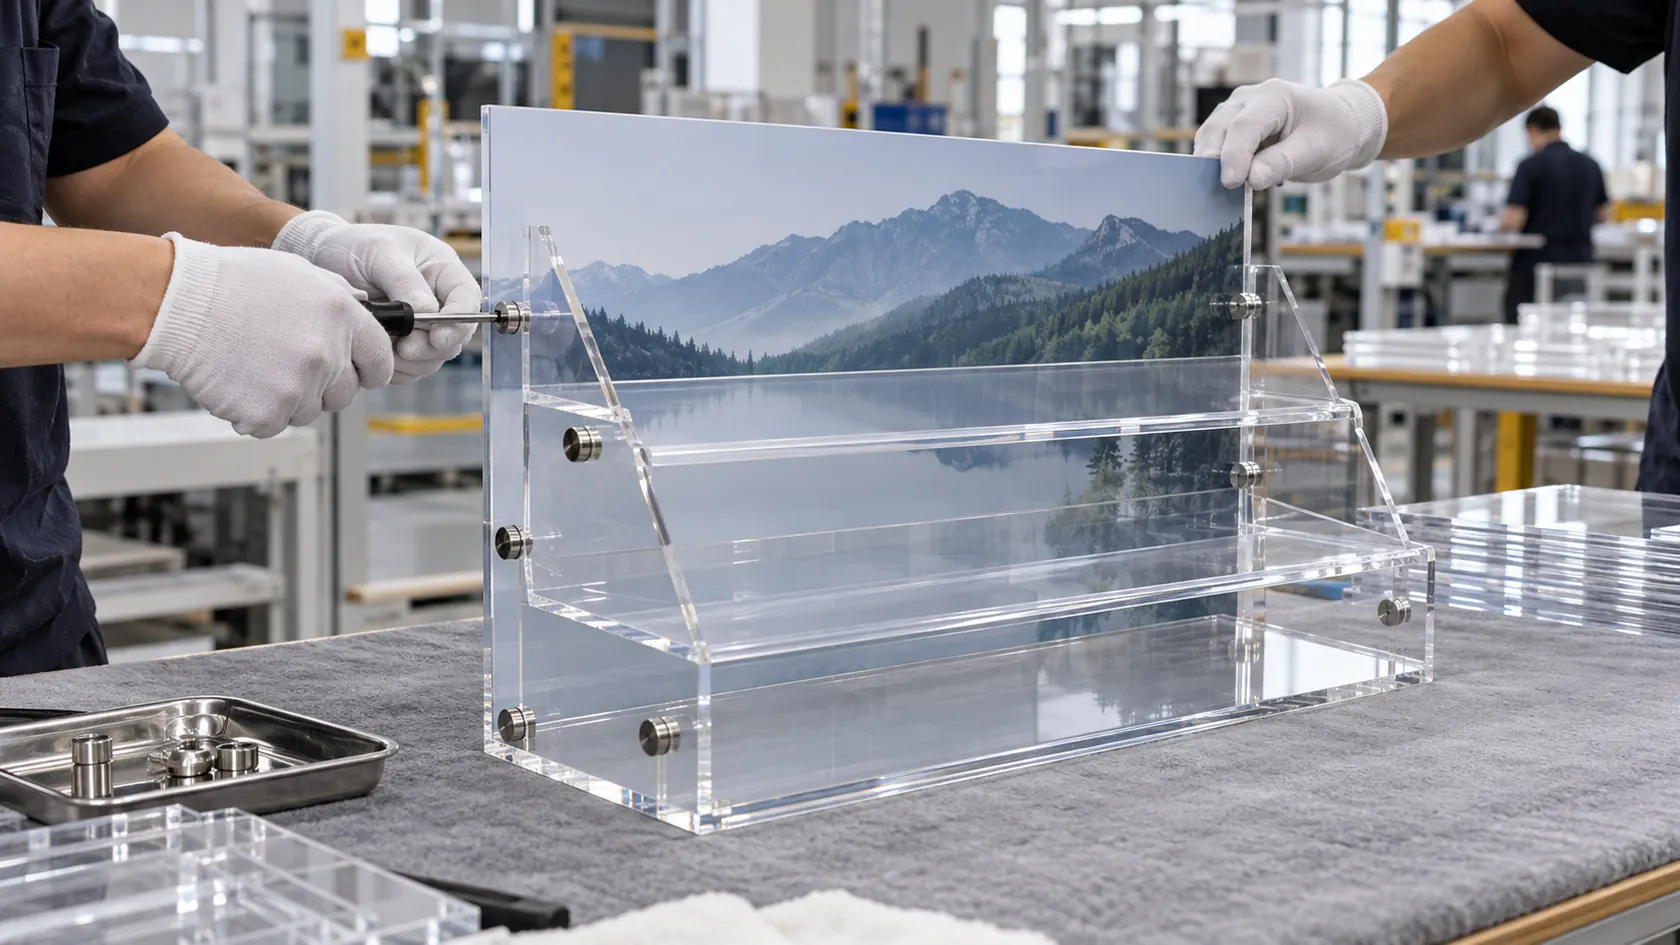
After individual parts are ready, assembly brings the display together through bonding, mechanical hardware, or both. Bonded joints need clean, well-matched mating surfaces and a construction sequence that does not trap an operator or a tool inside the final unit. Hardware introduces its own decisions: screw access, inserts, magnets, hinges, standoffs, adjustment, and replacement requirements.
This is also the point to confirm graphics and orientation. A reverse-printed clear panel, a logo that sits beside a bond line, and a removable graphic insert all need to be checked in the finished viewing direction. If a display will be serviced in stores, we review access before locking the bond or hardware sequence. A visually tidy assembly that cannot be replenished or cleaned easily is not a finished production solution.
For an appearance-sensitive project, our sample review would look at the assembled unit, not only a flat printed panel or an unbonded part. That is how we can verify that the logo, hardware, joint lines, and customer-facing surfaces work together.
Inspect the finished unit before it becomes a packed unit
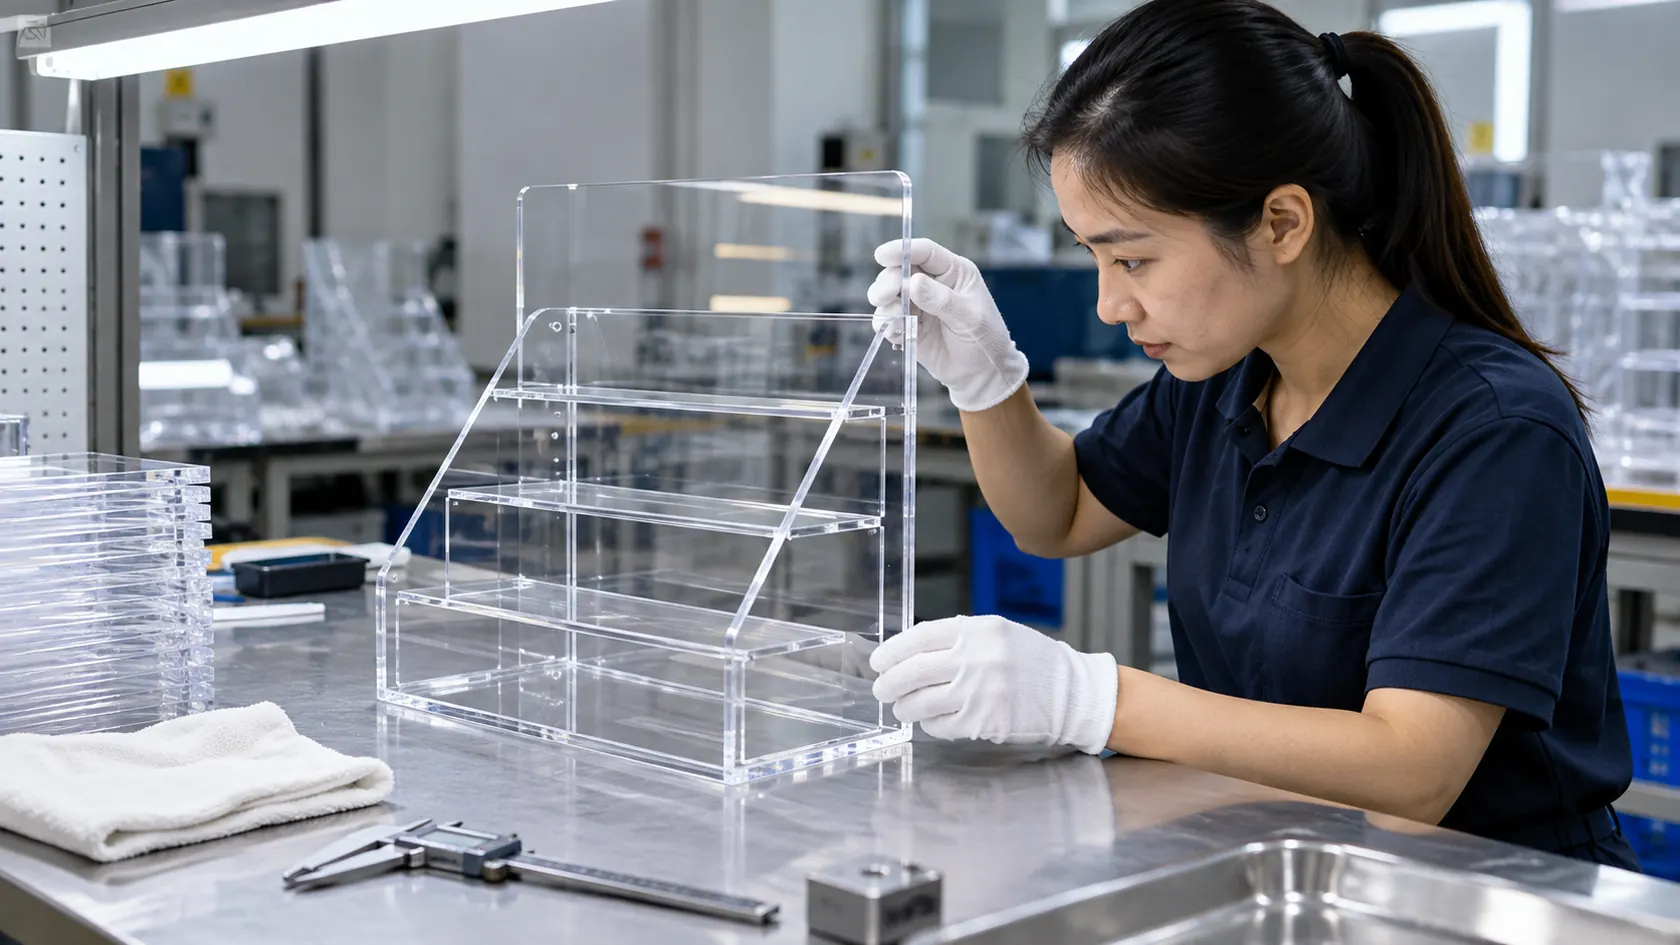
Inspection needs to follow the agreed drawing and sample, rather than a generic checklist. The team checks the elements that define the release: relevant dimensions and fit, orientation, material and finish, edge and joint appearance, print placement, hardware operation, cleanliness, and completeness of the finished set. A display with several SKUs or artwork versions also needs a clear identification method so the correct parts travel together.
I recommend agreeing in advance on what the sample proves. It may prove product fit, shelf access, graphic readability, a bonding appearance, or the assembly method. If the production order has a different packing configuration or a new artwork version, that change should be visible in the release record instead of assumed to be covered by the earlier sample.
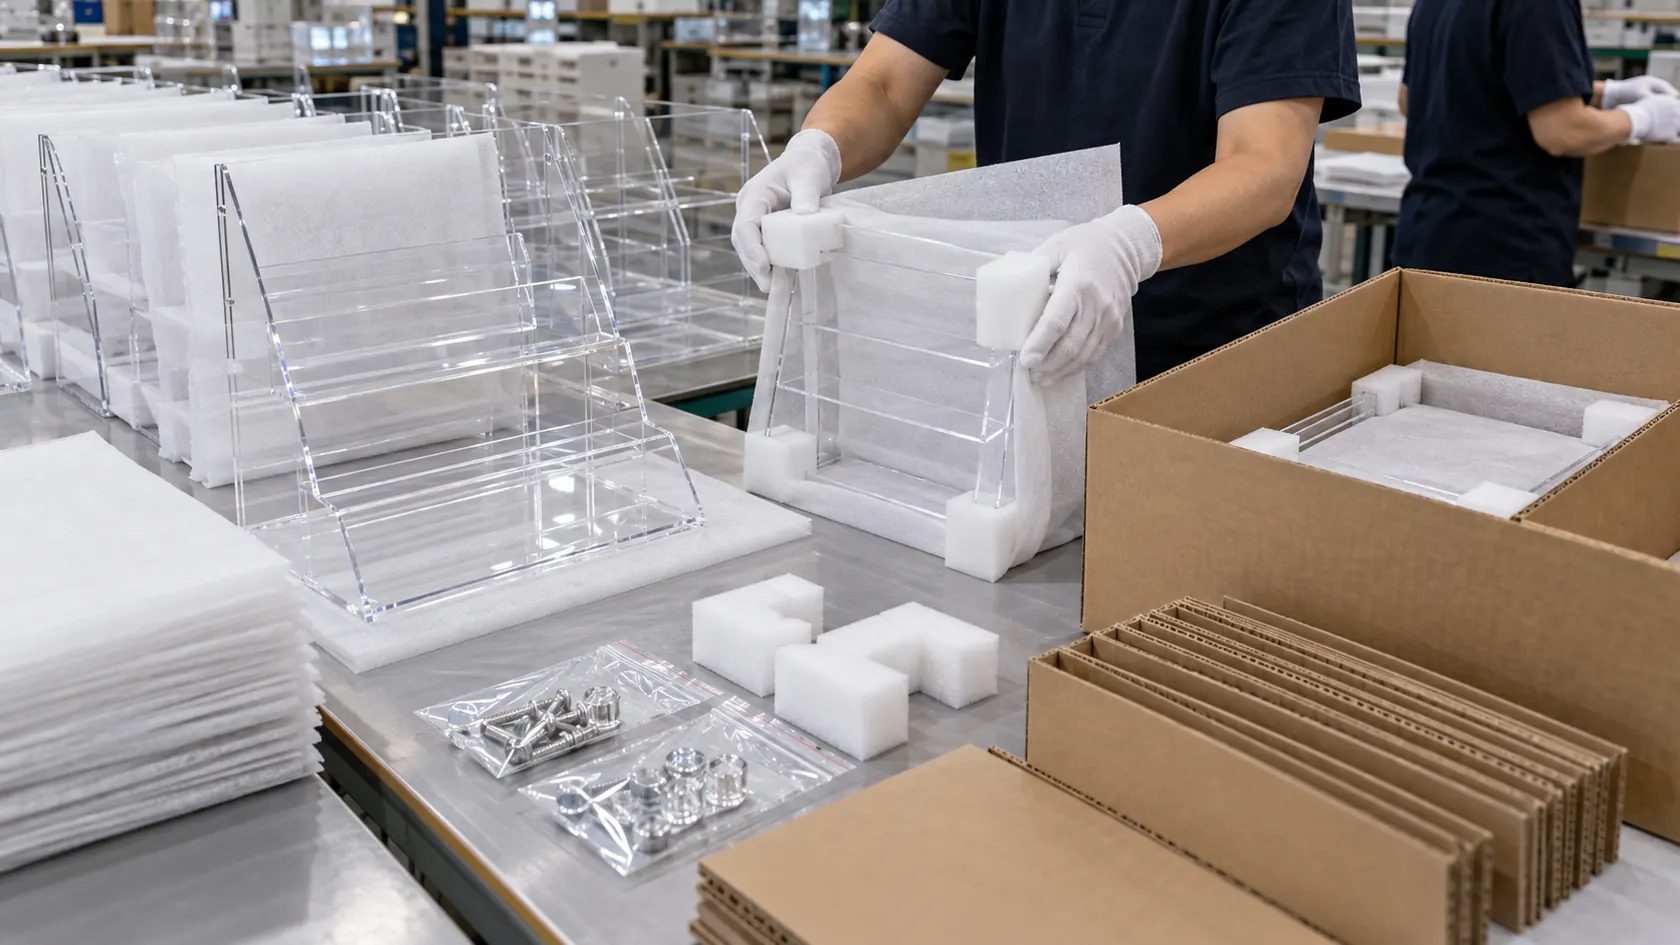
The same attention carries into packing. Clear acrylic can be scratched by rubbing, hardware, or an unprotected edge after it has passed visual inspection. The pack plan should define whether units ship assembled or flat-packed, which faces need interleaving or protective film, how loose hardware is isolated, and whether store labels or instructions are part of the carton.
Release production with a buyer-ready manufacturing brief
The smoothest acrylic display manufacturing process is usually the one in which the factory receives one coherent brief, not a series of disconnected corrections. Before sampling or bulk release, send the latest drawing or reference image, overall and critical dimensions, product-fit details, material and appearance target, print files and viewing side, hardware, quantity tiers, assembly state, packing needs, destination, and required delivery date.
We can help clarify details that are still open. Send your display drawing, reference image, product dimensions, expected quantity, desired finish, graphics, hardware, and packing requirement for a manufacturing review. We will map the practical fabrication choices before the project moves into a sample or production quotation.