Skip to content


How to design an acrylic countertop display starts with the retail space and the product, not a favourite acrylic thickness or an attractive reference photo. A practical unit needs to fit the approved counter footprint, present the product at a useful viewing angle, stay stable during normal handling, and remain simple for staff to refill. For projects that need a tiered or shelf-style format, our custom acrylic display shelves are a useful starting point for turning those requirements into a buildable structure.
When I review a countertop-display concept, I work from the product outward but within the retailer’s fixed space. That order helps prevent a display that looks good in a rendering yet crowds the counter, hides the merchandise, flexes under load, or becomes awkward to replenish.
Start with the counter footprint and the product envelope

The first dimension to lock is the maximum width and depth the retailer will accept. It is tempting to begin with the number of products a brand wants to show, then grow the display around them. On a counter, that can create a unit with too little staff space or an overhang that makes the base feel unstable. Start with the permitted footprint and overall height, then arrange the merchandise inside that envelope.
We also need the real product dimensions, its weight, whether it is boxed or loose, and how it will be picked up. A product cavity that follows a CAD outline too closely may look tidy but slow down a shopper or a store associate. Allow for fingers, labels, small product variation, and the direction in which an item is removed.
| Brief item | Why it changes the design | Useful buyer input |
|---|---|---|
| Counter footprint | Sets the maximum base and safe display envelope | Maximum width x depth and any no-go areas |
| Product set | Determines pocket size, shelf pitch, and capacity | Sample, package dimensions, weight, and quantity on show |
| Customer approach | Changes the front, side, and top viewing priorities | Counter position and likely shopper direction |
| Refill method | Affects rear access, dividers, and loose-part risk | Who refills it and how often |
Before we quote, I would rather see a product sample or a clear reference image than assume a nominal size tells the whole story. An offset cap, a hanging tab, or a protective box can change the useful opening more than a small change in the overall display size.
Choose a layout that shows the product before the fixture

Countertop displays often need to work from one main shopper direction. A stepped layout can show several products at once, while a single angled face may suit a hero product or printed message. Trays, ledges, dividers, and raised back panels should all support the merchandise instead of competing with it.
At the drawing-review stage, our team checks the viewing line from the counter edge: can the customer see the product face, can they understand the price or key message, and can they take one item without disturbing the rest? A tall header may create welcome branding space but can cast a visual shadow over a lower shelf. A deeper front lip can retain products but may hide labels. These are design trade-offs, not details to leave until after sampling.
For a larger rollout or a display with several product families, a custom acrylic display stand can combine shelves, risers, sign areas, and product holders. The correct layout is the one that matches the retail action, not necessarily the one with the most acrylic parts.
Build the structure from load path, span, and centre of gravity

Acrylic thickness is only one part of structural design. The important questions are where the product weight sits, how far a shelf spans between supports, where forces enter a bonded or bent joint, and whether a shopper can push the display forward when selecting an item. A wide, lightly loaded shelf and a narrow shelf carrying heavy bottles should not be specified from the same catalogue example.
For a multi-level counter unit, I normally review the base footprint first, then the projected centre of gravity with fully stocked product. From there, we can decide whether a return, rear panel, support rib, folded edge, hidden hardware, or a change in shelf spacing is a better solution than simply using thicker sheet. A support that shortens an unsupported span may improve stiffness with less material than increasing every panel thickness.
The fabrication route also matters. Laser-cut profiles suit many clean display shapes; CNC machining may be more appropriate where a pocket, recess, deeper feature, or controlled hole pattern is needed. Holes near edges, sharp inside corners, and heavily loaded fastener points deserve an early review because they can concentrate stress. ACRYLITE’s machining guidance is useful background on why acrylic edge quality and heat management should be considered with the finished use in mind.
Specify material, visible finish, and branding by viewing side

Clear acrylic is usually chosen because it keeps attention on the product, but a clear part still has visible decisions: material grade, thickness, edge appearance, protective film, print position, and how a bonded seam will appear under store lighting. Cast and extruded acrylic can be evaluated differently when machining quality, optical presentation, bonding, or heat bending is important. The best choice depends on the feature, finish expectation, and manufacturing route—not on a universal rule.
I would mark the customer-facing faces directly on the drawing. That tells the production team where polished edges matter most, which surface must remain free of marks, and whether a graphic is viewed directly or through the acrylic. For reverse-side printing, the viewing direction and any backing layer should be agreed before a sample is approved. Otherwise, a correct artwork file can still produce the wrong apparent colour or orientation in the finished display.
If branding is expected to change by season or retailer, consider whether a replaceable graphic insert or header would be more practical than permanently printing every campaign detail on the acrylic structure. That decision can reduce revisions later, but it must not compromise the clarity or stability of the display.
Design for staff access, assembly, and routine handling

A countertop display is handled by more than the shopper. Store staff may carry it, load it, wipe it, move it for cleaning, or replace a graphic. A design that is easy to use in a showroom can become a frustration when it is refilled many times a day. Leave a practical path for hands and products, and avoid loose accessories unless their purpose is clear.
Where the display includes screws, magnets, standoffs, hinges, or supplied product-security hardware, we need to agree the assembly sequence. Hardware can affect hole size, visible faces, packing protection, and whether the customer receives a fully assembled or flat-packed unit. I would confirm the assembly state before we make a prototype, because changing it later can alter the joint design and carton layout.
Clear surfaces deserve practical handling instructions too. The protective film should remain through the stages where it prevents cosmetic contact, but it must be removed where bonding, printing, or final presentation requires it. We can help clarify those points from a sketch; a buyer does not need a finished engineering drawing to start the review.
Include packing and delivery state in the display design
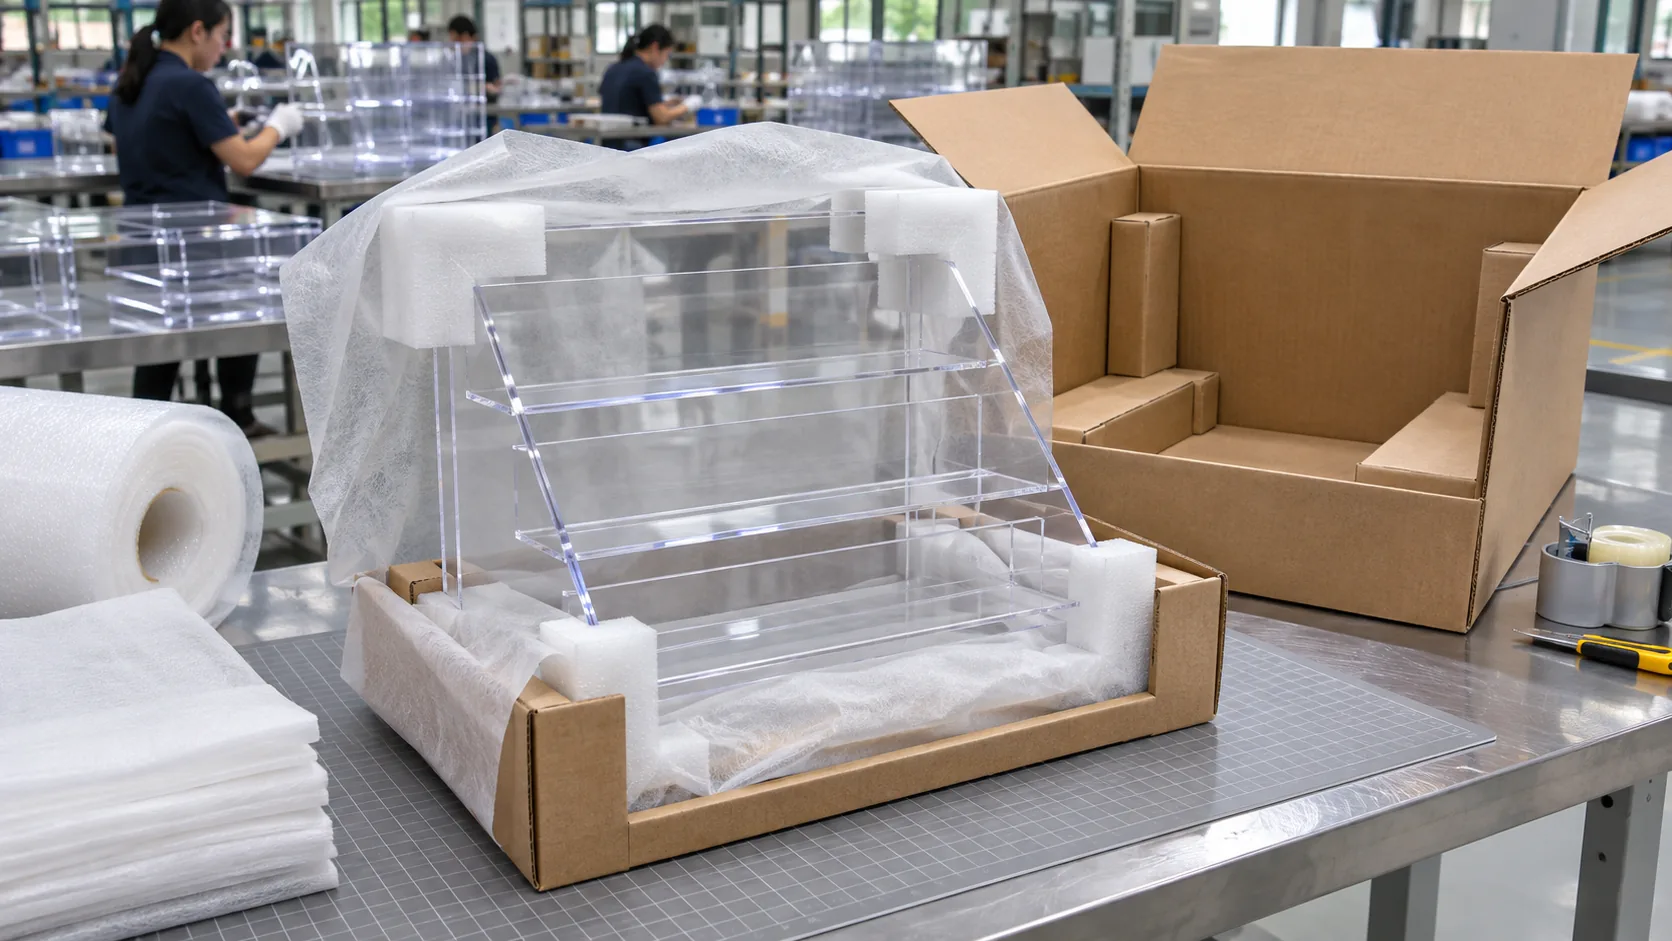
Packing is part of the design, especially for a clear display where scratches, rubbing surfaces, and unsupported corners can be visible on arrival. An assembled display may save store setup time but can take more carton volume and needs protection around its most exposed geometry. A flat-packed display can change shipping geometry, but only works when the assembly method is straightforward and its parts are easy to identify.
At the factory, I would review the display at the packing table as well as on the counter. Can clear faces be separated? Do protruding shelves or header panels need corner protection? Can hardware move against an acrylic panel? These questions often reveal a design adjustment that is more useful than adding packing material after the structure is already fixed.
For a project intended for repeat retail delivery, provide the destination market, shipping method if known, required delivery state, and any carton-label or store-set-up requirement. This lets the production and packing plan develop with the display rather than becoming a last-minute constraint.
Send your countertop display brief for review

The most reliable countertop displays make the product visible, give staff an easy routine, and turn the retail footprint into a stable, repeatable acrylic structure. You do not need to decide every fabrication detail first; the important thing is to make the retail job and the product constraints visible early.
Send us your sketch, drawing, or reference image; counter footprint; product sample or dimensions and weight; target quantity; preferred acrylic appearance; branding or print needs; required shipping state; and delivery date. We can review the display structure before quotation or sampling.