Skip to content
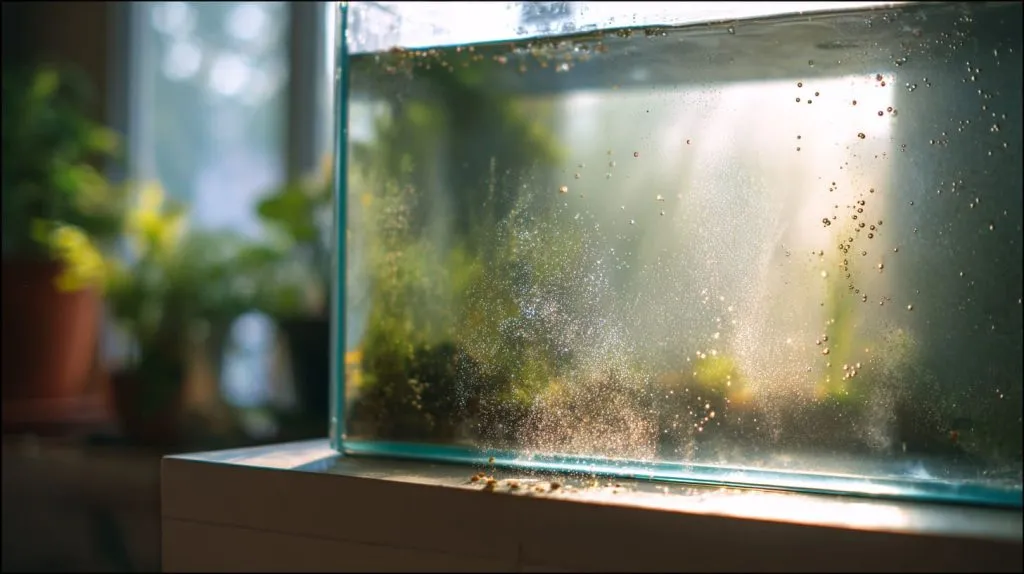
The room was quiet except for the soft hum of the filter. Tiny bubbles rose like silver beads against the clear acrylic wall, and for a moment, everything looked perfect — until the sunlight hit the side panel. That’s when I saw it: a faint haze, a few stubborn streaks, and a couple of tiny scratches that caught the light just right.
That moment made me pause. I wasn’t just looking at a dirty tank — I was looking at proof of how easy it is to ruin acrylic when you treat it like glass. That realization changed how I clean every tank now.
In this guide, I’ll show you how to clean an acrylic aquarium the right way — gently, safely, and effectively — while keeping that glass‑like shine that makes acrylic so beautiful.
Cleaning an acrylic aquarium isn’t just about looks — it’s about maintaining clarity and keeping your fish healthy. Acrylic reacts differently than glass. It’s softer, lighter, and more flexible, but also easier to scratch and cloud if handled poorly.
The main challenges come down to three things: scratching, hazing, and chemical sensitivity. Acrylic hates harsh chemicals, hates friction, and hates shortcuts.
So, in this guide, I’ll show you not only what to do, but also what not to do.
And if you’ve ever stood in front of a cloudy tank wondering where it all went wrong — trust me, I’ve been there too.
1. Understanding Acrylic: Material Properties & Risks
1.1 Acrylic vs Glass — Strengths & Weaknesses
Acrylic is about half the weight of glass, yet ten times more impact‑resistant. It’s clearer, too — offering a better light transmission. But that strength comes with trade‑offs. It’s softer, which means it scratches from even a grain of sand trapped in your cloth.
| Property | Acrylic | Glass |
|---|---|---|
| Weight | Light | Heavy |
| Impact Resistance | High | Moderate |
| Scratch Resistance | Low | High |
| Optical Clarity | Excellent | Good |
| Chemical Sensitivity | High | Low |
1.2 Why Acrylic Scratches Easily
Acrylic is a polymer — a chain of molecules that bonds tightly but can deform under pressure. So when you press too hard, you’re not “cleaning” — you’re reshaping. The tiniest grit can carve visible marks. Once I wiped my tank after sanding a nearby shelf. The dust acted like sandpaper. Lesson learned.
1.3 Common Issues: Haze, Micro‑scratches, Algae, Mineral Deposits
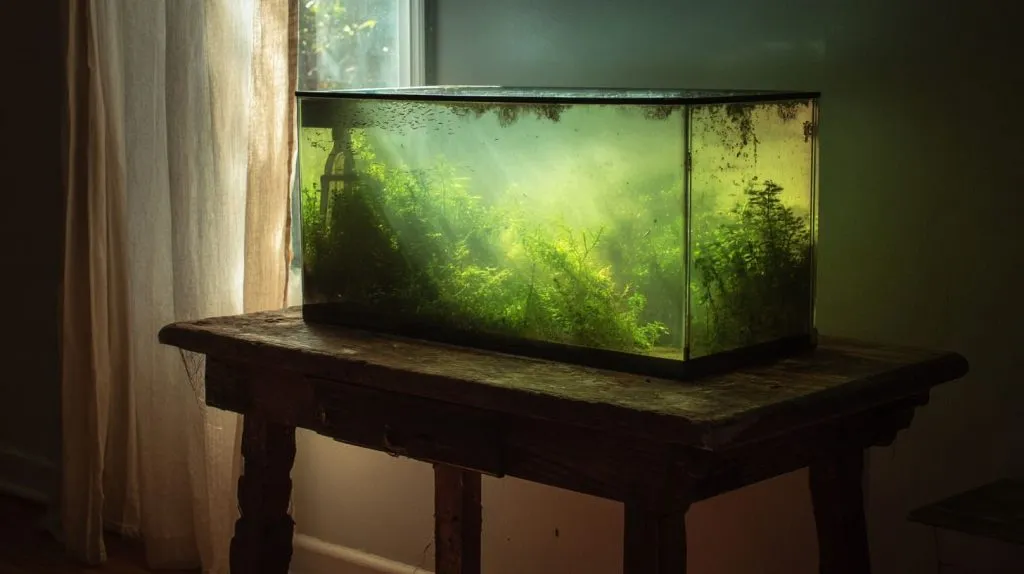
Acrylic tanks age differently from glass. Instead of cracks, you get haze. Instead of chips, you get surface dullness.
Most problems fall into these four categories:
- Haze from improper cleaners or alcohol wipes.
- Micro‑scratches from hard pads or trapped grit.
- Algae buildup from neglect.
- Mineral deposits from hard water.
Each one has its fix, but they all share one rule — gentleness beats force.
Sometimes, I think of acrylic as skin — treat it gently, and it glows. Rush it, and it scars.
Now let’s talk about how to prepare before the cleaning even begins.
2. Preparatory Steps Before Cleaning
2.1 Remove or Set Aside Fish, Plants, and Decorations
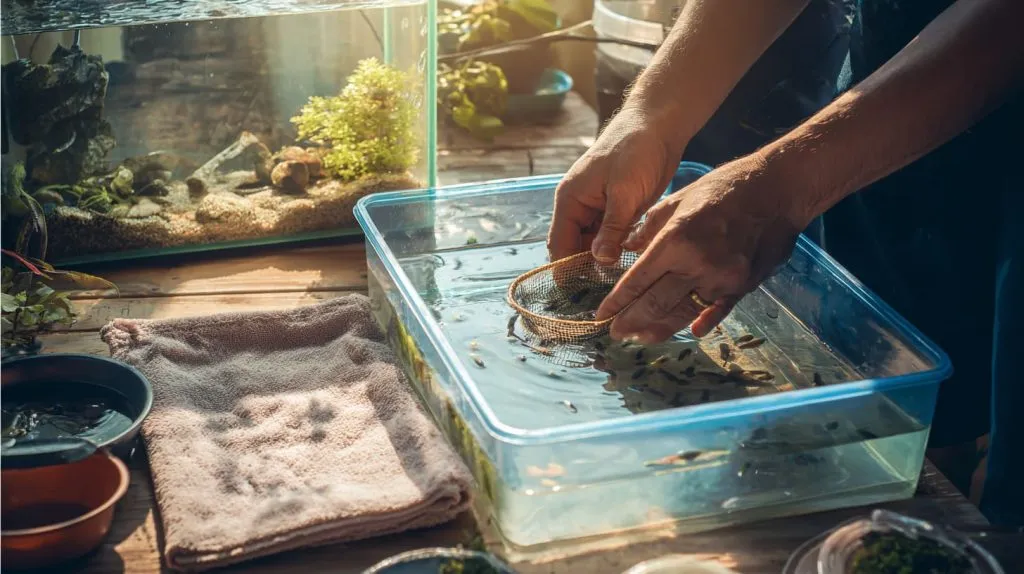
Start by giving your fish a temporary home. I usually fill a small tub with tank water and an air pump. Decorations, rocks, and plants should go too — this prevents dirt from being trapped during cleaning.
2.2 Partial Water Removal and Debris Clearing
Drain about half the tank. This lowers the risk of spilling and exposes the inner walls for easier access. Use a small net to remove floating debris.
2.3 Rinse Loose Sediment to Avoid Scratching During Cleaning
Before touching any cloth to the surface, rinse everything lightly with clean water. This simple step often prevents 90% of scratches.
2.4 Gather Acrylic‑Safe Cleaning Tools & Products
Keep your tools separate from anything used on glass or metal.
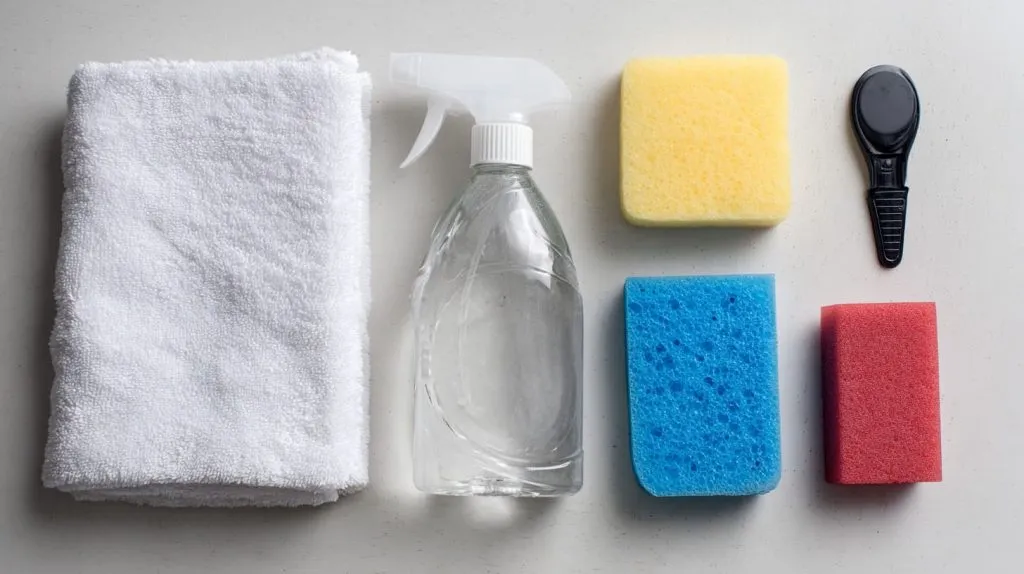
Here’s my basic setup:
| Tool | Purpose |
|---|---|
| Soft sponge | General cleaning |
| Plastic scraper | Edge cleaning |
| Microfiber cloth | Final drying |
| Vinegar + Water (1:1) | Mineral removal |
| Acrylic polish | Clarity restoration |
I’ve found that preparing like this makes cleaning almost relaxing — it turns chaos into ritual. Now that everything’s ready, let’s talk tools.
3. Tools & Materials: What to Use & What to Avoid
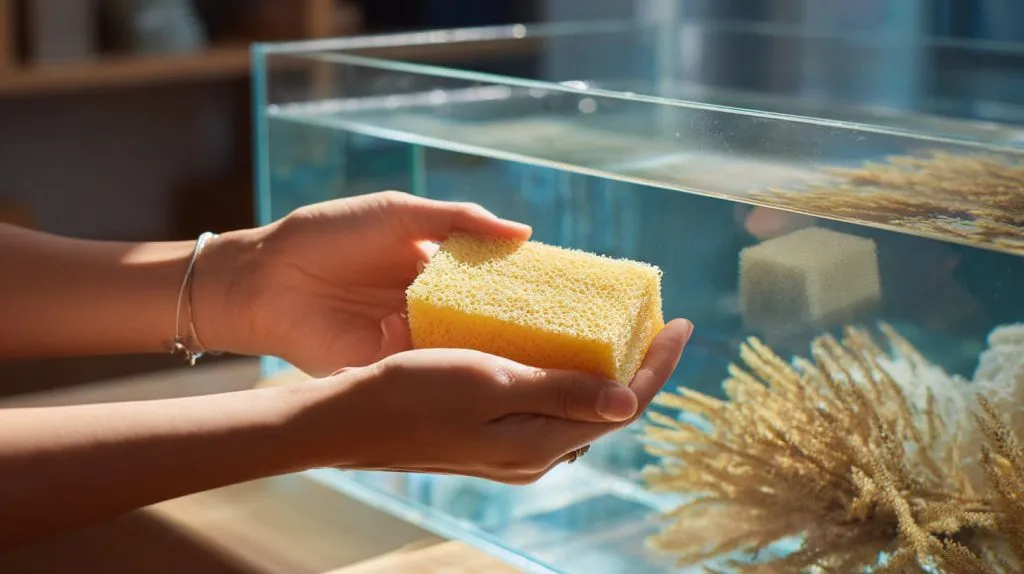
3.1 Acrylic‑Safe Scrapers, Pads, Sponges
Avoid metal at all costs. I use soft acrylic scrapers or even old credit cards. They flex gently and remove stubborn algae without damage.
3.2 Microfiber or Soft Cotton Cloths
Microfiber works wonders for drying and polishing. Cotton towels are fine too, but never reuse something that’s touched dust or grit.
3.3 Acrylic‑Safe Cleaners, Polishes, and Non‑Abrasive Solutions
Skip anything that says “degreaser” or “alcohol.” Look for labels like “for acrylic or plastic.” I personally trust Novus or Plexus products.
3.4 Mild Acids (Vinegar, Citric Acid) for Mineral Deposits
When I lived in a hard‑water area, white crusts were my nightmare. A vinegar soak melts them easily without harming acrylic. Citric acid works too — it’s food‑safe and gentle.
3.5 Disinfectants (Diluted Bleach) — When and How to Use Safely
Only use bleach if you’re deep‑cleaning an empty tank. Mix one part bleach to ten parts water, let it sit for 10 minutes, then rinse at least three times. Never combine bleach with vinegar or other cleaners — the fumes are dangerous.
Every time I open my toolkit, I remind myself — one wrong cleaner can ruin a year of care. Let’s get to the actual cleaning now.
4. Step‑by‑Step Cleaning Methods
4.1 Routine Maintenance Cleaning
4.1.1 Light Algae Removal from Walls
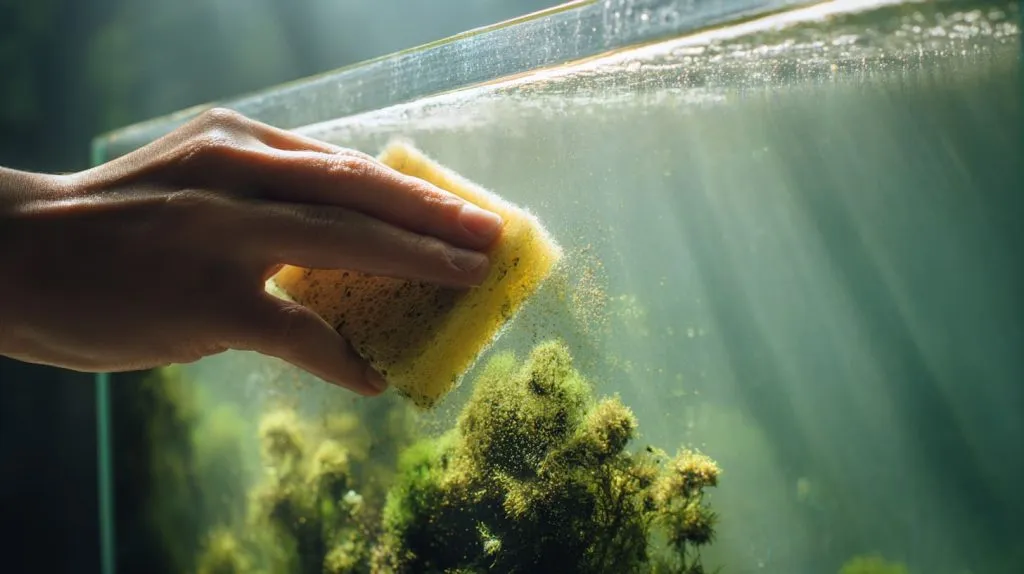
Use an acrylic‑safe magnetic cleaner or sponge. Move slowly in vertical strokes. If you rush, you’ll drag sand across the surface.
4.1.2 Wiping Exterior Surfaces
Spray a bit of acrylic cleaner on a cloth, never directly on the tank. This avoids overspray reaching your water.
4.2 Dealing with Tougher Stains or Mineral Scaling
4.2.1 Soaking with Vinegar or Diluted Acid
Lay a vinegar‑soaked cloth on the affected spot for 10–15 minutes. It will loosen mineral spots easily.
4.2.2 Using Plastic Scraper or “Credit Card Trick”
Once softened, use the edge of a plastic card to lift the residue. It’s slow, but safe.
4.3 Deep Cleaning / Full Disinfection
4.3.1 Controlled Bleach Soaking & Neutralization
When switching systems or removing illness, deep clean the tank. After bleach, neutralize with a dechlorinator or multiple rinses.
4.3.2 Rinsing Thoroughly and Drying
Use warm water for the final rinse, then dry with a clean microfiber towel. Leave it empty for a few hours to air out.
4.4 Final Polish & Haze Removal
Finish with acrylic polish. Apply in small circles with a soft pad. The surface should look glossy again — like new.
Sometimes when I finish, I just sit there. Watching light move through clear acrylic feels oddly calming. But what if you already have scratches? Let’s fix that next.
5. Scratch Repair & Haze Restoration
5.1 Identifying Scratch Severity
Run your fingernail across the mark. If it catches, it’s deep. If not, polishing will likely fix it.
5.2 Polishing Kits (Novus, Plexus, etc.)
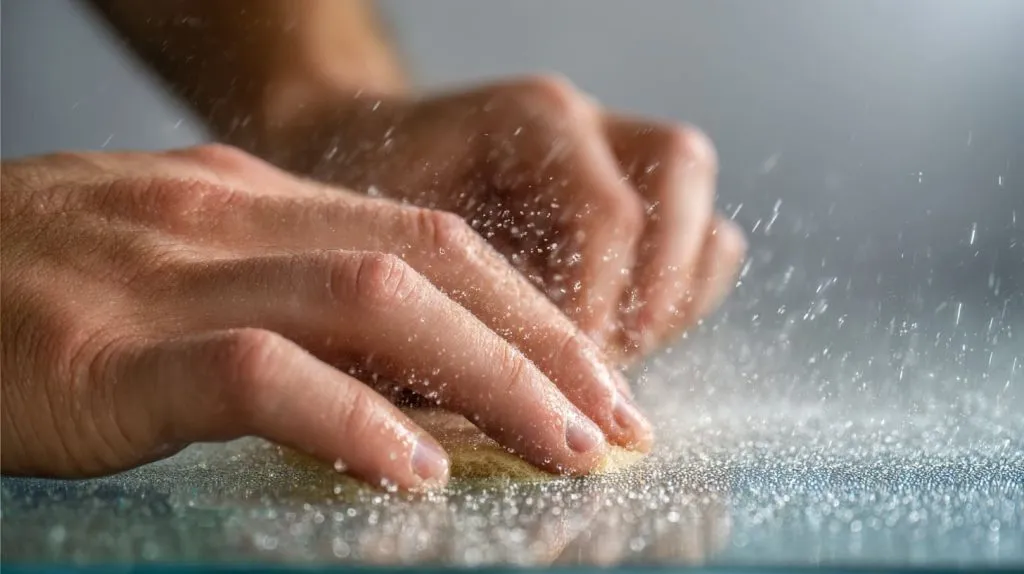
Start with a mild polish first. Use a circular motion, light pressure. Repeat as needed. Never rush — acrylic rewards patience.
5.3 Wet Sanding / Progressive Grit Approach
For deeper marks, use wet sandpaper from 800 to 2000 grit. Always sand in one direction, then cross‑sand at the next level.
| Grit | Use Stage |
|---|---|
| 800 | Deep scratches |
| 1200 | Surface leveling |
| 2000 | Final smoothing |
Finish with polish afterward. It’s like exfoliating — messy but rewarding.
5.4 Preventive Buffing and Finishing Touches
A thin coat of acrylic wax or anti‑static spray helps repel dust and fingerprints. This small detail keeps tanks clearer longer.
I remember once polishing for hours under soft light, only to realize — perfection isn’t the goal. Clarity is. Next, let’s keep that clarity lasting.
6. Maintenance Tips & Best Practices
6.1 Frequency of Cleaning
Clean lightly once a week. Deep clean every few months. Consistency keeps problems small.
6.2 Avoiding “Bad Habits” That Cause Damage
Avoid paper towels, metal blades, and harsh soaps. They’re the silent killers of acrylic.
6.3 Preventing Future Buildup
Monitor pH and hardness. Reduce evaporation — it prevents mineral crusts.
6.4 Smart Tools
Use acrylic‑safe magnets, gentle scrapers, or protective films to avoid everyday wear.
6.5 What to Do in Emergency
For extreme buildup, empty the tank and follow the vinegar‑soak method. Patience saves acrylic more than power ever could.
Sometimes maintenance feels endless. But here’s what keeps me going — every clear tank reflects care, not just light.
7. FAQs & Common Mistakes
7.1 Can You Use Household Cleaners Like Windex?
No. Most contain ammonia or alcohol, which cloud acrylic permanently.
7.2 Is a Razor Blade Ever Okay?
Never. It may feel efficient, but one slip will scar the surface forever.
7.3 Magic Eraser — Safe or Risky?
Risky. Some versions are abrasive. Only use ones labeled safe for acrylic.
7.4 How to Manage Hard Water / Algae Cycles
Use distilled water if possible. Keep consistent lighting hours and stable nutrients.
7.5 When to Discard and Replace Acrylic Panels
If deep cracks or clouding remain after multiple restorations, replacement is the safest option. Acrylic has a long life, but not an infinite one.
When you’ve cleaned enough tanks, you realize — clarity isn’t just visual. It’s emotional. Seeing through clean acrylic feels like a fresh start.
Conclusion
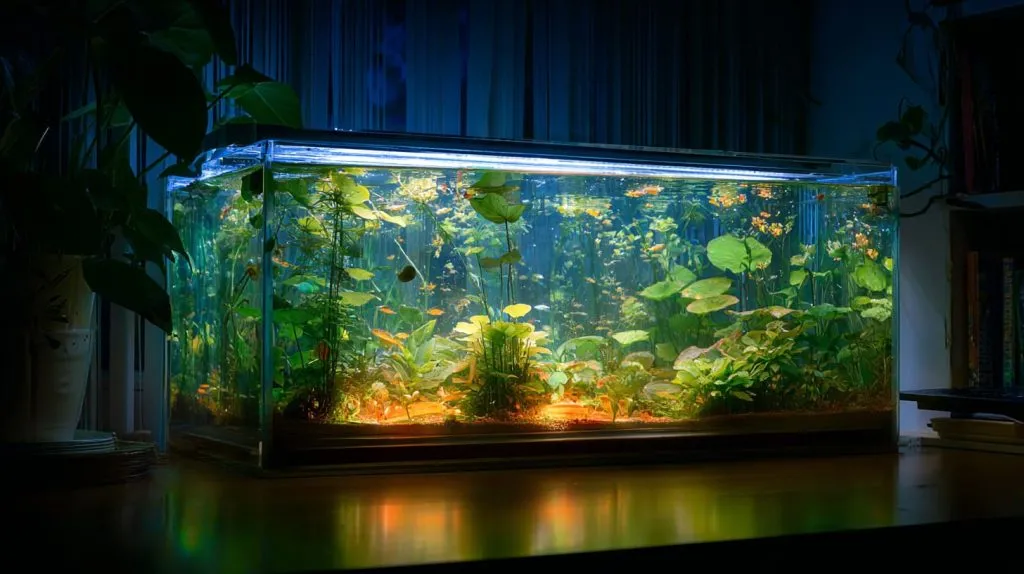
Cleaning an acrylic aquarium is less about force and more about respect. It’s about understanding the material, slowing down, and working with care.
The key takeaways:
- Use only acrylic‑safe tools and products.
- Avoid harsh chemicals and friction.
- Polish regularly to restore clarity.
With the right approach, your acrylic tank can stay spotless and beautiful for years. Every reflection inside it tells a story — not of perfection, but of care, patience, and quiet pride.