 Skip to content
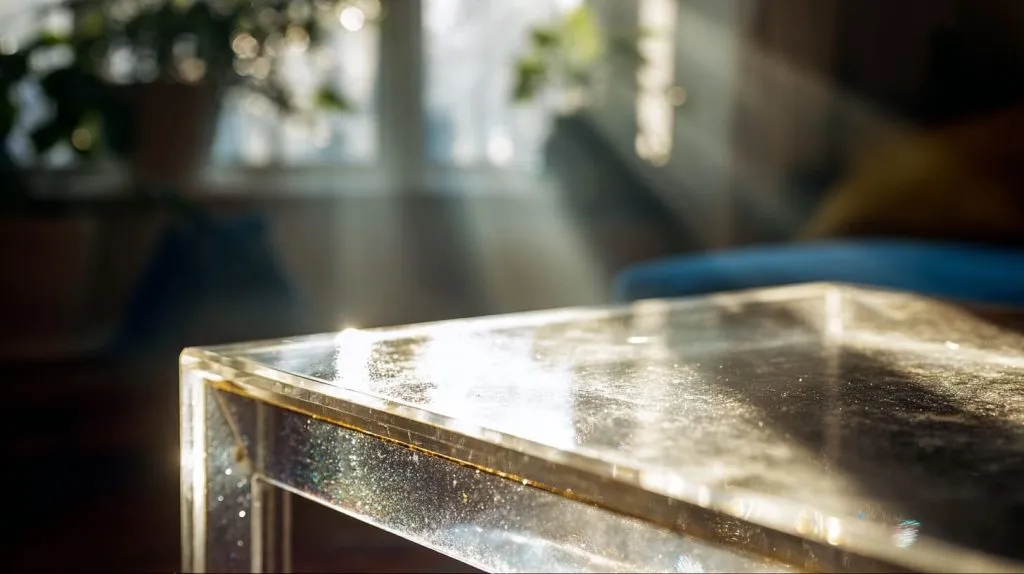
Clear plexiglass furniture has a way of exposing everything. Light passes through it. Dust settles on it. Fingerprints show up without warning. The surface looks calm and simple, yet every small mark feels amplified. That contrast is exactly why people love acrylic furniture—and why cleaning it often feels more stressful than it should.
Plexiglass, also called acrylic, does not forgive rough handling. Treat it like glass, and it scratches. Treat it like wood, and it hazes. I’ve seen well‑designed acrylic pieces lose their clarity not because of age, but because of the wrong cloth or the wrong cleaner used too many times.
In this post, I want to slow things down and talk through how plexiglass actually behaves, how I clean it in real life, and what habits keep it clear for years instead of months.
Let’s start with the material itself, because everything else depends on that.
1. Understanding Plexiglass Furniture
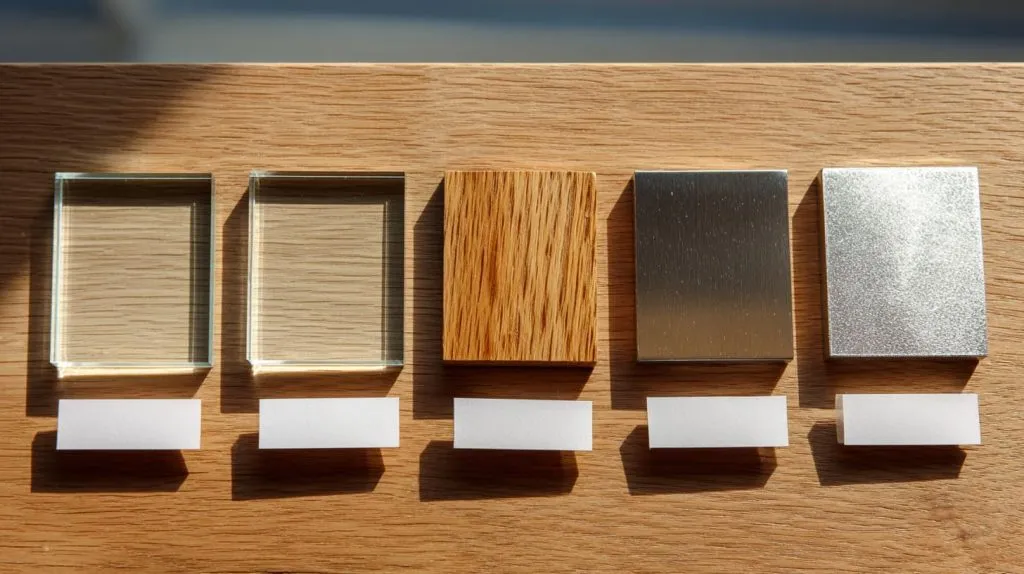
When someone says “plexiglass,” they’re usually talking about acrylic—a tough, lightweight plastic that looks a lot like glass but behaves very differently.
What is plexiglass (acrylic) material?
Plexiglass is short for polymethyl methacrylate (PMMA), but that’s not something you’ll hear outside a chemistry lab. What matters is: it’s shatter-resistant, lighter than glass, and clearer than polycarbonate.
I’ve used it for everything from display risers to full-on coffee tables—and the way it reflects light gives even basic shapes a modern, clean feel.
Properties of plexiglass relevant to cleaning
Here’s the tricky part: it’s soft.
Not soft like a sponge, but soft compared to glass or metal. That means it scratches easily if you use the wrong cloth or cleaner. It also builds up static, which attracts dust. That combo is why so many people accidentally “clean” their plexiglass into a cloudy mess.
Differences vs. glass, wood, metal
| Feature | Plexiglass | Glass | Wood | Metal |
|---|---|---|---|---|
| Scratch Resistance | Low | High | Medium | High |
| Weight | Light | Heavy | Medium | Heavy |
| Chemical Sensitivity | High | Low | Low | Medium |
| Transparency | Excellent | Excellent | Opaque | Opaque |
| Ease of Cleaning | Needs Care | Easy | Moderate | Easy |
The lesson here? What works for one material might ruin another.
And now that we understand the material, let’s grab the right tools for the job.
2. Tools & Materials You’ll Need
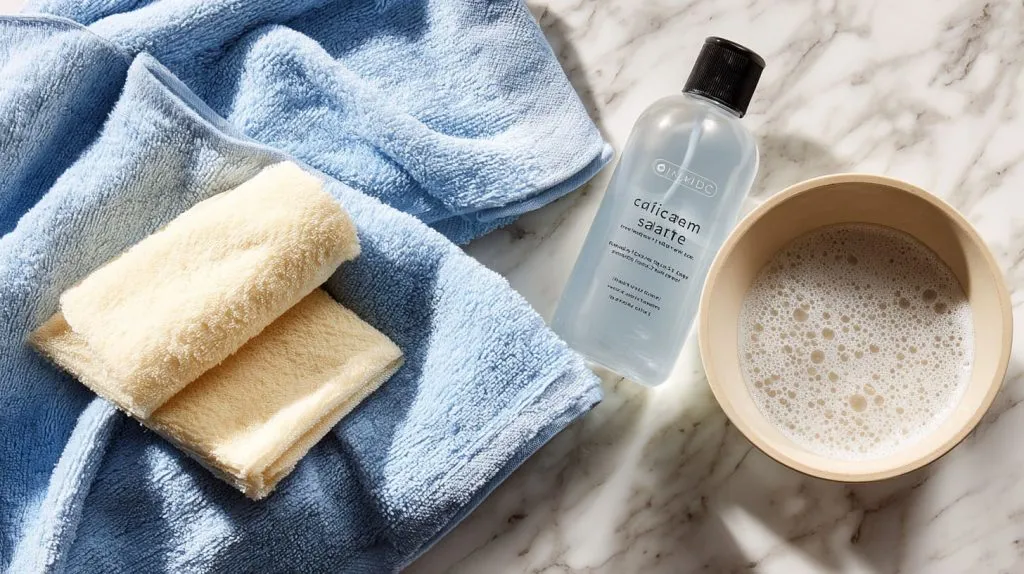
Over the years, I’ve tested everything from homemade vinegar sprays to fancy plastic cleaners. Some worked wonders. Others... well, let’s just say I learned not to use paper towels ever again.
Safe cleaning cloths (microfiber, soft cotton)
Microfiber is your best friend here. It lifts dust without grinding it into the surface.
Avoid these:
- Paper towels (too abrasive)
- Sponges with scrubbing sides
- Anything dry and rough
Mild cleaning solutions (soap & water, plastic-specific cleaners)
A few drops of dish soap in warm water is usually enough. For deeper cleans, I use a plastic-specific cleaner like Brillianize or Novus #1.
Items to avoid (abrasive pads, ammonia cleaners, paper towels)
This is important: never use glass cleaner. Ammonia (like in Windex) will make the acrylic haze over time.
| Do Use | Avoid |
|---|---|
| Microfiber cloth | Paper towels |
| Dish soap + water | Ammonia-based cleaners |
| Plastic-safe polish | Rubbing alcohol, acetone |
| Soft cotton t-shirt rags | Magic erasers or abrasive pads |
Got everything ready? Let’s move on to how I actually clean these pieces step by step.
3. Step‑by‑Step Cleaning Method
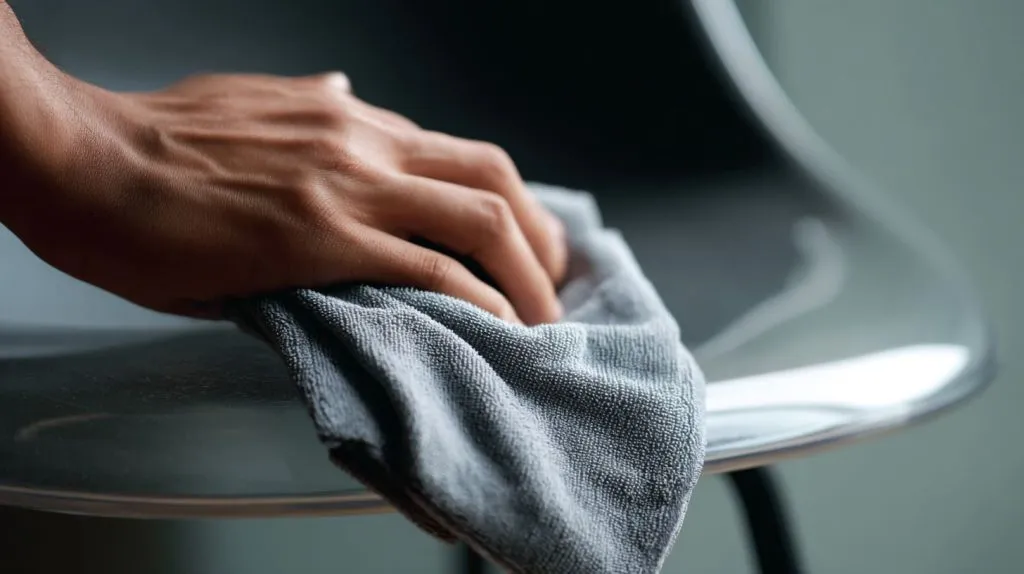
Cleaning plexiglass isn’t difficult, but it’s easy to get wrong. Here’s my go-to process:
3.1 Initial dusting
First, I gently wipe the surface dry using a microfiber cloth to lift off any loose dust. If I go straight to a wet wipe, those particles can grind into the acrylic.
3.2 Preparing a gentle cleaning solution
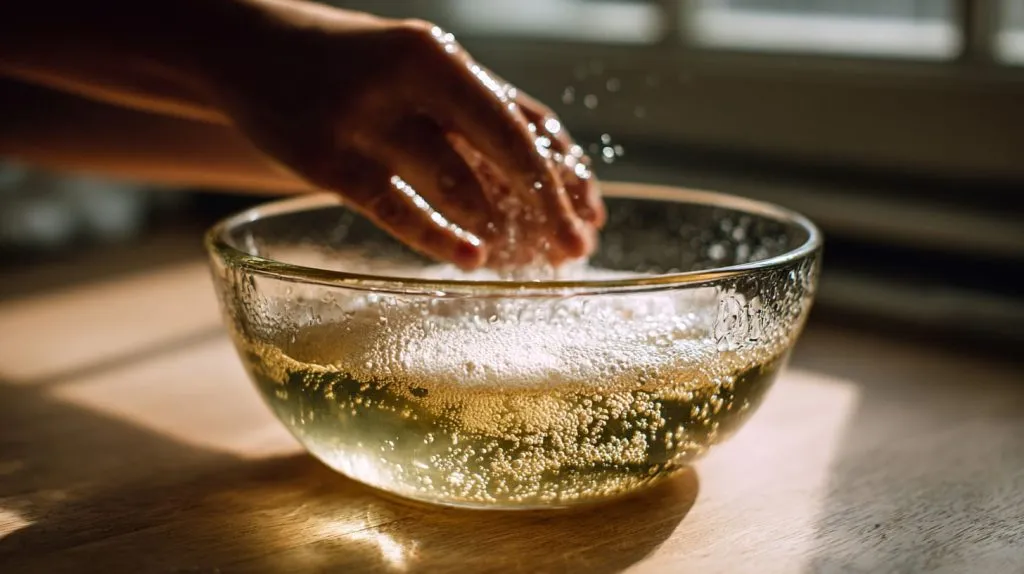
I fill a bowl with warm water and a few drops of dish soap—nothing fancy. Stir it up a bit until it’s sudsy.
3.3 Wiping the surface properly
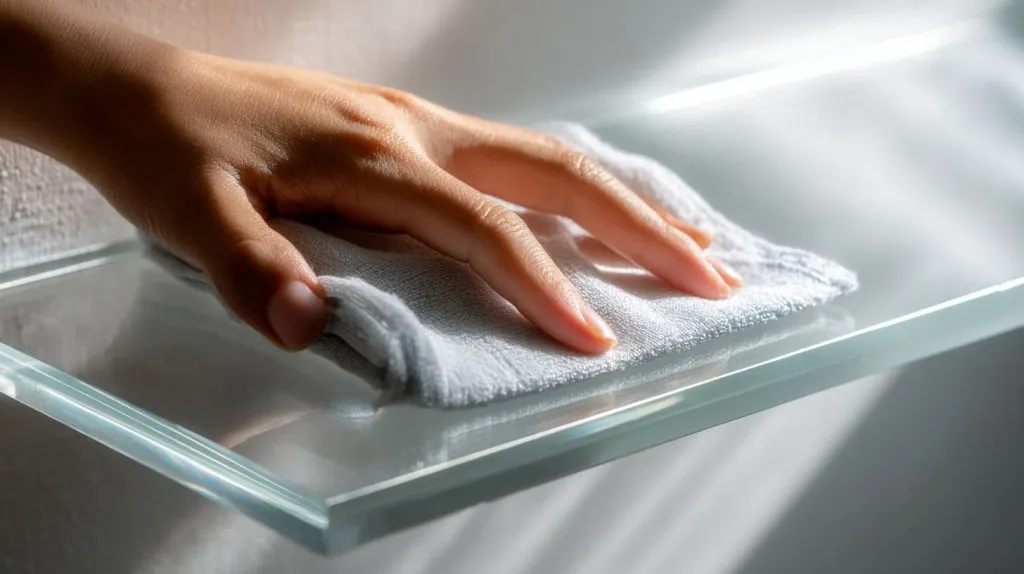
I dip a soft cloth into the soapy water, wring it out (so it’s damp, not soaked), then wipe in gentle, straight lines. No circular rubbing. No pressure. Just enough contact to lift off dirt.
3.4 Rinsing and drying
After that, I wipe down again with a clean damp cloth—just water this time—to remove soap residue. Then, I gently blot dry with another clean microfiber cloth.
3.5 Polishing for shine (optional)
If I want it to really sparkle—especially before product photography—I’ll finish with a plastic polish. A couple drops go a long way.
This routine works great for most day-to-day cleaning. But what about those greasy smudges that just won’t budge?
4. Handling Tough Stains & Smudges
One day I spilled some hand cream onto my clear display riser. It left a weird foggy mark that didn’t come off with soap and water. That’s when I started experimenting.
Greasy & sticky residue removal
For anything oily, I’ll use a dab of mild dish soap directly on the spot. Let it sit for a minute, then gently wipe. Still stuck? A plastic cleaner usually handles it.
Removing fingerprints without damage
Fingerprints are especially noticeable on transparent surfaces. A light mist of water and a clean microfiber cloth usually removes them without streaks.
When to use specialized acrylic cleaners
If a piece is really cloudy, I break out Novus #1 or a similar acrylic-specific polish. These are made for plastic, so they clean without etching.
Now let’s talk about prevention—because cleaning less often is always the better option.
5. Scratch Prevention & Maintenance
The first time I scratched my acrylic side table, it wasn’t from a fall or heavy object—it was from sliding a ceramic mug across it.
Why scratches occur on plexiglass
Plexiglass can scratch just from dust or a rough fabric. That’s why the cleaning tools and daily use habits matter just as much as your polish.
Daily habits to avoid surface damage
Here’s what I follow now:
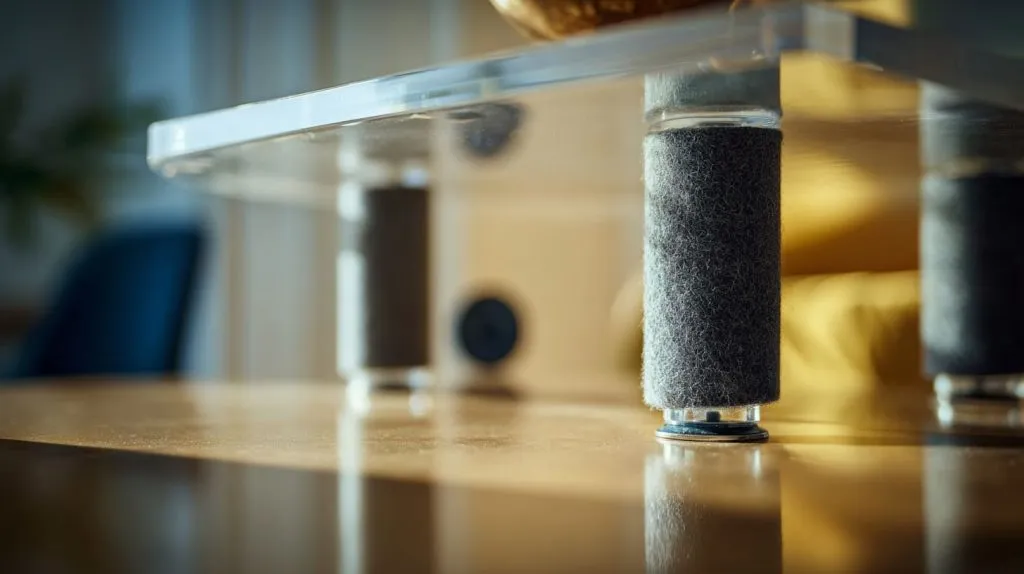
- Add felt pads to the bottom of anything that touches the surface.
- Never slide objects—always lift.
- Don’t stack heavy books directly on the surface.
Anti‑static cleaning to reduce dust attraction
Dry cloths build static. That’s why I always use slightly damp cloths. For display pieces, I’ll even use an anti-static spray every couple of weeks.
The goal here isn’t just a clean surface—it’s to keep it looking new for years.
But what if it’s already scratched?
6. Advanced Care: Scratch Repair
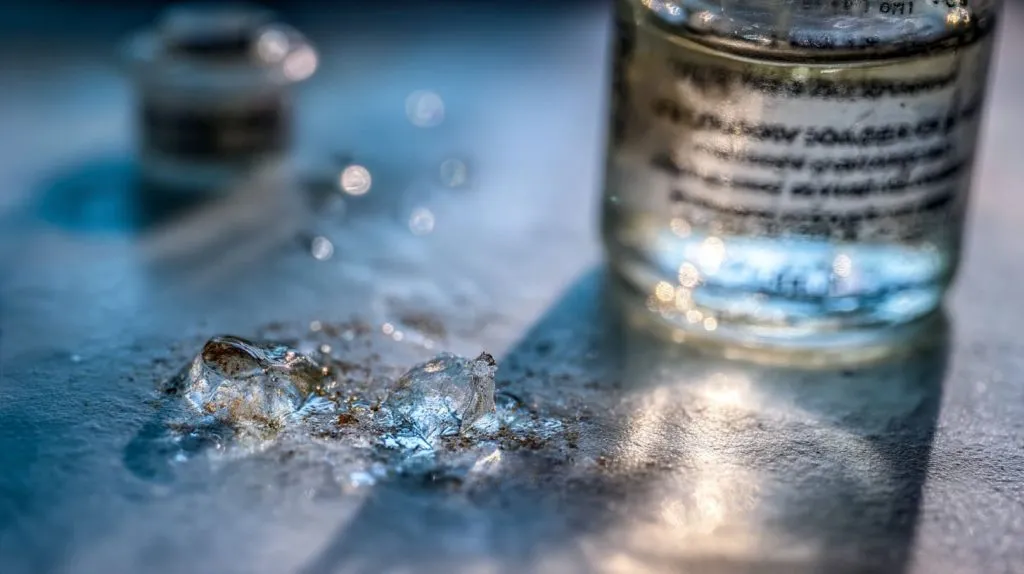
Scratches happen. I’ve seen it on tabletops, drawer fronts, even small blocks used in displays. The good news? Minor ones can often be fixed.
DIY scratch removal techniques
If the scratch is light, I’ll use a plastic polish with a microfiber cloth and buff in small circles. For deeper ones, I’ve used Novus #2 (a fine scratch remover) followed by Novus #1.
When to consult a professional
If the scratch is deep enough to feel with your fingernail—or if it covers a large area—I don’t take chances. I send it out to a professional acrylic fabricator for resurfacing.
Let’s shift gears for a moment and talk about outdoor furniture. Sunlight and rain bring a whole new set of challenges.
7. Cleaning Outdoor Plexiglass Furniture
One of my clients placed a custom acrylic table on their patio. After just a few weeks, it was covered in dust, pollen, and tiny water spots.
Rinsing away environmental debris
I always start with a hose rinse to remove loose debris. Never use high-pressure—just a gentle stream.
Mild soap vs. intensive cleaning outdoors
For dirt that’s baked in by the sun, I use the same dish soap method. But I do it more often—about once every two weeks in the summer.
UV protection & weather care
UV exposure can cause yellowing over time. I recommend covering plexiglass furniture when not in use—or applying a UV-protective cleaner every few months.
Now, before we wrap up, there’s one last section you shouldn’t skip…
8. Common Mistakes to Avoid
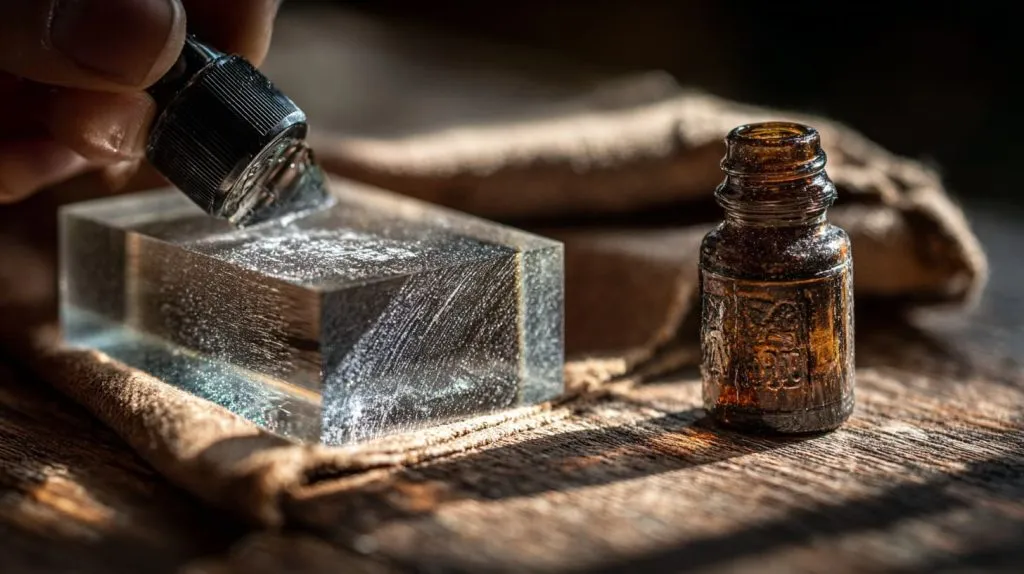
I’ve made these mistakes. So have my clients. Here’s what I warn everyone about now.
Avoiding harsh cleaners (ammonia, alcohol, acetone)
They might seem harmless at first—but over time, they break down the acrylic and leave a cloudy mess.
Avoiding abrasive cloths & paper towels
Paper towels are surprisingly rough. Under a microscope, they look like sandpaper. That’s why I never let them near any acrylic surface.
Overdrying & creating static
Letting the surface air-dry without wiping can cause mineral spots and static buildup. I always finish with a dry, clean microfiber cloth.
These may sound like small things, but they make a big difference in how long your pieces last—and how good they look.
Conclusion
Cleaning plexiglass isn’t complicated—but it’s not the same as cleaning glass or wood. Once you understand how the material reacts to heat, pressure, and chemicals, everything changes.
Use soft cloths. Avoid harsh cleaners. Protect from scratches. And when in doubt—go gentle.
Your plexiglass furniture will thank you with years of brilliant clarity and clean, modern beauty.
If you ever need help designing, restoring, or customizing acrylic pieces for your space or brand—well, that’s exactly what we do here at Feilong Acrylic.




