 Skip to content
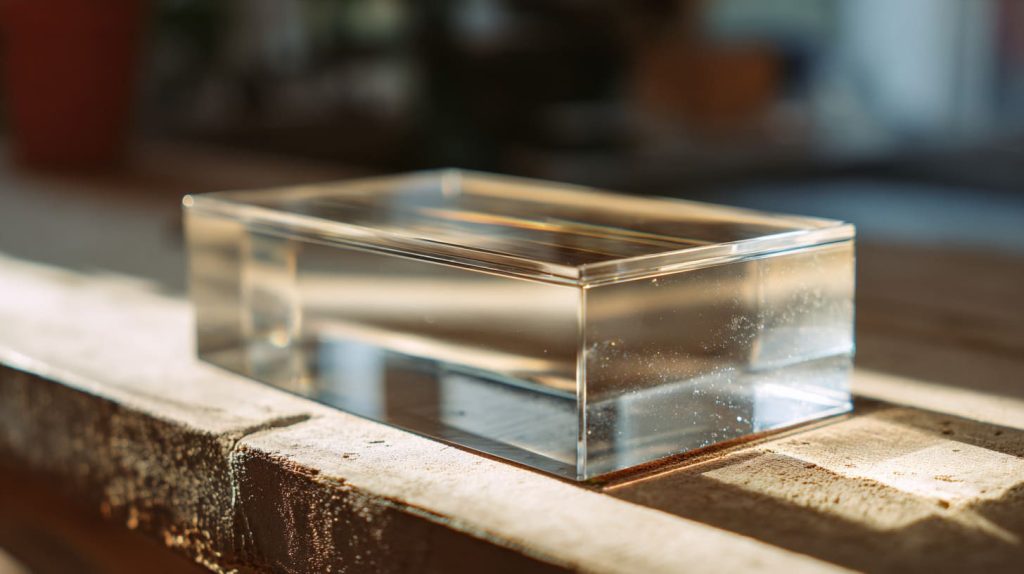
The acrylic box was just sitting there on the edge of my bench—polished, seamless, catching light like glass. Our team had just finished assembling it. The joints looked perfect at first glance, but I leaned in and caught a faint ripple at one corner. Not a crack. Not even a bubble. Just a small optical distortion. And I knew right away—that wouldn’t fly for Jacky.
We’ve worked with buyers like him for years—people who’ve handled hundreds of custom acrylic products, who can spot a flaw faster than most folks notice the box itself. These aren’t just storage cases or cosmetic holders. In their world, every box speaks: Is it built to last? Does it present well? Will it survive shipping, shelf life, and end-user handling without issue?
That’s why the details matter so much. Acrylic is beautiful but unforgiving. One rushed cut, one uneven bond, and the entire product feels cheap—even if the material cost is high. And when your client is inspecting every seam under showroom lights, there’s nowhere to hide.
That’s exactly what this guide is for. Whether you're designing display units, protective enclosures, or organizing trays, I’ll walk you through what we’ve learned from over a decade of custom acrylic work—how to get each part right from day one.
Twenty minutes later I was sketching load notes on a sticky pad, already thinking about the next step—understanding every requirement before the first cut.
Understanding Project Requirements

Define purpose and load-bearing needs
I start every project by asking two blunt questions:
- What lives inside the box?
- How rough is the ride?
A single acrylic rose display needs delicate walls; a museum artifact case may demand laminated security glazing. When Jacky sourced boxes for vintage game consoles, we tested 5 kg weights on a 4 mm wall. It sagged. We moved to 6 mm and added a rib. Problem solved.
Environmental considerations (temperature, UV, chemicals)
Picture an outdoor pop-up shop in Toronto’s July sun. Heat builds, UV rays hammer down, and solvents from a nearby graphics install drift over. Regular extruded acrylic yellows and micro-cracks. Cast UV-stabilized sheets hold firm for years. I keep a small panel on my office window as proof—half coated, half raw. Twelve months in, the difference is impossible to ignore.
| Factor | Question to Ask | Typical Fix |
|---|---|---|
| Temperature swings | “Will it freeze or bake?” | Allow 0.3 % expansion gap |
| Harsh lighting | “Direct sun?” | UV-resistant cast sheet |
| Chemical vapors | “Any cleaners or solvents nearby?” | Specify anti-crazing grade |
A clear roadmap saves time later; next, I dive into the materials themselves.
Material Selection: Acrylic Types & Thickness
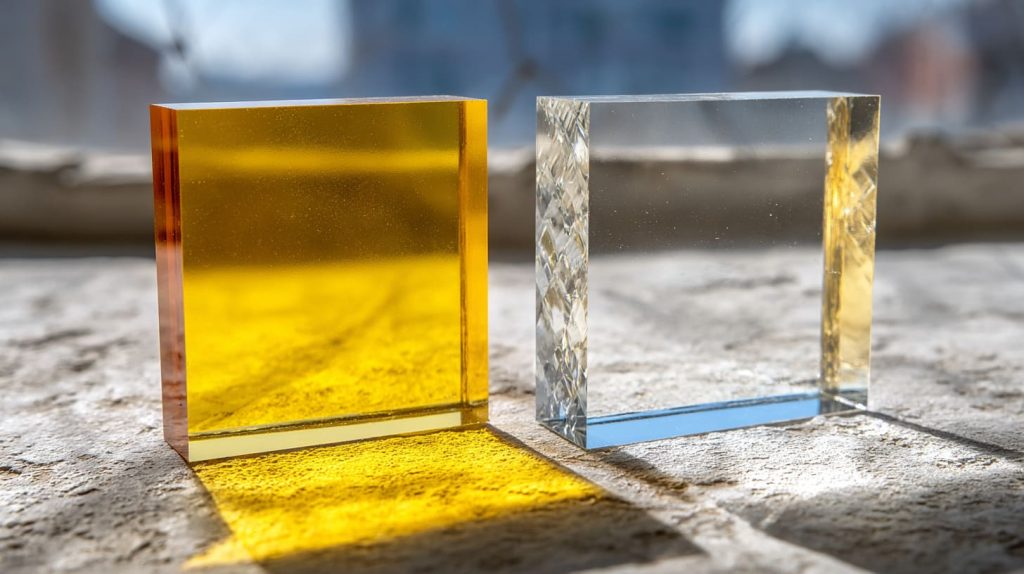
Cast vs extruded acrylic overview
Cast acrylic is like slow-cooked soup—uniform and rich. Extruded is fast-food: cheaper but prone to stress lines. When Jacky priced 500 desktop cases, cast cost 18 % more yet cut polishing time by half. We chose cast. Labor savings offset material cost.
| Property | Cast | Extruded |
|---|---|---|
| Clarity | Excellent | Very good |
| Thickness tolerance | ± 5 % | ± 10 % |
| Price | Higher | Lower |
| Solvent crazing resistance | High | Moderate |
Selecting sheet thickness for strength and clarity
I follow one rule: span (mm) ÷ 50 ≈ wall thickness (mm) for static loads. A 400 mm-wide lid? 8 mm sheet minimum. For lids customers lift often, I add 2 mm.
Specialty grades (UV-resistant, anti-static, recycled)
- UV-resistant cast: outdoor kiosks, greenhouse merch.
- Anti-static sheet: dusty warehouse displays. Stops cling.
- Recycled acrylic (R-PMMA): lowers carbon footprint by ~60 %. Great for eco-labels, though clarity is slightly off-water.
Choosing the sheet is only half the battle; how we cut and join it shapes the final box.
Design & Engineering Considerations
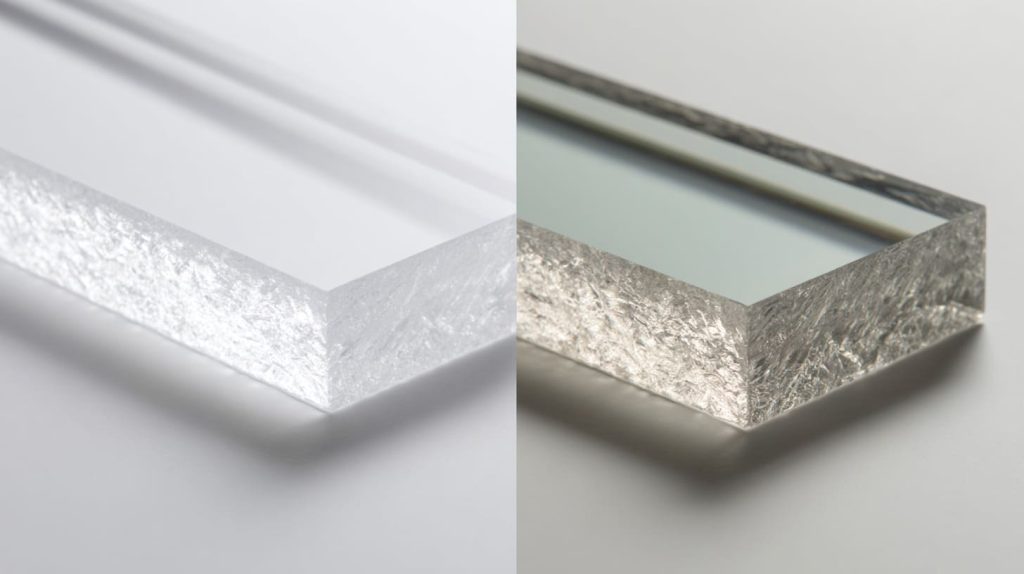
Accurate dimensions, tolerances and kerf allowance
A CNC router eats 0.15 mm per pass. Ignore that and panels arrive 0.3 mm short, joints gape, cement floods out. I design internal size, then add kerf compensation to every outer edge. Painful once, painless forever.
Joint styles (butt, mitre, rabbet, tongue-and-groove) and their pros/cons
| Joint | Strength | Clarity | Typical Use |
|---|---|---|---|
| Butt | Low | High | Light display lids |
| Mitre | Moderate | Seamless edge | Premium gift boxes |
| Rabbet | High | Visible step | Heavy storage bins |
| Tongue-and-groove | Very high | Hidden seam | Museum enclosures |
Internal supports: ribs, dowels, corner blocks
Large aquarium-style boxes need ribs every 300 mm. I once skipped ribs on a 600 mm cube; freight vibration cracked a side panel in customs. Never again.
Design locked? Time to cut—with the right tool for the right edge.
Cutting & Machining Techniques

Hand scoring & snapping
For prototypes, I still grab a scoring knife. Three firm passes, bend, snap. Edges are rough but serviceable for glue tests.
Power-saw methods (table, circular, jigsaw)
Run blades with at least 60 teeth, rake angle 5–10°. I tape both faces to dodge chips. Slow feed, high blade speed—that’s the secret.
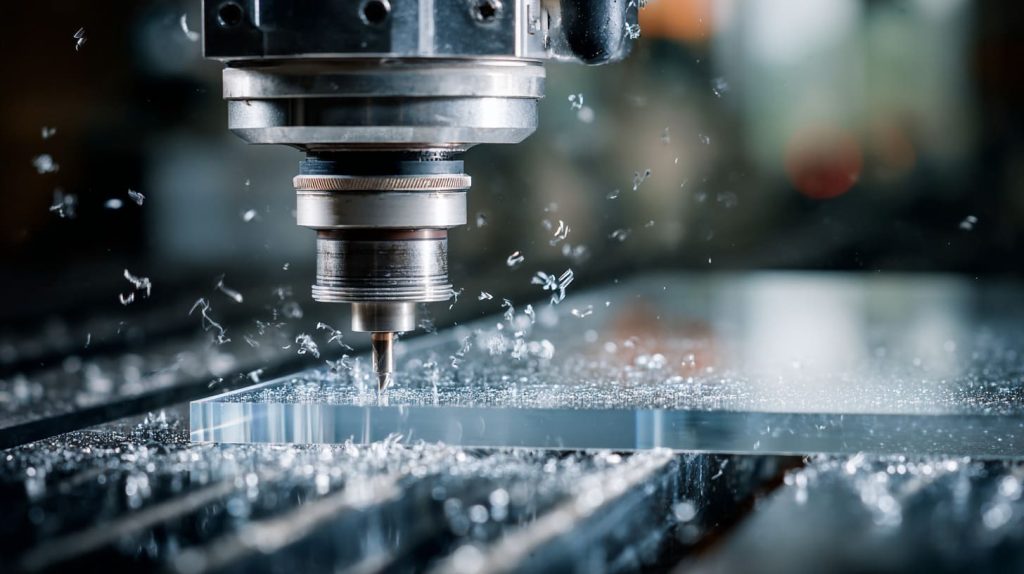
CNC routing best practices for chip-free edges
Up-cut bit clears debris; down-cut cleans surface. Peck 2 mm per pass on 10 mm sheet. Compressed-air blast keeps melt at bay.
Laser cutting for precision and polished edges
A 120 W CO₂ laser glides through 8 mm sheet at 6 mm/s. The edge comes out shiny as if flame-polished, but internal stresses rise. I anneal panels at 80 °C for one hour to relax them before bonding.
Sharp edges deserve smooth finishes—let’s polish.
Edge Preparation & Polishing
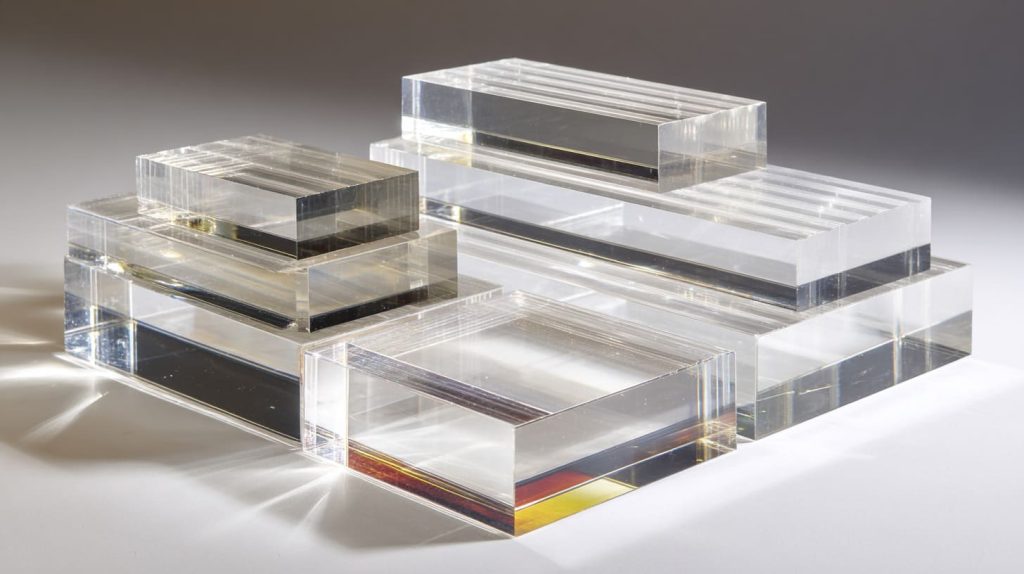
Progressive sanding workflow
400 → 600 → 800 → 1200 grit wet-sand. Each step removes the previous scratches. Skip one and swirl marks glare like highway headlights.
Flame polishing vs buffing wheels
Flame passes fast and glossy but risks surface crazing if overheated. Buffing wheels give a warmer glow, safer for thick edges. I use flame on 3 mm lids, wheel on 12 mm bases.
Safety precautions (ventilation, heat control)
Acrylic fumes smell sweet yet irritate lungs. I keep extraction fans on full and a laser thermometer in hand—edges stay below 90 °C.
Gleaming edges beg for strong, clear bonds—on to assembly.
Bonding & Assembly
Solvent cement types (methylene chloride, SCIGRIP, UV)
- MC thin cement: fast wicking, crystal-clear seams.
- SCIGRIP 40: thick, gap-filling, slower cure.
- UV glue: great for small joints you can flood with light.
Capillary vs surface bonding techniques
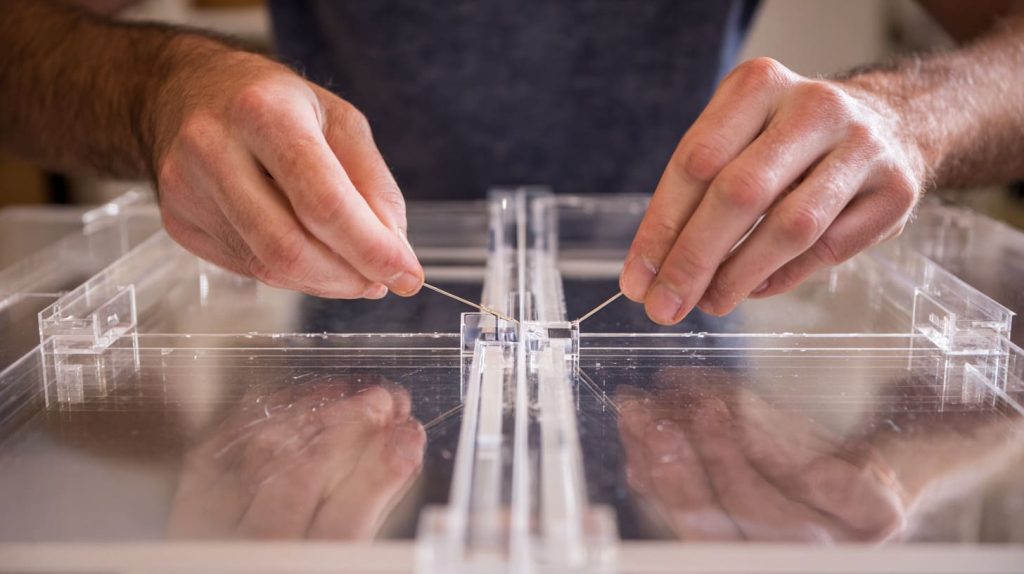
Capillary relies on gravity: place panels, drag a needle applicator along the seam, let solvent wick. Surface bonding coats both faces before mating—stronger but shows bubbles if rushed.
Clamping, fixturing and curing times
I use simple right-angle jigs with soft pads. Solvent sets in 5 minutes, cures in 24 hours. Rushing this step creates ghost lines Jacky spots immediately.
Minimizing bubbles & crazing: edge quality, pressure, humidity
Deburr edges, apply just enough solvent to wet, and keep humidity under 60 %. In Guangdong’s rainy season, a dehumidifier runs non-stop in our bonding room.
Once the box stands on its own, we can play with surfaces and branding.
Surface Finishing & Decoration

Edge beveling, chamfers, and frosted finishes
A 45° chamfer feels premium under fingertips. Frosted laser etch hides fingerprints and diffuses LED light strips along the base.
Printing & branding options (UV-print, screen print, engraving)
UV direct print pops vibrant logos within minutes. Screen print still rules for spot colors over 1,000 units. Deep laser engraving pairs well with color-fill lacquer for luxury runs.
Anti-scratch & anti-fingerprint coatings
I tested a nano-silica topcoat by wiping keys across it—five passes, no marks. For retail fixtures, that extra layer saves weekly buffing.
Finishing shines, but we trust only what we can measure—time to inspect.
Quality Inspection & Testing
Visual clarity & joint transparency checks
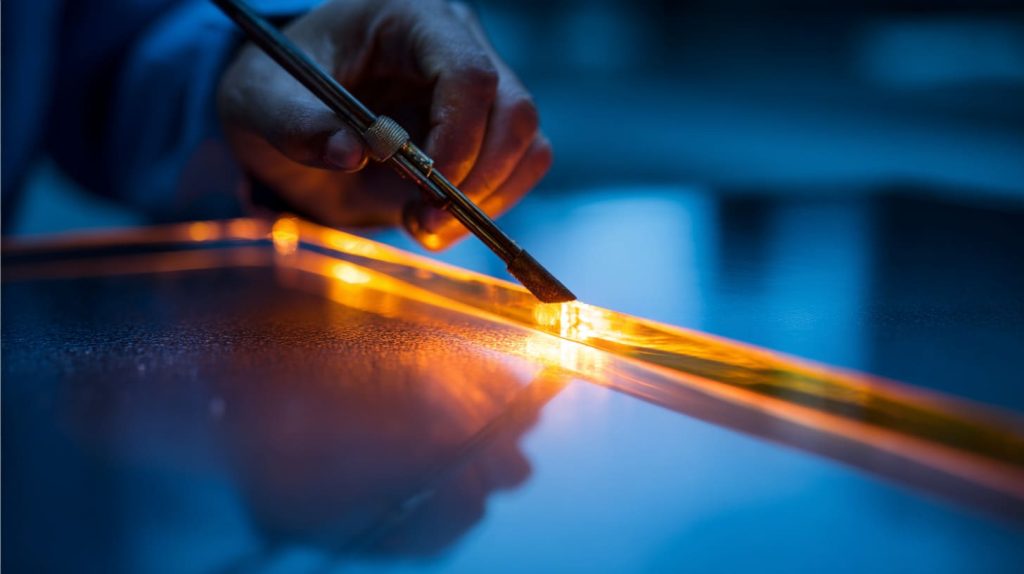
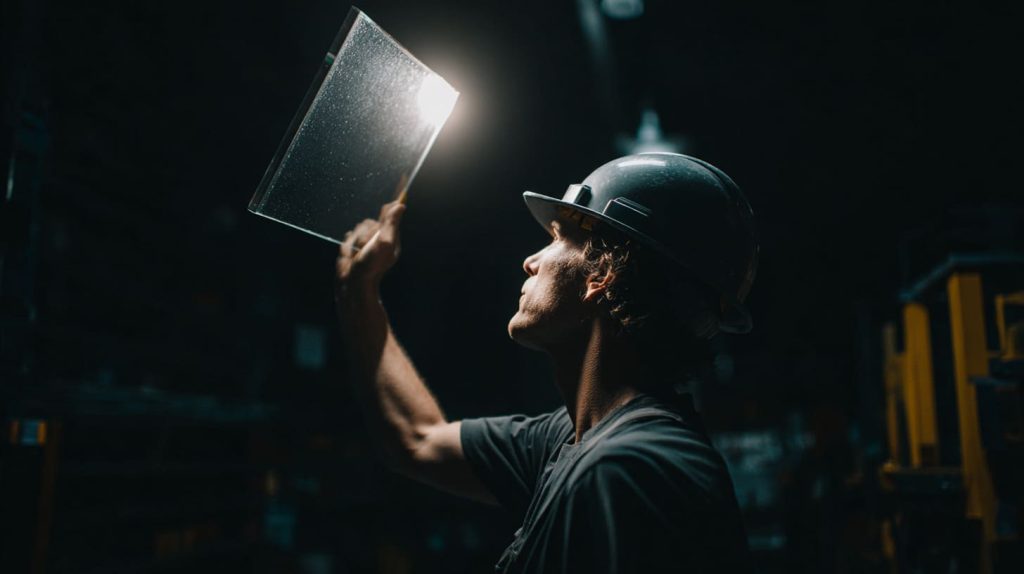
I hold seams against a black card; bubbles stand out like stars. Anything over 0.5 mm goes back to re-polish.
Load & impact tests for functional boxes
Drop a 2 kg steel ball from 30 cm—no cracks, project passes. My intern once flinched at the first drop; now she grins when it bounces.
Dimensional verification tools (calipers, go/no-go gauges)
We allow ± 0.2 mm on small boxes, ± 0.5 mm on meter-long cases. Every tenth unit gets full inspection.
If it passes QC, the journey isn’t over—shipping can still break hearts.
Packaging & Shipping Considerations
Protective films & corner guards
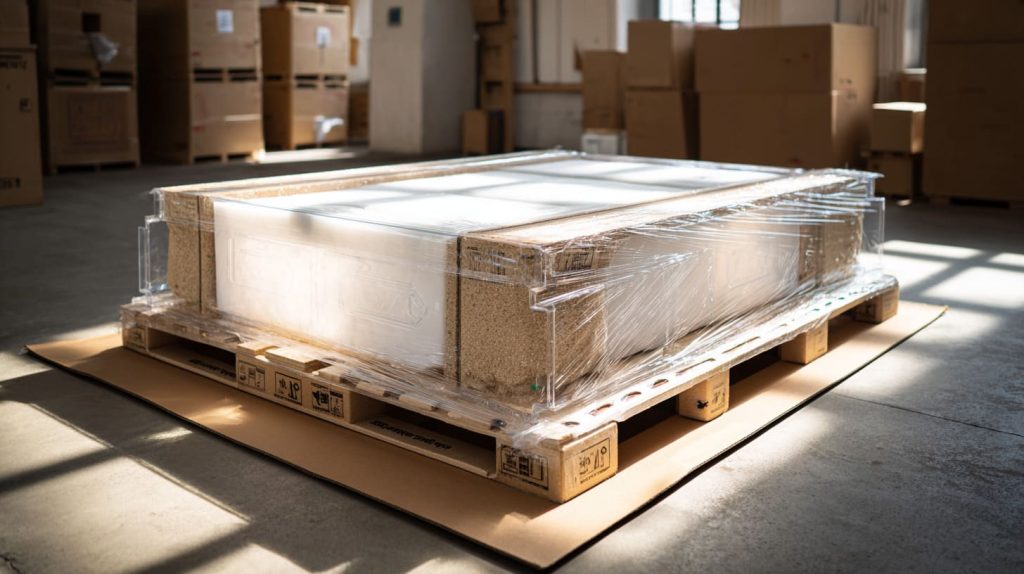
Keep the factory film on until installation day. Add EVA corner guards for wall thickness ≥ 6 mm.
Cushioning and double-boxing techniques for transit
I place corner-guarded boxes in foam slots, then seal inside a corrugated sleeve. For air freight, a second outer carton absorbs shock.
Moisture and temperature control
Silica gel packs fight condensation during Pacific crossings. A data logger once showed 45 °C inside a container; our boxes were fine, thanks to a ventilated pallet design.
When the boxes land safely, maintenance keeps them clear for years.
Maintenance & Cleaning Guidelines for End Users
Compatible cleaners (mild soap, IPA)
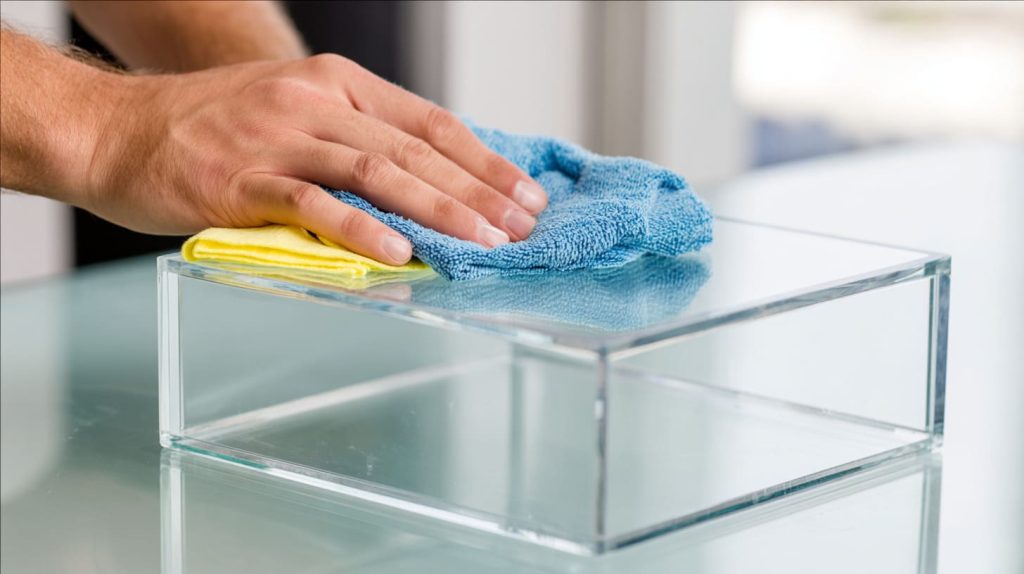
I hand every client a card: “Use mild dish soap or 70 % isopropyl alcohol. Skip ammonia.” Windex crazes edges in weeks—seen it, regretted it.
Avoiding crazing from harsh chemicals
Common offenders: acetone, benzene, strong glass cleaners. A quick patch test on a hidden area saves a whole batch of display cases.
A clean box today is scrap tomorrow if we ignore sustainability, so let’s tackle waste.
Sustainability & Waste Reduction
Scrap utilization & recycling channels
Offcuts under 100 × 100 mm become sample swatches. Larger scraps return to an MMA recycler near Shenzhen, closing the loop.
Designing for disassembly
Threaded inserts and modular panels let users swap damaged sides instead of tossing the whole box. Simple idea, big landfill impact.
Even experts trip up—here are the common pitfalls I still see.
Common Mistakes & Troubleshooting Tips
Over-heating during cut leading to melt
Symptom: gummy edge, smell of burnt sugar. Fix: slow feed rate, add air blast.
Cloudy glue joints and how to fix them
Cause: dust or too much solvent. Strip joint with hot knife, re-polish, re-bond.
Warp prevention for large panels
Store sheets flat, acclimate to workshop temp for 24 hours, add perimeter frame if span > 500 mm.
Avoiding these traps is easier when you have a partner who’s been there—enter Feilong Acrylic.
Feilong Acrylic Advantage
Custom OEM/ODM capabilities
At Feilong, I sit down with designers like Jacky, sketch tweaks on the spot, and prototype within 48 hours. No catalog, because every project writes its own.
ISO-certified quality and rapid lead times
Five production lines, 150 craftsmen, and an ISO 9001 backbone let us hit 15-day turnarounds without gambling on quality.
Collaboration workflow with designers like Jacky
We share CADs, run small-batch tests, film every QC step, and keep chats open—so there’s no “Made in China” mystery, just clear progress.
All roads lead here: a box that works, looks sharp, and tells a story worth telling.
Conclusion

Key takeaways for building durable, crystal-clear acrylic boxes
- Start with purpose and environment.
- Choose cast sheets for premium clarity.
- Respect kerf, polish edges, and bond with care.
- Inspect, pack, and guide end users on cleaning.
- Design with sustainability in mind.
Invitation to consult Feilong Acrylic for tailored solutions
I’ve cracked, glued, and polished more acrylic than I’d care to admit. If you want those lessons baked into your next project, drop me a line at flacrylic.com. Let’s build something clear—and keep it that way.




