Skip to content
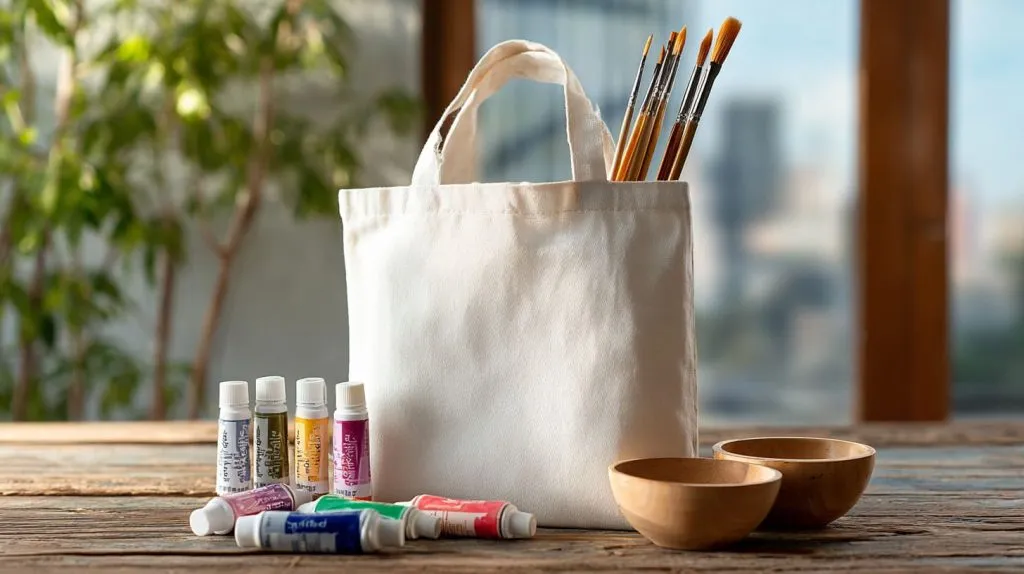
Sometimes creativity strikes in the middle of a cleaning day. I was clearing out my drawers when I found an old cotton tote—plain white, barely used, and honestly kind of boring. Instead of tossing it, I started wondering if I could give it a second life. I didn’t have fabric dye on hand, but I did have a drawer full of acrylic paints.
That small moment turned into an unexpectedly fun experiment. And spoiler alert—it worked better than I imagined.
Acrylic paint isn’t a traditional fabric dye, but with a few adjustments, it can absolutely transform fabric. Whether you're into custom tees, home decor updates, or just repurposing what you already own, this guide is here to show you how.
1. Understanding the Basics
Before jumping into the how, I think it's important to understand the what. Because dyeing fabric with acrylic isn’t the same as painting it.
What Does It Mean to Dye With Acrylic Paint
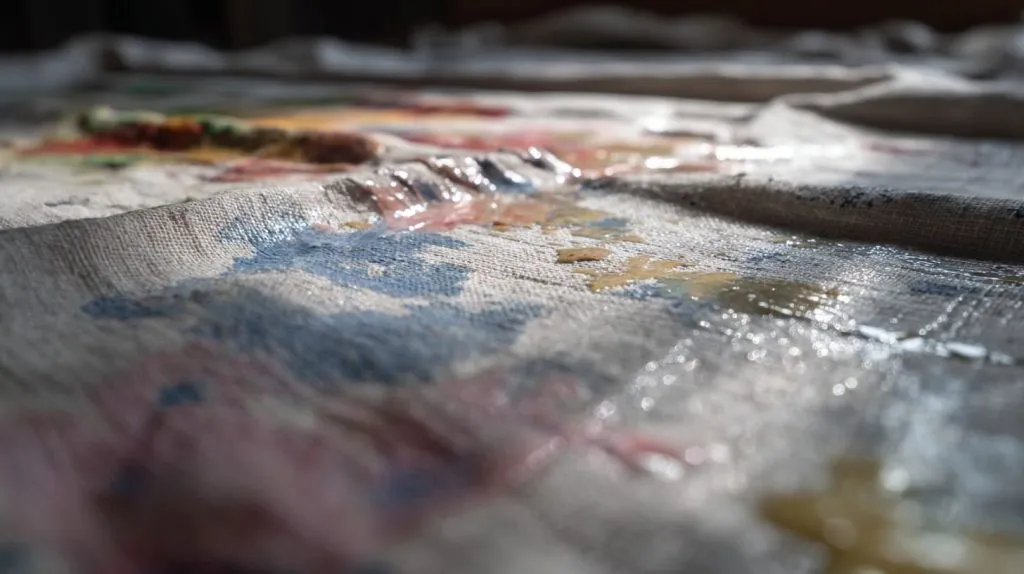
When I first tried this, I thought it would be like dipping a T-shirt into colored water. Not quite. Acrylic paint is a pigment suspended in polymer emulsion—it sits on top of fibers, unlike traditional dyes that soak in.
But with water or a textile medium, we can dilute that paint into something that acts like a dye. It won’t absorb as deep, but it’ll tint the surface and still feel like fabric. That’s key.
Pros and Cons of Using Acrylic Paint as Fabric Dye
Let’s break it down simply:
| Pros | Cons |
|---|---|
| Easy to find in stores | May leave fabric stiff |
| Huge range of colors | Needs heat-setting to stay permanent |
| Custom color mixing is simple | Can flake or fade without medium |
| Works on most natural fabrics | Doesn’t work well on synthetics |
Still interested? Let’s gather what you’ll need.
2. Materials Needed
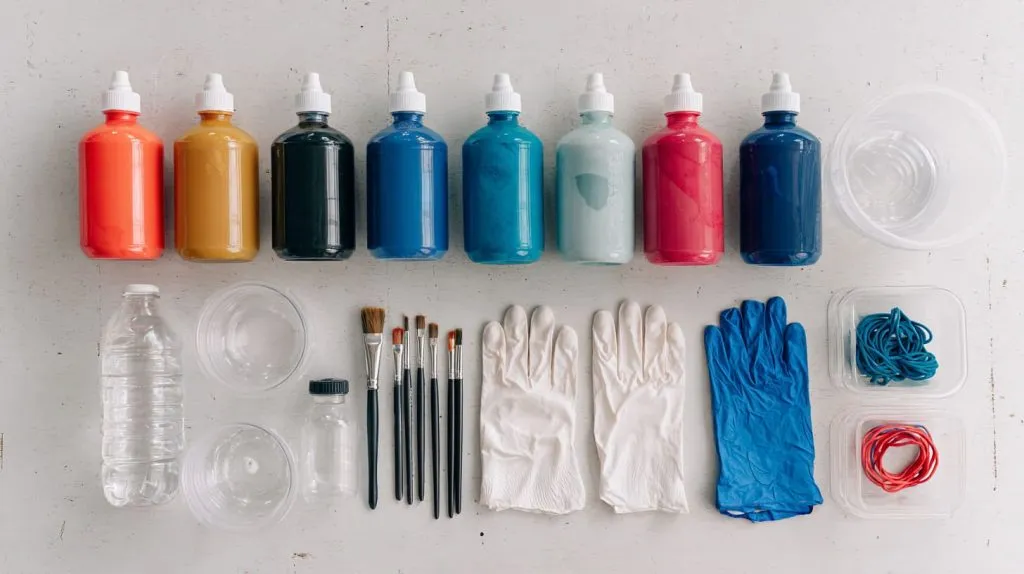
I’ve messed up enough shirts to tell you—gather everything first. Stopping halfway with paint-covered gloves is no fun.
Essential Supplies
Here’s your starting lineup:
- Acrylic paints (choose bold, water-based ones)
- Fabric medium (trust me, this makes a difference)
- Water (for thinning the paint)
- Plastic cups or mixing bowls
- Brushes or spray bottles
- Gloves, apron, and surface protection
- Rubber bands (for tie-dye styles)
Optional Add-ons for Better Results
Some extras can take your project from “OK” to “Wow”:
| Add-on | Why Use It |
|---|---|
| Salt/Vinegar | Can help with setting pigments |
| Iron/Dryer | Required for heat-setting paint |
| Tubs/Buckets | Useful for full immersion methods |
| Old T-shirts | Always test before ruining good stuff |
Once your materials are in place, you’ll need to prep your fabric. That’s where most beginners slip up.
3. Preparing Fabric for Dyeing
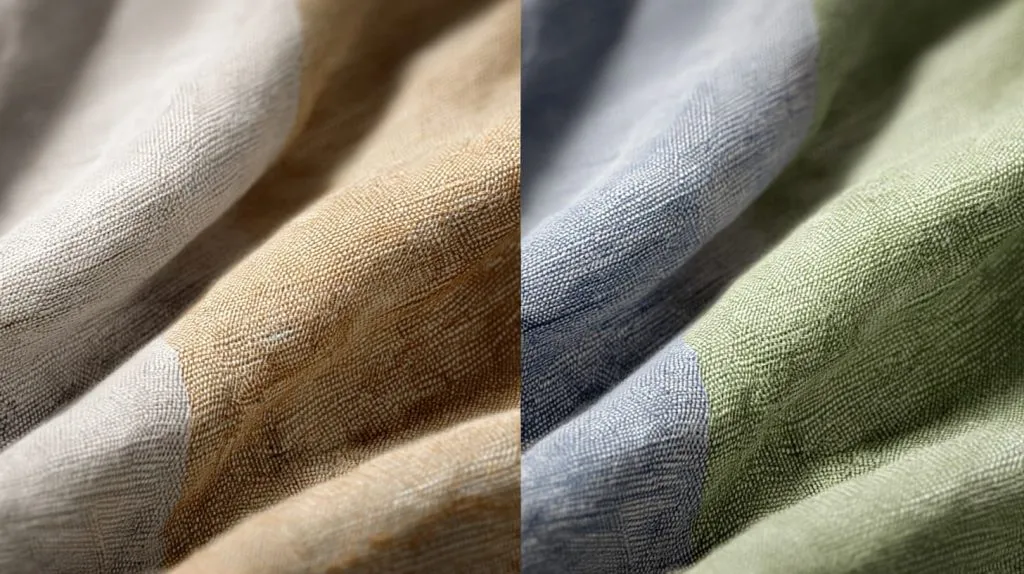
One time I dyed a cotton tote bag without washing it first. The color clung in weird streaks. Lesson learned: always prep.
Choosing the Right Fabric
Not all fabrics welcome acrylic paint equally. Here’s a quick cheat sheet:
| Fabric Type | Result with Acrylic Paint |
|---|---|
| 100% Cotton/Linen | Best absorption, soft finish |
| Cotton-Poly Blend | Okay results, some stiffness |
| Polyester/Nylon | Poor results, patchy and brittle |
Stick with natural fibers if you want a better chance of success.
Pre-Washing and Starching Considerations
Pre-washing removes invisible barriers—like sizing and oils—that block absorption. Use a gentle detergent, skip the fabric softener, and let it dry completely before you start.
4. Preparing Your Acrylic Dye Mix
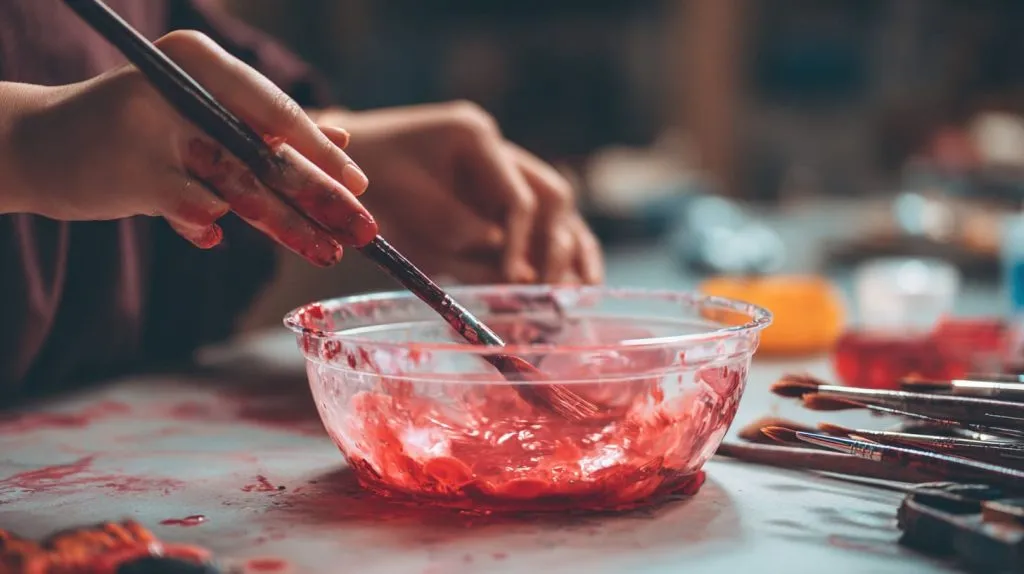
Now the fun part: turning paint into dye.
Making the Dye Bath
If you're going for an all-over dye (like soft tie-dye), mix acrylic paint and water in a 1:2 ratio. Add a few drops of fabric medium to prevent crunchiness.
Let the fabric soak in this mix for about 10–30 minutes depending on how bold you want the color.
Creating a Spray or Brushable Solution
Want to control the design? Then mix the same 1:2 ratio into a spray bottle or bowl.
- For gradients: hold the bottle further away
- For stencils: use a sponge brush
- For deep saturation: layer and let dry between coats
The key here is layering lightly. Better to do multiple passes than one soaking flood.
5. Techniques for Dyeing Fabric with Acrylic Paint
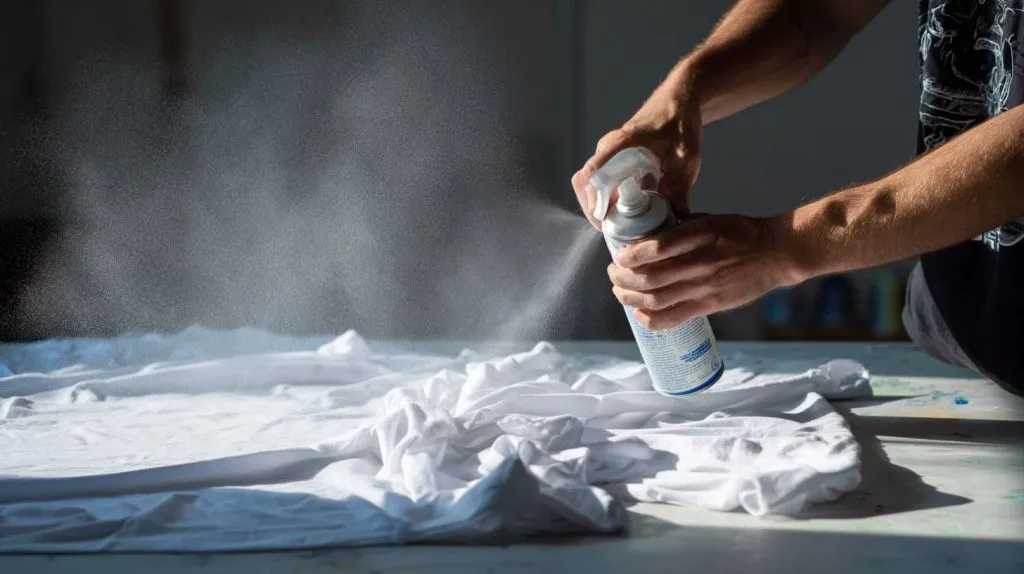
There’s no single way to do this. Here are four that I’ve used—each gives a different vibe.
Immersion Dyeing Method
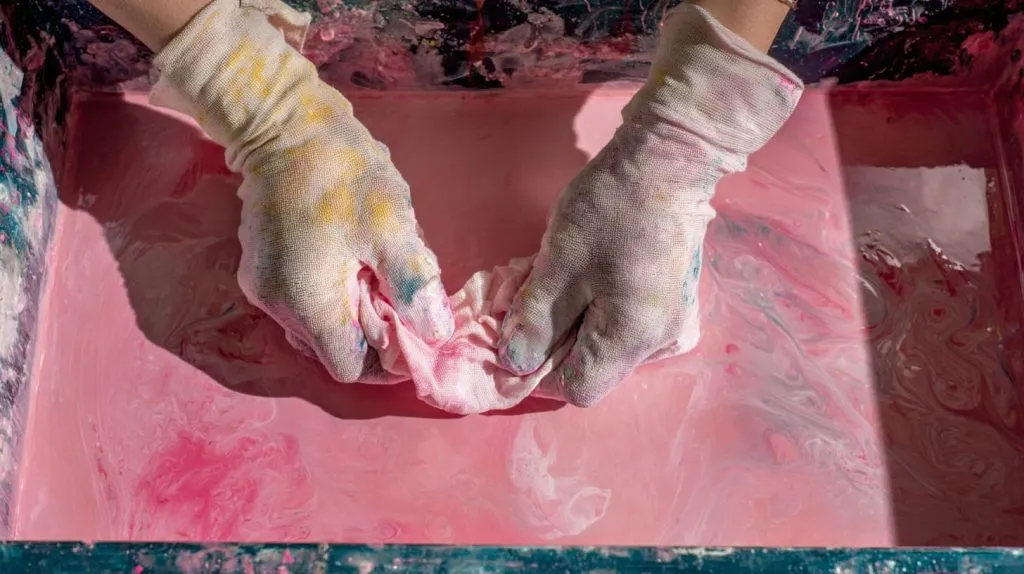
This one feels closest to traditional dyeing. Dunk your fabric into a paint-water mix. Swirl it gently. Squeeze out air bubbles. Let it sit until you like the color.
Then take it out, gently wring, and lay flat to dry. Be patient—don’t rush to rinse.
Spray Application Method
For that soft airbrushed look. Works great on shirts, tote bags, or even curtains. Use smooth, even pressure. Shake the bottle often to prevent clogs.
Add layers if needed. Just let the previous one dry.
Brush or Stencil Details
If you want designs or bold color zones, brushes give control. I’ve done this on apron pockets and pillow corners.
Cut stencils from cardboard or freezer paper. Press firmly. Dab instead of brushing to prevent bleeding.
Tie-Dye with Acrylics
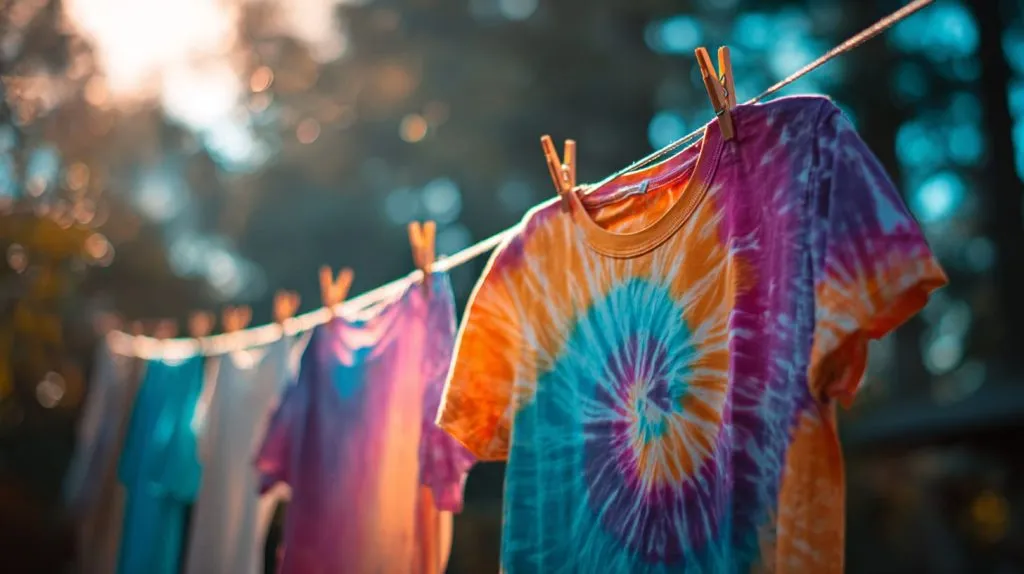
Old-school tie-dye meets acrylics. Twist the fabric. Secure with bands. Then spray or brush your dye mix into sections.
Here’s a tip: leave some areas white. The contrast makes it pop.
6. Setting the Color
You’ve dyed your piece. It’s beautiful. But it won’t last unless you set it.
Heat Setting to Make Color Permanent
Once your fabric is fully dry (I mean bone dry), use one of the following:
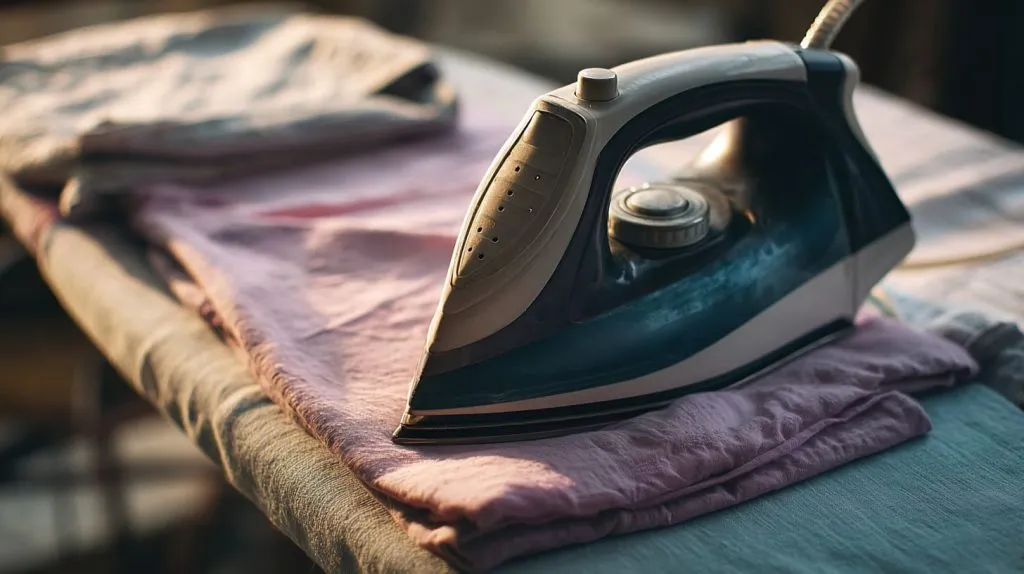
- Iron: Medium heat, no steam, press for 3–5 minutes
- Dryer: Tumble on high for 30 minutes
- Oven (carefully): Not recommended, but doable for small items at low heat
Washing After Dyeing
First wash should always be cold and gentle. I usually wash it separately, just in case. Expect a little color bleed—but it shouldn’t be much if you heat-set right.
And yes, it will feel a bit stiffer than factory-dyed fabric. That’s normal.
7. Tips for Better Results and Troubleshooting
Every mistake I’ve made taught me something. So here’s a few things I wish I knew sooner.
Avoiding Fabric Stiffness
- Use fabric medium—seriously, don’t skip it
- Don’t go heavy with the paint
- After heat-setting, tumble dry with a damp towel
Achieving Even Color
Streaks happen when fabric dries too fast or you use too little liquid. Always keep the fabric damp while applying, and move quickly.
Preventing Bleeding or Fading
Set your colors well. Don’t skip that iron. And do a colorfast test:
- Dab the dyed fabric with a wet cloth
- If color transfers, you need to set it longer
8. Creative Ideas & Projects
By now, your brain’s probably swimming with ideas. Let me give you a few more.
DIY T‑Shirts and Clothing
Let your kids paint their own shirts. Or stencil your logo onto a uniform. This works beautifully for short-term wear or fun events.
Home Décor (Curtains, Pillowcases)
Acrylics love cotton curtains. I’ve created ombre-effect drapes for less than $10 using leftover paint.
Blended and Ombre Effects
Start light and go darker. Use a sponge or a wide brush. Move slowly across the fabric.
| Technique | Best Use | Tool Needed |
|---|---|---|
| Ombre Dip | Curtains, scarves | Large tub |
| Spray Fade | T-shirts, pillowcases | Spray bottle |
| Block Stencil | Tote bags, aprons | Sponge brush |
Conclusion

So, can you dye fabric with acrylic paint? Definitely. Just not in the way you might expect.
It takes a little prep, a few key materials, and some patience—but the results can be stunning. And personal.
Whether you’re refreshing old linens or creating something new, acrylic paint gives you full control. So grab that brush—or spray bottle—and give your fabric a story worth telling.