 Skip to content
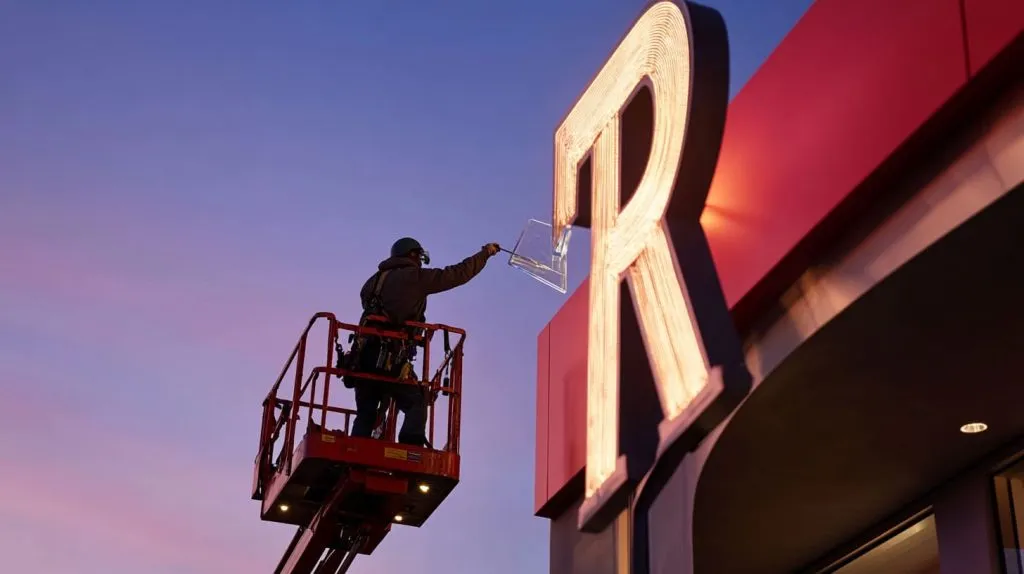
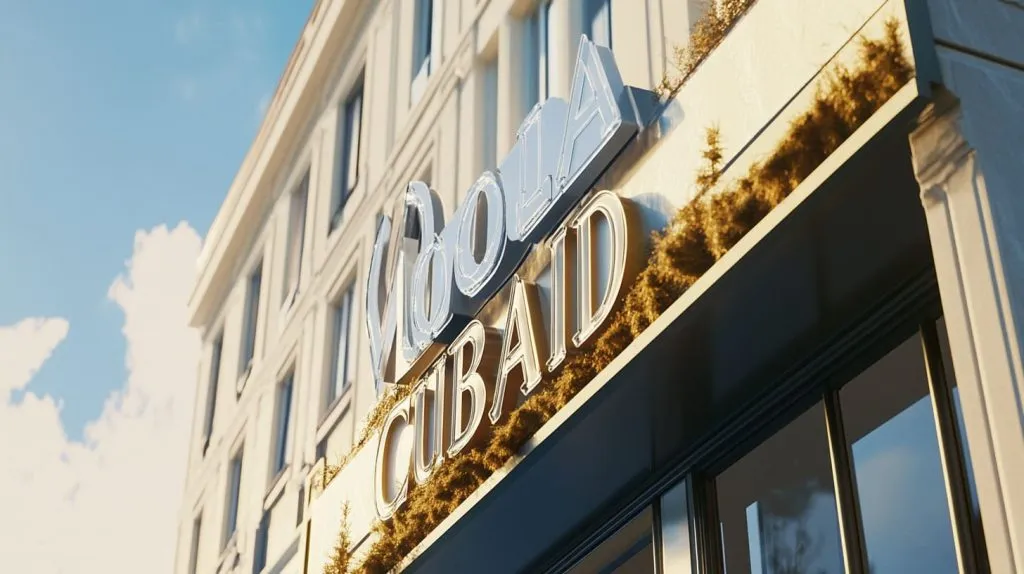
Last month I perched on a swaying cherry picker, wind clawing at my coat, trying to pin a single acrylic “R” to a shopping-mall façade. The letter caught the sunset like molten glass. My drill bit snagged. For a second I imagined the “R” tumbling three floors onto rush-hour shoppers. That scare pushed me to map every safe, sane way to mount acrylic letters—indoors and out. In the pages that follow I’ll share what I learned so you can pick the right route long before you rent a lift.
Factors to Consider Before Choosing an Installation Method
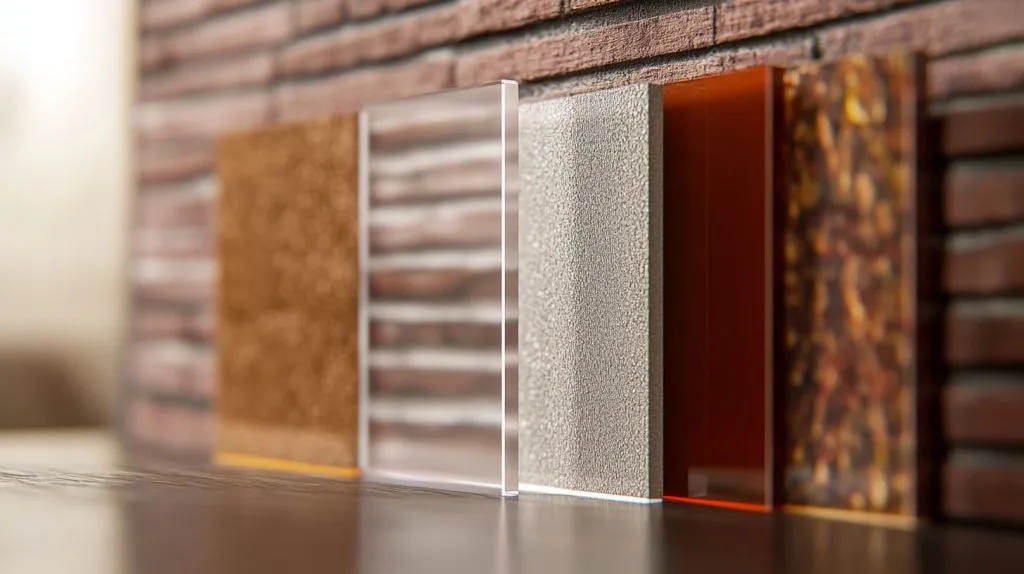
Letter size & thickness vs. hardware load limits
I start with a kitchen-scale test. A 10 mm thick, 200 mm tall letter weighs about 180 g. Multiply weight by wind load if it hangs outside. Small? Tape works. Large? It begs for threaded studs.
Mounting surface type (drywall, brick, glass, metal, ACM panels)
| Surface | Fastener that grips | Notes |
|---|---|---|
| Drywall | Plastic anchors + studs | Pre-drill 8 mm holes |
| Brick | Sleeve anchors | Seal edges against moisture |
| Glass | VHB tape + silicone | Use primer for tape |
| Metal | Self-tapping screws | Check galvanic corrosion |
| ACM | Rivnuts + rails | Prevent panel oil-canning |
Interior vs. exterior environment & weather exposure
Rain, UV, freeze-thaw cycles chew on adhesives. I budget 30 % more install time outdoors.
Desired visual effect (flush, standoff, floating, illuminated)
Flush is clean. Standoffs cast shadows. LED backs glow like neon.
Budget, maintenance cycle & future removability
Tape is cheap, but removing it from painted gypsum can skin the wall. Studs cost more, yet unscrew in minutes.
Wind shakes the scaffold. I pocket my surface notes and move on to the nuts-and-bolts.
Standard Installation Options for Acrylic Letters
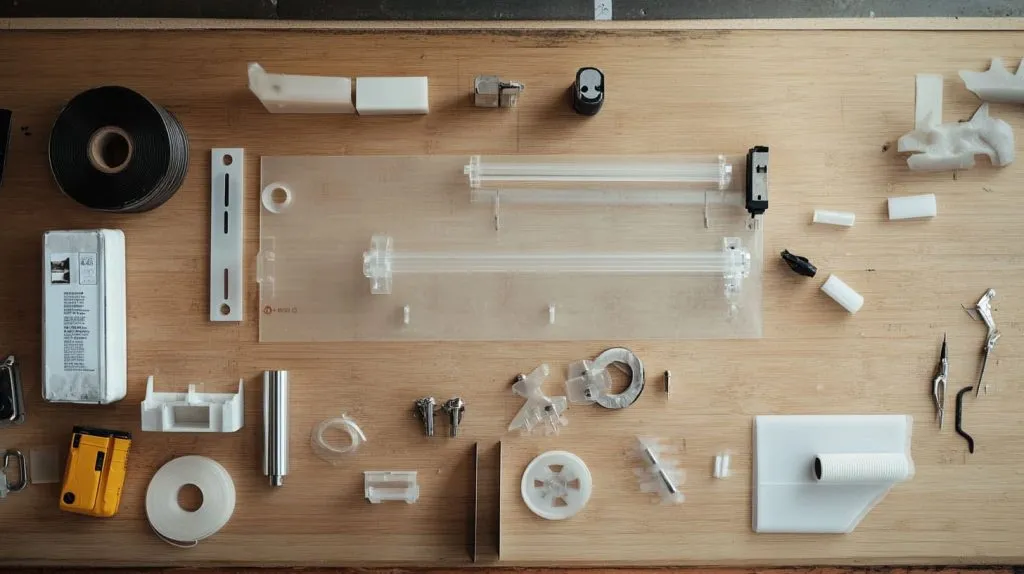
Plain/“no-hardware” mount with VHB tape or construction silicone
Five strips of VHB give 80 kg / m² shear strength. Press hard for twenty seconds. Done.
Flush stud mount (threaded studs bonded to blocks)
I sink M6 stainless studs 25 mm deep into the letter backs with epoxy. Holes in the wall match the pattern.
Standoff stud mount with pads or spacers (¼″–1″ projection)
Plastic spacers float the letters. They throw shadows that mimic halo lighting.
Combination pad-and-stud mount for rough or uneven walls
Studs carry the load; silicone pads fill brick gaps. I sleep better knowing both hold.
Double-faced foam tape mount for temporary or light-duty installs
Useful for trade-show booths that vanish after three days.
A museum curator once asked if letters could “hover” above antique plaster without scars. That challenge led me deeper into specialty rigs.
Advanced & Specialty Mounting Systems
Top or bottom stud mounts for freestanding letters on ledges
I drive studs upward from a shelf. Gravity keeps the letters honest.
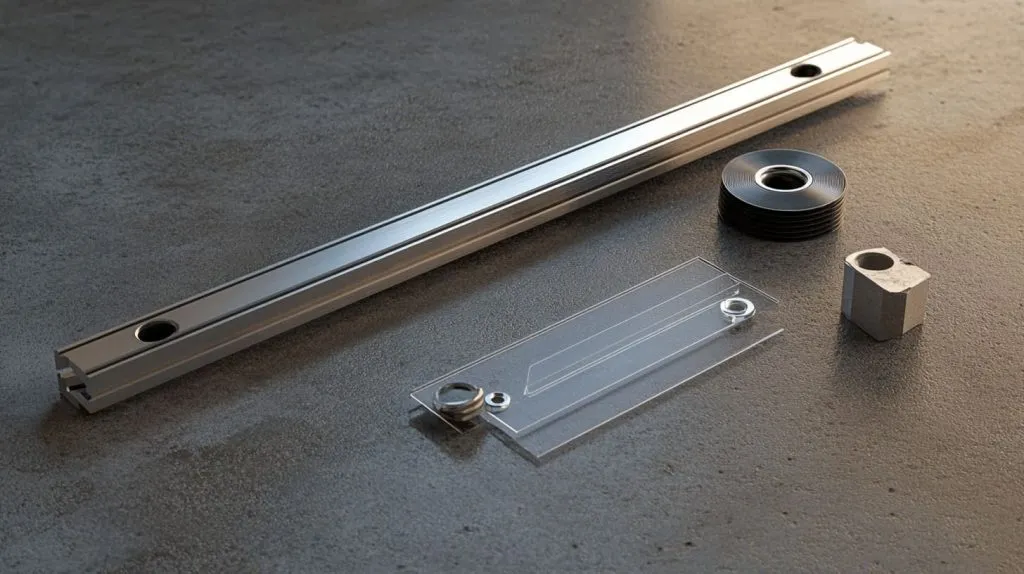
Rail or bar mounts for corrugated, curved & ACM façades
Rails spread load across flimsy sheets. They also square up wavy siding.
Raceway or wire-way mounts for LED-backlit acrylic letters
A hollow aluminum tray hides drivers and keeps electricians happy.
Magnetic or changeable panel mounts for retail displays
Neodymium disks snap letters on and off for seasonal promos.
Special mounts solve puzzles, but no puzzle moves without the right tools in hand.
Tools, Templates & Site Preparation
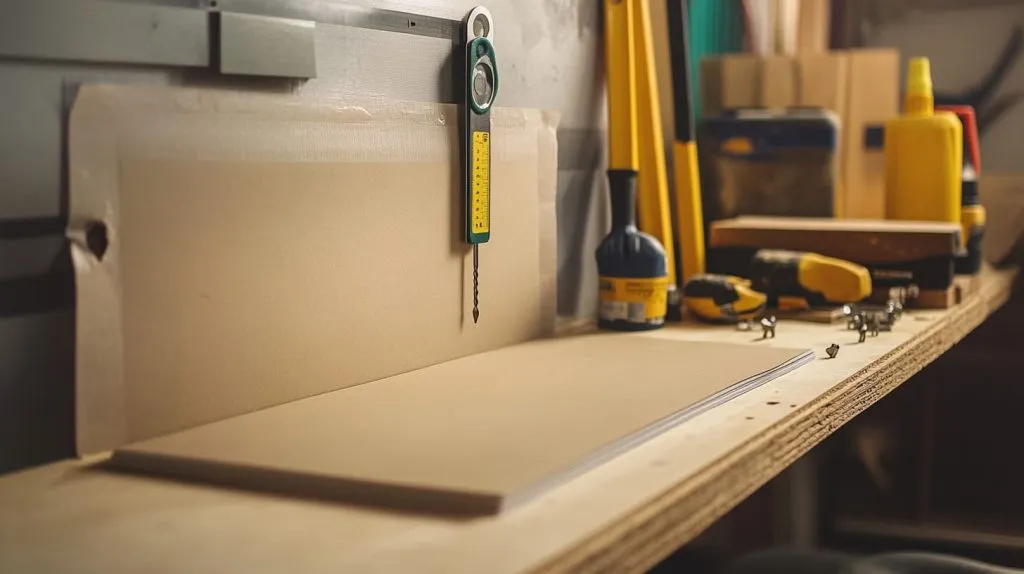
Creating and positioning paper drilling patterns
A full-size plotter template saves my bacon. I tape it, level it, then punch holes.
Drills, bits & wall anchors matched to substrate
| Substrate | Bit Type | Anchor |
|---|---|---|
| Concrete | SDS masonry | Sleeve |
| Gypsum | Brad-point | Toggle |
| Steel | Cobalt | Self-tapper |
Adhesive and tape selection: silicone, urethane, VHB grades
Red-liner VHB grips metal. Clear VHB hides behind glass.
Cleaning, degreasing & surface conditioning for bond strength
I scrub with isopropyl, not acetone—acetone fogs acrylic.
Personal protective equipment and job-site safety checks
Gloves, goggles, ear defenders. My fingers and eyes pay the mortgage.
Gear prepped, I walk you step by step from box to wall.
Step-by-Step Installation Guides
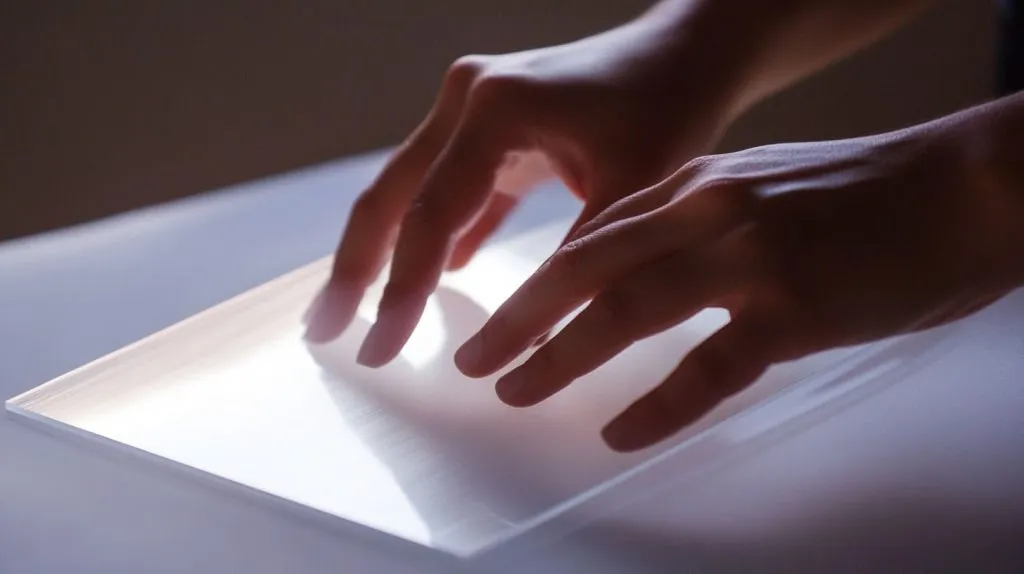
Adhesive/tape mounting procedure in five steps
- Wipe the wall.
- Prime with adhesion promoter.
- Align template.
- Press letter, 5 kg force.
- Peel template away.
Flush stud installation with alignment tips
Thread a nut on each stud as a spacer, then tweak depth until letters kiss the wall.
Standoff stud installation and leveling with spacers
Bubble level across the tops. Shim if daylight peeks.
Rail mount installation on uneven or corrugated walls
Shim behind rail until a laser line shows no bow.
Combination mount workflow for mixed substrates
Split template: half tape, half studs. Never trust drywall beside brick.
Letters up, I grab a coffee but quality control still whispers in my ear.
Quality Assurance & Post-Install Maintenance
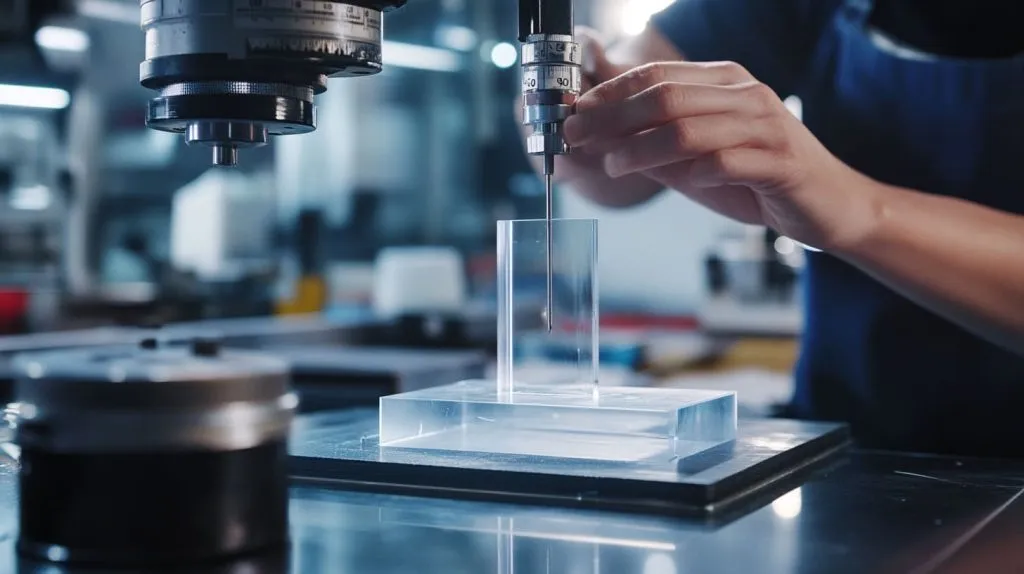
Alignment verification & pull-test best practices
A 5 kg spring scale tests each letter. Anything below 3 kg pull pops for rework.
Sealants for moisture protection on exterior installs
Clear neutral-cure silicone rings each stud.
Cleaning methods that avoid crazing or chemical hazing
Use mild soap and microfiber. Skip Windex; ammonia cracks edges.
Scheduled inspections and torque checks for hardware
Every six months I snug nuts by a quarter turn. Cheap insurance.
Even perfect installs hiccup. Here is how I chase gremlins.
Troubleshooting Common Issues
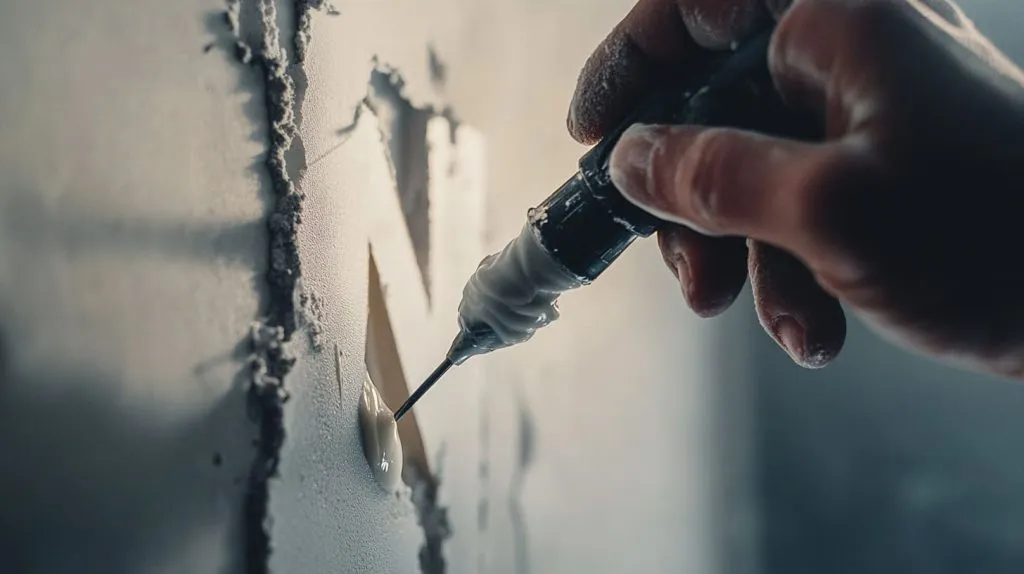
Correcting mis-drilled holes or template misalignment
Slide letter, mark new hole, inject epoxy dowel, re-drill. No one sees the patch.
Fixing loose or spinning studs after cure-time
Backfill with two-part acrylic adhesive. It bonds like bone.
Dealing with substrate failure (crumbling brick, delaminating ACM)
Bridge the gap with a rail. Spread the stress wide.
Preventing UV-induced adhesive degradation
Paint a thin bead of silicone over tape edges to block sunlight.
Conclusion
I still replay that rooftop scare. Today, though, the letters I mount stay put—wind, rain, teenage skateboarders be damned. Pick the method that fits your wall, your weather, your wallet. Then sleep as soundly as your signage.




