Skip to content
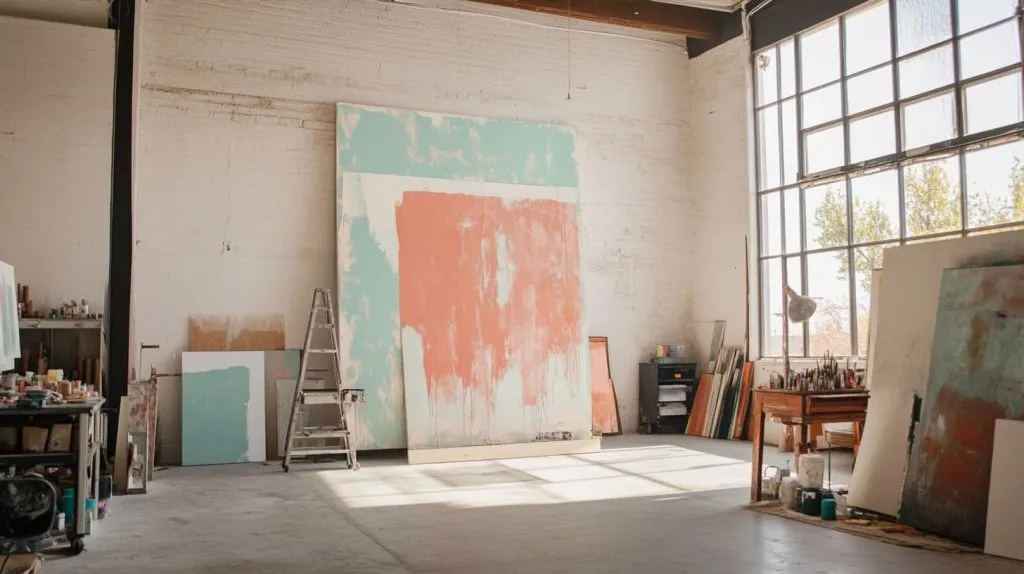
A few weeks ago, I was helping my cousin set up her first art studio. She’d just moved into an old rental with high ceilings and patchy white walls. One of her early projects—a beautiful burst of coral and mint acrylic—accidentally made it onto the wall instead of the canvas. By the time we noticed, it had dried into a stubborn, glossy streak. We laughed at first, but then came the silence: "How do I get this off without ruining the paint underneath?
What makes acrylic paint tricky to remove?
Acrylic bonds fast because water inside it evaporates in minutes. Once dry, the pigment clings tight, almost like plastic film.
Why timely removal matters
Fresh smears wipe off with a wet rag. Wait a day, and you might need solvents or sandpaper.
Understanding wall types and paint interactions
Drywall soaks liquid and dents easily. Brick shrugs off mild scrubbing. Plaster sits somewhere between. Each one demands a slightly different touch.
Stick around—next I’ll show you how to read your wall before you grab a scraper.
Assess the Paint and Surface Type
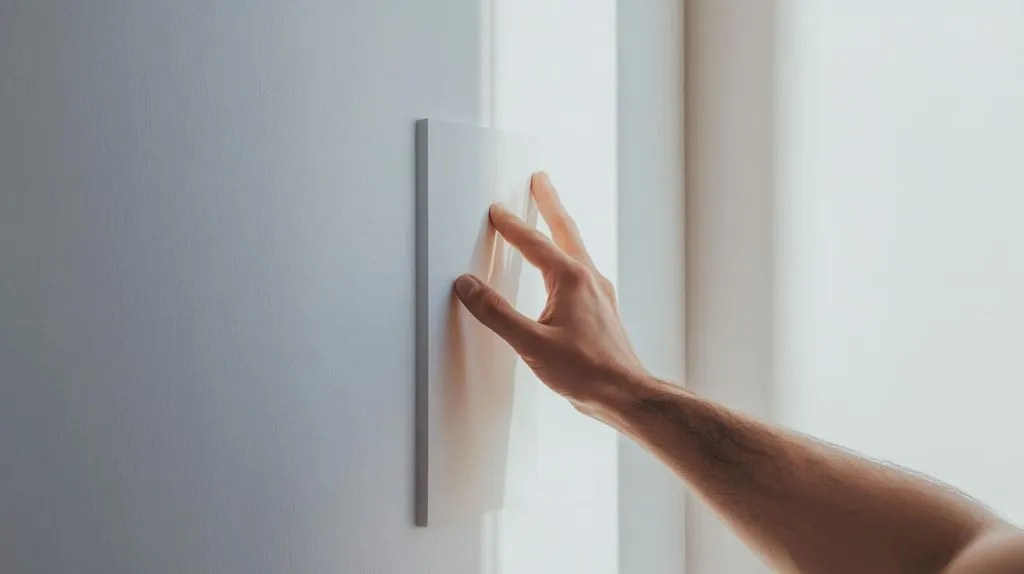
Identify the wall surface (drywall, plaster, brick, etc.)
Knock the wall. A hollow, papery thud means drywall. A sharp ring hints at plaster. Brick feels rough and cold.
Determine the type and thickness of acrylic paint
Run a finger over the stain. A thin smear feels flat; thick drips create ridges you can catch with a nail.
Check for previous wall coatings or sealants
Glossy topcoats resist water and help paint peel off more easily. Matte walls soak it up and need gentler work.
| Wall Type | Absorption | Recommended First Try |
|---|---|---|
| Drywall | High | Warm soapy water |
| Plaster | Medium | Rubbing alcohol |
| Brick | Low | Vinegar paste |
A quick read of your wall sets the stage. Let’s gear up before we attack the mess.
Preparation Before Removal
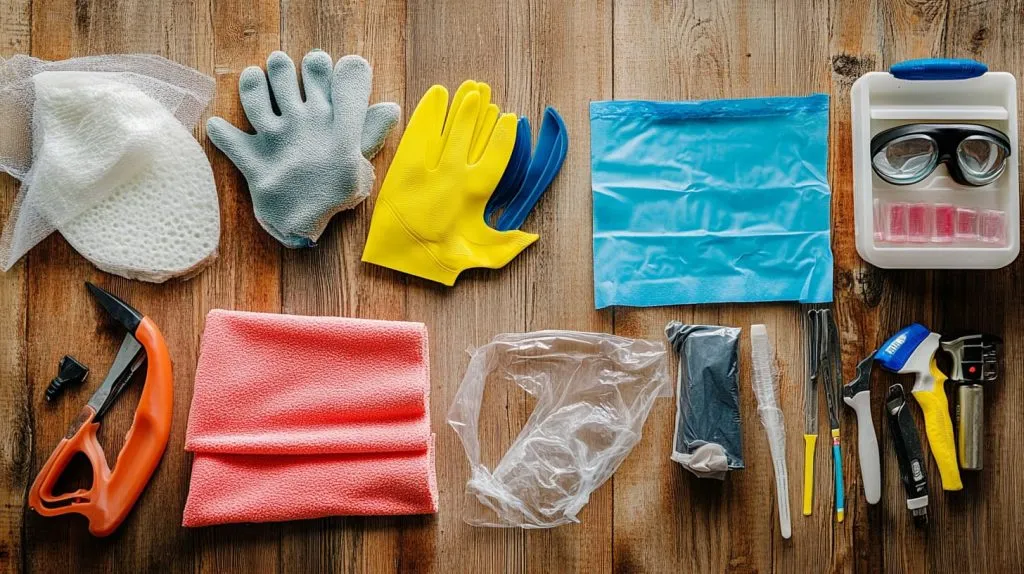
Gather tools and safety gear
| Tool / Gear | Why you need it |
|---|---|
| Soft sponge | Gentle wiping |
| Plastic scraper | Lifts paint without gouging |
| Gloves & goggles | Protect skin and eyes |
| Drop cloth | Saves floors and baseboards |
Test a small patch area first
Pick a hidden corner, apply your chosen method, wait five minutes, and check for color lift.
Protect surrounding areas and furniture
Drape plastic sheets, tape trim edges, and move furniture two feet back.
Now we’re safe and set. Time to choose your weapon.
Methods to Remove Dried Acrylic Paint
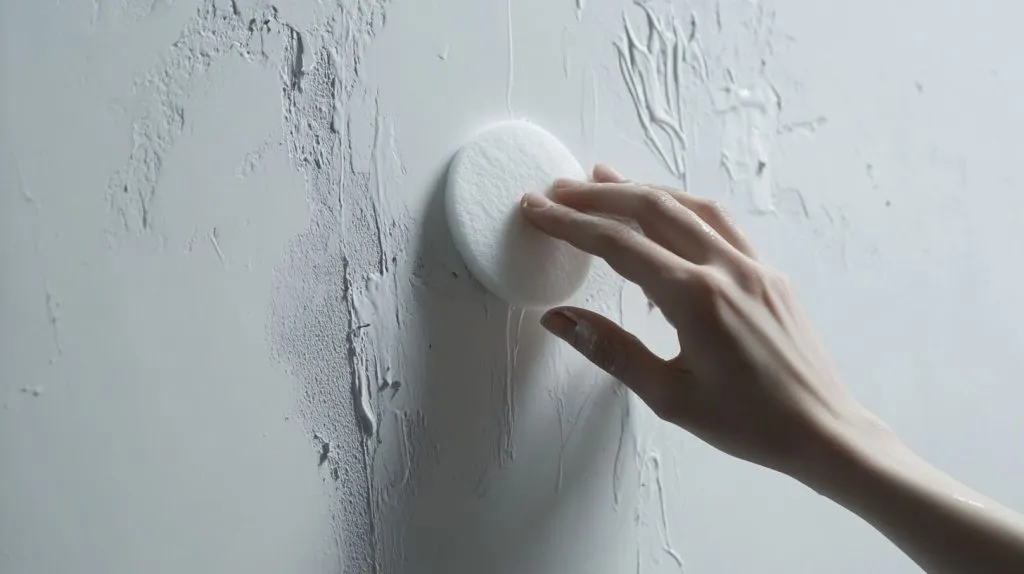
Below is a quick comparison before we dive deep:
| Method | Best For | Key Caution |
|---|---|---|
| Warm Soapy Water | Light smears | May need repeats |
| Isopropyl Alcohol | Mid-level stains | Ventilate well |
| Vinegar + Baking Soda | Eco-friendly | Slower action |
| Commercial Remover | Heavy buildup | Follow label |
| Acetone | Small thick spots | Can strip wall paint |
| Scraping & Sanding | Last resort | Repairs likely |
1. Warm Soapy Water (For Light Stains)
- When to use: Thin, fresh marks.
- How to apply: Dip sponge, wring until damp, rub circles. Rinse and dab dry.
2. Rubbing Alcohol or Isopropyl Alcohol
- Effective concentration range (70–90%)
- Application steps and safety precautions
- Soak cotton pad in isopropyl alcohol.
- Press for 30 seconds.
- Wipe off loosened paint.
- Rinse with clean water.
3. Vinegar and Baking Soda
- Natural solution method
- Mix equal parts white vinegar and warm water, add baking soda until paste forms.
- Best for sensitive surfaces
- Spread paste, wait ten minutes, wipe with damp cloth.
4. Commercial Acrylic Paint Removers
- Choosing a product suitable for indoor walls
- Look for low-odor, water-based labels like eco-safe paint remover.
- Tips for safe application and ventilation
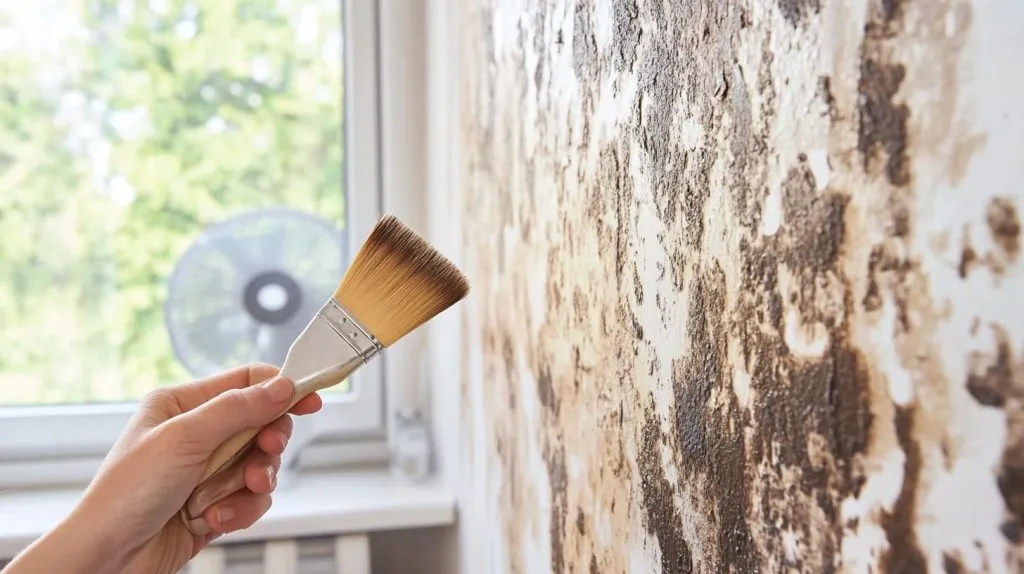
- Open windows, run a fan, and wear a mask.
5. Acetone or Nail Polish Remover (Caution)
- When it's effective and when to avoid
- Works on tiny, stubborn blobs. Skip on wallpaper; it melts glue.
- Risks on painted drywall or wallpaper
- May leave dull rings or peel base coat.
6. Scraping and Sanding (Last Resort)
- Tools to use (plastic scraper vs. metal blade)
- Start plastic. Only go metal if paint laughs at you.
- Avoiding wall damage
- Keep blade flat, use light strokes.
- When to repaint after sanding
- Sand, dust off, prime, then repaint once dry.
Once the paint is gone, the wall might look tired. Let’s shield it before fresh color goes on.
How to Protect the Wall During Removal
Use of painter’s tape and plastic sheets
Tape edges to stop drips. Plastic sheets catch flakes.
How to avoid paint bleed into other surfaces
Work top-down, keep cloth under your hand, and wipe often.
Spot touch-up techniques for minor wall damage
Dab filler into nicks, sand smooth, prime, and paint.
Wall’s clean and patched. Next up: making the repair invisible.
Tips for Repainting or Restoration
Choosing matching paint
Bring a dry chip to the store or use a phone scanner app tied to matching wall paint services.
Primer use for repaired areas
A thin coat blocks stains and evens texture.
Blending techniques for patch coverage
Feather edges with a small roller; work in W patterns to hide overlap.
Save yourself repeat work by dodging common traps below.
Common Mistakes to Avoid
Scrubbing too hard and damaging the wall
Let solvent do the heavy lifting.
Mixing multiple solvents
Chemical cocktails can bleach or bubble paint.
Ignoring ventilation and PPE
Even mild fumes give headaches in sealed rooms.
Questions still buzzing? Let’s clear them up.
FAQs
Can dried acrylic paint be removed without damaging the wall?
Yes—start gentle, test, then step up.
How long does it take for acrylic paint to fully cure on walls?
Usually 24 hours, but thick drips can harden for days.
Are there eco-friendly paint removers that work?
Yes. Citrus-based gels break down acrylic while sparing indoor air.
Conclusion
I’ve battled teal streaks, rogue brush flicks, and kids’ finger art. The steps above—assess, prep, pick a method, repair—saved every wall. If a stain spans half the room or sits on antique plaster, call a pro. Otherwise, trust your gloves, keep it slow, and you’ll wipe the slate clean.