 Skip to content

I still remember the first time I noticed the dull haze on my plexiglass display. I had spent hours selecting the right acrylic stand from Feilong Acrylic (flacrylic.com) for my office, since I value quality and custom solutions. But after a few months, I saw small patches of cloudiness. It reminded me of how fragile beautiful things can be if we don’t take care of them. So I set out to learn everything I could about cleaning and restoring plexiglass. In this journey, I discovered that what matters most is consistent, careful maintenance.
Understanding the Importance of Proper Care
I believe it’s important to treat plexiglass gently. When we skip regular cleaning, small scratches can spread, leaving the surface more vulnerable to further damage. From my own trial and error, I learned that simple cleaning methods actually help preserve the clear shine for a long time.
Overview of Plexiglass and Its Susceptibility to Fading
Plexiglass, also known as acrylic, can look similar to glass but is far less forgiving when exposed to sunlight or harsh environments. Ultraviolet (UV) rays can break down the material’s composition, leading to a faded or yellowish tint. Sometimes, even strong chemicals in the air can speed up that process. It’s not just the color that suffers; it’s the clarity, too.
Why Restoration Techniques Matter
If we don’t fix the fading early, those hazy spots can get worse. This means our cherished display cases, organizers, or furniture parts can end up losing their appeal. Restoration techniques, when done right, don’t just solve the problem temporarily. They can help prevent further damage and might keep you from spending more money down the line.
(Before we dive into the reasons behind plexiglass fading, let me share a short thought: it's easy to underestimate the impact of small environmental factors. Yet understanding them is our first big step toward making plexiglass last.)
Understanding Why Plexiglass Fades

I’ve had moments when I wondered how a once-transparent panel could look so worn out. It made me question the root causes. Taking a deeper look taught me that there’s always more than one side to every issue. By examining different angles—like UV exposure, chemicals, and even the environment—we can see where the real danger lies.
Common Causes of Discoloration
Exposure to UV Rays
Ultraviolet light can break down the molecular bonds in acrylic, causing discoloration and brittleness. This is why outdoor installations or pieces placed near windows fade faster.Harsh Chemical Cleaners
Some people use strong household sprays without realizing they might contain ingredients that turn acrylic cloudy. I once tried a random cleaner, which left my plexiglass more streaky than before.Environmental Pollutants
Fumes from vehicles, airborne chemicals in industrial settings, or even salt in coastal areas can settle on the plexiglass surface, speeding up its fading and yellowing.
Impact on Appearance and Durability
Fading isn’t just about the look. Long-term discoloration weakens the structural integrity of the material. It may develop tiny cracks or lose that rigid feel. That’s when you know the damage has gone deeper than mere appearances.
(Sometimes, understanding the worst-case scenario can keep us motivated. Speaking of which, let’s explore the tools and materials we need to tackle fading before it becomes irreversible.)
Tools & Materials Needed for Cleaning
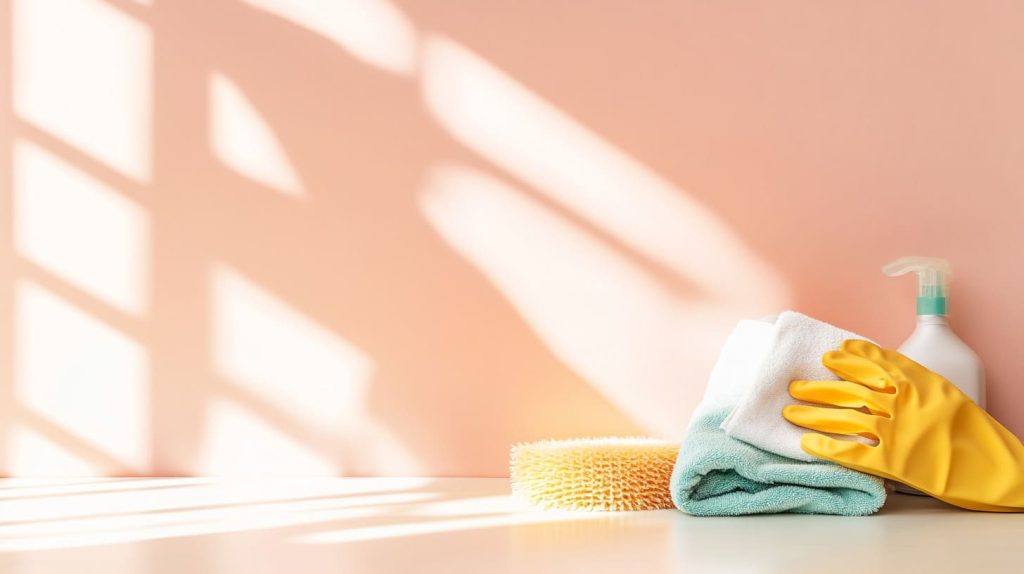
I’ve learned that having the right tools at hand saves me time, frustration, and even money. But it’s not just about random tools; it’s about choosing the ones that match the kind of cleaning you plan to do. Let’s look at this from multiple viewpoints. We have protective gear, basic supplies, and specialized solutions—all equally important for a smooth process.
Protective Gear and Equipment
Gloves
Gloves shield our hands from direct contact with cleaning chemicals. They also prevent oils or sweat on our skin from transferring to the plexiglass.Microfiber Cloths
Microfiber cloths reduce the chances of scratching the surface. They trap dust effectively, too, which is essential when you want a streak-free finish.Soft Sponge
I like a soft sponge for those slightly stubborn spots, but I always test it on an unnoticeable area first, just to be safe.
Here’s a quick comparison table I created for your reference:
| Item | Purpose | Notes |
|---|---|---|
| Gloves | Protects hands | Choose chemical-resistant material |
| Microfiber Cloth | Gently removes dust and smudges | Prevents micro-scratches |
| Soft Sponge | Cleans tougher stains | Test on small area to avoid surface wear |
Recommended Cleaning Solutions
Mild Detergent vs. Specialized Plexiglass Cleaners
A mild detergent often does the trick, especially for light layers of dust or dirt. But if you’re dealing with stubborn grime or deeper stains, specialized plexiglass cleaners can help. They’re typically formulated to preserve clarity.Avoiding Abrasive Chemicals
Abrasive products can scratch the acrylic or speed up fading. I once thought a heavy-duty cleaner would work faster, but it ended up causing tiny swirl marks I had to polish out later.
(By now, we have our gear and solutions. Let’s dive into the actual cleaning steps. You’ll see that gentle preparation can make all the difference in the outcome.)
Step-by-Step Guide to Cleaning Faded Plexiglass

I know how tempting it is to grab a cloth and just start wiping. But if I’ve learned anything, it’s that a structured approach guarantees better results. Let’s consider how to segment our cleaning into smaller steps—each one designed to protect and restore plexiglass.
Step 1: Preparing the Work Area
Removing Dust and Loose Particles
Tiny particles can act like sandpaper on the plexiglass surface. I always remove dust gently with a dry microfiber cloth before adding any moisture.Ensuring Proper Ventilation
Good airflow helps the cleaning process and protects us from inhaling fumes, especially if we’re using any store-bought cleaner.
Step 2: Gentle Washing Techniques
Using Lukewarm Water
Lukewarm water is less likely to damage the acrylic or leave behind streaks. I test the temperature with my hand to ensure it’s not too hot or cold.Application of Mild Detergents
A small amount of mild soap in a basin of water usually lifts grime off effectively. I apply it gently in circular motions, focusing on problem spots.
Step 3: Polishing the Surface
Microfiber Cloth Buffing
Polishing with a microfiber cloth helps me remove water spots. Slow, light pressure keeps me from introducing new scratches.Circular Motion Technique
I make small circular sweeps to even out any swirl marks. This also ensures the cleaning solution doesn’t build up in one spot.
Step 4: Drying and Inspection
Checking for Remaining Stains
I always do a quick inspection under good lighting. If I notice a faint streak or stubborn patch, I re-clean that area.Avoiding Streaks and Water Spots
Using a separate dry cloth or even a squeegee can help. Drying thoroughly keeps leftover detergent or minerals from forming spots.
(If your plexiglass still looks dull, don’t lose hope. You may just need some deeper restoration steps. Let’s explore that option now.)
Polishing and Restoring Deeply Damaged Plexiglass

I remember one time when my acrylic organizer had a scratch that looked more like a trench. It was nearly impossible to ignore. That’s when I realized there are more advanced methods for tackling severe damage. Let’s open our minds to different approaches: sandpaper, polishing compounds, or professional kits. Each method comes with its pros and cons.
Using Sandpaper or Polishing Compounds
Grit Levels for Different Degrees of Damage
Sandpaper varies in grit from coarse to ultra-fine. Coarse grit can remove deeper scratches but risks creating new micro-scratches. Finer grits help polish it all out. Polishing compounds then smoothen the final surface.Technique to Ensure Evenness
Consistent, gentle pressure is key. In my experience, an uneven approach leaves wavy or distorted patches that can look worse than the original problem.
Professional Restoration Kits
What to Look For
Kits often include sanding blocks, special polishes, and sealing agents. They can cost more, but they simplify the restoration process.Steps to Use Them Safely
Always follow the instructions and wear protective gear. Each kit can have its own unique process. Rushing or skipping steps might lead to a cloudy finish instead of a clear shine.
When to Consult a Professional
Sometimes, the damage is so extensive that DIY efforts might only waste time. That’s when I consider reaching out to an expert. Manufacturers like Feilong Acrylic—whose mission is to “Deliver high-quality, custom solutions with fast lead times that are suitable for personalized or bulk orders”—can offer advice or specialized services.
(Of course, prevention is always easier than curing. So let’s see how we can keep plexiglass from fading in the first place.)
Preventative Measures to Minimize Fading

I’ve often told my friends that routine maintenance is like daily exercise: a little goes a long way. It may feel inconvenient in the moment, but the outcome makes it worthwhile. Let’s look at ways to keep that plexiglass glow alive.
Protective Coatings and UV Films
If I’m placing plexiglass outdoors or near a sunny window, I consider protective UV coatings. These work like sunscreen for acrylic. They reflect or absorb harmful rays before they can do any real damage.
Regular Cleaning and Maintenance Schedule
A monthly gentle wipe-down removes dust and invisible pollutants that can dull the surface over time. Mark it on your calendar. Don’t let small spots linger because they often become big stains later.
Environmental Considerations
Indoor vs. Outdoor Installations
Outdoor setups must fight sun, rain, and temperature changes. Indoor pieces face air conditioning cycles and possibly cooking fumes. Both require different levels of vigilance.Controlling Humidity and Temperature
I’ve noticed that extremely humid conditions can encourage mold or algae formation. On the other hand, very dry conditions may lead to static buildup. Striking a balance helps extend the life of plexiglass.
(With all these insights, we can move forward with more confidence. Let’s wrap up our journey with a few final reflections.)
Conclusion

Recap of Key Points and Best Practices
Cleaning faded plexiglass starts with gentle care. Small steps, like using microfiber cloths and mild detergents, prevent scratches and haze. For deeper damage, we can use sandpaper or specialized kits. And we always keep an eye on protective coatings to slow fading.
Importance of Consistent Maintenance
Routine upkeep is simpler and cheaper than large-scale restoration. Regular checks keep you from reaching a point of no return. It’s much like visiting the doctor before a minor issue becomes a major one.
Final Thoughts on Long-Term Plexiglass Care
I’ve grown fond of the brilliance and versatility of acrylic products. By paying attention to little details, we can enjoy our plexiglass pieces for years without losing their sheen. Sometimes, a single small habit—like wiping off dust weekly—makes all the difference.
acrylic scratch removal tips, how to fix dull plastic surfaces, and dust removal from plastic sheets have all helped me grasp new perspectives on keeping plexiglass clear and vibrant. I hope they can do the same for you.




