 Skip to content
Your acrylic paint may be lumpy and sticky if it was stored improperly, has exceeded its shelf life, or was exposed to extreme temperatures. If you leave your paint in a humid or very high temperature environment, the paint will become thick and lumpy.
An expired or old paint can be out of date causing the smoothness to be compromised over time as well. Contamination as a result of dirty tools or not sealing the paint properly can add lumps.
Knowing these causes aids in preventing paint from going bad, so you can achieve smoother applications for all of your projects. Here’s how we should go about addressing these problems.
What Causes Lumpy and Sticky Acrylic Paint?

Acrylic paint is a versatile medium, but achieving a smooth and consistent finish requires understanding the factors that can lead to lumpiness or stickiness. These problems are usually caused by environmental factors, application methods, paint formulation, and incompatibility of materials.
When you understand what causes these issues, you can avoid them and make sure your painting process goes smoothly and your results live up to your expectations.
1. Incomplete Drying Explained
Giving enough drying time before applying layers is essential in avoiding sticky surfaces. When paint layers are applied too thick, over 1/4 inch, they can suffocate the moisture and make drying take months or even years.
Just like with the first coat, applying a second coat before the first has fully cured locks in this moisture, making the problem even worse. To spot under drying, watch for areas that stay shiny or sticky feeling even days after applying.
Pay attention to your layers, making sure each one is fully dry before continuing. This will help you avoid stickiness and end up with a more stable, lasting finish.
2. Impact of Air Circulation
Proper air movement in the room is key to helping acrylic paints dry flat. Stagnant air will prevent the evaporation process from happening quickly, resulting in sticky paint.
This is particularly important in closed areas, so open your windows or use fans to encourage air flow. If you work in a cramped studio, try to set up a fan that pushes air across your painting area.
This ensures your comfort as well as your painting’s undisturbed development. This quick fix alone will make a major difference with drying times.
3. Humidity's Role in Stickiness
When humidity goes over 75% it starts to add additional moisture into the air. This can delay the drying time and increase the risk of sticky paint.
A simple dehumidifier can fix these problems, especially in areas where humidity is just a fact of life. Using a hygrometer to monitor indoor humidity levels will help you keep a good painting environment.
4. Temperature Effects on Paint
Environmental conditions such as temperature and humidity change drying times and consistency. Cold environments under 49°F don’t allow acrylics the ability to fully cure.
Above-room-temperature conditions of 65°F and 75°F facilitate quicker and more uniform drying. Operating space heaters in the gardens in colder zones makes the conditions more ideal and lead to better outcomes.
How to Identify Lumpy Paint?

It’s very important to be able to recognize lumpy paint and/or sticky acrylic paint. It prevents unpleasant surprises that slow the application process and compromise the quality of your work. A well-rounded approach includes a visual diagnosis, tactile sensation, and even recognizing peculiar smell.
With these detection techniques, you can identify troublesome spots at the beginning and treat them accordingly. Here, we outline some of the most important procedures to ensure you identify your paint as accurately as possible.
Visual Inspection Techniques
The first step to identify lumpy paint is to do a quick visual inspection of the paint in the can. Look for any lumps, unusual separation, or a layer of liquid “juice” resting on top of the paint. These are all signs of subpar mixing or signs of possible decomposition.
Once you notice the paint has separated—it’s often possible to save it. Simply add 2–3 tablespoons of water to each cup and beat it vigorously with a whisk or an electric mixer. Though don’t go above 25% water, because you can over-dilute the paint and it will make the texture worse.
Examine the paint in direct light to identify any lumps or other anomalies that would indicate lumpy paint and an uneven finish. Color inconsistencies can further indicate that the paint has not been well-stored or that inferior products have been used.
As an example, quality acrylic paints would always show even, bright colors without lumps if they have been stored in the right way.
Texture Assessment Methods
Tactile evaluation is a third highly accurate technique. With a palette knife or brush, take a dollop of paint and rub it between your fingers, checking for any lumps or rough spots. Paint a bit on a test surface—maybe a primed canvas, or some scrap primed, heavy-weight paper—and see if it flows out easily.
Smooth, well-mixed paint will apply evenly and smoothly, while lumpy paint will result in noticeable ridges or clods. If you are testing new paint against an existing inventory, take a mental note of how it feels different in terms of viscosity or overall workability.
For subsequent projects, recording when these changes occur can help identify which products are weathering the test of time and which will need more pampering.
Recognizing Unusual Odors
Lastly, consider the smell of oil-based paint. If there is a strong, sour, or chemical smell then this is usually a good sign that the paint has broken down or wasn’t a high-quality paint. Often, these smells are linked to lumpy or tacky paint.
Trust your sense—if the smell is wrong, the paint is likely unsafe to use.
How to Fix Lumpy Acrylic Paint
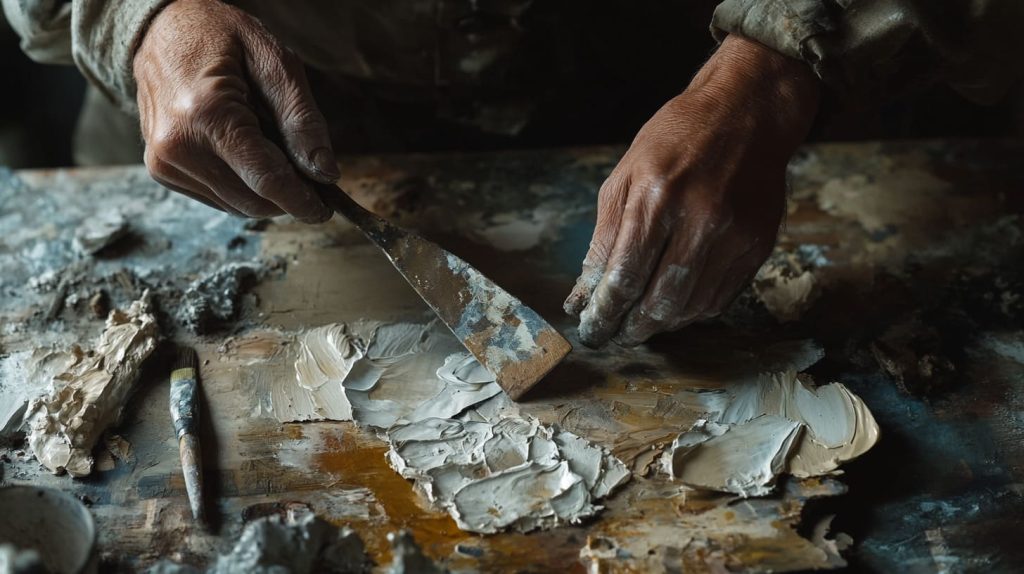
Lumpy acrylic paint can be a maddening problem, but it’s usually repairable with a little know-how. Whether your paint is still wet or actually dried, the tricks to treating these acrylic paint problems take a delicate paw and some strict guidelines. Here are some tried and true ways to bring your acrylic painting back to its original smooth consistency and make sure it’s ready for your next magnum opus.
Remove Lumps from Wet Paint
The sooner you spot lumpy paint, the easier it is to fix. First, try to break up the lumps with a clean paint stirrer. Spend a full five minutes mixing each color. It takes time and a pretty serious amount of elbow grease to get everything mixed in properly!
If all mixing in the world doesn’t work, your next step is straining the paint. Run the paint through a fine mesh strainer such as a nylon stocking or specialized paint straining device. This process removes those annoying little clumps, and the paint goes on way smoother.
Once you’ve strained it, be sure to mix the paint again thoroughly and test it on a scrap or small area to ensure it’s applying evenly.
Address Lumps in Dry Paint
In the case of dry, lumpy paint, it’s simply a matter of rehydrating the paint. Add tiny amounts of water or a compatible acrylic medium, mixing slowly until the paint returns to a workable consistency.
Don’t use more than 25% or it will break the binders down and make it sticky or cause it to not lay out evenly. For particularly stubborn lumps, grab a palette knife and scrape/crush the lumps before mixing again.
Once you’ve made your changes, test the paint’s workability by rolling it out on a small section of test canvas or other substrate.
Thinning Paint Properly
Thinning lumpy acrylic paint will get it back to its smooth, workable texture, but it takes finesse. Always follow the manufacturer’s recommended thinning ratios and do not use water without the need.
To maximize results, you may want to try acrylic thinning agents, conditioners or mediums made to help keep acrylic paints smooth. Keep a record of your thinning process for reference, so you can achieve the same great results on projects down the line.
Straining for Smoothness
Straining paint is always a good idea to remove foreign material and ensure a smooth, professional finish. Run paint through a fine mesh strainer before starting to paint and invest in quality tools to maximize efficiency.
Standardizing your workspace so straining becomes second nature will save time and aggravation. Following this procedure will guarantee that your final blend is lump-free and ready for use.
Prevent Acrylic Paint from Lumping
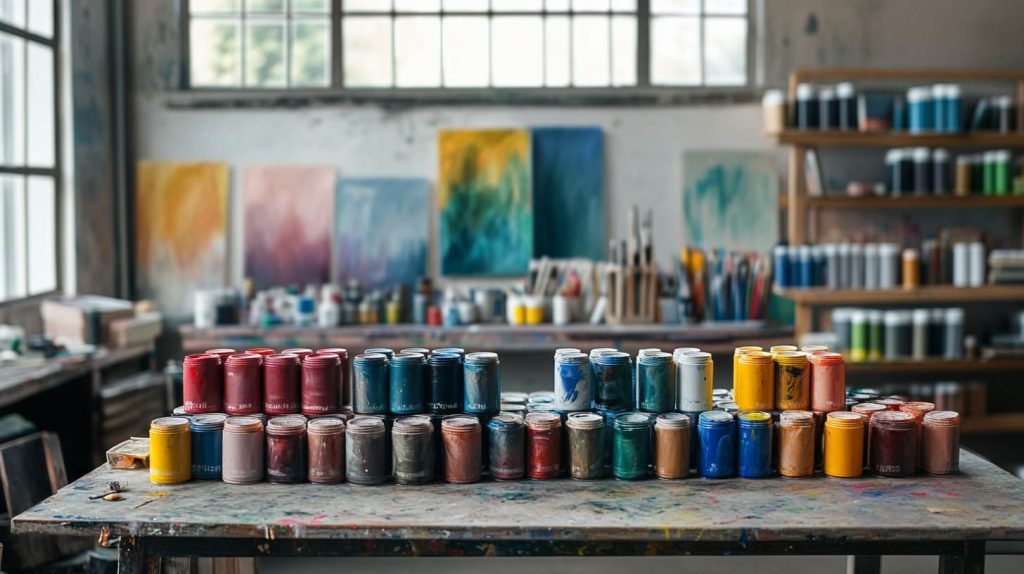
Ultimately, lumpy or sticky acrylic paint means more interruptions to your painting process and an unsatisfactory final result. By learning about what causes this problem, you can take steps to prevent it and achieve a flawless finish.
Read on as I highlight ideal practices to prevent lumpiness and keep your acrylic paints in mint condition.
Choose High-Quality Paints
Starting with high-quality paints is the best practice for preventing acrylic paint from lumping and getting grainy or rough. Reputable brands such as Golden, Liquitex, or Winsor & Newton are formulated with better quality pigments and binders to prevent this lumping.
Looking into the formula of paints is just as crucial, especially if you need specialized characteristics such as flexibility or hardness. Steer clear of low-quality craft acrylics, because these usually have fillers in them that cause a splotchy texture.
Don’t worry about the cost. Look for high-quality paints that give you consistent results so your artwork will always look how you want it to look.
Regulate Humidity Levels
Humidity can be your best friend—or worst enemy. When it comes to paint consistency, humidity is KEY. Instruments such as hygrometers can assist you in keeping an eye on humidity in your work area.
Try to keep humidity between 40% and 60%. Excessive humidity in the air can result in sticky paint, and not enough moisture can lead to thickening paint. Dehumidifiers or air conditioning units help remove moisture from the air.
When painting outdoors in high-humidity conditions, plan your painting schedule to avoid undesired damage to the paint.
Ensure Proper Ventilation
Keeping good airflow in the area will help avoid the paint from getting too tacky. Keep windows open or fans going to move fresh air into your workspace.
In order to preserve the ventilation you’ve created, regularly check your workspace to see if there is any stagnant air, like persistent smells or an uneasy feeling. Adding air purifiers equipped with HEPA filters enhances air quality and ensures a safe space for painting.
Allow Sufficient Drying Time
Hurry the drying process and you’ll almost always end up with lumpy layers. Avoiding the issue Create a work-flow by letting each layer dry completely before layering the next.
Timers or drying-out reminders can help with drying times, which will differ according to the type of paint. Allow time for curing Patience is the secret to preventing tacky surfaces and getting that professional touch.
Seal Paint Containers Properly
Containers that aren’t sealed correctly let air and moisture into the paint, speeding up lump development. Don’t forget that after each use, each time, make sure you’re putting the lids on tight.
Airtight containers with the date they were opened written on them are good for figuring out freshness. Ensure that paint is stored in a cool, dry place to prevent them from rotting.
Avoid Extreme Temperatures
Acrylic paint is fragile in that extreme temperature changes will destabilize it. Keep the temperature consistent between 65 and 75 degrees in your working area.
Use heaters during colder months or air conditioning in warmer times to prevent paint from becoming too thick or sticky. Understanding the effects of temperature on paint performance will help you create quality results every time.
Additional Tips
Mixing paints thoroughly for 5 minutes or longer will help prevent lumps from forming. Paint conditioners or additives help improve paint texture, making application go on more smoothly.
Never go over 25% water when diluting acrylics, you compromise the binders, making them sticky. Opting for new paints and choosing specially formulated products such as System 3 Paint Pouring range are common-sense ways to help.
If you’re working with pouring techniques, just add 1–2 drops of silicone oil to the paint to help minimize lumps substantially.
Environmental Factors Affecting Paint
The physical and chemical behavior of acrylic paint is greatly affected by environmental conditions. Everything from temperature extremes, humidity, and UV exposure all impact the performance of your paint. Each of these elements has a unique impact on your paint’s viscosity, dry time, and durability over time. Knowing what environmental factors affect paint will help you ensure that your work stands the test of time.
From this understanding, you can avoid problems like lumpiness, stickiness, or early degradation.
Temperature's Impact on Consistency
Temperature has a direct effect on the viscosity and workability of acrylic paint. When temperatures are below 49°F, the paint will start to thicken up or become gummy, resulting in a difficult application and uneven surface. This happens due to the fact that extreme cold limits the mobility of paint molecules, significantly extending dry times and creating a sketchy texture.
Warm environments in the range of 65°F to 75°F make for ideal application conditions as the paint flows better. Moreover, they protect drying and provide a uniform adhesion to the surface. Too much extreme heat can dry the paint too fast, which will make it dry cracked or uneven.
Monitoring temperature changes and adjusting your techniques accordingly, such as using thinner layers in colder settings or working quickly in warmer temperatures, can maintain the desired consistency and improve the painting experience.
Humidity's Role in Drying Time
Humidity has a huge effect on drying acrylic paint. High humidity conditions, particularly over 70%, will extend the drying time. This additional moisture in the air can cause continual tackiness, not allowing the paint to cure through.
This is especially concerning in the case of environments such as bathrooms or basements, where humidity may encourage mold growth that further damages delicate artwork. On the flip side, low humidity levels less than 40% can lead to rapid drying of the paint, preventing effective blending and layering.
Maintaining workspace humidity levels between 40-70% creates the conditions for best drying results. Using dehumidifiers or painting in well-ventilated spaces can do a lot to combat these challenges, leading to a much easier painting experience.
Light Exposure and Degradation
Light exposure, and especially direct sunlight, increases the already high rate of acrylic paint degradation over time. These UV rays can actually break down pigments in the materials used, resulting in faded or discolored artwork.
By applying UV-protective coatings, you’re not only shielding the paint from harmful rays, but protecting it from fading and losing vibrancy. Storing your unused paint in a dark environment will keep it from getting sticky or otherwise going bad.
Proper storage and protective measures increase the lifespan of both the paint and finished artworks.
Storage Solutions for Acrylic Paints

Storing acrylic paints correctly is especially important because improper storage can make them lumpy or sticky and ruin the paints altogether. Poor storage conditions not only degrade the paint but make it difficult to achieve desired results in your projects. If you want to maintain the quality of your acrylic paints, make sure you’re storing them under optimal conditions.
Select appropriate containers and proper sealing methods to help ensure top performance.
Ideal Storage Conditions
When storing acrylic paints, it’s important to keep them in a cool, dry environment. Keeping them in temperatures between 60°F and 75°F ensures their smooth consistency and keeps them from drying out before their time. Don’t store paints in places that experience frequent temperature extremes, such as garages or attics.
Heat and cold can render them unusable if exposed for too long. Too high humidity can destabilize acrylics, too, causing them to clump and separate. For example, the likelihood of paints becoming sticky over time increases if they are stored within proximity to a humid bathroom or kitchen.
If you work with high-value paints or specialized gels like Soft Gel Gloss or Glazing Liquid Gloss, consider using climate-controlled spaces. These spaces offer controlled environments, protecting your materials from wear and tear. Be sure to routinely keep an eye on your paints for any signs of degradation, such as hardened edges or discoloration.
Take care of problems right away to avoid wasted paint.
Container Selection Matters
These containers are your best bet at protecting your paints from both air and moisture. Find storage solutions with tight-fitting lids, such as mason jars or paint canister/pod systems. Stackable, clear containers are especially useful, as they allow you to see colors and amounts from the outside without having to open up a container.
It’s helpful to label each container with the name of the paint and date purchased. Be sure to include any gels, such as Golden’s clear gel, to keep your supplies clean and simple to use.
Investing in durable, high-quality storage solutions pays off in the long run. For example, stackable bins with airtight seals not only save space on the shelf but keep paints safe from environmental disturbances. This is especially important with acrylic gels that have controlled rheology thickeners.
These gels, unlike most compounds, undergo a dramatic transformation in their properties upon exposure to air.
Proper Sealing Techniques
Storage Arts always store acrylic paints in tightly sealed containers and as soon as possible after use. A tight fitting lid or use of painter’s tape can help create airtight seals to minimize the chances of spoilage.
I cannot overemphasize that good storage practices would be to periodically check seals to ensure seals are still intact especially if you’re an active painter. Various container types may need specific sealing techniques, so knowing how to seal them properly according to your system keeps your paint from drying out.
Mixing Techniques and Paint Texture

For smooth acrylic painting, the mixing technique and dilution ratio are crucial in achieving a consistent paint texture. Inadequate mixing can lead to issues like clumpy paint or an acrylic paint sticky consistency, ruining the integrity of your art. By mastering how to mix your paint properly, you can avoid these acrylic paint problems and create a perfect paint texture.
Dilution Ratios and Their Effects
Getting the right dilution ratio helps control the flow and texture of the paint. Too thick and acrylic paints don’t level properly, thin them too much and you risk compromising the strength of the paint’s pigment. Go out there and test your ratios!
Learn glazing techniques with one part paint to two parts water or one-to-one for other application techniques. To create dramatic, thick applications or textures, combine paint with gels such as Soft Gel Gloss or Glazing Liquid Gloss. These gels will add the dimension of texture to your paint while prolonging its drying time.
These mediums provide more even blending and greater precision. Always watch how dilution affects the end texture, since too much thinning will make the paint less adherent and less vibrant. Adjust the mixture depending on if you want a thin glaze or a thick, 3-D look.
Stirring Methods for Consistency
Stirring regularly keeps the paint texture consistent. Mix them very well with their own clean stirring sticks or palette knives. Using a slow, circular motion will thoroughly blend the pigments and mediums without adding air bubbles.
Mix very carefully to keep the mixture happy. Quick or harsh mixing results in lumps or bubbly paint. For instance, if your mix includes Glazing Liquid Gloss, intentional mixing keeps the material smooth and workable. You can regularly check your technique by practice with small amounts on a palette or scrap material.
Avoiding Air Bubbles
Minimizing air bubbles during mixing is key to achieving a smooth, flawless finish. Apply a light touch, making purposeful strokes when mixing paint and mediums. Straining the mixture through fine mesh will remove the hidden bubbles prior to application.
When going out to do detailed pieces, lie the mix down and check for bubbles on a shooting board. This way, the paint goes on smoothly and with no blemishes.
Understanding Paint Composition
Acrylic paint is an incredibly flexible medium, a go-to choice for artists today due to its rich, opaque colors and versatility. As a material, the composition of paint is instrumental to how it behaves and why, especially when problems such as lumpiness or stickiness occur.
So let’s take a look at these various components and how they interact with each other. This will allow us to determine what contributes to paint performance and develop the best solutions.
Binders, Solvents, and Additives
Binders are the structural matrix of acrylic paint. They prevent pigment particles from rubbing off onto other surfaces and form a tough, elastic film as they dry.
Acrylic paints generally have polymer emulsions as their binders, which cure as they dry. The binder’s quality affects adhesion and the final texture of the paint. For example, paints with insufficient quality binders may lead to inconsistent finished aesthetics or a chalky appearance once cured.
Solvents, mostly water in acrylic paints, regulate paint thickness and evaporation time. Since acrylics are water-soluble, artists can choose to thin the paint for washes or glazing effects.
However, too much dilution, over 25% water, breaks down the binder, making it sticky or prone to peeling away. Temperature and humidity have a tremendous effect on solvents. Painting in environments below 49°F can delay drying, while high humidity slows evaporation, affecting the solvent’s role in the drying process.
Additives are included to enhance specific paint properties, such as flow, gloss, or drying time. Retarders slow drying, while flow enhancers improve spreadability.
Overusing additives can disrupt the balance between components, leading to clumps or uneven drying.
Component Interactions Explained
The way you combine each ingredient is key to maintaining paint stability. The pigment-to-binder ratio affects drying as well as texture.
Higher pigment levels may have the added necessity of stronger binders. Unmixable or incompatible additives may cause paint to separate or form lumps. Such as mixing some brands/types of paint having unintended textures.
Just from experience of understanding these interactions, especially when mixing or applying, goes a long way toward ensuring consistency and preventing disappointing outcomes.
Chemical Reactions and Lumps
Chemical reactions, possible changes due to binder degradation or pigment clumping, can create lumps as time goes on. Signs of separation, such as a clear layer of liquid on the surface, are a sign of instability.
To avoid these problems, store paint safely by never leaving it open or in direct sunlight. When mixing, take care not to introduce air or foreign materials.
Conclusion

What would cause an acrylic paint to be lumpy and sticky This can happen for many reasons. With a bit of care, lumpiness can be avoided and we’ll show you how! Things as easy as storing the paint correctly, ensuring the correct conditions when using the paint, and mixing the paint well can go a long way. Understanding what to look out for, such as clumping or texture changes, allows you to identify issues before they become fatal. Don’t sweat it if your acrylic paint gets lumpy, it’s a quick fix! Run it through a strainer or add some water or medium to return its smooth working consistency.
When you take care of your supplies, they’ll take care of you—giving you great results in all your projects. If you’ve found some better methods or have some tricks that work for you, spread them to other painters. Wishing you all creativity, and best care for your paints so they’re ready cater your next masterpiece!




