 Skip to content
Last winter a freak ice storm knocked out power in my Toronto studio. I spent the blackout carving a cedar veneer sign by head-lamp, then faced a bigger puzzle: how to hang the wafer-thin piece without mangling fresh drywall. That night taught me one thing—the right mount saves both art and wall.
Why choosing the right mounting method matters for thin wood
Thin wood flexes. Nails split it, screws crush it, and gravity loves to warp it. A smart mount keeps the board flat, lets it breathe, and spares you midnight thuds.
Common mistakes when hanging lightweight panels
- Using heavy anchors “just in case”
- Ignoring wall type and guessing hardware
- Skipping surface prep, so adhesive fails in a week
My first plywood map fell at 3 a.m. The crash woke me—and my neighbors. I never skip prep now.
A sudden jolt of splintered plywood is a harsh teacher, but it nudged me toward better plans.
I could stop here, yet the real magic starts before the drill ever spins…
Assessing Your Project
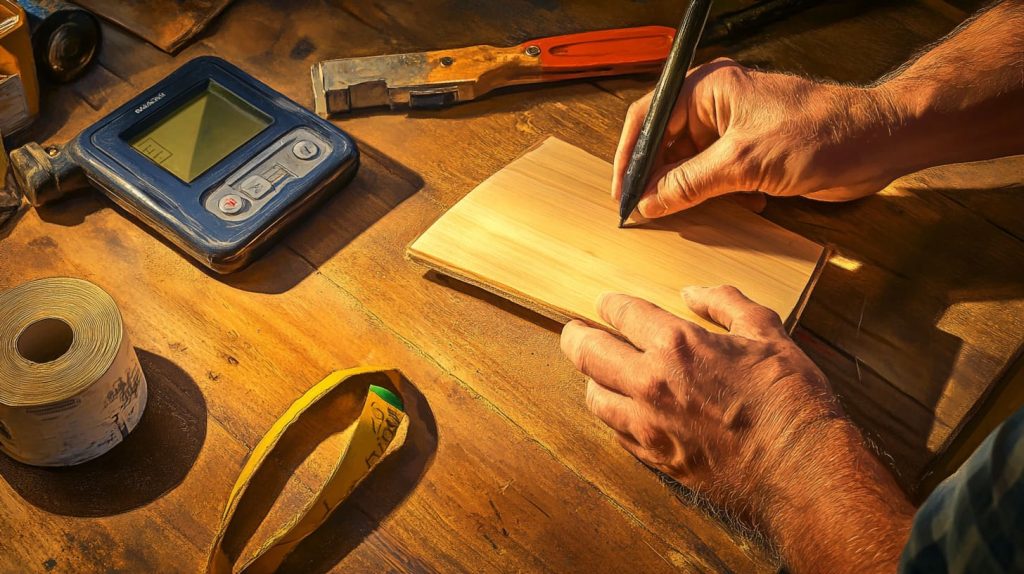
Identify the wood type & thickness (veneer, ¼-in. plywood, MDF slat)
Veneer acts like paper on edge. MDF chips if you sneeze near it. Measure twice, note the core, and pick hardware that hugs, not crushes.
Measure weight and overall dimensions
I grab a luggage scale for weight and painter’s tape for size. Anything under 7 kg opens the door for command strips; anything bigger needs plan B.
Check the wall substrate: drywall, plaster, concrete, tile
| Wall Type | Holds Adhesive Well | Needs Anchors | Caution |
|---|---|---|---|
| Drywall | Yes (light loads) | Hollow-wall toggle | Avoid moisture spots |
| Plaster | Sometimes | Pre-drill pilot | Watch for cracks |
| Concrete | Rarely | Masonry screws | Mask dust |
| Tile | Poor | Drill with tile bit | Tape surface first |
A tiny scale and a strip of tape rarely feel heroic, yet they decide which gear makes the cut.
Now that you know your battlefield, let’s open the toolbox and see what allies you have.
Tool & Hardware Options Overview
Adhesive solutions: picture-hanging strips, nano tape, mounting putty
| Adhesive | Max Load (pair) | Removable? | Best For |
|---|---|---|---|
| Command-style strip | 7 kg | Clean pull-tab | Smooth drywall |
| Nano gel tape | 1 kg/10 cm | No | Painted wood |
| Putty dots | 0.5 kg | Yes | Corner bumpers |
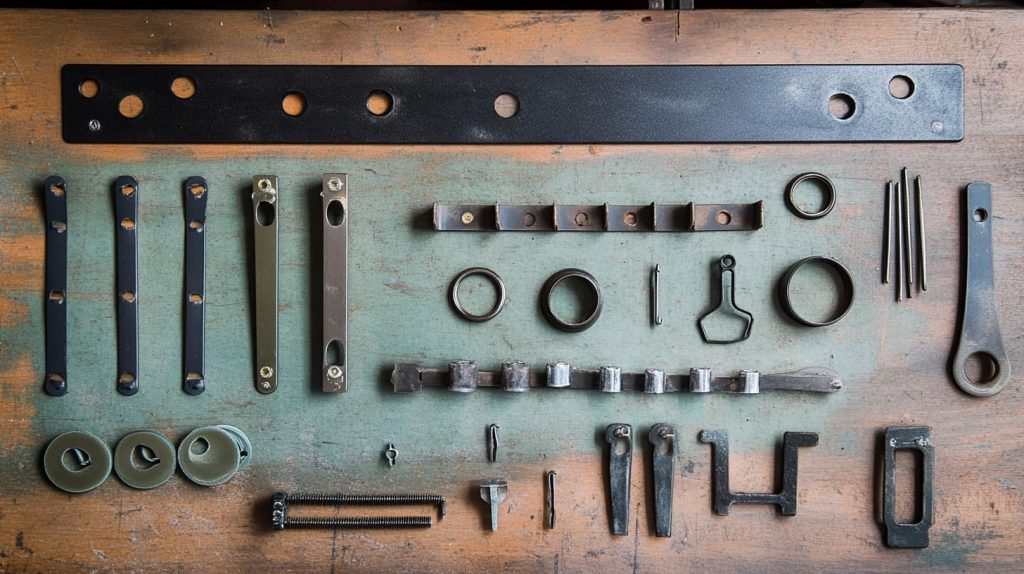
Mechanical hangers: sawtooth, keyhole, D-rings
Sawtooth gives quick alignment. Keyholes vanish from view. D-rings pair with wire for wide pieces.
French cleat systems for flush, adjustable mounting
A 45° cleat grips like Velcro made of wood. My plywood world map hangs on a French cleat and smiles level every season.
Drywall anchors & toggle bolts for heavier loads
Use hollow-wall anchors or 1/8-in. toggle bolts once weight crosses 10 kg or span jumps past two studs.
Hardware is like coffee—pick the roast that suits the moment, or suffer a jittery mess.
Gear chosen, let’s keep your wall spotless while you work.
Damage-Free Mounting for Lightweight Panels
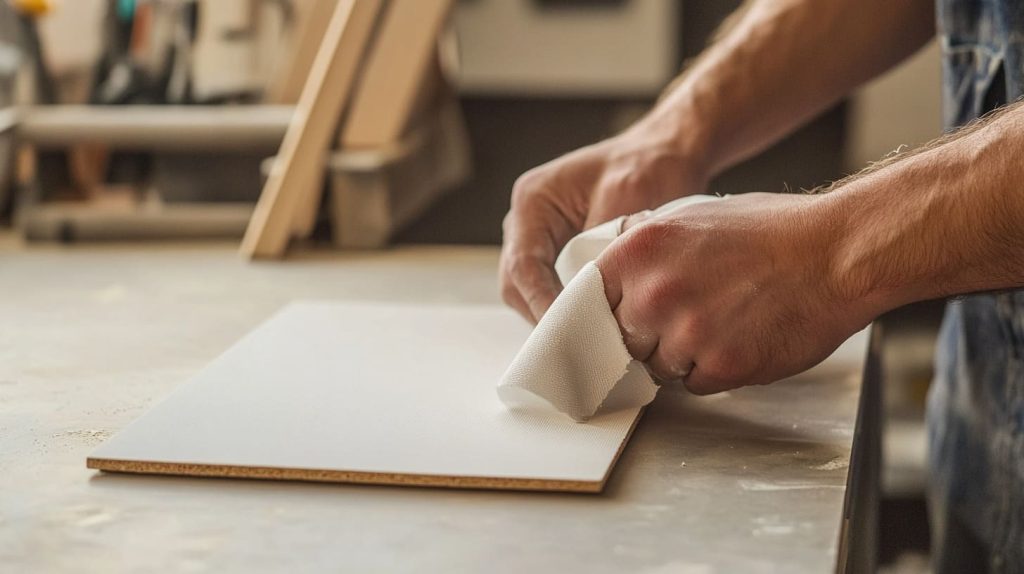
Surface prep: clean, de-dust, and degrease both wall and wood
A wipe of isopropyl alcohol on both faces doubles adhesive grip.
Step-by-step with Command-style strips (weight ≤ 16 lb / 7 kg)
- Press strip halves together until they click.
- Stick one half to frame, one to wall.
- Press for 30 seconds.
- Remove board, wait 1 hour, then re-hang.
Press-and-set technique & 1-hour cure test
A one-hour coffee break beats a week of re-painting.
When an hour feels long, I sketch the next project; the wall cures while ideas brew.
But sometimes plastic tabs won’t cut it. Let’s hide tiny teeth instead.
Low-Profile Mechanical Fixings
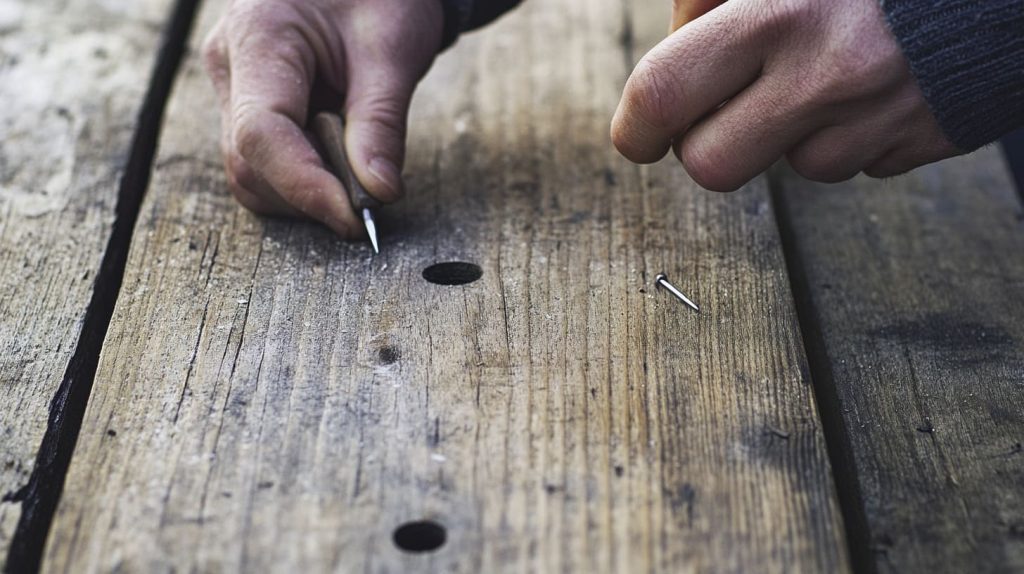
Installing sawtooth hangers on ¼-in. boards without split-out
I pre-punch with an awl, then tap finishing brads instead of wood screws.
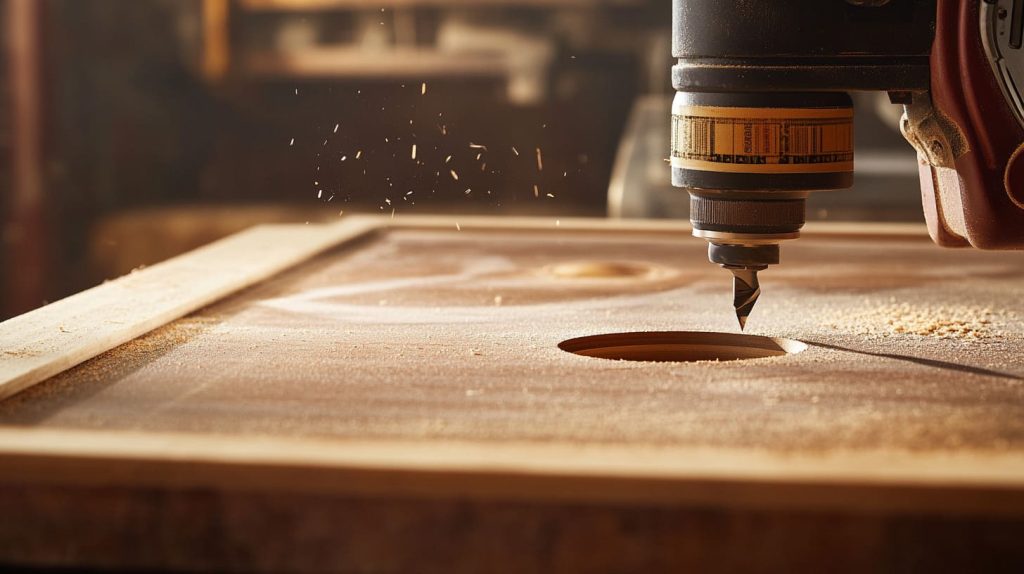
A trim router with a keyhole bit makes a slot in 30 seconds. Tape the exit to stop tear-out.
Using aluminum Z-clips for panels spanning studs
Z-clips snap on like shelf brackets and hide inside a 3 mm reveal.
Those hidden jaws grip tight, but a French cleat adds wiggle room you might crave next.
Ready to cut a bevel and feel like a cabinet maker?
French Cleat Method for Thin Boards
Cutting a 45° cleat and sizing it to panel width
I rip a 1×3 on the table saw. One piece rides the wall, one the art.
Securing the wall cleat into studs; adding backer strip if panel is thinner than cleat
Stud finder, two 64 mm screws per stud. If the panel is wafer-thin, glue a 5 mm plywood backer so cleat sits flush.
Hanging, leveling, and side-to-side micro-adjustments
Drop the board, slide left or right, perfection in seconds.
A bevel joint feels old-school, yet its slide-n-lock motion is pure joy for tinkerers.
Hardware sorted, let’s line up steps so the day runs smooth.
Prep & Installation Workflow
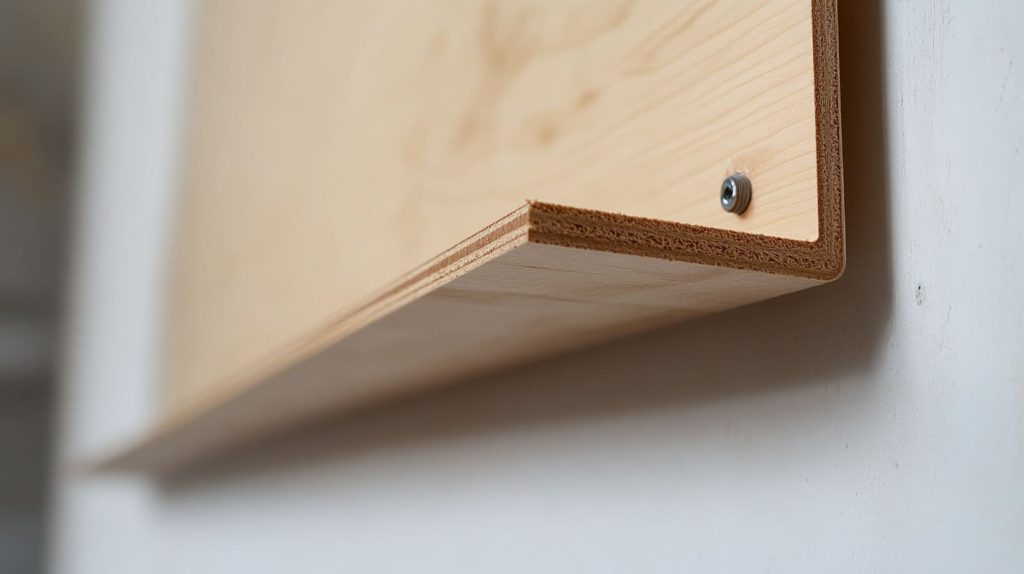
Seal or finish the back side to boost adhesive grip
A quick coat of clear sealer stops dust fibers shedding.
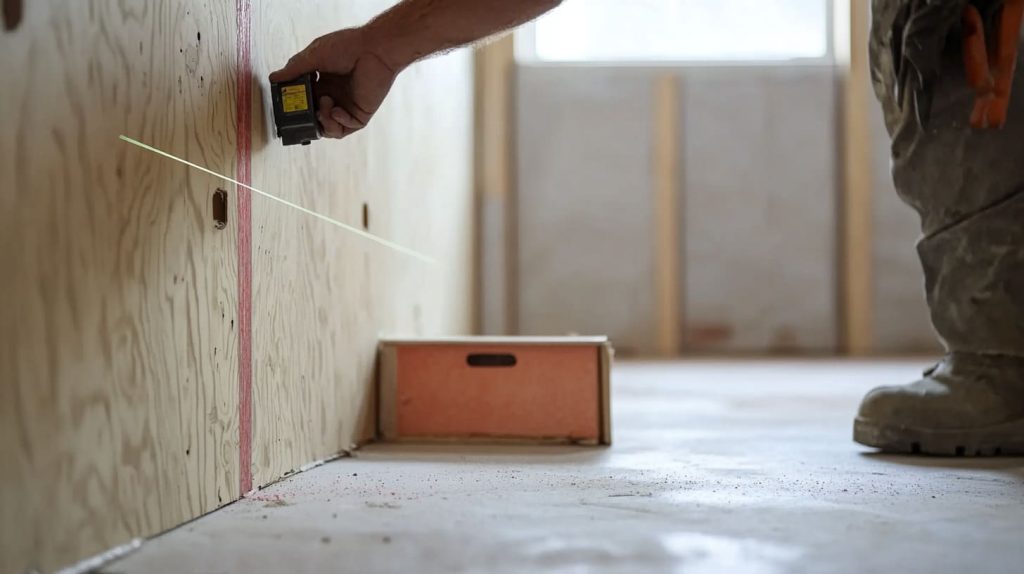
Locate studs and snap reference lines for true level
I snap a chalk line, then laser check the horizon.
Dry-fit before final commit; have a helper for pieces over 4 ft
We hold, we look, we breathe, then we fasten.
A ten-second dry-fit spares ten years of crooked stares.
Once it’s on the wall, tiny tweaks make it sing.
Finishing Touches
Conceal gaps with color-matched caulk or edge banding
White caulk hides shadows on light walls; dark wax fills oak edges.
Add rubber bumpers or mounting putty at lower corners for stability
One dot of putty; no pendulum sway when windows open.
After detail work, I tap the board. A dull thud means snug. A rattle means redo.
Art hung, does it stay? Let’s guard against gravity and time.
Safety, Load Testing & Maintenance
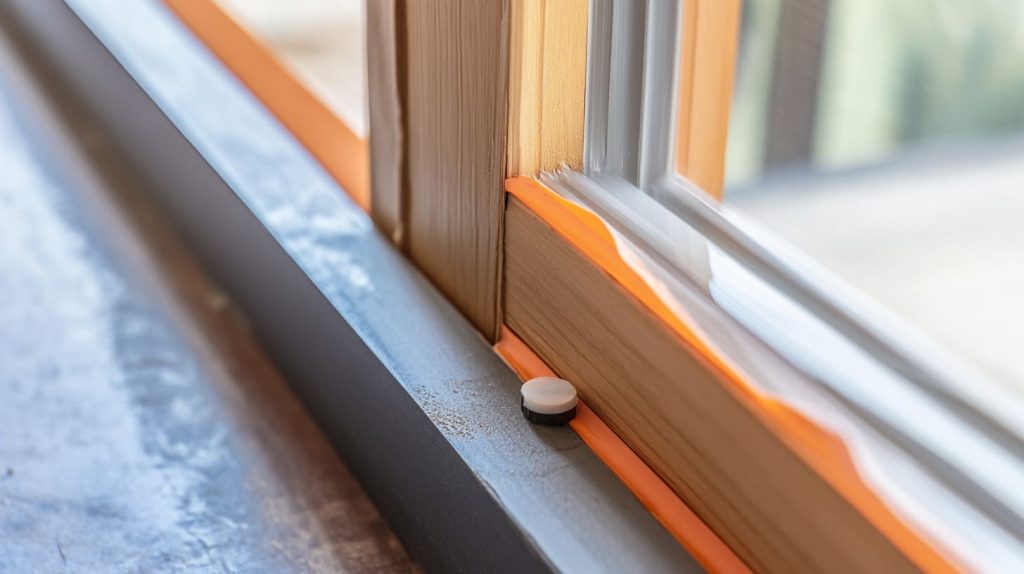
Verify hardware weight ratings; upsize anchors by 2× for public areas
Lobby signage faces pranks and vibration—better safe than press releases.
Monthly tug-test and seasonal humidity checks to prevent warping
I give a gentle pull each rent day; spring humidity once bowed a maple panel, early checks saved it.
Maintenance feels boring until a falling plaque dents parquet; then it becomes urgent lore.
The journey ends, but the next panel waits for courage and a scrap of spare wall.
Conclusion
Recap: match method to weight, wall, and desired finish
Measure, choose, prep, mount, and finesse—the five beats of wood-hanging jazz.
Encourage testing on scrap first—your wall (and panel) will thank you
Try methods on off-cuts, learn their quirks, then commit. Your future sleep depends on tonight’s prep.




