Skip to content
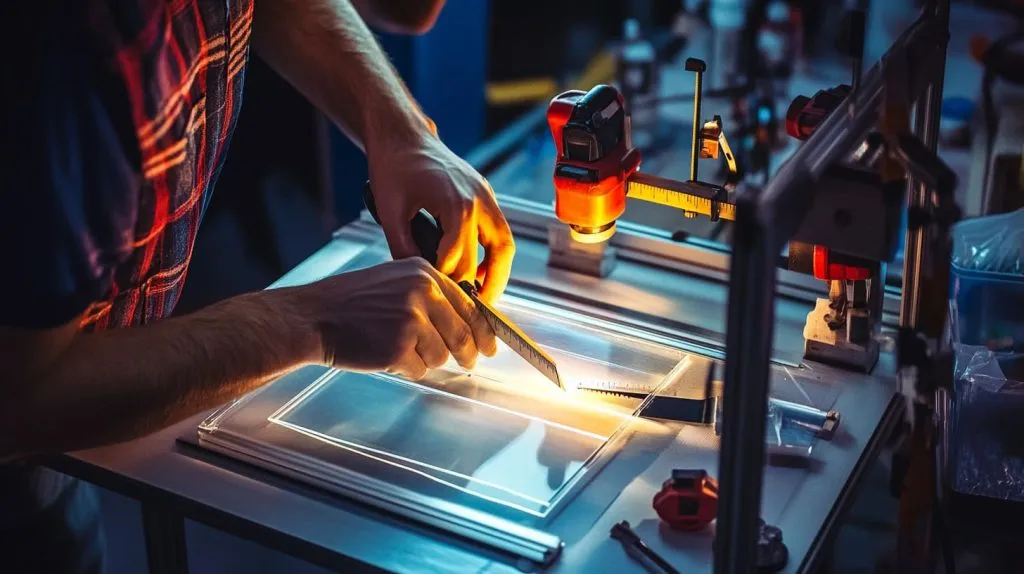
You're standing at a client’s pop-up booth. The display frame’s done, branding is printed, and everything is in place—except a thin sheet of plexiglass that needs trimming on-site. No power tools around. Just a utility knife, a metal ruler, and a bit of pressure. You kneel down on a portable work table, steady the edge, and start scoring slowly—hoping the sheet won’t crack or slip.
That kind of hands-on moment is exactly where knowing how to cut thin plexiglass by hand pays off. I’ve been there more times than I can count. Trade shows. Studio setups. Last-minute adjustments in hotel rooms. What seemed like a job for heavy machinery turns out perfectly clean with the right blade and some care.
Why mastering hand-cutting matters for thin plexiglass projects
Thin plexiglass—anything up to 3 mm—cracks if you rush, but it also rewards patience with glass-like edges. Hand tools give you full control, one stroke at a time. They’re cheap, quiet, and ideal for field fixes or prototypes when a factory is thousands of miles away.
When to choose hand tools over power tools
I reach for hand tools when
- Thickness ≤ 3 mm and length < 60 cm
- Power tools are banned on-site (noise, dust)
- I need only a few pieces—faster setup, less cleanup
Conversely, if the sheet is thicker than 6 mm or an order runs into the hundreds, a table saw or CNC becomes safer and faster.
Bridging forward—before any blade meets acrylic, let’s talk gear.
Tools & Safety Gear
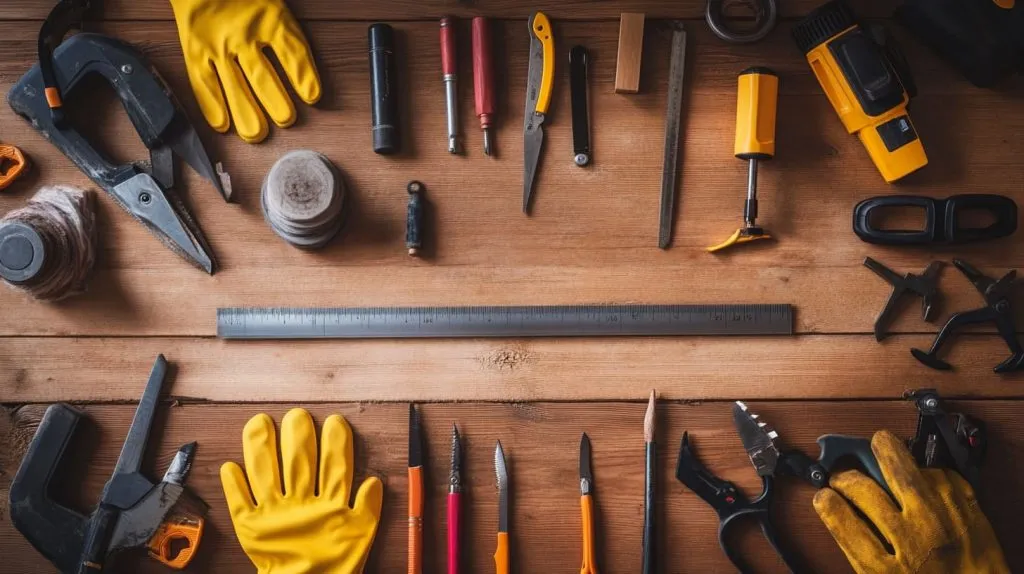
Tools make or break the cut; safety gear saves the fingers.
| Category | Item | Why I trust it | Cost (USD) |
|---|---|---|---|
| Essential | Acrylic scoring knife | Deep, narrow groove after 4–6 passes | 8 |
| Heavy-duty utility knife | Great for quick, shallow scores | 5 | |
| Metal straight-edge (ruler) | Keeps lines honest; doubles as guard | 12 | |
| F-style clamps | Locks sheet to bench; prevents chatter | 10 / pair | |
| Optional | Fine-tooth hacksaw (32 TPI) | Curves or thicker stock up to 6 mm | 15 |
| Coping saw | Tight radii, interior cut-outs | 18 | |
| Hand nibbler | Tiny notches, cable pass-throughs | 20 | |
| Safety | Cut-resistant gloves | Better grip, fewer Band-Aids | 7 |
| Clear safety glasses | Chips hurt more than dust | 4 | |
| Dust mask | Fine acrylic dust irritates lungs | 3 |
Essential hand tools – scoring knife / utility knife, metal straight-edge, clamps
A scoring knife’s carbide tip bites deeper than a normal blade. I pair it with a 30 cm steel ruler and two clamps so the sheet never shifts.
Optional helpers – fine-tooth hacksaw, coping saw, nibbler for tricky shapes
When a client sketches a curve no knife can follow, I grab a coping saw. Pull strokes stay cool; masking tape on the cut line reduces chatter.
Personal protective equipment – gloves, safety glasses, dust mask
Acrylic shards are invisible until they itch. Gloves and glasses are cheaper than an ER visit.
With the toolbox packed, the sheet itself asks for attention—let’s prep it right.
Preparing the Plexiglass Sheet
Choosing the right thickness (≤ 3 mm vs 4-6 mm) and surface film removal tips
- Up to 3 mm → score-and-snap works best
- 4–6 mm → score deeper or switch to saw
Peel back the film only where you will cut; the rest stays protected from scratches.
| Thickness | Best Method | Typical Passes |
|---|---|---|
| 1 mm | 4 light passes | 6–8 |
| 2 mm | Score & snap | 8–10 |
| 3 mm | Score & snap + clamp | 10–12 |
| 4–6 mm | Score + saw finish | 12+ |
Accurate layout: measuring, marking, and scoring guidelines
Mark from the back side with a fine permanent marker. I use a soft pencil on clear film because ink wipes off clean.
Securing the sheet: workbench setup and clamping technique
Raise the sheet on a thin scrap board so the knife tip never kisses your table. Two clamps—one at each end—are enough for cuts under 40 cm.
Straight lines prepped, it’s time for the satisfying score-and-snap.
Scoring-and-Snap Method (Straight Cuts)
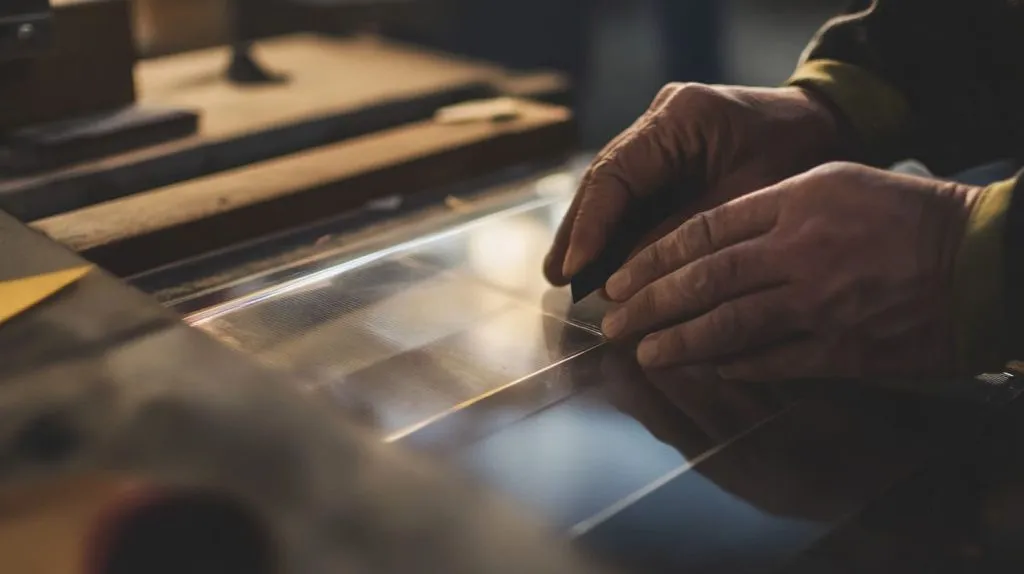
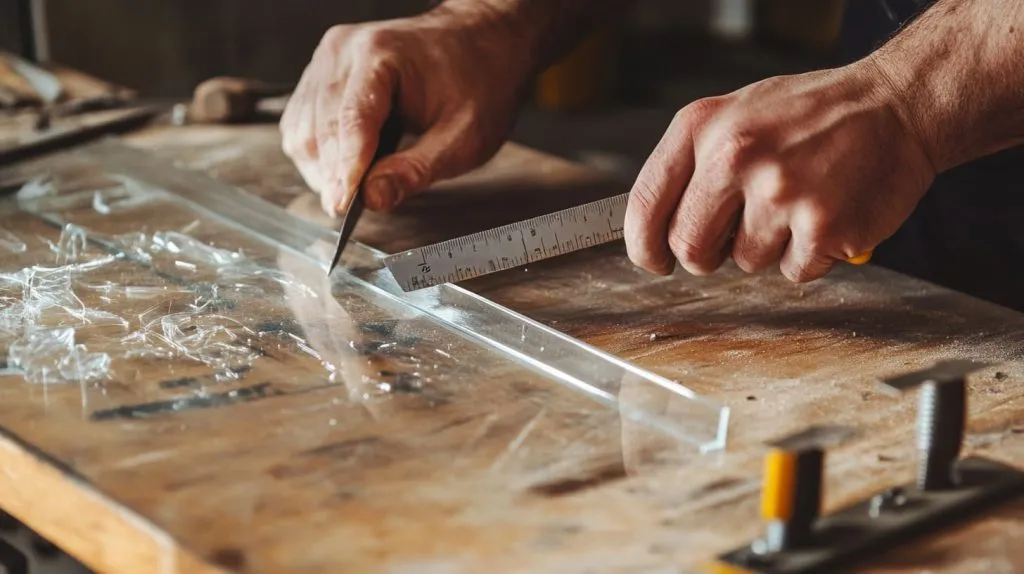
Step-by-step scoring technique: multiple passes, increasing pressure
- First pass—light, just engraving a guide.
- Second pass—moderate pressure.
- Third to tenth—steady force, deeper groove.
I lean the blade back 45°. Chips should look like long, clear noodles, not white dust.
Snap-off execution: edge-of-table vs dowel-rod leverage
- Edge method: Overhang scored line 5 mm; quick downward snap.
- Dowel method: Place a 10 mm wooden dowel under the line and press on both sides.
Edge clean-up: progressive sanding from 220 → 600 grit, scraper touch-ups
Clamp the piece upright, run 220-grit sandpaper in one direction, then 320, 400, and finally 600. A sharp cabinet scraper shaves any burrs.
Straight cuts done, but curves await—grab the saw.
Sawing Method (Curves, Cut-outs, & Thicker Sections)
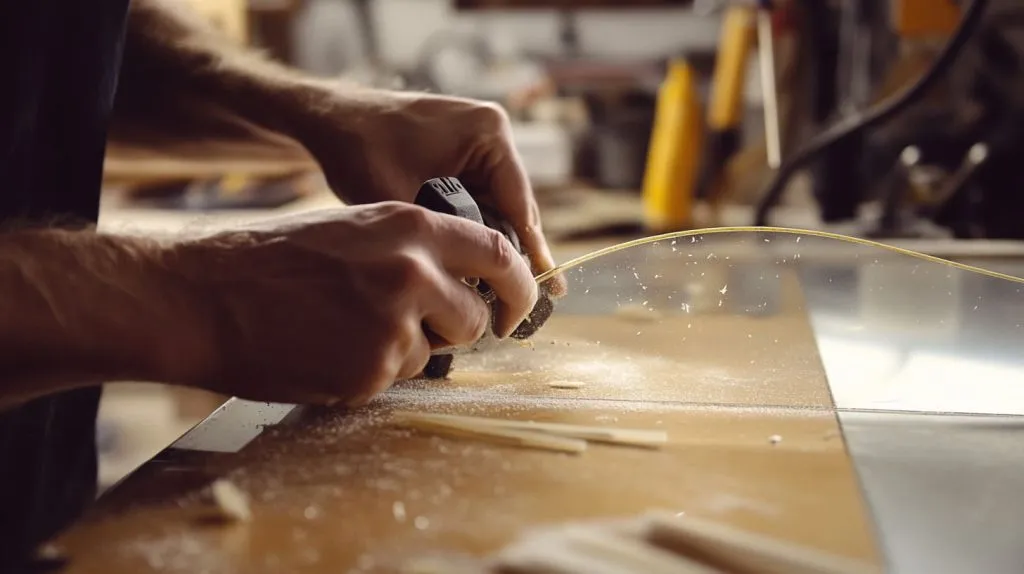
Selecting fine-tooth hand saws: hacksaw, coping, or jeweler’s saw
A 32 TPI hacksaw blade chews slowly yet leaves a clean edge. For keyholes or logos, a jeweler’s saw accepts blades down to 40 TPI.
Preventing melt & chatter: slow strokes, tape backing, coolant pauses
Friction melts acrylic at 160 °C. I wrap the line with painter’s tape, work at one stroke per second, and pause every 10 cm to blow away chips.
Post-cut refinishing: filing, wet-sanding, optional flame polish
Use a slim half-round file for inside curves, then wet-sand from 400 to 800 grit. A quick pass with a propane torch brings back clarity—keep the flame moving.
Of course, sometimes I reach for tools most hobbyists ignore—let’s peek into that drawer.
Specialty Hand Tools & Advanced Tricks
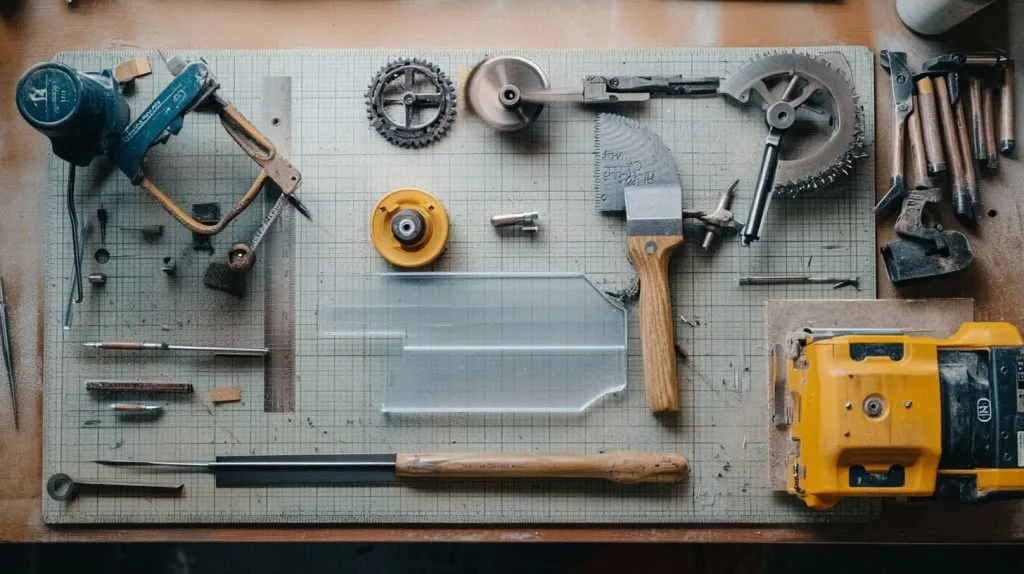
Acrylic scoring knives vs replaceable-blade cutters – pros & cons
- Scoring knife: deeper groove, blade lasts months, harder to find in hardware stores.
- Utility blade: everywhere, cheap, but dulls fast on acrylic.
Using scribing wheels or pull cutters for long production runs
A wheeled scribe rides like a pizza cutter, perfect for dozens of identical cuts in exhibition panels. Clamp a T-track fence for repeatability.
Mini-router planes & hand-held nibbler techniques for small notches
For USB ports or cable slots, I punch starter holes with a 3 mm drill bit, then nibble out material like biting a cookie—slow, but surgical.
No matter the gadget, every edge deserves pampering after the cut.
Post-Cut Finishing & Edge Treatments
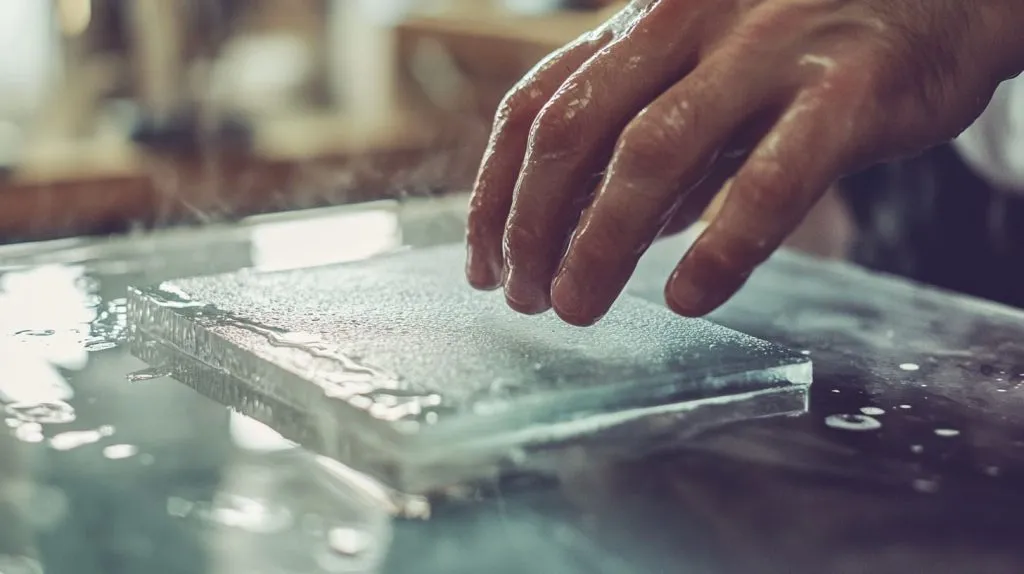
Deburring with hand scrapers and micro-planes
A sharp card scraper plows off fuzz in two passes. For tight corners, I use a micro-plane rasp meant for woodworking; it hugs curves.
Wet-sanding workflow for optical-clear edges
Fill a tray with water and a drop of dish soap. Sand 800 → 1200 → 1500 → 2000 grit. Wipe dry; edges look like poured glass.
| Grit | Purpose | Time per 20 cm edge |
|---|---|---|
| 800 | Remove saw marks | 1 min |
| 1200 | Smooth micro-scratches | 1 min |
| 1500 | Pre-polish | 1 min |
| 2000 | Final clarity | 30 sec |
Intro to flame polishing: safety, torch settings, quick passes
I set a propane torch to a blue pencil flame, keep it 5 cm from the edge, move at 3 cm per second. One pass, never two, or bubbles appear.
Even with polish, mistakes creep in—let’s fix them before they spread.
Common Mistakes & Troubleshooting
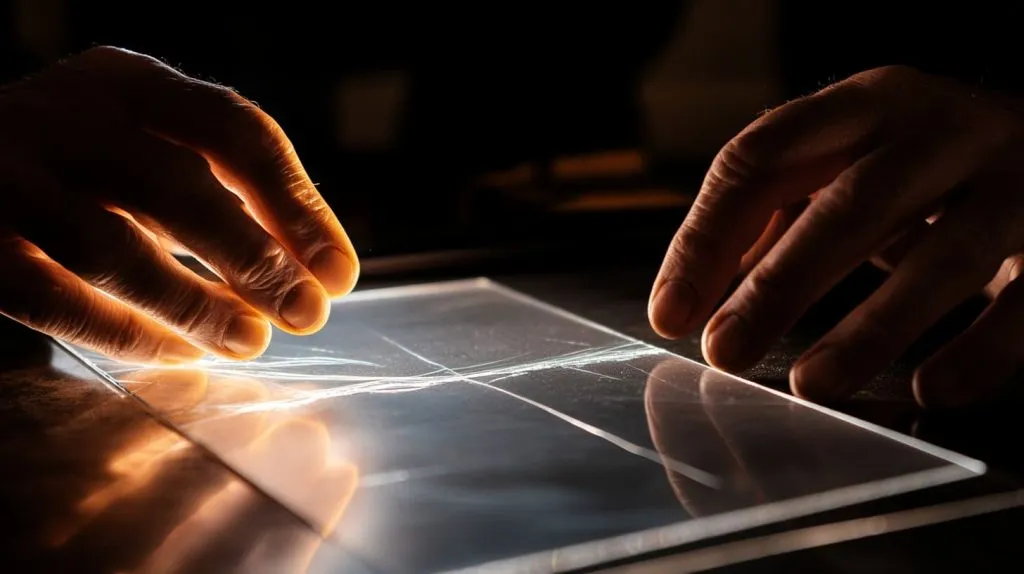
Avoiding chips, cracks, and feathered edges – what went wrong & fixes
- Chip at start → blade entered too steep; start shallower
- Crack mid-snap → score too shallow; add more passes
- Feathered edge → over-snapped; score deeper or support better
Dealing with partial breaks or mis-scores: re-scoring vs safe discard
If the mis-score is within 1 mm of the line, deepen it and try again. Otherwise, trim 2 mm off both sides—cheaper than wasting the sheet.
Heat haze on edges: identifying, preventing, and removing
Cloudy bands mean the torch lingered. Sand back to 800 grit, re-polish. Work quicker next time.
Questions still float around like off-cuts on the floor—let’s sweep them up.
FAQs
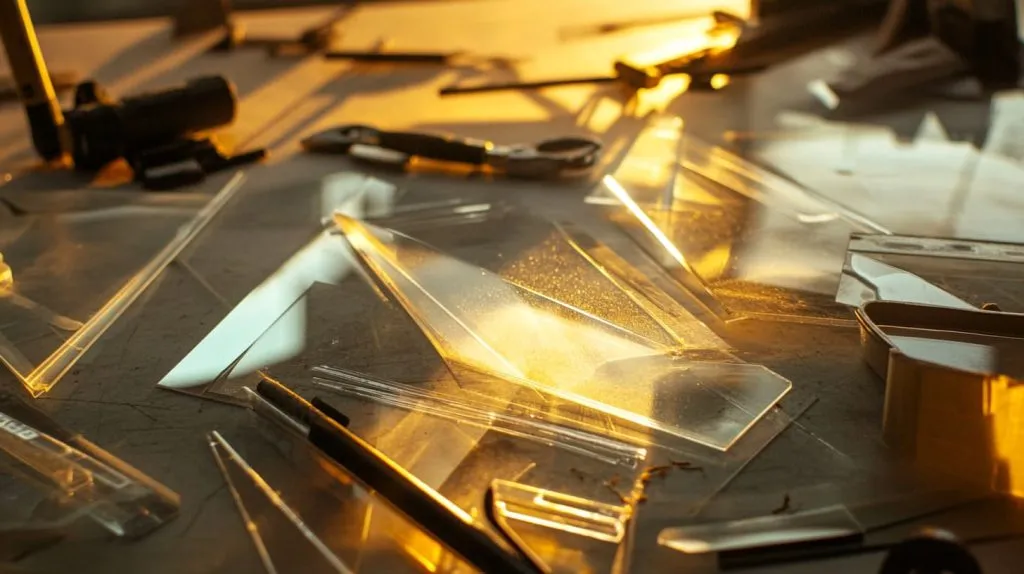
Can you really hand-cut 10 mm acrylic? Limits & workarounds
I’ve managed 8 mm by scoring both sides, clamping between boards, and snapping. Anything thicker demands a saw or CNC for safety.
How many scoring passes are “enough”?
For 2 mm sheets, I stop at 8 passes. The groove should feel like a zipper when your blade rides it.
Is polycarbonate cut the same way as plexiglass?
Polycarbonate bends, not snaps. Expect more melting; lubricate the blade with a drop of mineral oil.
Does temperature or sheet storage affect cutting quality?
Cold sheets snap cleaner. Store flat, away from sunlight; UV makes acrylic brittle over months.
One last slice and we’re done.
Conclusion

Hand-cutting thin plexiglass boils down to three habits: score patiently, support the snap, and polish every edge. Follow those, and your pieces will sparkle like glass without the noise of a workshop. When projects grow bigger—or when that café owner now wants 500 menu covers—drop me a line at Feilong Acrylic. My team can laser-cut, CNC, or finish any crazy shape you dream up, all while keeping lead times short and quality high. Until then, keep the blades sharp and the stories sharper.