It’s surprisingly simple to melt down and remold plastic at home with just a few tools. Pick up a toaster oven or heat gun, and some silicone molds to start shaping!
Begin by choosing thermoplastics like HDPE or PET that have a low melting point, ideal in the range of 250°F – 350°F. Make sure to always have a ventilated working area and wear the appropriate protective equipment.
We’ll take you through the entire process step-by-step to keep it simple and accessible for your at-home DIY projects.
What Plastics Can You Melt?
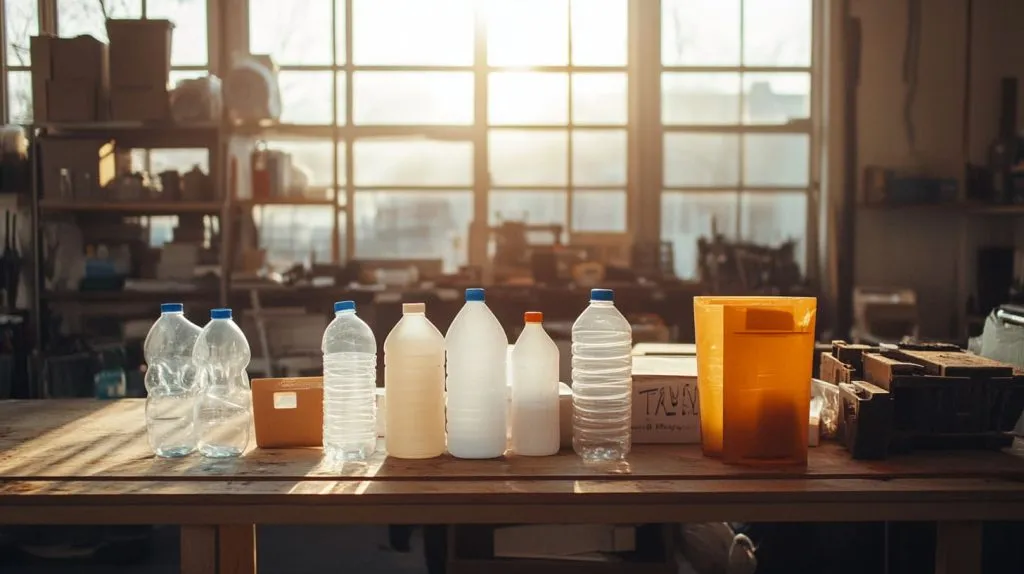
Knowing which types of plastics, like milk bottle tops and thermoplastic plastic, are safe to melt with household tools is key to getting great results and staying safe. Unfortunately, not all plastics are suitable for melting, as some can produce deadly poison when heated. By understanding which specific plastics are suited for melting, you can tackle your project with assurance and keep yourself safe from harm.
Identify Safe Plastics
To find out which plastics may be safe to melt, first look at the recycling symbols on the bottom of the items. These symbols, which usually sit on the underside of plastic containers, feature digits that represent the different kinds of plastics.
Plastics marked with #1, otherwise known as PET or PETE, and #2, which is HDPE, are ideal for melting at home. These are the only materials you can melt safely at home! PET is the type of plastic most often used for products like disposable water bottles, while HDPE is the type used for things like milk jugs and detergent containers.
Both of these plastics melt at pretty low and easily controlled temperatures, which makes them great candidates for melting down for a DIY project.
Plastics marked #4 (LDPE, Low-Density Polyethylene) can additionally be melted and molded. LDPE is commonly seen in plastic shopping bags and some food packaging material, melting at a temperature of about 248°F.
Be sure to look out for any other markings or labels that say the material is heat-resistant, as this may interfere with the melting process. Steer clear of plastics such as PVC (#3) and polystyrene (#6), which use additives that can emit toxic fumes when heated.
Here’s a quick list of safe plastics:
- 1 PET or PETE (e.g., water bottles)
- 2 HDPE (e.g., milk jugs, detergent bottles)
- 3 LDPE (e.g., plastic bags, some food wraps)
Melting Points of Common Plastics
Each type of plastic has its own specific melting point. This melting point level determines the temperature required for the plastic to become malleable and injectable.
For instance, PET generally melts at about 500°F and HDPE at close to 275°F. LDPE, as we discussed earlier, can be melted down at just 248°F. These temperatures are important to know, so you can choose the appropriate tools and techniques, allowing your plastic material to melt consistently without charring.
For clarity, here’s a comparison:
| Plastic Type | Resin Code | Melting Point (°F) |
|---|---|---|
| PET | #1 | \~500 |
| HDPE | #2 | \~275 |
| LDPE | #4 | \~248 |
While a stovetop and/or heat gun are less convenient than a microwave, they allow for more control when melting plastics. Boiling oil hits much higher, dangerous temperatures that can quickly destroy the materials.
Gather Tools and Materials
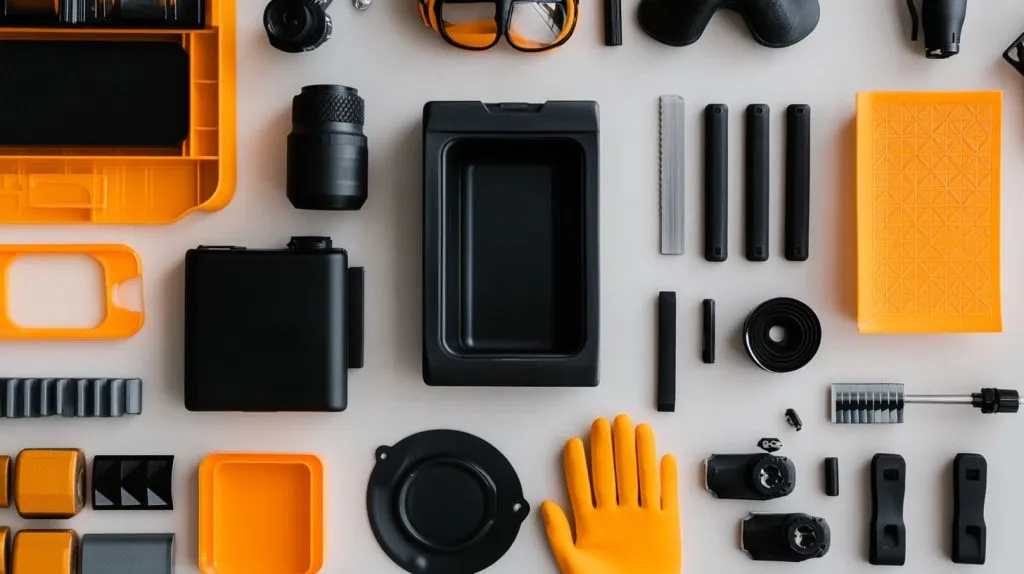
Before you begin melting and molding plastic in your kitchen, go through some steps to set up your workspace. Gather all the proper tools, safety equipment, and supplies beforehand. An organized, thoughtful approach to preparation will keep production moving efficiently and safely.
Here’s a closer look at what you’ll need and the reasons each item is a must-have.
Essential Safety Gear
Safety must be the number one priority when working with materials that involve extreme heat. Begin with some high-heat gloves, which can protect your hands from being burned when you’re dealing with melted plastic or hot tools.
Safety goggles are a must! They protect your eyes from sudden splashes and aerial debris while you blast away during thawing operations. A proper respirator or mask is key to filtering out toxic non-plastic fumes.
This becomes all the more critical as you pursue work indoors or in narrow spaces. Don’t forget to keep a first-aid kit as close to your workspace as possible to address any minor injuries quickly.
Melting Equipment Options
Your melting equipment will depend on what scale and type of project you’re doing. To make adjustments, you can use an oven, toaster oven, or heat gun. An oven gives you far more even heating and is great if you need to cook bigger batches.
A toaster oven would be perfect for cooking in smaller batches. A heat gun gives you greater precision for more detailed work. If you’re using your plastic, a toaster oven works well for larger-scale projects.
When it comes to more detailed shaping, though, a heat gun is just the ticket. You can sacrifice an old pot or use a thrift store pan for heating plastic. The moment you take it out, it’s no longer safe for food.
Due to its comparatively low viscosity, canola oil is preferred for a high-heat application without smoking or sticking.
Mold Creation Supplies
When creating molds, silicone sheets, wood, or metal offer durability and mold flexibility. Baking or parchment paper will help you keep the molds clean and release the plastic cleanly.
Tools like heavy-duty utility knives and popsicle sticks assist in cutting and molding intricate designs. For precise preparation, create a checklist of tools like tongs for handling hot plastic and parchment paper to prevent sticking.
Foregoing this step introduces more costly workflow complications and mistakes on the molding shop floor.
Prepare Your Workspace

Creating art with melted plastic at home is exciting, but make no mistake—safety comes first. By utilizing specific plastics, you can enhance your projects while ensuring a safe environment. Setting up a defined workspace with the right safety precautions significantly reduces liability dangers and keeps the operation running safer and more efficiently. This preparation includes having a clean and well-ventilated workspace, along with safety equipment that allows students to work with the materials safely.
Clear a Dedicated Area
Begin by picking a quiet space at home where you can concentrate. This area must be kept clear of clutter to minimize the risk of falls. A heatproof, smooth surface such as a heavy-duty, big table or worktop is best to handle the heat and have enough space for your tools.
Used furniture works too—for example, an old kitchen workbench or a repurposed school desk. Create an inventory list to make sure you’re prepared with all materials—like molds, tools, and safety equipment—before getting started. Organization goes a long way in ensuring that the process runs as smoothly as possible.
Ensure Proper Ventilation
Ventilation is your first line of defense from harmful fumes that are released when heating plastic. Crack the windows to help improve air quality. Set up an exhaust fan to blow fumes out of the room.
As much as you can, set up your workspace by a window or door to increase your airflow. An easy and inexpensive install might be setting up a small fan in front of an open window to blow fumes out. Steps to ensure adequate ventilation include:
- Open all nearby windows and doors.
- In warm weather, set an exhaust fan in one window to exhaust air outside.
- Position yourself upwind of the melting area.
Set Up a Safe Work Area
Carefully choose and designate a spot away from other flammables such as paper, cloth, etc. Keep a fire extinguisher within reach but not too close to your workspace, so you can grab it quickly in an emergency.
Have a heat-resistant trivet, metal sheet, or thick ceramic tile on hand to protect your kitchen table or counter. You can designate an old pot just for this—thrift stores are a perfect place to source cheap cookware dedicated solely to this task.
Create a safety station. Create a safety checklist, and be sure to include safety items, such as heat-resistant mats, gloves, and goggles.
Fume Extraction Methods
Reducing fume exposure is the next big step. Even a basic homemade fume extractor or air purifier can help protect you from exposure. Position a small, portable fan to direct fumes out an open window.
Or, build a funnel out of cardboard to direct air into an exhaust fan. Other effective methods include:
- Using a charcoal-based air purifier.
- Setting up a box fan to redirect fumes outside.
- Make sure the exhaust fan is high enough to be in line with the source of fumes.
1. Prepare the Plastic Material

To ensure a successful plastic melting project at home, it is crucial to have all the materials and specific plastics prepared beforehand. By taking the time to sort your plastic and giving it a quick rinse, you can prevent contamination or uneven melting, which can lead to undesirable results. Each step below provides tips on how to prepare your materials quickly and safely.
2. Cut Plastic into Smaller Pieces
It’s important to note that breaking down larger pieces of plastic into smaller, uniform chunks is key for even melting. Scissors or a utility knife work great for this step. Choose adjacent sizes, keeping it close to one or two inches.
This method makes it faster, easier, and more foolproof to obtain reproducible results every time. With heavier plastics, such as cardstock plastics or containers, a good utility knife really comes in handy. Always dispose of sharp edges right away to keep your work area safe.
Tools you’ll need for cutting plastic efficiently:
- Scissors (strong enough to handle tough plastics)
- Utility knife or box cutter
- Cutting board or sturdy surface
3. Clean the Plastic Thoroughly
Dirt, grease, or other remaining residues make it hard to achieve good-quality melted plastic. Begin by holding each material item under warm water. For stuck-on grease or dirt, add some soap or a natural sponge.
After cleaning, check all pieces to make sure no additional contaminants are present. Removing any contaminants or residues from the plastic promotes the quality and purity of the finished result. This becomes critical when you’re casting pieces like coasters or tiles.
Checklist for cleaning plastic:
- Warm water rinse
- Soap for tough residues
- Dry cloth or towel for final inspection
4. Dry Plastic Before Melting
If moisture gets into the product before melting, it will create undesired steam, affecting the safety and finished quality. Let the plastic air dry thoroughly, ideally overnight. If you’re really crunched for time, just blot each piece with a paper towel and check for wet areas.
Even a little water can interrupt that melting process.
Drying methods for plastic:
- Air drying on a flat surface
- Towel drying for faster results
- A hairdryer on a low setting for stubborn moisture
5. Sort Plastic by Type and Color
Not all plastic materials have the same melting point. LDPE, plastics like those used in plastic grocery bags, melt at 248°F. Other plastic materials might need to be melted at hotter or cooler temperatures.
Separating by type helps you avoid clumping or uneven melting by ensuring compatibility. For color-focused projects, have colors sorted into bins with labels so they’re quick to grab when coloring.
Checklist for sorting plastics:
- Identify the type (e.g., LDPE, HDPE)
- Separate colors based on project goals
- Label containers clearly
Safely Melt Plastic at Home
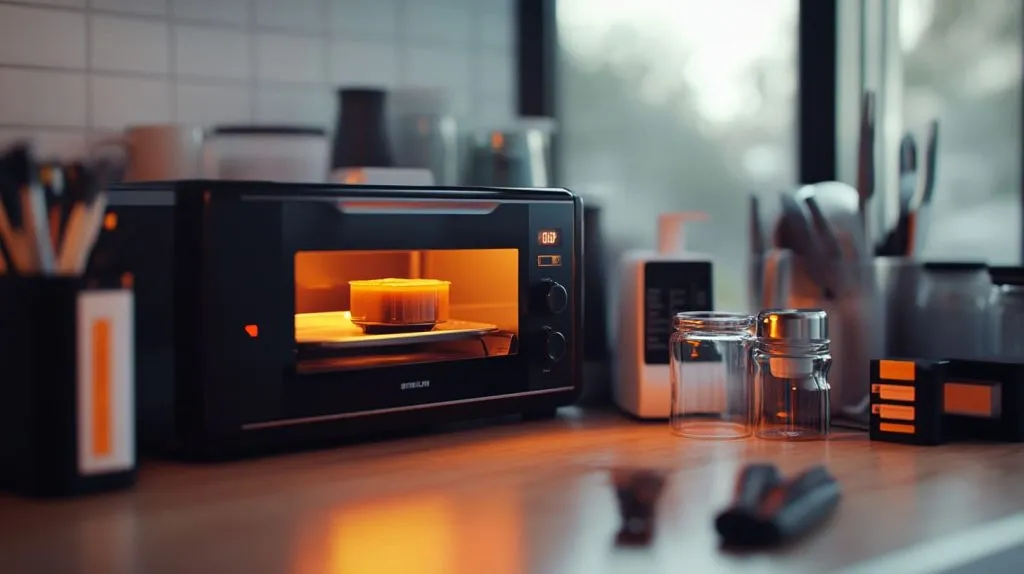
Melting plastic at home takes serious consideration, precaution, and the right tools to do it safely. By knowing what techniques are out there, and what the process looks like, you can recycle the most plastics safely and efficiently. Whether you decide to make brand-new objects or reuse existing materials, the opportunities are endless.
When done with care, this process is simultaneously satisfying and functional!
Choose Your Melting Method
Through careful consideration of your tools and plastic type, you can select the method that best suits your project. The most popular methods are an oven, toaster oven, or heat gun. Each of these has distinct benefits, but major limitations.
For example, ovens offer very even and directive heat which can be great when melting larger quantities of plastic. Heat guns, as opposed to other methods like an open flame, offer great control for use in smaller areas. Acetone can dissolve certain plastics like polystyrene but isn’t suitable for all types and requires proper ventilation.
| Method | Best For | Considerations |
|---|---|---|
| Oven | Large, uniform melting | Requires heat-proof containers |
| Toaster Oven | Smaller projects | Needs ventilation; it works like a regular oven |
| Heat Gun | Targeted melting | Requires steady hand and patience |
| Acetone | Dissolving polystyrene | Not suitable for polyethylene plastics |
For larger quantities of LDPE (#4 plastic) like plastic bags, ovens are usually the best option just because they heat so evenly. PET (#1) and HDPE (#2) plastics could probably be used as well but would need very close monitoring.
Monitor Temperature Carefully
Precision is critical, as melting at too high of a temperature will result in overheating or burning. A digital culinary thermometer makes it easy to monitor the melt temperature, keeping it consistent at the best melting temperature. For LDPE, this is just under 120°C or 248°F.
If using an oven, set ovens or heat guns to the desired temperature and monitor closely. Plastic can actually burn if heated to a high enough temperature, creating toxic fumes. Monitor temperatures closely and never heat cooking oils above 350°F because they will be too hot for melting plastic.
Second, use a thermometer that is safe for high heat. Make sure you begin with the lowest heat setting and work your way up. Ensure a uniform setup and prevent abrupt adjustments of all equipment used.
Avoid Overheating or Burning
Aside from the fact that burning plastic ruins the material entirely, burning plastic produces fumes that are toxic. Always be on the lookout for signs such as smoke or other strong odors, and take the plastic off the heat right away.
Stirring or rotating the plastic throughout the melting process is a great way to ensure the plastic melts evenly while helping to prevent it from overheating.
- Fumes or boiling from the plastic.
- A burning, pungent odor.
- Red discoloration or black charring.
Melting Plastic Using an Oven
Conventional and toaster ovens are great choices for safely working with melted plastic at home. Start by cleaning and then shredding the plastic into tiny bits.
Step 1: Set the oven to 300°F. Preheat the oven and put the plastic in a heat-safe container on a baking sheet. You can keep an eye on the oven window to prevent opening the oven door, which can cause a temperature fluctuation.
- Instructions:
- Collect small, clean, cut pieces of colored plastic.
- Preheat oven to 300°F.
- Choose an old, heat-proof pot or container.
- Put them on a baking sheet for ease of handling.
- Keep a close eye out for melting, without opening the door.
Melting Plastic Using a Toaster Oven
Like a traditional oven, a toaster oven is mostly appropriate for smaller-scale projects. Just match the temperature and use a small, heat-safe container.
Make sure you’re working in a well-ventilated area since heating plastic can create harmful fumes.
- Step one: Preheat oven to 300°F and arrange a small, oven-safe container.
- Break plastic into smaller pieces for more even melting.
- Make sure to keep a close watch on the process, with good ventilation.
Melting Plastic Using a Heat Gun
Heat guns offer precision and flexibility for melting specific areas. Keep the nozzle about 3 inches from the surface and move it in sweeping motions to evenly distribute heat so the plastic is melted but not burning.
Use the lowest setting possible to start with, slowly working up the temperature when necessary. This technique is best for creating detailed shapes out of plastic.
- Keep a safe airflow distance from the melted plastic.
- Move back and forth in slow, consistent motions on the surface.
- Starting with low heat, and moving up if necessary will give you the best results.
General Safety Tips for Melting Plastic
- Work in a well-ventilated space or outdoors.
- Wear protective gloves and safety goggles.
- Keep a fire extinguisher or sand nearby.
- Avoid using tools or pots meant for food.
- Dispose of melted plastic scraps responsibly.
Create Custom Molds

Making your own custom molds at home gives you the ability to flatten melted plastic into any shape they dream up customized to exactly what they need. Whether you’re creating functional tools or artsy creations, knowing how to create the mold that will give you the best possible results is essential.
It all begins with selecting the appropriate materials. Next, create a production-grade mold optimized for speed and success, build it to specifications, and prepare it for market.
Select Mold Material
The type of material you use for your mold will have a direct effect on the longevity and ultimate success of your project. Silicone, wood, and metal are popular materials.
Silicone’s flexibility makes it particularly well-suited for creating molds with fine detailed designs or even fragile objects. Wood is a cost-effective option for simpler shapes though it will usually need to be sealed to protect it from the melted plastic.
Metal molds (aluminum, for example) can take more heat and are technically reusable over many projects. When selecting a material, ensure that it can handle the heat of plastic melting into it.
For commodity types such as polyethylene or polypropylene, this is typically somewhere between 320°F and 375°F. As a general rule, silicone is more effective for lower-temperature plastics and metals are effective over a wider range. Here's a quick reference:
- Silicone: Best for detailed molds or artistic projects.
- Wood: Suitable for basic molds or prototypes.
- Metal: Ideal for durable and high-temperature applications.
Design Your Mold
Draw a first draft from every angle to help you see the shape and size of what you want to make. Add things such as channels or sprues—like in an ice cube tray—to ease the pouring of the melted plastic and vent holes to minimize trapped air.
If you are making a box or similar object, make certain that the resulting mold will have flat surfaces suitable for easy mold assembly. Add a release mechanism, like tapered edges or a removable section, to make it easier to remove the finished product.
A checklist can help streamline your design:
- Outline dimensions and shape.
- Add pouring channels and vents.
- Plan for easy removal of the finished piece.
Construct the Mold
Once you have a design, you’ll use these instructions to put together the mold using whatever material you’ve decided upon. You can pour silicone molds easily into a framework.
Cutting and fastening wood or metal molds with screws or adhesives is more time-consuming and challenging. Run a test load of melted plastic through it and make sure you don’t have any shifting or warping.
Steps for construction:
- Cut or shape the material based on your design.
- Assemble with adhesives, screws, or clamps.
- Test for sturdiness and adjust as needed.
Prepare Mold Release Agent
Make sure to coat the mold with a release agent to keep the plastic from adhering. Cooking spray is an affordable option for casual projects, while specialized mold-release products offer better results for complex designs.
Coat the mold with your release agent, spray or brush it on evenly working into the corners and tight areas. This guarantees the finished piece will be easy to remove from the mold.
Checklist for application:
- Select a suitable release agent.
- Apply evenly inside the mold.
- Double-check coverage before pouring plastic.
Molding the Melted Plastic

Molding melted plastic at home provides a fun and useful introduction to repurposing materials. It is, by all means, an exciting time, but it requires practice and precision. Once you’ve melted your plastic, pour it into molds. Then draw out any air bubbles, clamp the mold, and allow the plastic to cool. Every phase is vitally important to achieving an excellent result.
Take a closer look. Below, I’ll walk you through the process step by step.
Pour Melted Plastic into the Mold
Proper tools and techniques can make all the difference when dispensing melted plastic. An extra-wide ladle or a specialized heat-proof pouring tool, like those now sometimes used for concrete, works best for transferring melted material.
Start by making sure that the mold is positioned securely on a flat surface to avoid any tipping. Pour the melted plastic slowly into the mold, being careful to not pour too much at once. This is critical when processing extremely low melting temperature materials such as LDPE (melting at \~248°F).
Overfilling can result in ugly spills, waste plastic, and jagged edges. For best results, here’s a checklist to follow:
- Always use heat-resistant implements such as a ladle to handle hot brass.
- Ensure the mold is stable and won’t tip over easily so you don’t have any unplanned spills.
- Pour slowly and steadily to maintain control.
- Stop before reaching the mold’s brim to prevent overflow.
Remove Air Bubbles
Trapped air bubbles can ruin the final appearance and integrity of your molded plastic. After pouring, lightly tap the mold against your work surface to help the bubbles surface.
For particularly stubborn bubbles, a toothpick or skewer works well to pop the bubbles without damaging the melted plastic. Don’t shake the mold too hard, since this may move the liquid plastic. Effective methods include:
- Lightly tapping the mold to release the trapped air.
- Using a toothpick to remove visible bubbles.
- Keeping movements gentle to avoid disturbing the pour.
Clamping Techniques for Molds
To make sure the mold remains tightly shut as the soft plastic cools into its permanent shape, clamps are incredibly powerful. Pick clamps based on the size and shape of your mold.
Adjustable bar clamps are sufficient for most designs, but smaller, spring-loaded clamps will be better for small molds. Finding the best method takes experimentation, so try a few and see what sticks. Here’s what to consider:
- Clamps should hold the mold tightly to prevent leaks.
- Position clamps evenly to distribute pressure.
- Make sure to test the closure each time you plan to pour so that it can create an effective seal.
Allow Plastic to Cool and Harden
Cooling is the last step, but waiting pays off. Do not disturb the mold until the plastic has fully cooled. Cooling time is a factor based on how thick the plastic is—thicker pieces can take hours to fully cool.
Don’t rush cooling by putting the mold in a cold spot; you risk warping the part by cooling unevenly. Tips for cooling include:
- Let the mold sit undisturbed in a stable location.
- Monitor the time based on the plastic’s thickness.
- Avoid removing clamps prematurely to ensure proper hardening.
Finishing and Post-Processing
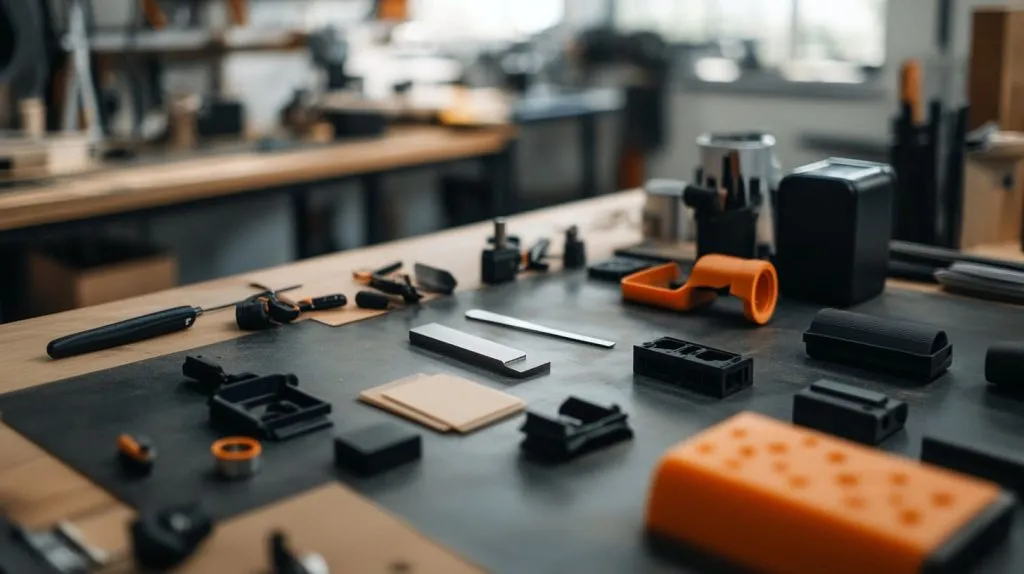
Once the plastic has been successfully melted and molded, finishing and post-processing are essential to ensure the piece meets your expectations. These processes finish the cast part, correct defects, and install it for functional or aesthetic application.
A little planning and the right tools will make this part of the process easy and put you on the path to professional-looking results.
Remove Plastic from Mold
You’re going to begin by gently prying the formed plastic from the mold. Press on it gently to pop it out, being careful that you aren’t marring the piece or the mold in the process.
In places where the plastic has adhered, an X-Acto knife or blade can be used to remove more tenacious areas. Move gradually and do not exert too much pressure to avoid the risk of cracking or deforming the material.
Steps for safely removing plastic from molds:
- To prevent warping, remove the plastic only after it has a chance to cool thoroughly.
- Starting along one edge, use your fingers to carefully pull the edges free from the mold.
- To release stuck areas, gently slide a utility knife along the seam and pull it loose.
- Check for damage in the removal process and touch up spots that need more finishing work.
Trim Excess Material
Once you take the piece out of the mold, do a detailed inspection. Check for any extra material, such as flash, which shows up as thin plastic along the edges.
Scissors or a utility knife with a fresh blade work best. Make sure you’re getting nice, smooth, clean edges to give your piece a more finished look. Junk that is trimmed away should be thrown away in such a way that prevents waste.
Checklist of trimming techniques:
- Inspect edges for uneven or overhanging plastic.
- Cut with good scissors for straight trimming or a craft knife for detailed shapes.
- Work on a flat surface to maintain control.
- Collect scraps for recycling or proper disposal.
Sand and Polish the Molded Piece
In addition, sanding smooths rough edges and surfaces, while polishing improves gloss and provides visual appeal. Whatever route you choose to take, begin with fine-grit sandpaper and progress gradually so you aren’t removing too much material.
If you want a glossy finish, just use a plastic-safe polishing compound. This process results in a piece that will be visually appealing and functional.
Steps for sanding and polishing effectively:
- Use 320-grit sandpaper for smoothing edges and surfaces.
- Gradually work your way to finer grits, like 600 or 800, for a smoother finish.
- Use a rotary polishing tool to apply a polishing compound with a soft cloth to achieve a lustrous shine.
- Use a slightly damp cloth to wipe the whole piece down and get rid of dust.
Safety First: Crucial Precautions
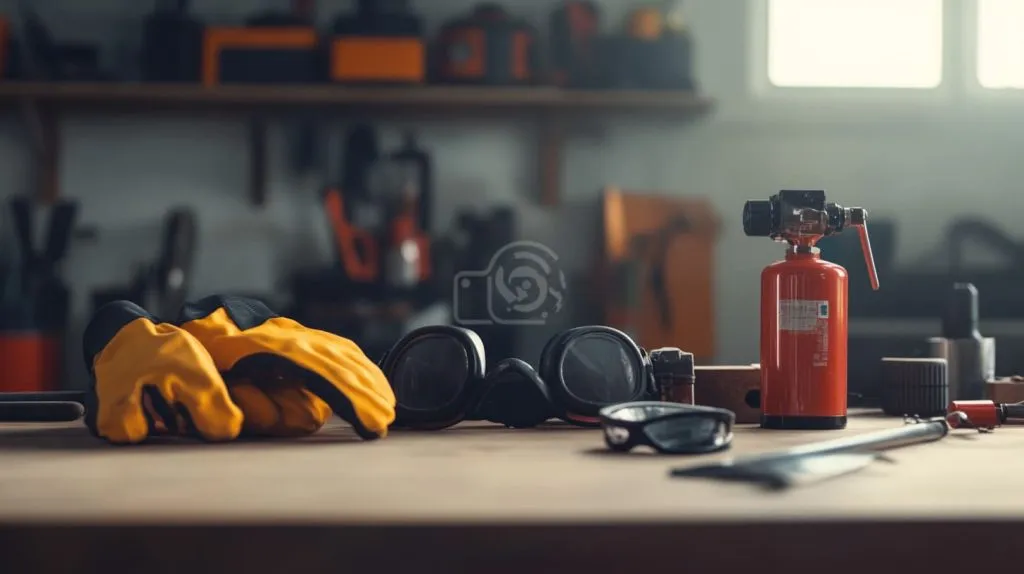
When melting and molding plastic at home, safety should always come first. This process requires extremely high temperatures and includes highly toxic fumes and flammable materials. So it’s doubly important to go into each phase with a safety-first mindset. Staying informed and adopting the right precautions makes your workspace safer, safer for your employees, and preserving their health and workspace.
Here’s what you should know about these crucial precautions.
Wear Protective Gear
Equipping yourself with the proper protective equipment, gear, and clothing is your first line of defense against the hazards. Wear heavy-duty heat-resistant gloves to protect your hands from burns and chemical burns. Safety goggles protect your eyes from dangerous projectiles or even chemical splashes.
A respirator, especially a gas mask, provides another level of protection from hazardous fumes. For instance, 3M masks are widely used and consist of four parts: the mouthpiece, filter cartridge, dust filter holder, and dust filter. These masks can filter out harmful substances for up to 50 hours before needing a cartridge replacement.
Appropriate fit is extremely important—any gear that doesn’t fit properly or is too worn to function could cause injury. Essential items include:
- Heat-resistant gloves
- Safety goggles
- Respirator mask (e.g., 3M models)
Avoid Toxic Fumes
Melting plastics like ABS and PS can release fumes 5 to 7 times more than others, containing harmful compounds like benzene and styrene. Benzene is a recognized carcinogen, and styrene and ethylbenzene are believed to be probable carcinogens.
To reduce your exposure, work in a ventilated area—use exhaust fans in your workspace or a fume extraction system. Activated carbon filters (ACF) are one of the safest, most effective technologies for removing airborne toxins. Know your exposure, and keep as much distance as possible from the source of fumes where levels can be up to 14 times the acceptable maximum.
Washing the plastic well prior to melting cuts down on impurities that create toxic fumes.
Prevent Burns and Injuries
There is no room for error when handling hot materials. Three use clear, tidy tools to avoid excess clutter and create hazardous spaces and distractions. Being equipped with simple first aid measures for burns can make all the difference during a burn emergency.
For example, dousing the affected area in cool water can go a long way. Injury prevention tips include:
- Never touch hot surfaces directly
- Use heat-resistant tools
- Keep a clear workspace
Fire Safety Measures
As noted previously, fires are a very serious hazard when working with high temperatures. A fire extinguisher should be easily accessible at all times, and you should know how to use it.
Prevent the accumulation of combustibles such as paper, fabric, or other flammable materials around melters and work with a clean, orderly work area. Fire safety essentials include:
- Fire extinguisher on hand
- Knowledge of fire protocols
- Removing flammable materials
Disposal and Cleaning
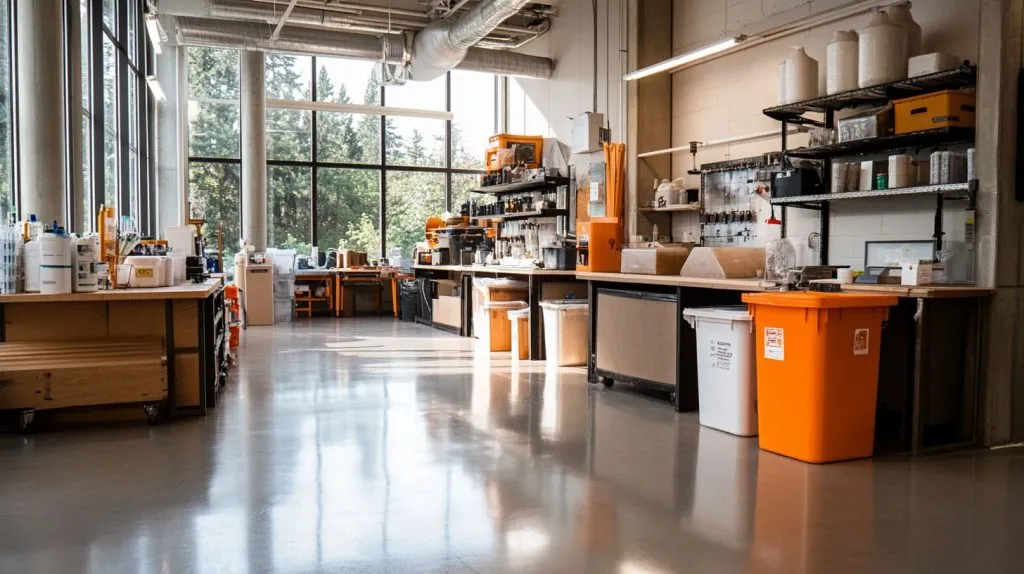
When working with melted plastic at home, proper disposal and thorough cleaning are essential steps to maintain safety and environmental responsibility. These practices reduce waste while preventing the disposal of tools and equipment and maximizing their value for future use.
In doing so, we preserve the earth’s resources and promote sustainability. Here’s a closer look at the best ways to dispose of plastic waste and keep our communities clean.
Proper Waste Disposal
Be sure to follow local regulations regarding the disposal of melted plastic waste. Communities often have strict, narrow guidelines for plastic disposal, and it’s best to do your homework on the community rules to avoid any harm.
In some places, you can recycle almost any plastic. In some places, you’re forced to throw them away as regular trash. Keeping recyclable materials separate from non-recyclable ones is a critical first step.
For example, thin thermoplastic scraps might be recyclable, but Styrofoam dissolved in acetone has generally been labeled too contaminated. Store waste in company-approved, durable containers until you’re ready to dispose of them.
This prevents airborne contamination and helps you maintain a tidy work area. You can create a checklist for proper disposal, such as:
- Identify the type of plastic waste.
- Check local recycling or disposal guidelines.
- Separate recyclable and non-recyclable items.
- Use labeled containers for storage.
Clean Melting Equipment
Cleaning your tools and equipment after each time you melt plastic is essential to preventing contamination in future projects. Step one—Wash surfaces, containers, and tools with hot, soapy water.
This technique is great for heat-proof containers, long-handled tweezers, and other laboratory-handling tools. If using acetone to melt Styrofoam, wash the chemical-resistant container well after use to eliminate any chemical residues.
Thoroughly dry all equipment, taking care to dry inside of all folds, before storing. For instance, drying metal hand tools to prevent rust and making sure plastic containers and bags are dry to prevent breaking can be included.
Use this step-by-step cleaning guide:
- Wash tools and containers with warm, soapy water.
- Scrub any residues to avoid contamination.
- Rinse thoroughly and allow to air dry.
- Store in a clean, dry place.
Environmental Considerations
Melting plastic into new products at home has as much or more impact on the environment. Burning plastic releases toxic fumes into the air and puts communities at risk.
Use heat-proof containers and a heat source you can control, such as an oven preheated to 300°F. If you chose acetone as your solvent, dispose of styrofoam in small pieces to reduce waste.
Look for environmental options like turning remaining material into new work. Learning more about sustainable solutions, like being able to recycle thermoplastics, is one way to help lessen our environmental impact.
Checklist for environmentally friendly practices:
- Wear a respirator and gloves to protect against toxic fumes and chemical burns.
- Melt plastic on heat-proof surfaces.
- Choose reusable or recyclable materials for crafting.
- Avoid burning plastic to reduce air pollution.
Conclusion
It’s easy to see why melting and molding plastic at home has become a fun and exciting creative adventure. With the correct materials and proper safety precautions in place, you can transform old plastic into something practical—or pure artistic expression. Whether you’re crafting custom molds, fixing broken items, or exploring a new hobby, this process gives you control over shaping and repurposing materials. The joy and satisfaction of creating something with your own two hands is really tough to surpass—unless it’s something useful, beautiful, and earth-friendly.
Remember to be aware of safety and clean up at all times in order to have a successful experience. With some thoughtful planning and a dash of diligence, you’ll be rewarded with exceptional output. Give it a shot, and come along with us to discover what creative opportunities wait just beyond the limits of home. Your next Maker Home project could be just around the corner!