Skip to content
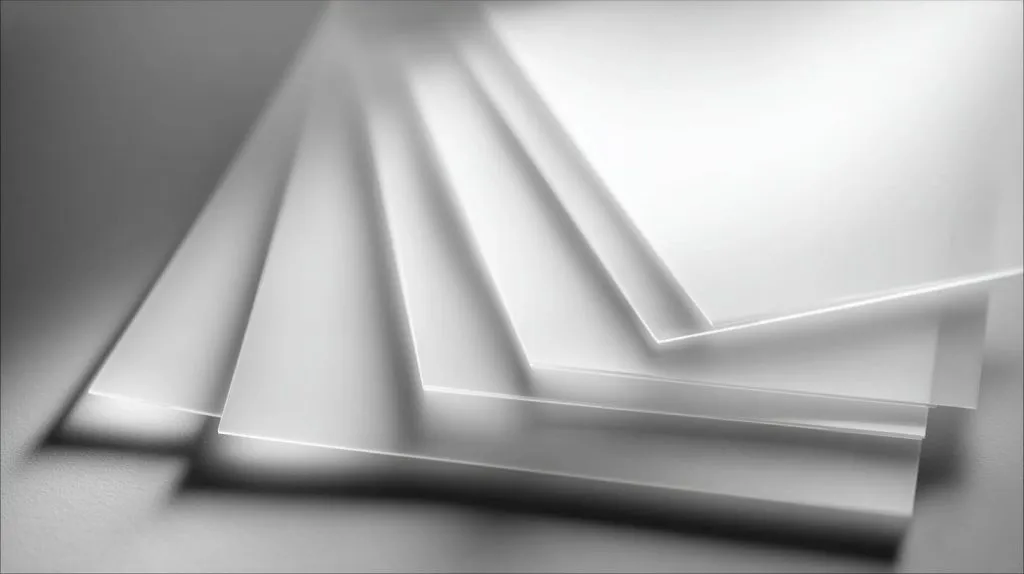
I deal with acrylic light diffuser sheets almost every week. They look simple. Flat. Quiet. But once light hits them, every cut shows its truth. A clean edge keeps light calm. A bad cut turns a soft panel into a bright problem.
Acrylic light diffuser sheets spread light. They hide LEDs. They reduce glare. They shape how people feel in a space. When I cut them wrong, the light tells on me right away. Hot spots appear. Shadows look uneven. Frames stop fitting.
I see designers struggle with cracks, burn marks, or edges that look fine on the bench but fail under light. This guide is for people like Jacky. Buyers and designers who already know acrylic, but want fewer surprises when drawings turn into real parts.
What always guides me here is a simple rule: if a diffuser looks fine before lighting, that means nothing—light is the real inspector.
That idea leads straight into material choice, because not all diffuser sheets behave the same once you cut them.
What types of acrylic light diffuser sheets are commonly used?
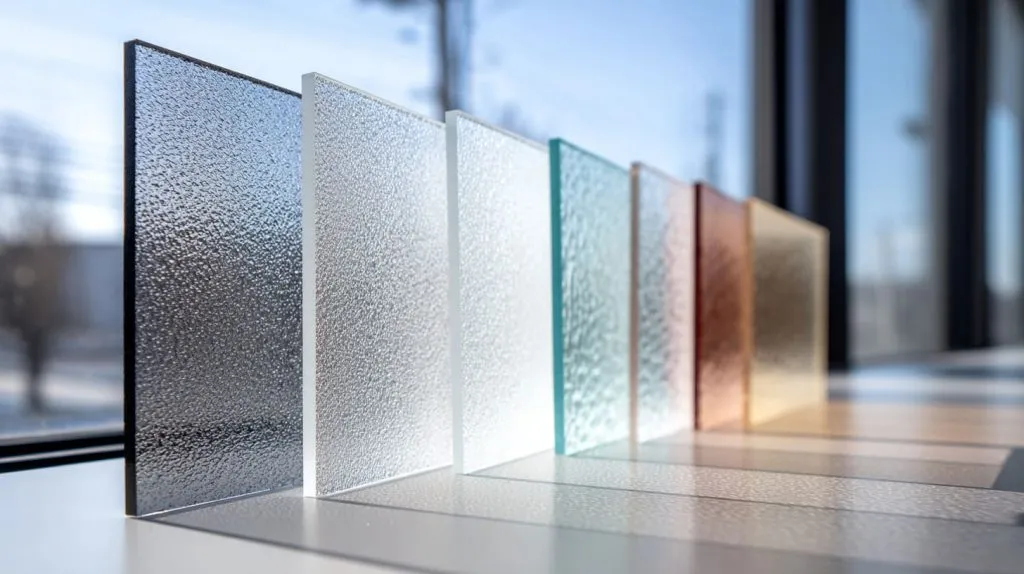
Clear acrylic vs frosted acrylic diffusers
Clear acrylic diffusers rely on surface treatment. Frosted sheets diffuse light through texture. Clear sheets need distance from the LED. Frosted ones forgive bad spacing but show edge flaws more easily.
Opal (milky white) acrylic diffuser sheets
Opal acrylic is my default for LED panels. It hides point light well. It cuts softer. It also burns easier if tools are wrong. Color tone matters here. Cheap opal turns yellow under heat.
Prismatic and textured diffuser panels
Prismatic sheets control light direction. They look great in offices. They chip easily. Any edge defect becomes visible when panels align side by side.
Cast acrylic vs extruded acrylic for diffusers
Cast acrylic cuts cleaner. Extruded melts faster. Extruded saves cost. Cast saves time. This trade-off shows up fast in production.
Thickness ranges typically used for light diffusion
Most diffusers sit between 2 mm and 5 mm. Thin sheets flex and chatter. Thick sheets trap heat.
| Type | Common Thickness | Cutting Difficulty |
|---|---|---|
| Frosted | 2–3 mm | Easy |
| Opal | 3–5 mm | Medium |
| Prismatic | 3–4 mm | Hard |
When choosing material, I often ignore price first and check how visible the edge will be after installation.
Once material is set, tools become the next silent risk.
What tools can be used to cut acrylic light diffuser sheets?

Hand tools for small-scale or prototype cutting
Acrylic scoring knife
Good for straight cuts. Bad for thick sheets. Stress lines stay inside.
Hand saw and coping saw
Useful for quick fixes. Hard to control edge quality.
Power tools for workshop and factory cutting
Table saw with acrylic blade
Fast. Straight. Needs discipline with speed.
Circular saw and track saw
Good for large panels. Easy to chip exits.
Jigsaw for curves and cutouts
Flexible but risky. Blade choice decides everything.
CNC and laser cutting options
CNC router cutting for diffuser panels
Best control. Repeatable. Needs correct feeds.
Laser cutting limitations for diffuser acrylic
Looks clean at first. Often fails under light.
When laser cutting is not recommended for diffuser sheets
Opal and textured sheets suffer the most.
| Tool | Edge Quality | Heat Risk | Batch Suitability |
|---|---|---|---|
| Scoring knife | Low | None | Prototype |
| Table saw | Medium | Medium | Small batch |
| CNC router | High | Low | Mass production |
| Laser | Glossy | High | Limited |
I usually choose tools by asking one question: will this edge ever face the user’s eye?
Tool choice sets limits. Technique decides results.
How do you cut acrylic light diffuser sheets by hand?
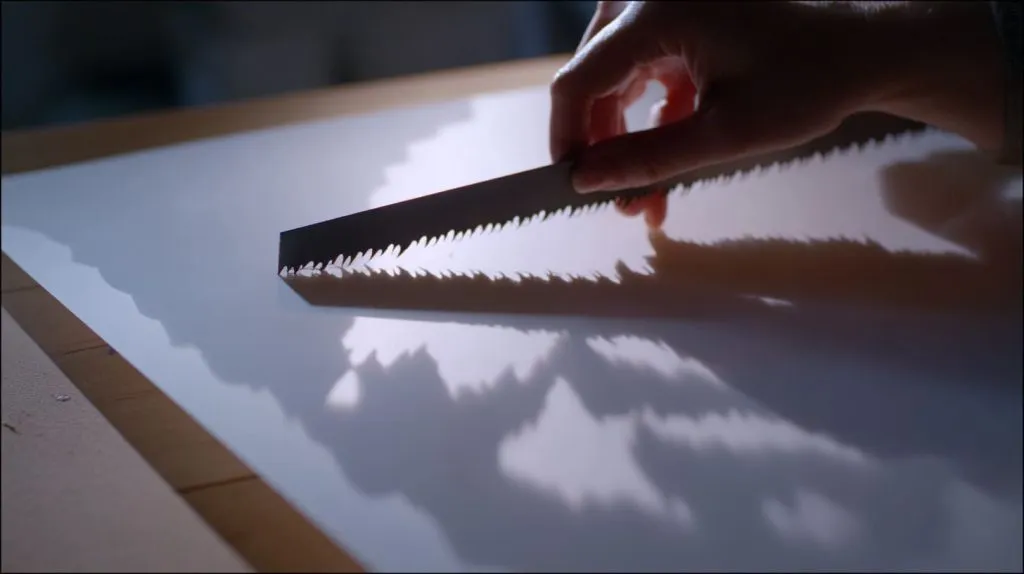
Preparing the sheet before cutting
Keep protective film on. Clean dust. Mark lines clearly.
How to score and snap acrylic diffuser sheets
Score deep. Repeat passes. Snap fast and clean.
Controlling pressure to avoid cracking
Too soft creates stress. Too hard causes chips.
Edge quality expectations with hand cutting
Edges look dull. Light leaks show later.
When hand cutting is not suitable
Anything over 3 mm or visible edges.
What often surprises people is how stress hides inside the sheet until LEDs turn on.
That leads many to try saws next.
How do you cut acrylic diffuser sheets with a saw?
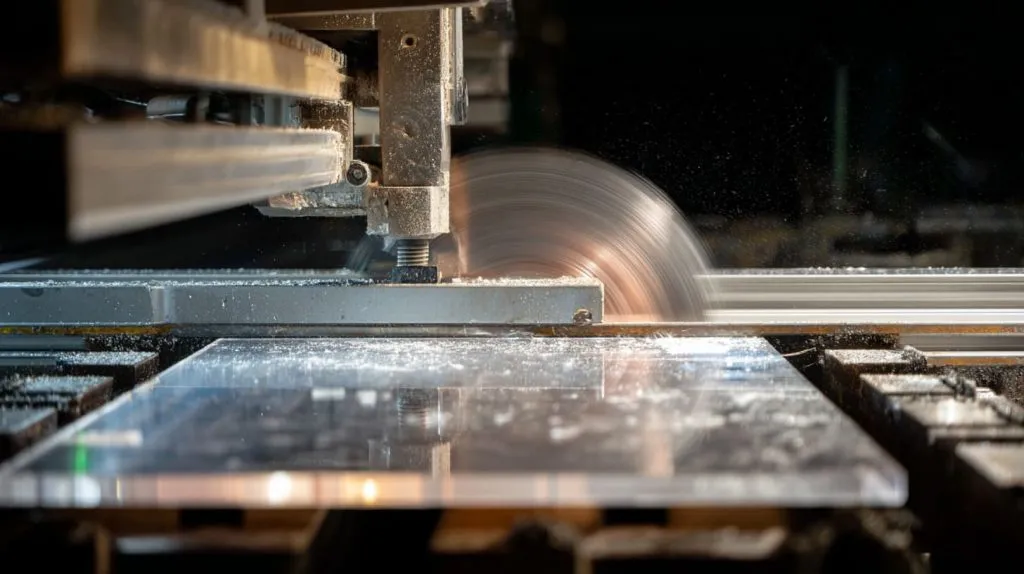
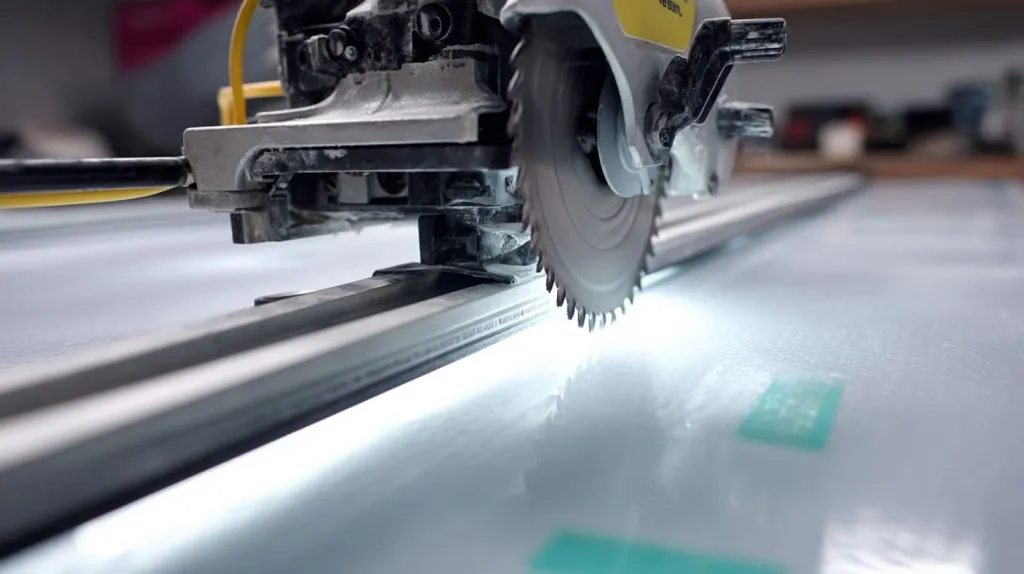
Choosing the right blade for acrylic diffusers
High tooth count. Negative rake.
Recommended blade tooth count and geometry
80–120 teeth for table saws.
Feed speed and cutting direction
Slow and steady. No pause mid-cut.
Preventing chipping and edge melting
Tape helps. Sharp blades matter more.
Supporting thin diffuser sheets during cutting
Full support prevents vibration marks.
| Issue | Cause | Fix |
|---|---|---|
| Melted edge | Slow feed | Increase speed |
| Chips | Wrong blade | Change blade |
| Wave marks | Poor support | Add backing |
I always listen to the sound of the cut. When acrylic screams, it’s already too late.
For precision and scale, routers change the game.
How do you cut acrylic diffuser sheets with a CNC router?
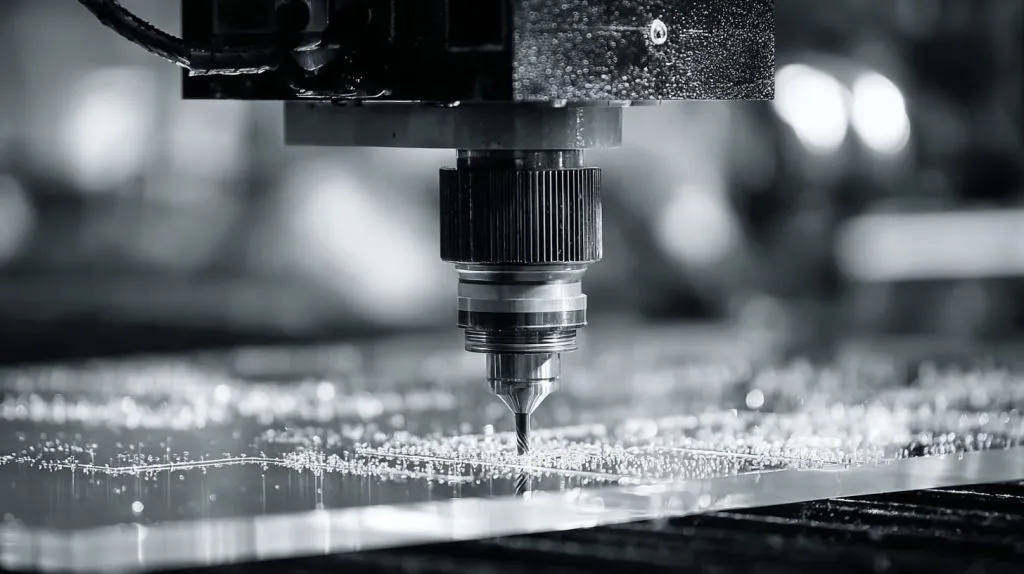
Bit selection for diffuser acrylic
Single flute. Polished. Sharp.
Spindle speed and feed rate guidelines
High feed beats high speed.
Single-pass vs multi-pass cutting
Thin sheets in one pass. Thick in steps.
Holding methods to avoid vibration marks
Vacuum tables help. Tape helps more.
Achieving consistent edges for light panels
Consistent chips mean consistent light.
CNC makes me calm because every panel behaves the same, and light rewards consistency.
Laser cutting feels tempting next—but rarely behaves.
Can you laser cut acrylic light diffuser sheets?
Why diffuser acrylic behaves differently under laser cutting
Fillers absorb heat unevenly.
Edge discoloration and burn marks on diffuser sheets
Yellow edges kill white light.
Light transmission issues after laser cutting
Edges glow. Panels fail visually.
Situations where laser cutting is acceptable
Clear acrylic. Hidden edges.
Alternative cutting methods to laser cutting
CNC or saw first. Polish later.
Laser edges look perfect on the bench but betray you the moment LEDs turn on.
Cracking becomes the next enemy.
How do you cut acrylic diffuser sheets without cracking?
Understanding internal stress in acrylic sheets
Extruded sheets hold stress.
Temperature and environment considerations
Cold shops crack sheets faster.
Proper clamping and support techniques
Too tight clamps create fractures.
Avoiding micro-cracks near cut edges
Sharp tools only.
Post-cut stress relief methods
Annealing helps in critical parts.
Cracks are rarely caused by one mistake. They come from stacked small ones.
Heat control solves the next problem.
How do you cut acrylic diffuser sheets without melting?
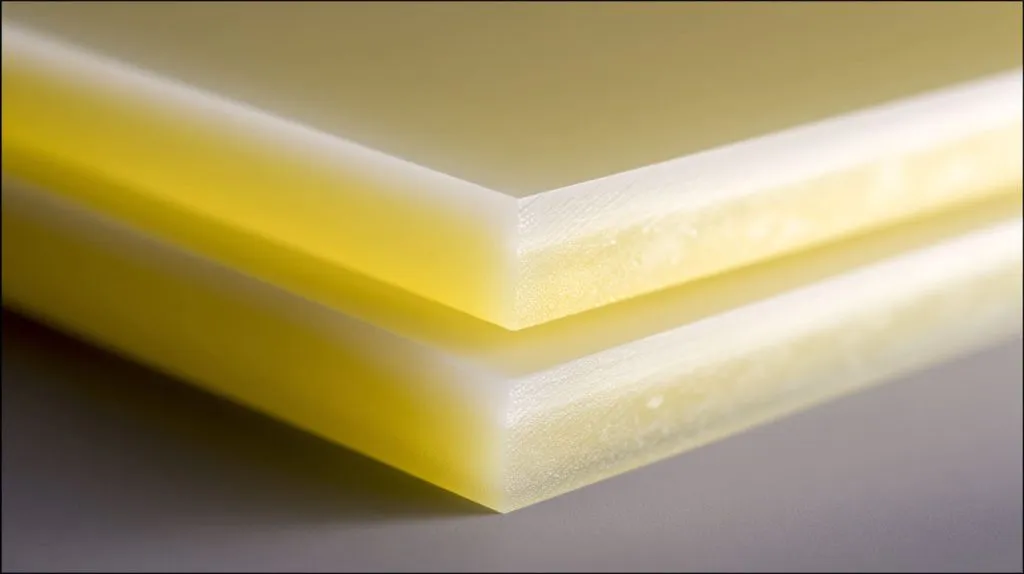
Heat buildup during cutting
Friction is the enemy.
Correct speed vs feed balance
Fast feed. Controlled speed.
Air cooling and chip evacuation
Air clears chips and cools edges.
Tool sharpness and maintenance
Dull tools cook acrylic.
Differences between cast and extruded acrylic behavior
Extruded melts first. Always.
I judge success by chip shape. Clean chips mean safe heat levels.
Curves bring a different kind of stress.
How do you cut curves or custom shapes in diffuser sheets?
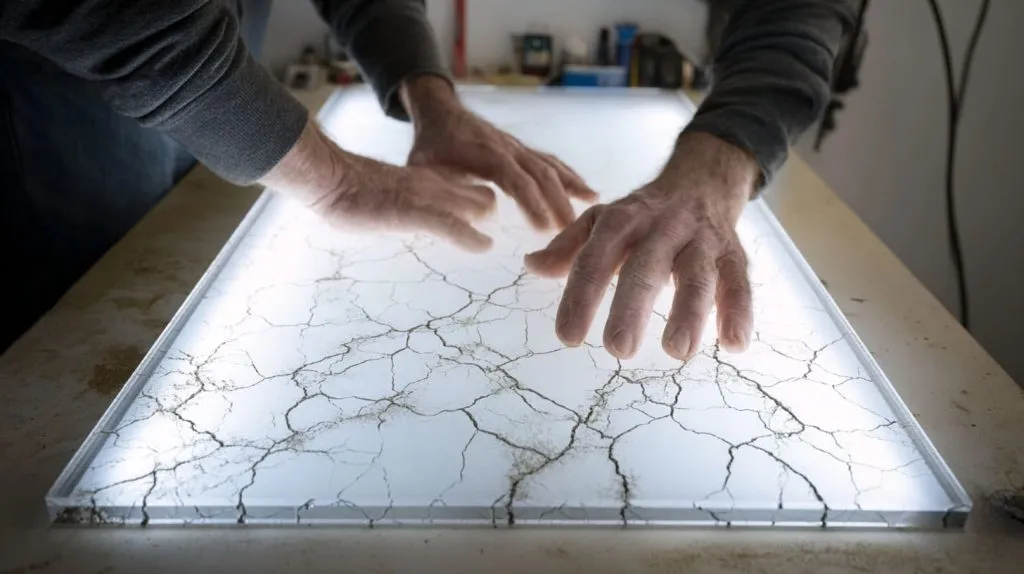
Using jigsaws for curved cuts
Slow speed. Fine blade.
CNC routing for complex diffuser shapes
Best option for symmetry.
Template-guided cutting techniques
Great for repeats.
Maintaining optical consistency in curved panels
Edges must stay uniform.
Common mistakes in shaped diffuser cutting
Rushing corners.
Curves expose mistakes faster than straight lines, especially under light.
Edges decide the final look.
How should cut edges of acrylic diffuser sheets be finished?
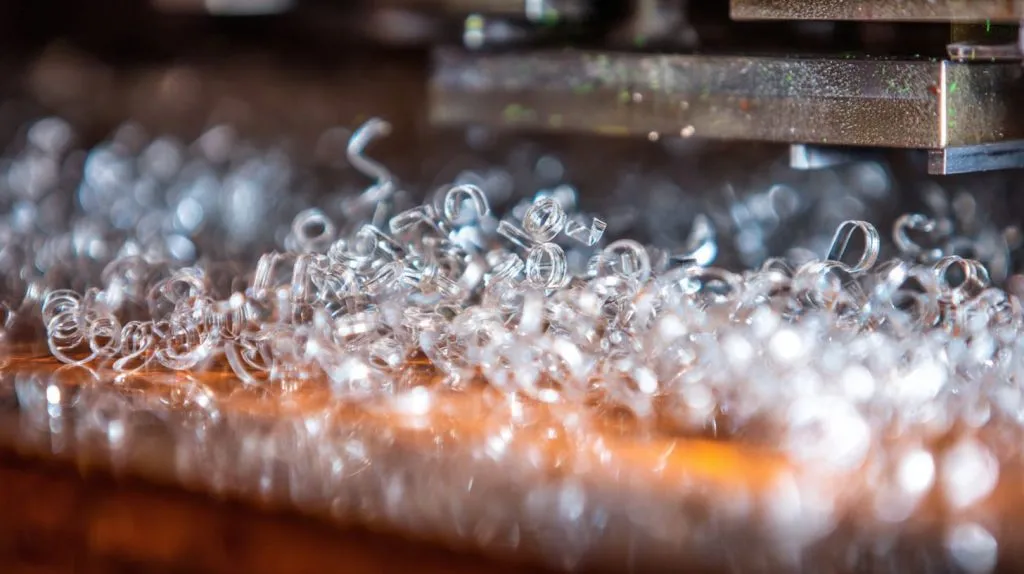
Sanding diffuser acrylic edges
Matte edges hide flaws.
Flame polishing vs mechanical polishing
Flame adds stress. Mechanical adds time.
Edge finish impact on light diffusion
Glossy edges glow.
When polished edges are unnecessary
Hidden frames don’t need beauty.
Factory-level edge finishing options
Diamond tools give balance.
I often leave diffuser edges matte on purpose. Clean light beats shiny edges.
Tolerance comes next.
What tolerances should designers allow when cutting diffuser sheets?

Dimensional tolerance expectations
±0.3 mm is realistic.
Thermal expansion considerations
Acrylic moves more than metal.
Fitment issues in aluminum or plastic frames
Too tight causes stress cracks.
Design tips for diffuser mounting
Floating beats forced fits.
Lessons from real factory production
Assemblies reveal truth.
| Material | Expansion Risk | Recommended Clearance |
|---|---|---|
| Acrylic | High | ≥0.5 mm |
| Aluminum | Low | ≥0.2 mm |
I design diffusers assuming the frame will fight them. Clearance keeps peace.
Safety keeps people working.
What safety precautions are needed when cutting acrylic diffuser sheets?

Personal protective equipment (PPE)
Eye protection always.
Dust and chip management
Chips cut skin easily.
Preventing sheet kickback
Support fully.
Handling sharp edges after cutting
Edges stay sharp longer than expected.
Workshop vs factory safety differences
Scale changes risk.
Safety habits grow from bad days. I learned that early.
Mistakes repeat until named.
Common mistakes when cutting acrylic light diffuser sheets
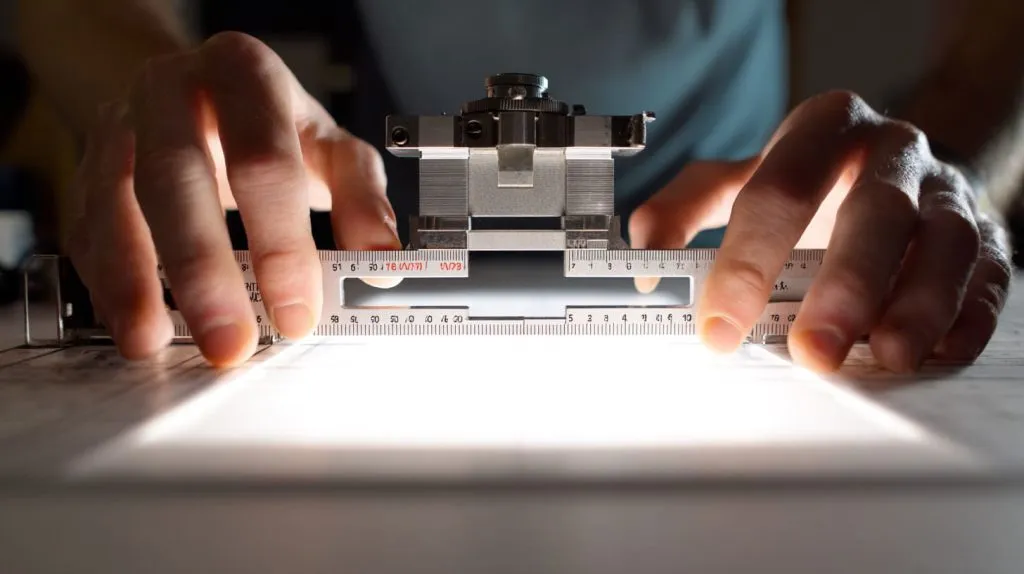
Using the wrong acrylic material
Price-first choices fail later.
Choosing incorrect tools or blades
Cutting too fast or too slow
Both cause damage.
Ignoring stress and heat buildup
Invisible problems surface under light.
Over-polishing diffuser edges
Too shiny creates glare.
Most failures come from copying methods meant for clear acrylic.
Factories face all of this at scale.
How do factories cut acrylic light diffuser sheets at scale?

Production-line cutting methods
CNC dominates.
Quality control checkpoints
Edges checked under light.
Consistency challenges in large batches
Tool wear changes results.
Yield optimization and waste reduction
Nesting saves cost.
Why OEM experience matters for diffuser panels
Experience prevents repeats.
Factory work taught me one thing: light never lies, even when measurements pass.
That belief shapes how I wrap this up.
Conclusion
I cut acrylic diffuser sheets the way I do because light has trained me to be honest. I learned that clean drawings mean little if edges glow. I learned that saving cost on material often costs more in rework. I learned that stress, heat, and tolerance talk to each other even when we ignore them.
I think diffuser acrylic needs different thinking than clear acrylic because its job is emotional, not structural. It shapes how people feel in a space. That makes small mistakes loud.
If you are designing diffuser panels, slow down at the cutting step. Ask how the edge will look under light, not under your desk lamp. If you want help translating drawings into stable, clean diffuser parts, that’s exactly the kind of work we do at Feilong Acrylic.