Skip to content
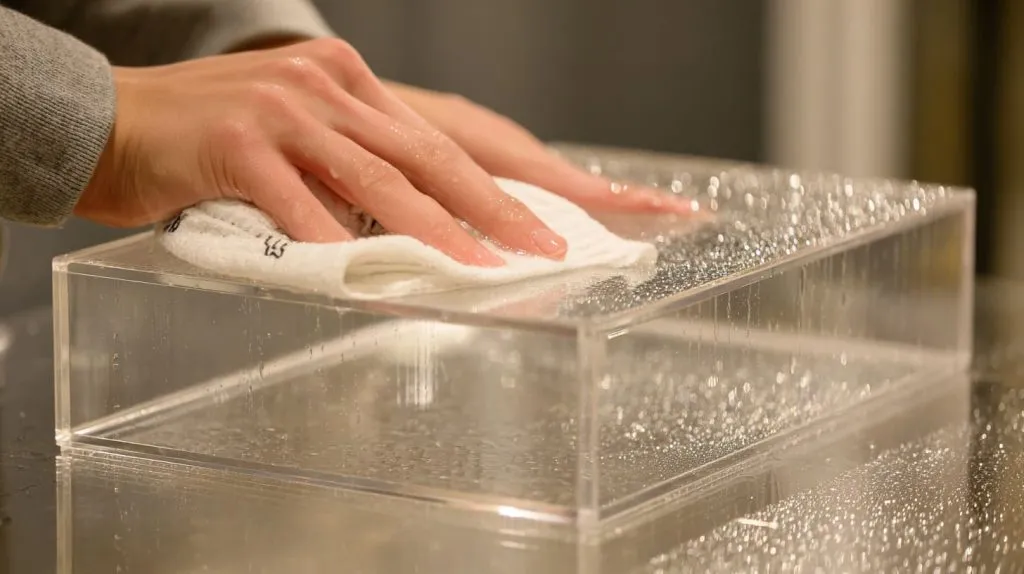
Acrylic has a funny way of looking expensive right up until the moment someone cleans it the wrong way. I have seen a clear display stand look sharp in the morning and tired by the afternoon, all because somebody grabbed the nearest paper towel and glass cleaner without thinking twice. The material itself was still good. The problem was the cleaning habit.
The safest way to clean and maintain plexiglass acrylic is to use mild soap, lukewarm water, and a soft microfiber cloth, while avoiding harsh chemicals, rough materials, and dry wiping. That simple habit keeps acrylic clearer, smoother, and more professional-looking for much longer.
I think this topic matters more than many people expect. Plexiglass acrylic shows up in retail displays, cosmetic organizers, machine guards, signage, storage boxes, and furniture parts. It is beautiful when it is clean. It is also unforgiving when people treat it like ordinary glass. My goal here is simple. I want to break down the cleaning and maintenance methods that actually work, so buyers, designers, and users can protect the look and value of acrylic for the long run.
What Is Plexiglass Acrylic and Why Does It Need Special Care?
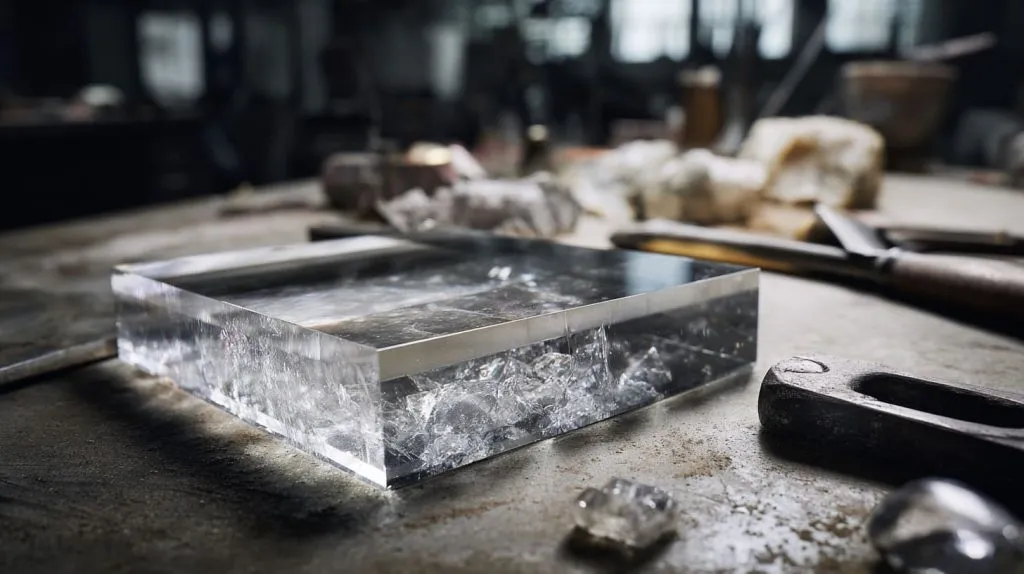
Plexiglass acrylic looks simple from the outside. It is clear. It is smooth. It feels modern. That clean look tricks many people into thinking it can be handled like glass. I do not think that is a small mistake. In real use, that one wrong assumption causes a surprising amount of damage.
What makes acrylic tricky is not that it is weak. It is that it behaves differently. It is lighter than glass. It is easier to shape. It often has better visual warmth. But it also scratches faster, attracts dust, and reacts badly to some cleaners.
I have seen this confusion a lot in custom projects. A buyer chooses acrylic because it looks neat and premium. Then the maintenance team cleans it like a window. A few weeks later, the surface loses its sharp look. The buyer blames the material. The real issue was the care method.
One thing I pay close attention to is whether the user understands acrylic as a display material or treats it like a hard architectural surface, because that small mindset gap usually decides how long the product stays attractive.
What Is Plexiglass Made Of?
Plexiglass is a common name for acrylic sheet. The technical material is usually PMMA, which stands for polymethyl methacrylate. That sounds formal, but in daily work I care more about what it means in practice.
It means acrylic is:
- clear and bright
- lighter than glass
- easier to cut and shape
- less likely to shatter than glass
- more sensitive to scratching and solvents
I often explain it in a simple way: acrylic gives you a clean, premium look without the weight and break risk of glass, but it asks for gentler handling in return.
Acrylic vs. Glass at a Glance
| Feature | Plexiglass Acrylic | Glass |
|---|---|---|
| Weight | Light | Heavy |
| Clarity | Very high | Very high |
| Impact resistance | Better than glass in many uses | More likely to crack or shatter |
| Scratch resistance | Lower | Higher |
| Easy to fabricate | Yes | Less flexible |
| Chemical tolerance | More limited | Usually better |
That trade-off is why acrylic is popular in displays, stands, boxes, and guards. It gives designers freedom. Still, freedom always comes with a price. Here, the price is careful maintenance.
Why Acrylic Scratches and Clouds Easily
Acrylic scratches more easily because its surface is softer than glass. That is the simple truth. Dust looks harmless. It is not. Dust can carry tiny gritty particles. When someone wipes a dusty panel dry, they are basically rubbing fine debris across the surface.
Static makes the problem worse. Acrylic tends to attract dust. So even when it looks clean from a distance, it may still have a thin layer of particles sitting on it.
Then there is the chemical side. Acrylic does not like many strong cleaners. Some products leave haze. Some weaken the surface. Some can even lead to stress cracking over time.
I have learned to be skeptical when someone says, “We have always used this cleaner on everything,” because everything is exactly where acrylic gets damaged.
Common Reasons Acrylic Loses Clarity
| Cause | What Happens | Long-Term Result |
|---|---|---|
| Dry wiping | Dust drags across surface | Fine scratches |
| Glass cleaner | Chemical attack on surface | Haze or dullness |
| Rough cloth | Abrasion marks | Loss of gloss |
| Strong solvent | Surface stress or cracking | Permanent damage |
| Poor storage | Friction and pressure marks | Surface wear |
Where Plexiglass Is Commonly Used
Acrylic turns up in more places than many people notice. I see it most often in:
- retail display stands
- cosmetic organizers
- brochure holders
- menu stands
- sign holders
- machine covers
- sneeze guards
- storage boxes
- furniture parts
- frames and blocks
That range matters. A machine guard and a cosmetic display do not live the same life. One faces industrial dust. One faces fingerprints, oils, and constant wiping. So the cleaning plan should match the use, not just the material name.
I think that is where many maintenance guides stay too general. They explain the product, but not the real-world abuse it takes.
That difference leads naturally to the next question, because once I know what acrylic is, I need to know how to clean it without slowly ruining it.
What Is the Safest Way to Clean Plexiglass Acrylic?
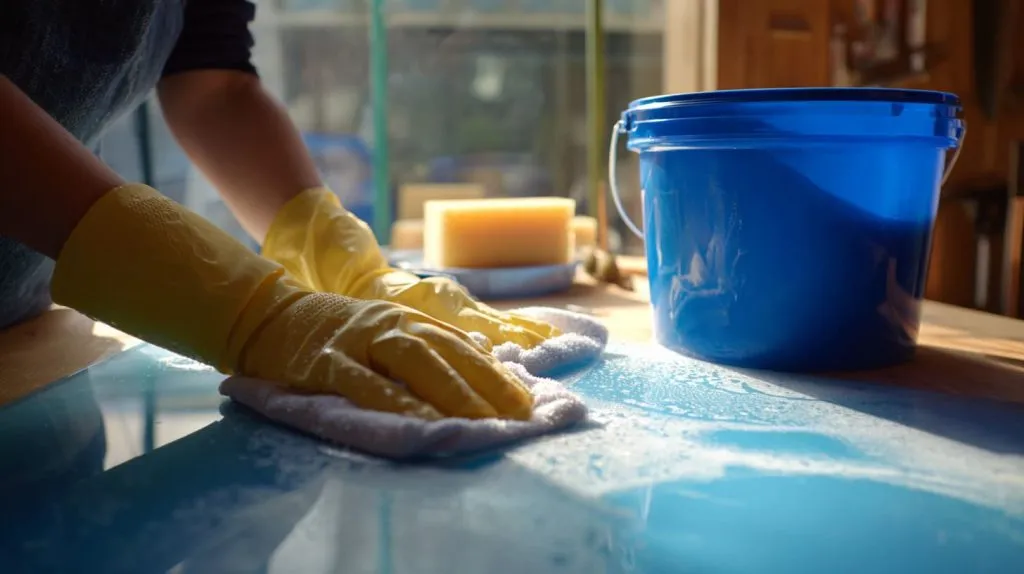
Safe cleaning sounds boring until you compare the cost of safe cleaning with the cost of replacing scratched panels. Then it becomes very interesting.
I always prefer the simplest method first. Not because simple sounds nice, but because simple usually creates less risk. With acrylic, the safest routine is not complicated. The hard part is getting people to stick to it.
When I review an acrylic cleaning process, I care less about whether it looks fast and more about whether it avoids friction at the dusty stage, because that early contact is where good-looking panels quietly start to age.
Basic Cleaning Method
The safest method uses three basic things:
- lukewarm water
- mild soap
- a soft microfiber or soft cotton cloth
That is it for most daily care.
I do not start with fancy chemical products unless the situation really needs them. In many cases, fancy cleaners add risk without adding much value.
Simple Cleaning Formula
| Item | Best Choice | Why It Works |
|---|---|---|
| Water | Lukewarm | Helps lift dirt without shocking surface |
| Soap | Mild dish soap | Cuts light grime safely |
| Cloth | Microfiber | Soft and low-abrasion |
| Sponge | Soft, non-abrasive | Useful for larger surfaces |
| Drying cloth | Lint-free | Reduces marks and residue |
Step-by-Step Cleaning Process
Here is the process I trust most:
Blow off or rinse off loose dust first.
I never jump straight into wiping if dust is visible.Mix mild soap with lukewarm water.
Keep it gentle. No strong detergent.Wet the surface lightly.
I want the dirt lifted, not ground into the panel.Wipe with a soft microfiber cloth.
Use light pressure. Let the cloth do the work.Rinse with clean water.
This helps remove soap film.Dry with a clean lint-free cloth.
Pat or wipe softly. Do not scrub.
That order matters. If I change the order and wipe first, I raise the risk fast.
A Practical Cleaning Routine
| Situation | Cleaning Method | Frequency |
|---|---|---|
| Light dust | Air blow + damp microfiber | Daily or as needed |
| Fingerprints | Mild soap solution + microfiber | As needed |
| Cosmetic residue | Mild soap, soft cloth, extra rinse | Same day |
| General retail use | Gentle wipe after dust removal | Daily |
| Deep cleaning | Full wash and dry | Weekly or biweekly |
Recommended Cleaning Tools
A good tool choice makes cleaning easier and safer. I usually recommend:
- microfiber cloths
- soft cotton cloths
- soft sponges
- spray bottle for diluted soap solution
- acrylic-safe cleaner for special cases
I avoid any tool that feels rough in the hand. If it feels scratchy on my skin, I do not want it touching a glossy acrylic panel.
My Go-To Tool Kit
| Tool | Use | My View |
|---|---|---|
| Microfiber cloth | Everyday cleaning | Best all-around choice |
| Soft sponge | Larger surfaces | Good if fully clean |
| Spray bottle | Controlled application | Helps avoid over-wetting |
| Lint-free towel | Final drying | Good for reducing marks |
| Acrylic-safe spray | Premium display maintenance | Useful, but not always necessary |
Good cleaning is only half the story, though. Many acrylic problems do not come from what people use correctly. They come from what people should never have used in the first place.
What Should You Never Use to Clean Plexiglass?
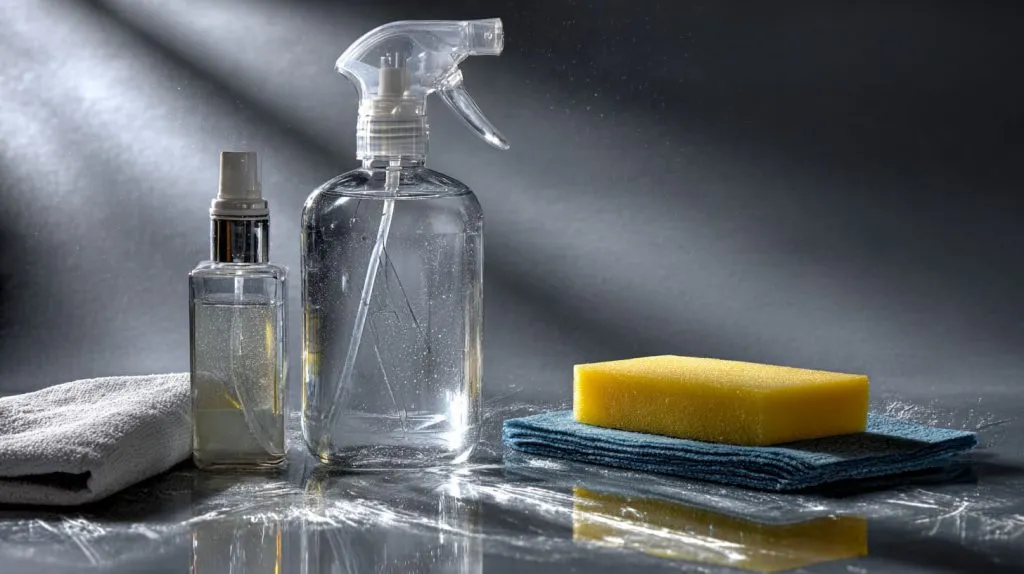
This part saves people the most trouble. Most of the damage I see on acrylic is not caused by age. It is caused by the wrong cleaner, the wrong cloth, or the wrong rush.
Some mistakes are so common that they almost feel normal. Paper towels. Window spray. Alcohol-heavy cleaner. Hard scrubbing. They are easy. They are cheap. They are also exactly why a clean acrylic panel starts looking old too soon.
I tend to judge a cleaning setup by the “worst thing within reach,” because in busy stores and workshops people often grab whatever is closest, not whatever is correct.
Chemicals That Damage Acrylic
Acrylic does not handle all cleaners well. The usual problem products include:
- ammonia-based glass cleaners
- acetone
- lacquer thinner
- strong solvents
- alcohol-heavy cleaners
- harsh industrial degreasers
These may clean glass or metal just fine. Acrylic is different. Some of these products can cause haze. Some can dull the shine. Some may create tiny stress cracks that show up later.
Risky Chemicals Table
| Chemical Type | Safe for Acrylic? | Typical Damage |
|---|---|---|
| Ammonia-based glass cleaner | No | Cloudiness, surface dullness |
| Acetone | No | Surface attack, cracking |
| Strong solvent | No | Permanent damage |
| Heavy alcohol cleaner | Usually not ideal | Drying, haze, stress |
| Mild soap | Yes | Safe routine cleaning |
This is where I think buyers sometimes get misled by convenience. A cleaner may look professional because it comes in a branded spray bottle. That does not mean it is acrylic-safe.
Materials That Cause Scratches
The wrong material can do as much damage as the wrong chemical. I stay away from:
- paper towels
- abrasive pads
- rough rags
- dirty cloths
- scrub brushes
- old sponges with trapped grit
Paper towels are a classic problem. Many people do not see them as rough. On acrylic, they often are.
Material Risk Comparison
| Material | Risk Level | Reason |
|---|---|---|
| Clean microfiber cloth | Low | Soft and safe |
| Soft cotton cloth | Low | Good when clean |
| Paper towel | High | Rough fibers can scratch |
| Abrasive pad | Very high | Fast surface damage |
| Dirty rag | High | Hidden grit scratches surface |
Common Cleaning Mistakes
I see these mistakes again and again:
- wiping dust off a dry panel
- spraying glass cleaner straight onto acrylic
- pressing hard to remove marks
- reusing dirty cloths
- cleaning in a rush during busy retail hours
- stacking panels without protection after cleaning
That last one gets overlooked. A surface can be cleaned well and still get damaged a few minutes later by careless handling.
Mistakes and Their Consequences
| Mistake | Why People Do It | What Usually Happens |
|---|---|---|
| Dry wiping | Fast and convenient | Fine scratching |
| Using glass cleaner | Habit from glass care | Haze or dullness |
| Hard scrubbing | Trying to remove marks faster | Surface wear |
| Dirty cloth reuse | Saving time | Random scratches |
| Poor post-clean handling | Lack of care after cleaning | Fresh damage |
Once damage appears, the next question becomes obvious. Can I fix it, or is it already too late?
How Can You Remove Scratches or Restore Cloudy Plexiglass?
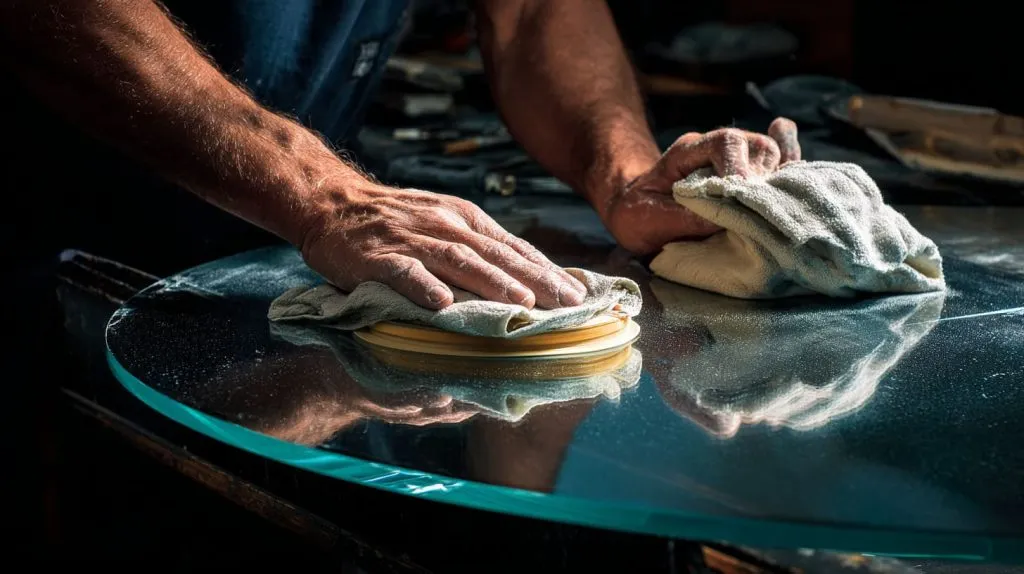
This is the part where people usually hope for a miracle. Sometimes they get one. Sometimes they do not.
Light scratches can often be improved. Haze can sometimes be reduced. Deep damage is another story. I try to stay realistic here, because bad advice wastes time and can make the panel look worse.
The first thing I decide is whether the defect is cosmetic, repairable, or already expensive enough that replacement makes more sense.
Removing Light Scratches
For light scratches, I usually look at:
- acrylic polish
- plastic polish
- micro-polishing compounds
- soft buffing cloths
The idea is simple. These products smooth the tiny marks and bring back some clarity.
A Basic Light Scratch Method
- Clean the panel first.
- Make sure no dust remains.
- Apply acrylic-safe polish.
- Buff gently with a soft cloth.
- Check the surface in angled light.
- Repeat only if needed.
I do not rush this step. Fast rubbing often creates heat and uneven shine.
Repairing Moderate Scratches
Moderate scratches are harder. They often need wet sanding with very fine sandpaper, then polishing in stages.
Typical steps may include:
- very fine wet sandpaper
- sanding from finer to finer grit
- polishing compound
- final buffing
This process can work well, but it also carries risk. Uneven sanding can leave distortion. On display-grade acrylic, that matters a lot.
Scratch Repair Options
do not like treating every scratch the same, because that is where many repair attempts go wrong. A light hairline mark and a deep gouge may both look annoying, but they do not deserve the same fix. If I choose a repair method that is too aggressive, I can easily turn a small surface issue into a bigger visual problem.
| Damage Type | Best Repair Option | Risk Level | How I Usually Judge It |
|---|---|---|---|
| Light hairline scratches | Acrylic polish or plastic polish | Low | I usually try this first because it is gentle and often improves the surface enough without creating new marks. |
| Medium scratches | Wet sanding followed by polishing | Medium | I only use this when the scratch is visible enough to justify more work, because uneven sanding can make the panel look worse. |
| Deep gouges | Heavy correction or full replacement | High | I often lean toward replacement here, especially when the panel is part of a premium display and surface clarity matters. |
| General haze or dullness | Acrylic restoration polish | Low to medium | I think this is often worth trying when the issue is surface wear rather than deep physical damage. |
Restoring Hazy or Dull Surfaces
Haze can come from chemical damage, micro-scratches, or surface wear. I first try to identify the real cause before I choose a fix.
If the haze comes from light wear:
- use acrylic restoration polish
- buff gently
- inspect under direct light
If the haze comes from many tiny scratches:
- consider a polishing kit
- use multi-step correction
- avoid aggressive shortcuts
If the haze comes from chemical damage:
- results may be limited
- sometimes replacement is the cleaner answer
That last point matters. I do not like pretending every problem has a rescue method. Some panels can be improved. Some should be replaced before more labor gets wasted.
When Repair Is Worth It
| Situation | Repair or Replace? | Why |
|---|---|---|
| Small display with light scratches | Repair | Low effort, good improvement |
| Premium retail panel with visible haze | Depends | Visual standard matters |
| Deep scratched machine guard | Replace often makes sense | Safety and clarity matter |
| Large installed acrylic panel | Repair first | Replacement may be costly |
After repair, the smarter move is not more repair. It is better prevention. That is where long-term maintenance starts paying off.
How Do You Maintain Plexiglass Acrylic for Long-Term Clarity?
Acrylic does not stay beautiful by accident. It stays beautiful because the routine is calm, gentle, and consistent.
I think many maintenance failures come from the fact that people only clean acrylic when it already looks bad. By then, dirt is heavier, wiping is rougher, and damage becomes more likely.
My own rule is simple: clean lightly and early, not heavily and late.
What often changes my decision is not how dirty the panel looks today, but how much rubbing tomorrow’s dirt will require if I ignore it now.
Regular Maintenance Routine
A good maintenance routine is usually boring. That is a compliment.
I prefer a schedule like this:
- remove dust lightly and often
- wipe fingerprints before they build up
- do gentle deep cleaning at regular intervals
- inspect the surface in good light
Example Maintenance Schedule
| Usage Environment | Dust Removal Frequency | Light Surface Cleaning | Deep Cleaning Routine |
|---|---|---|---|
| Retail display stands | Every day | Every 1–2 days | Once per week |
| Office sign holders | Every few days | Once per week | Once per month |
| Machine guards or covers | When dust becomes visible | Once per week | Depending on work environment |
| Household acrylic organizers | Once per week | Once per week | Once per month |
Preventing Static and Dust Attraction
Static is annoying because it invites dust back almost right after cleaning. That is why some acrylic surfaces seem to never stay clean.
I use these methods to reduce that problem:
- anti-static acrylic-safe cleaners
- clean anti-static microfiber cloths
- less dry rubbing
- storing panels with protective film before use
Not every project needs anti-static products. But for retail and display use, they can make daily care easier.
Static Control Comparison
| Method | Effectiveness | Notes |
|---|---|---|
| Anti-static cleaner | Good | Useful in display settings |
| Dry wiping | Poor | Can make static worse |
| Damp microfiber | Good | Helps reduce dust drag |
| Protective film before install | Good | Helps before final use |
Protecting Acrylic from Environmental Damage
Acrylic also ages because of its surroundings. Heat, sunlight, chemicals, and friction all matter.
I usually try to reduce exposure to:
- direct sunlight for long periods
- strong cleaning chemicals nearby
- rough storage conditions
- unnecessary contact with hard objects
Some acrylic grades handle outdoor use better than others. Still, even good material benefits from good habits.
Environmental Risks
| Risk | Typical Effect | Prevention |
|---|---|---|
| UV exposure | Yellowing or surface aging over time | Use proper grade, reduce long exposure |
| Chemical contact | Haze, cracking, dullness | Keep solvents away |
| Friction | Scratches | Separate surfaces during storage |
| Heat | Warping in some cases | Avoid poor storage conditions |
That routine becomes even more important in busy business settings, where acrylic is touched, cleaned, and judged every single day.
How Should Businesses Maintain Acrylic Displays and Retail Fixtures?
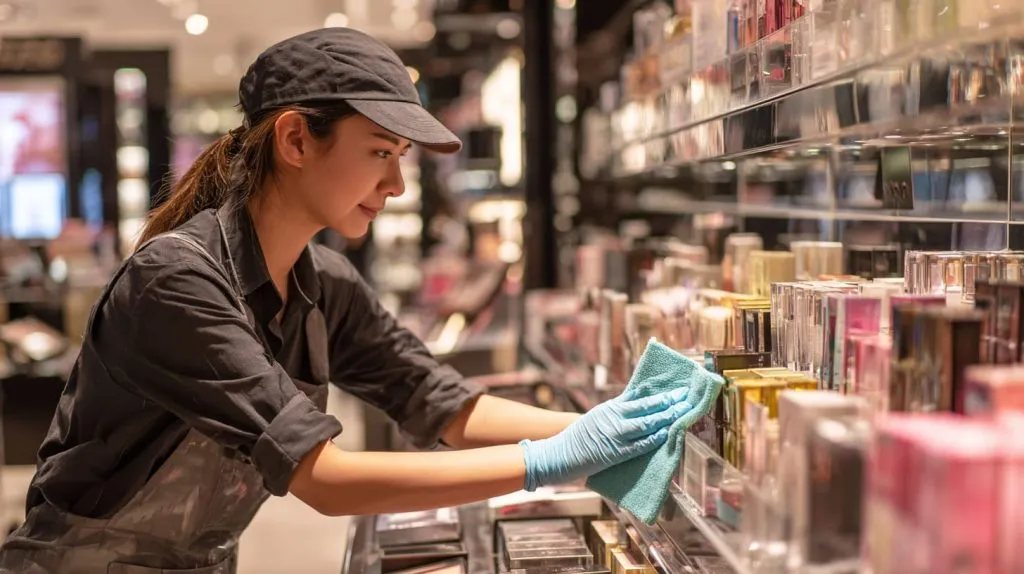
Business use is harder on acrylic. That is just reality.
A cosmetic display in a store does not live a quiet life. It deals with fingerprints, dust, product residue, customer contact, rushed staff cleaning, and sometimes careless storage in the back room. A brochure holder in an office may survive for years. A retail display can look worn out in weeks if the routine is bad.
I often look at staff behavior before I blame the material, because even good acrylic loses its appeal fast when ten different people clean it ten different ways.
Cleaning High-Traffic Acrylic Displays
For high-traffic displays, I like a simple two-level routine:
Daily care
- remove loose dust
- wipe fingerprints gently
- clean spills as soon as possible
Weekly care
- full surface wipe with mild soap solution
- corner cleaning
- inspection for scratches, chips, or cloudy areas
High-Traffic Display Cleaning Plan
| Task | Daily | Weekly | Monthly |
|---|---|---|---|
| Dust removal | Yes | Yes | Yes |
| Fingerprint cleaning | Yes | Yes | Yes |
| Soap wash | No | Yes | Yes |
| Scratch inspection | No | Yes | Yes |
| Staff review | No | No | Yes |
Handling Acrylic in Retail Environments
Retail damage often happens between uses, not during use. I have seen clean acrylic stands get thrown into storage without padding. I have seen staff stack them face to face. I have seen cleaners use the same rag on acrylic, metal, and glass in one round.
That kind of handling quietly destroys surface quality.
Better retail habits
- train staff on safe cloths and cleaners
- store displays with separators
- avoid stacking without protective sheets
- replace dirty cloths often
Maintenance Tips for Cosmetic and Store Displays
Cosmetic displays need extra care because makeup, oils, powders, and liquids can stick to the surface.
I recommend:
- wiping spills quickly
- avoiding strong remover liquids on acrylic
- using gentle soap solution for daily care
- checking corners where residue builds up
Cosmetic Display Risk Table
| Problem | Why It Happens | Better Response |
|---|---|---|
| Powder residue | Daily product handling | Soft damp wipe |
| Foundation stains | Spill or tester use | Clean quickly with mild soap |
| Surface haze | Repeated rough cleaning | Use softer cloth and safer cleaner |
| Corner buildup | Poor routine | Weekly detail cleaning |
I think a lot of business buyers underestimate how much maintenance affects appearance value. A scratched display may still function, but it no longer sells the same feeling. That is why cleaner choice matters too, especially when the surface needs more than soap and water.
What Are the Best Commercial Cleaners for Plexiglass Acrylic?
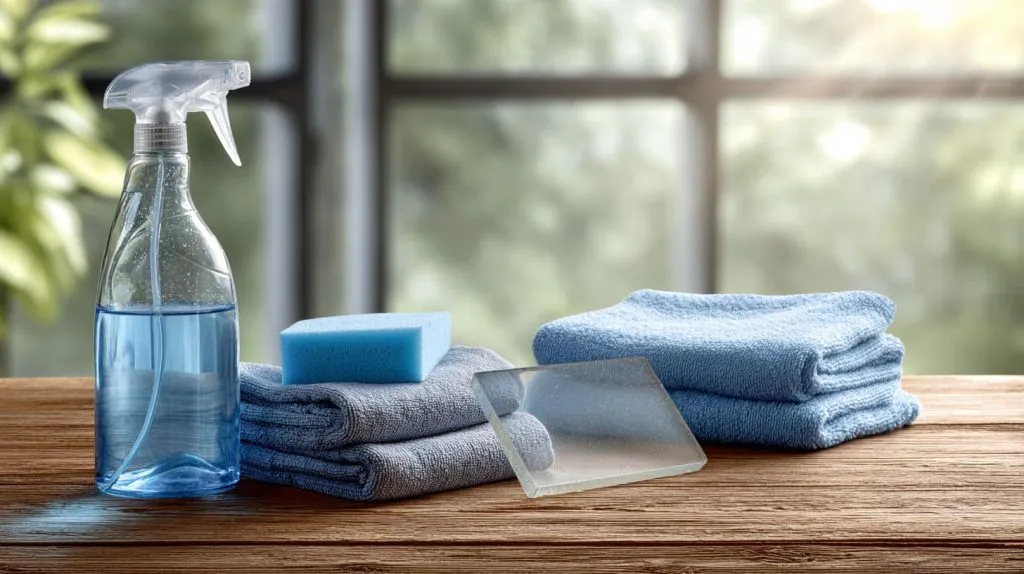
Commercial cleaners can be useful. They can also be unnecessary. I do not think the best cleaner is always the most expensive bottle on the shelf.
What I care about most is whether the cleaner is clearly safe for acrylic, whether it leaves residue, and whether the team using it will use it correctly.
The detail I weigh most is repeat use, because a cleaner that looks fine once can still cause slow surface fatigue after weeks of daily application.
Acrylic-Safe Cleaning Products
Specialized acrylic cleaners are designed to clean without attacking the surface. Some also reduce static and help repel dust.
These are often a good fit for:
- premium displays
- showroom fixtures
- museum-style installations
- high-visibility sign holders
I like them when appearance standards are high and when the surface gets frequent light cleaning.
What to Look for in a Commercial Cleaner
| Feature | Why It Matters |
|---|---|
| Marked safe for acrylic | Reduces chemical risk |
| Anti-static effect | Helps keep surface cleaner longer |
| Low residue | Better visual finish |
| Easy spray use | Good for staff consistency |
DIY Cleaning Solutions
For many normal jobs, DIY works perfectly well.
My first choice is:
- lukewarm water
- a small amount of mild dish soap
That mix is safe, affordable, and easy to control. I think it beats many aggressive cleaners simply because it respects the material.
DIY vs. Commercial Cleaner
| Option | Best For | Cost | Risk |
|---|---|---|---|
| Mild soap + water | Everyday cleaning | Low | Low |
| Acrylic-safe commercial spray | Premium display care | Medium | Low |
| Glass cleaner | Not recommended | Low | High |
| Heavy-duty solvent cleaner | Not recommended | Medium | Very high |
When to Use Professional Cleaning Products
There are times when I would choose a specialized product over soap and water.
For example:
- large showroom displays
- museum or gallery acrylic covers
- premium cosmetic counters
- installations where static dust is a big issue
In those settings, a purpose-made acrylic cleaner can save time and improve finish quality.
Even then, I do not stop at the bottle label. I still test carefully, especially when the acrylic finish is glossy, dark-colored, or highly visible under lighting.
Cleaner choice is only one layer of protection, though. Before acrylic reaches the user, a lot of its future condition depends on how it was packed, moved, and inspected.
How Do Manufacturers and Buyers Protect Acrylic During Use and Shipping?
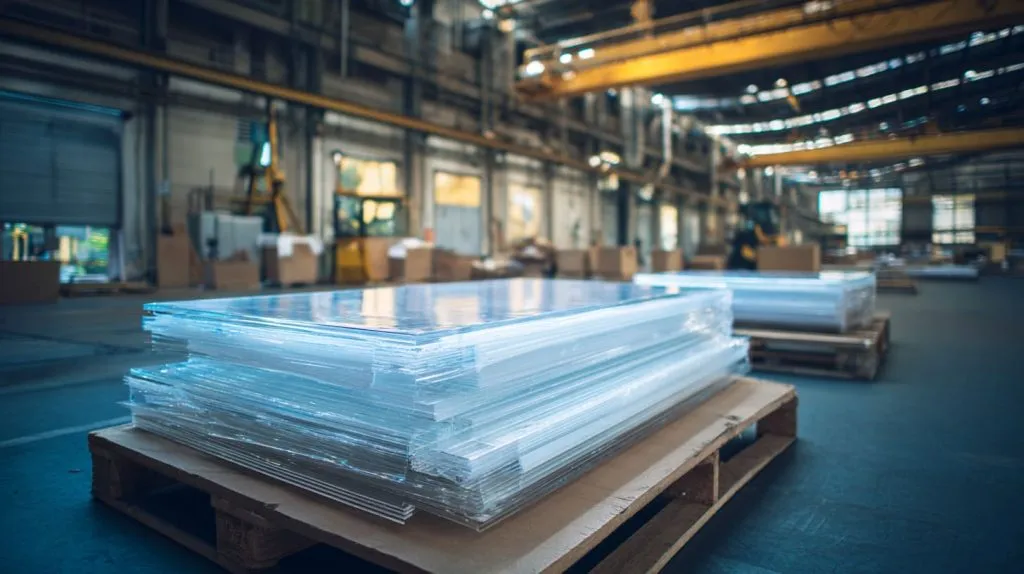
This part matters more in B2B work than many people say out loud.
Acrylic can leave the factory in excellent condition and still arrive looking tired if the packaging is careless. Then everyone starts asking the wrong question. They ask whether the material was bad. The real issue may have been friction during transport or film removed too early.
I usually judge acrylic protection by asking one blunt question: if the carton gets handled badly three times, what surface is taking that abuse?
Protective Film and Packaging
Protective film is one of the simplest and most useful defenses. It protects the surface during fabrication, transport, storage, and installation.
I like to see:
- protective film left on as long as possible
- foam separators between pieces
- soft wrapping materials
- stable carton design
Packaging Protection Table
| Protection Method | Purpose | My View |
|---|---|---|
| Protective film | Prevents scratches during handling | Essential |
| Foam sheet | Reduces rubbing | Very useful |
| Soft bag or wrap | Surface separation | Good for finished parts |
| Strong outer carton | Reduces impact risk | Necessary for shipping |
Storage and Transportation Tips
Good transport care is often simple, but it must be deliberate.
What I recommend
- do not stack heavy items on acrylic
- avoid face-to-face rubbing without separators
- keep sheets or products stable inside cartons
- store away from sharp tools and hardware
- move finished pieces with gloves when needed
I have seen scratches happen in the last ten minutes before loading. That is why I never think production quality ends at the polishing table.
Inspection Before Use
Inspection matters because not all damage is obvious in soft light. I like to check acrylic under brighter angled light before final packing or installation.
Key checks include:
- surface scratches
- edge chips
- haze
- pressure marks
- film condition
And one more thing matters: do not remove protective film too early. Many surfaces get damaged after the product is technically finished but before it is finally installed.
Pre-Use Inspection Checklist
| Check Point | Why It Matters |
|---|---|
| Surface clarity | Confirms finish quality |
| Scratch inspection | Finds handling damage |
| Edge condition | Catches chip risk |
| Film intact | Helps delay accidental damage |
| Packaging stability | Prevents transport friction |
That final check connects the whole story. Acrylic stays beautiful when care is built into every stage, not just when someone remembers to wipe it gently.
Conclusion
When I look at plexiglass acrylic over time, I come back to the same idea again and again: the material rewards gentle habits and punishes careless shortcuts. Mild soap, lukewarm water, soft microfiber cloths, dust removal before wiping, and acrylic-safe cleaners when needed — these are not fancy tricks. They are the basics that protect clarity, shine, and service life.
I also think the bigger lesson is easy to miss. Acrylic maintenance is not only about cleaning. It is about handling, storage, packaging, staff habits, and honest judgment about repair versus replacement. A panel may look premium when it is new, but it only keeps that look when the daily routine respects what the material is and what it is not.
For buyers, designers, and brands, that matters. Clear acrylic is often part of the product image itself. Once it turns hazy, scratched, or dull, the whole item feels cheaper. That is why I would rather prevent damage early than fight it later with polishing compounds and repair kits.
If you are sourcing custom acrylic products and want them to stay clear, neat, and professional from factory to final use, it helps to work with a supplier who understands not just how to make acrylic, but how to protect it at every step. That is the standard I believe in, and it is the standard worth asking for.