 Skip to content
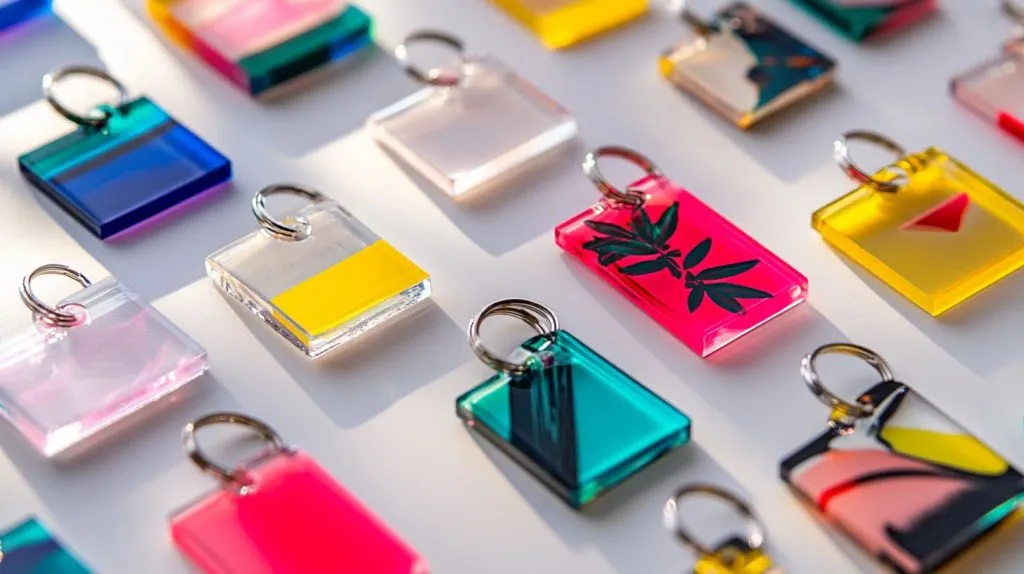
I remember the first time I tried to make my own acrylic keychain. I was so excited to see my design sparkle under the light. It felt like bringing my sketchbook to life, one keychain at a time.
What are acrylic keychains?
Acrylic keychains are small, lightweight pieces made from clear or colored acrylic sheets. They hold up well against daily wear. They also look nice and clean, whether you use them for personal flair or for promotional items. I've seen them everywhere, from novelty shops to corporate events. I still keep my very first acrylic keychain as a reminder of my early design adventures.
Why are acrylic keychains popular?
They are popular because they are easy to customize, durable, and affordable. Acrylic has a glossy finish that makes colors pop. It can handle scratches pretty well, so it stays fresh-looking over time. If you need a unique gift or brand accessory, acrylic keychains come through every time.
Overview of the acrylic keychain-making process
The process begins with picking a design. Then we cut or shape the acrylic, add our artwork, drill a hole for the keyring, and finally attach the hardware. It is a straightforward series of steps that almost anyone can follow with the right tools and a bit of patience.
Materials and Tools Needed
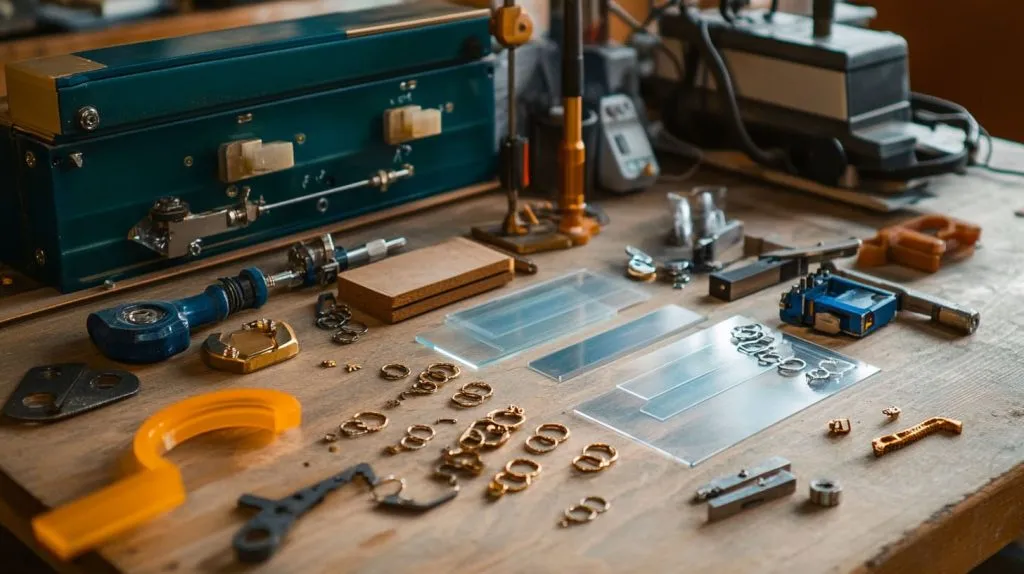
I learned early on that having the right materials is half the battle. One time, I tried improvising with cheap acrylic sheets, and they cracked under the drill. That moment taught me the importance of using high-quality supplies.
Essential materials: acrylic sheets, keychain rings, and chains
You will need acrylic sheets, usually around 2-3 mm thick. You also need keychain rings and small chains or jump rings. Most craft stores sell these in bulk packs. Buying in bulk helps if you're planning multiple keychains.
Tools required: laser cutter, printer, drill, and sandpaper
- Laser cutter: Gives precise cuts without jagged edges.
- Printer: For printing designs or photos onto transfer sheets or sticker paper.
- Drill: A small handheld drill works fine.
- Sandpaper: For smoothing edges after cutting or drilling.
Here is a quick reference table with tool functions:
| Tool | Function |
|---|---|
| Laser Cutter | Cutting acrylic sheets cleanly |
| Printer | Printing designs or templates |
| Drill | Creating the keychain hole |
| Sandpaper | Smoothing rough edges |
Optional supplies for customization: paints, decals, and stickers
Paints and decals let you add personal flair. Stickers also work well for people who prefer quick artwork. You can combine these methods to layer interesting textures or effects.
Step-by-Step Guide to Making Acrylic Keychains
I hope you will find this process simple and enjoyable. If you get stuck at any step, remember that experimenting is part of the fun. Give yourself the space to make mistakes and learn from them. Now, let's move on to the steps.
Step 1: Design your keychain
I usually start with design software like Adobe Illustrator or Canva. I keep my designs simple to help them stand out. If you want something quick, you can just use basic shapes and bold text.
Tips for eye-catching designs:
- Use high contrast colors.
- Keep text large and easy to read.
- Test print on paper first to check size and clarity.
Step 2: Prepare the acrylic sheet
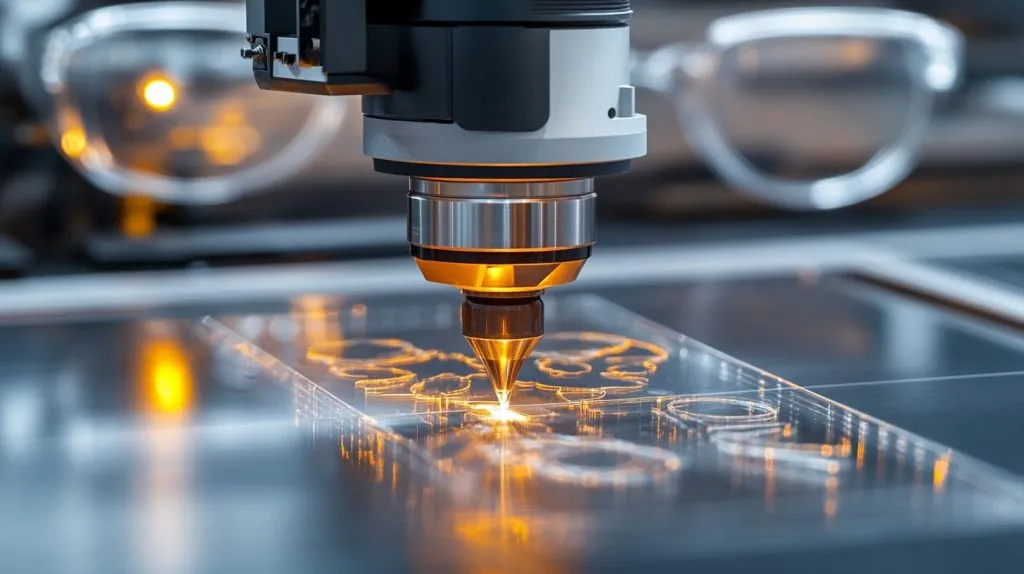
I prefer using a laser cutter because it gives me clean edges. I tape the protective film on both sides of the acrylic during cutting. This helps prevent burn marks or scratches.
Safety tips:
- Wear protective glasses if you work with lasers or drills.
- Keep your workspace ventilated.
Step 3: Add the design
There are a few ways to get your design onto the acrylic:
- Print directly onto specialized transfer paper, then apply it to the acrylic.
- Vinyl decals or stickers for faster and cleaner application.
- Hand-painted designs if you enjoy a more personal touch.
I once experimented with painting tiny flowers on a batch of keychains. It took more time, but it also felt more personal.
Step 4: Drill the keychain hole
Pick a drill bit slightly larger than your jump ring or chain connector. Drill slowly to avoid cracks or melting. If you see the acrylic heating up, pause for a second and then keep going at a steady pace.
Step 5: Assemble the keychain
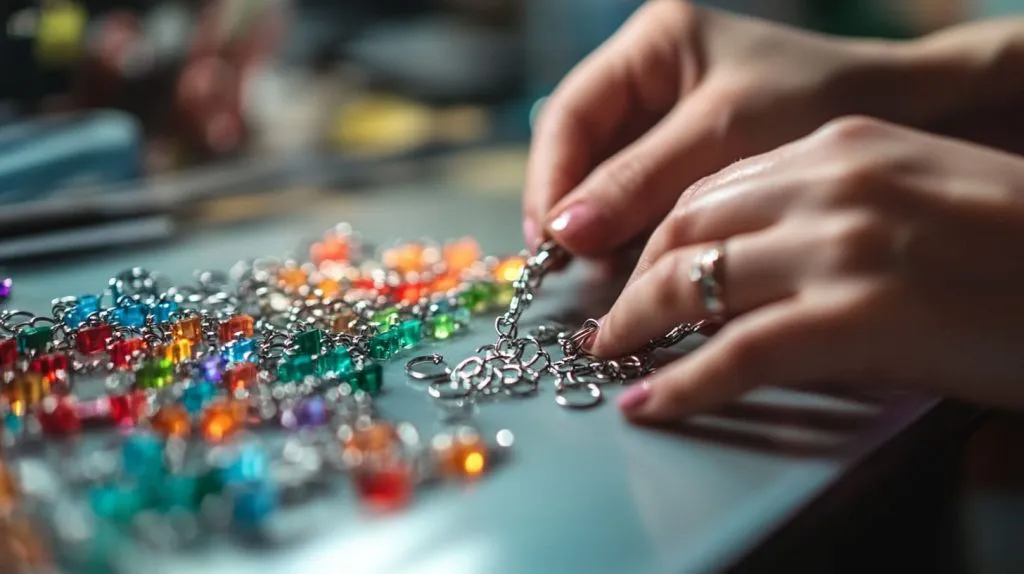
Attach the ring and chain through the hole. If you want extra security, choose a stronger jump ring that won't bend easily. When I started, I made the mistake of using thin rings, and they popped open after a few weeks. That is when I switched to more durable hardware.
Tips for Customizing Acrylic Keychains

Sometimes I show my new designs to friends to get feedback. People appreciate something unique. Now, I’ll share a few ideas to stand out even more.
Using UV printing for durable and vibrant designs
UV printing is a method that cures ink instantly under UV light. It preserves rich colors for a long time. I like UV printing because it keeps the design crisp.
Adding glitter, resin, or other effects for unique finishes
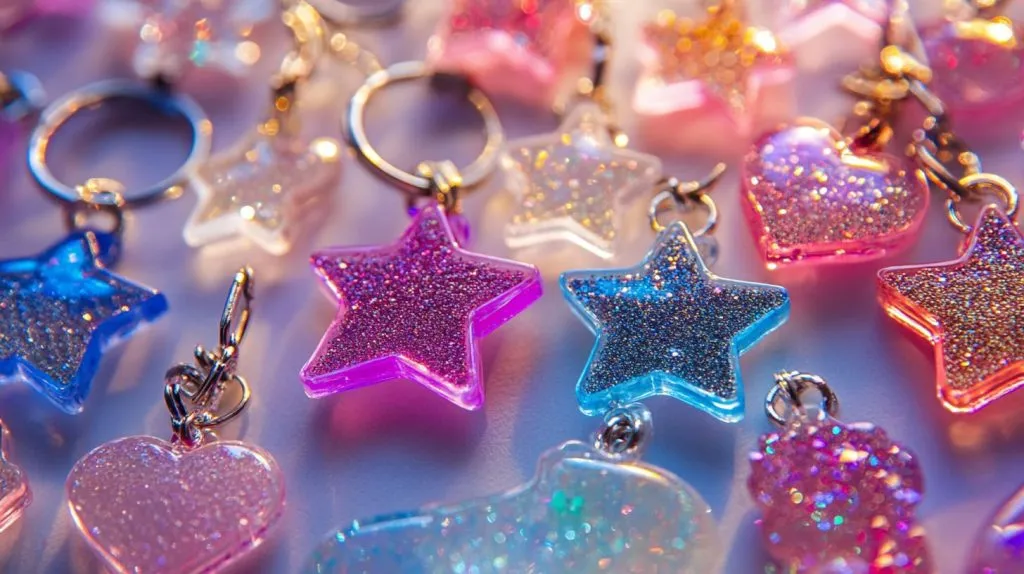
I add glitter flakes or resin to my keychains when I want a sparkly look. I learned to pour resin in layers to avoid bubbles. You can also embed small charms. The possibilities are endless.
Experimenting with shapes and sizes to suit different preferences
I have tried circles, squares, and even custom shapes like stars. The shape alone can make a big difference in how appealing your keychain looks.
Common Mistakes and How to Avoid Them
I sometimes joke that mistakes are like secret teachers. I’ve made my share of them. Now let’s unpack how to avoid the biggest pitfalls.
Avoiding acrylic cracking during drilling
- Drill at a slow speed.
- Keep the acrylic supported.
- Cool the surface if needed.
Preventing air bubbles when using resin coatings
Bubbles form when the resin is mixed too quickly or poured too fast. Use a slow stir motion. A heat gun or small torch can help pop bubbles on the surface.
Ensuring smooth edges for a professional look
After cutting, I carefully sand the edges with fine-grit sandpaper. I start with a coarse grit if needed, then move to a finer one for a glossy finish.
Applications and Uses of Acrylic Keychains
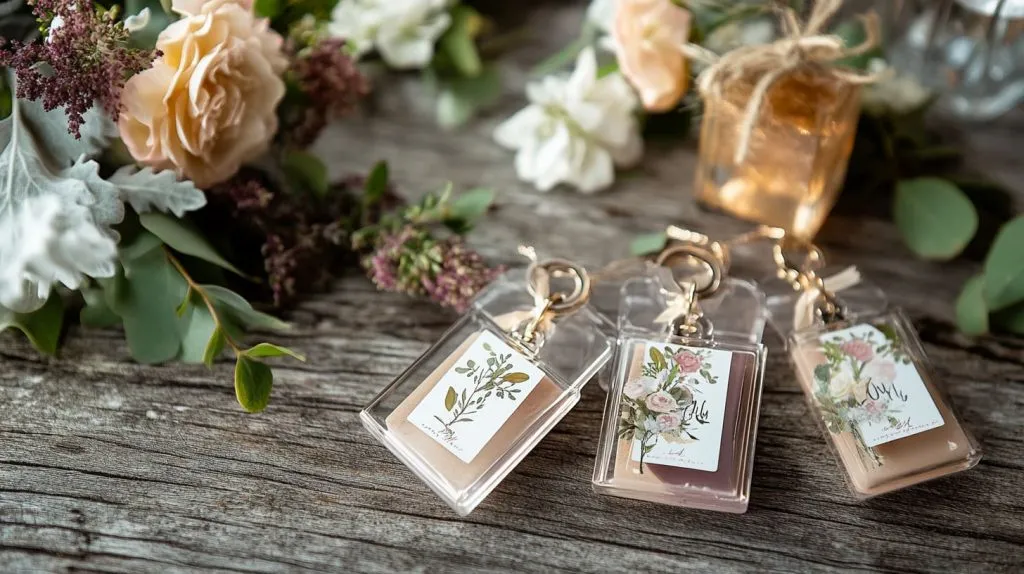
I once made a bunch of acrylic keychains with funny illustrations for a friend’s wedding favors. Everybody loved the personal touch. That’s just one small example of what you can do.
Personal use: Gifts, souvenirs, and personal accessories
I’ve given acrylic keychains to family members during holidays. They make fantastic small gifts because you can customize each design to match the person’s interests.
Business applications: Branding, promotional giveaways, and merchandise
Businesses often want acrylic keychains for marketing. I’ve seen them used at trade shows, product launches, and corporate events. They are cost-effective but still look professional.
Creative uses: Art projects and DIY crafts
I also know artists who use acrylic keychains as mini canvases to showcase their artwork. They paint tiny landscapes or abstract patterns. It’s another way to share your creativity.
Conclusion
Making acrylic keychains can be a fun and rewarding project. You design, cut, decorate, and assemble. It’s straightforward and full of room for creativity. When I think about my first attempt, I remember my excitement about personalizing each piece. Now I look forward to trying new techniques, like mixing resin colors or layering vinyl decals. If you’re a beginner, don’t let small mistakes stop you. Keep experimenting until you find your own style.
And if you ever need premium-quality custom acrylic for big projects, I trust Feilong Acrylic. They uphold the idea of “Deliver high-quality, custom solutions with fast lead times that are suitable for personalized or bulk orders,” just like their website Feilong Acrylic. They focus on B2B orders, so you won't find a catalog, but you can get exactly what you want. Enjoy making your own acrylic keychains and share your results with the world!




