 Skip to content
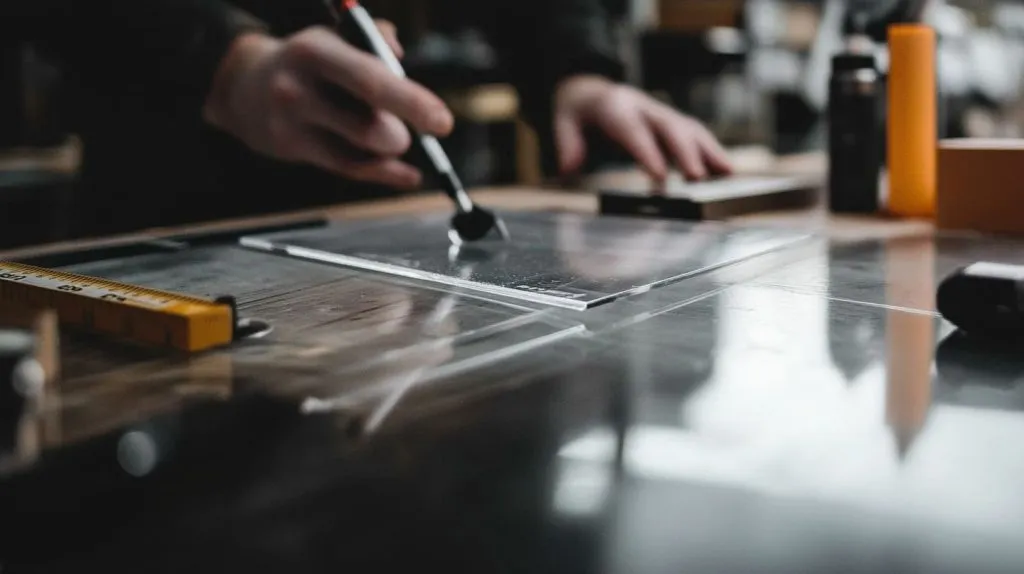
Cutting acrylic panels with precision and efficiency is crucial for professionals like me. As someone who's been in the product and mold design industry for over 10 years, I’ve seen how important it is to choose the right cutting method. Whether you’re creating custom designs for a one-off project or need to process bulk orders, the method you select will directly impact the quality and efficiency of the job.
1. Scoring and Breaking
1.1 Overview
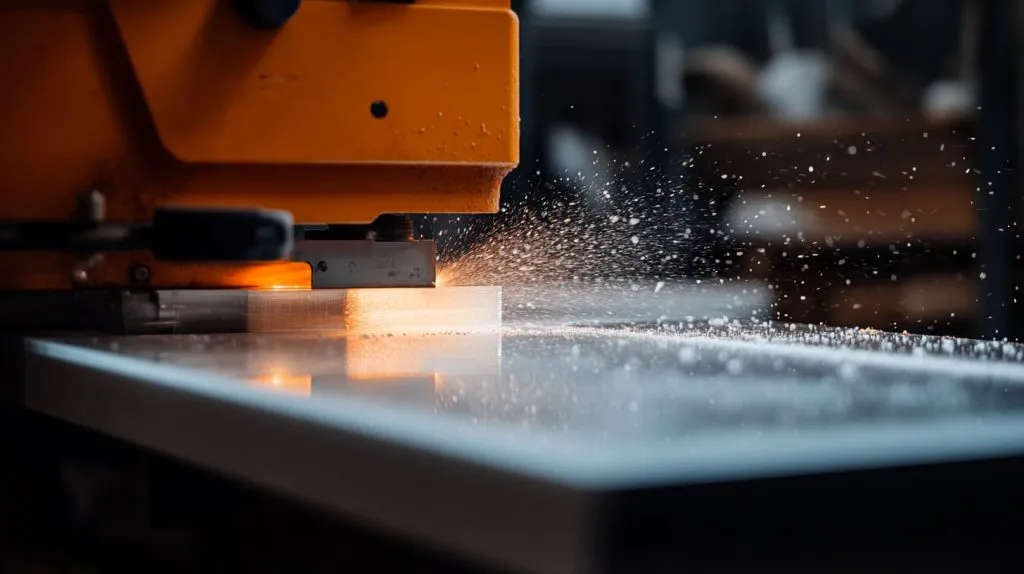
Scoring and breaking is one of the simplest methods, perfect for acrylic sheets thinner than 5mm. It involves scoring the acrylic’s surface and applying pressure to snap it cleanly along the scored line.
1.2 Procedure
- Marking: First, use a ruler and a marker to draw a straight line where the cut is desired. Accuracy here is key!
- Scoring: Then, use a scoring tool to create a deep groove along the marked line. You want a groove that’s deep enough to allow for a clean break.
- Breaking: Finally, position the sheet so the scored line hangs over the edge of a table or work surface. Apply downward pressure to snap the acrylic along the scored line.
1.3 Considerations
This technique works best for straight cuts on thin acrylic sheets. If you're working with thicker material or need intricate shapes, this method might not be the best choice.
2. Using Power Saws
2.1 Table Saw
2.1.1 Overview
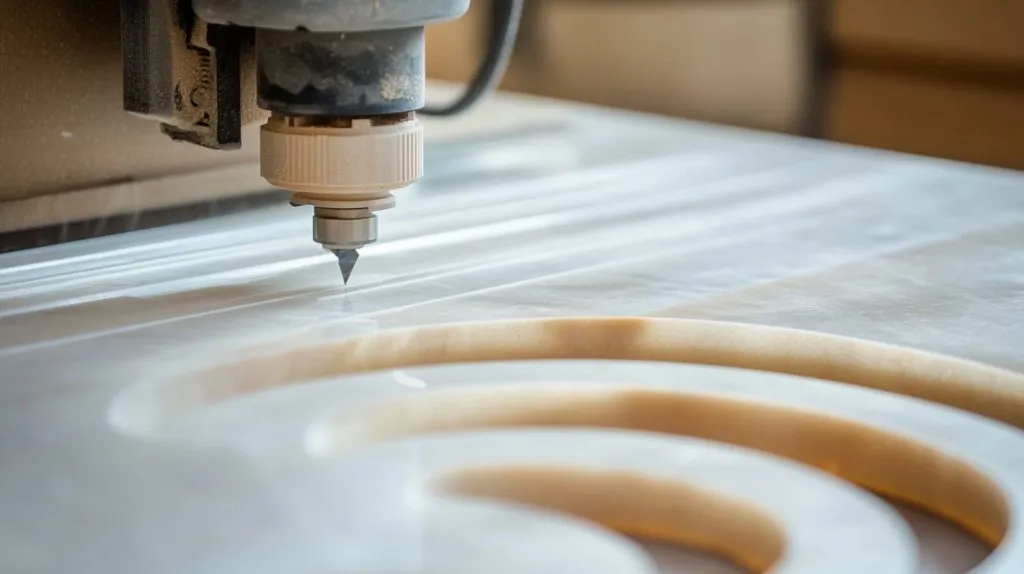
A table saw with a fine-tooth blade is an effective tool for cutting thicker acrylic sheets. It gives a clean cut if done correctly, reducing the need for additional finishing work.
2.1.2 Procedure
- Setup: Secure the acrylic sheet firmly to prevent any movement during the cutting process.
- Cutting: Slowly feed the sheet through the saw, letting the blade do the work. Avoid forcing it to prevent chipping or cracking.
2.1.3 Considerations
Using a blade specifically designed for cutting plastics can help reduce chipping and give you cleaner cuts. It's also important to choose a saw blade with a high tooth count and a negative rake angle. This minimizes heat buildup and prevents the acrylic from melting.
2.2 Jigsaw
2.2.1 Overview
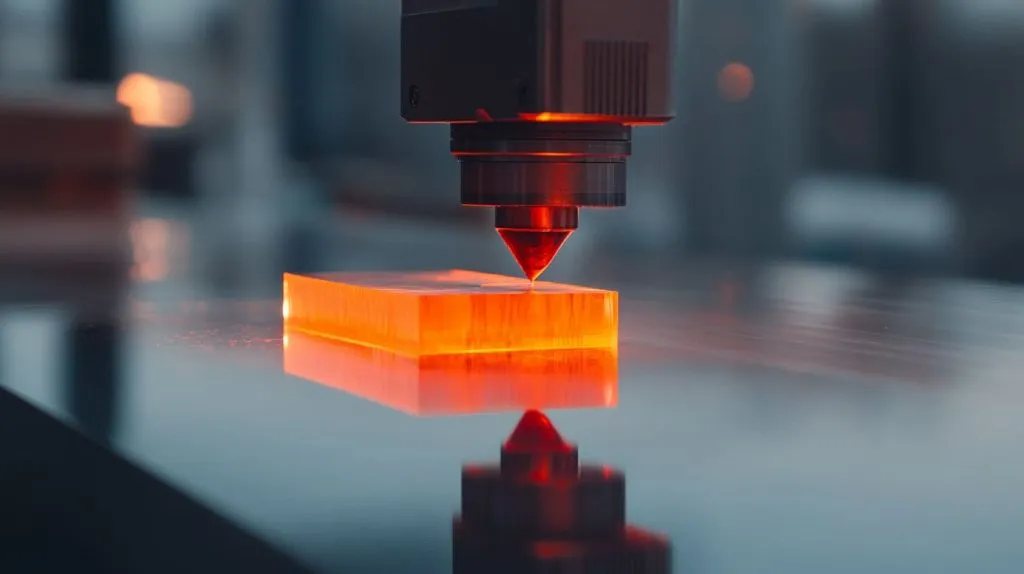
A jigsaw with a fine-tooth blade is ideal when you need to cut curves or more intricate shapes in acrylic.
2.2.2 Procedure
- Setup: Secure the acrylic sheet and choose a fine-tooth blade made for plastics.
- Cutting: Gently guide the jigsaw along your desired path, ensuring a steady speed. This prevents overheating and keeps the edges neat.
2.2.3 Considerations
While jigsaws are great for intricate cuts, they can leave rough edges. Post-cut sanding will likely be necessary to achieve that smooth, clean finish.
3. Laser Cutting
3.1 Overview
Laser cutting is the go-to method when you need precise cuts for complex designs or detailed patterns. It’s incredibly accurate and creates clean edges with little need for post-processing.
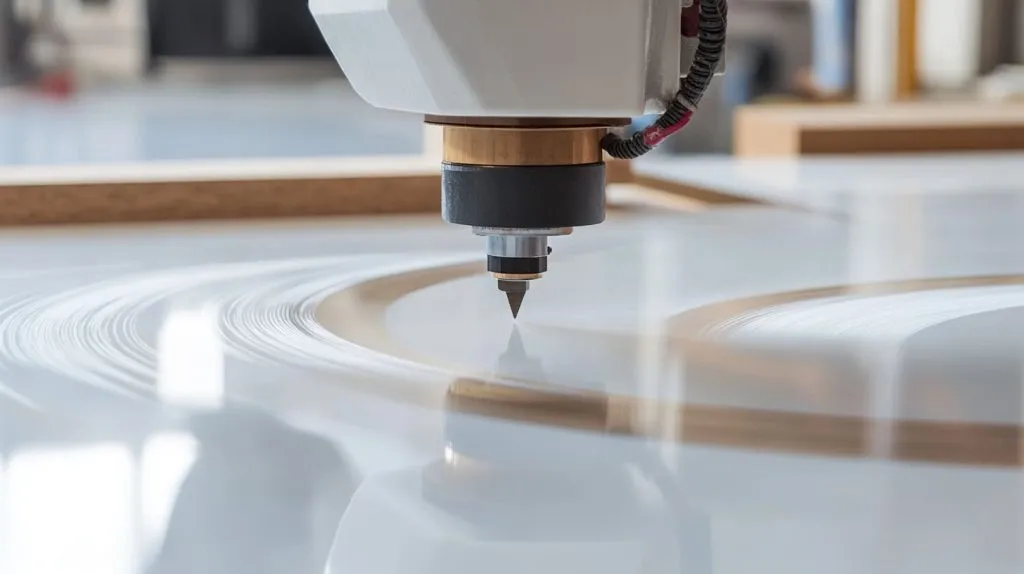
3.2 Procedure
- Design: First, create a digital design that’s compatible with your laser cutter.
- Cutting: Upload the design to the laser cutter and let it work its magic. The laser will follow the design and cut the acrylic precisely.
3.3 Considerations
Laser cutting requires specialized equipment, which might not be available in every workshop. But the results are worth it: clean edges, minimal waste, and no need for further sanding or polishing.
4. CNC Routing
4.1 Overview
CNC routers are fantastic for both straight and curved cuts in acrylic. They're ideal for highly detailed projects that require precision, and they can handle large sheets of material.
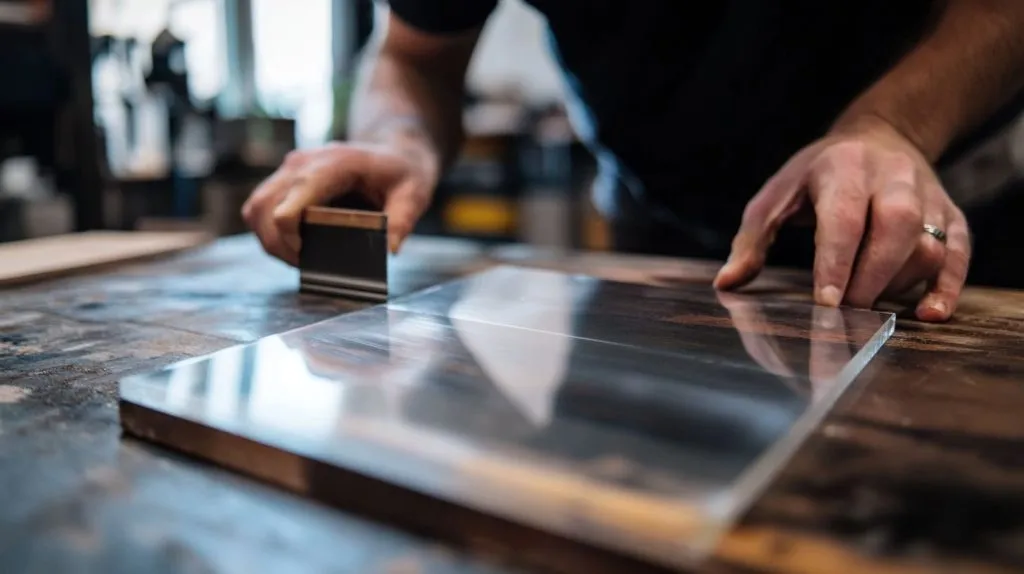
4.2 Procedure
- Setup: Secure the acrylic sheet in place and input your design into the CNC router.
- Cutting: The machine will automatically follow your design, cutting the acrylic accordingly.
4.3 Considerations
CNC routing is perfect for complex designs, but it does require access to CNC equipment and a bit of expertise. If you’re a DIYer or have limited access to these machines, this might not be the most practical option.
5. Finishing Techniques
5.1 Sanding
5.1.1 Overview
Sanding is essential for smoothing out edges and surfaces after cutting. It helps remove any rough spots or scratches, giving your acrylic piece a clean, polished look.
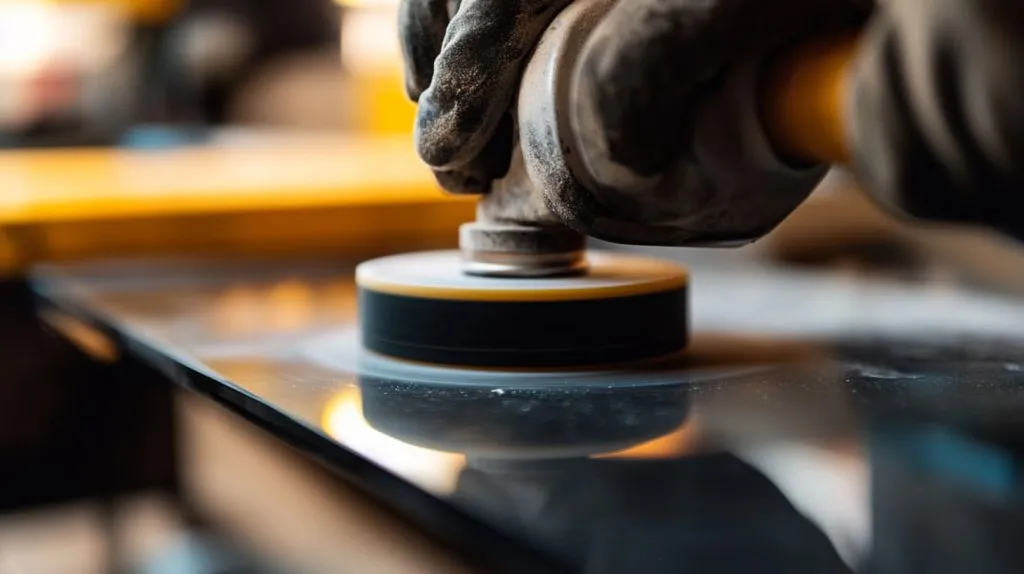
5.1.2 Procedure
- Tools: Use fine-grit sandpaper or a sanding block.
- Technique: Sand the edges in a circular motion, and gradually move to finer grits for a smooth finish.
5.1.3 Considerations
Sanding is a must if you're looking to improve the appearance of your cuts. It’ll remove scratches, sharp edges, and make the acrylic feel more polished.
5.2 Polishing
5.2.1 Overview
Polishing is the final step to restoring the clarity and shine of your acrylic surface, especially if it’s part of a display or decorative item.
5.2.2 Procedure
- Tools: Use a polishing compound along with a soft cloth or buffing wheel.
- Technique: Apply the compound and buff the surface until it shines, revealing a glossy, clear finish.
5.2.3 Considerations
Polishing is essential for aesthetic quality. If you're working with display pieces or high-visibility products, you’ll want to make sure your acrylic shines and reflects light beautifully.
Conclusion
Selecting the right method for cutting acrylic panels is crucial to ensure the success of your project. Whether you're cutting straight lines with a scoring tool or creating intricate shapes with a laser cutter, each method has its strengths. For professionals like me, understanding these techniques helps us achieve the best results, whether for a single custom piece or a large batch of products.




