 Skip to content

Noise has a strange way of wearing people down.
It does not always arrive like a dramatic problem. Sometimes it starts as the steady hum of a desktop fan in a small office. Sometimes it is a 3D printer buzzing on a workbench for hours. Sometimes it is a tool station in a workshop that looks perfectly manageable on paper, yet feels exhausting after a full day around it. I have seen this happen in workspaces, home corners, and small production areas. The sound is not always loud enough to shock people. It is just constant enough to drain them.
That is why I think DIY acrylic noise barriers deserve more attention than they usually get.
A lot of people hear the phrase noise barrier and expect a magic wall. That is not how I see it. I see acrylic barriers as a practical control tool. They can help reduce direct sound spread. They can improve comfort. They can make a workspace look cleaner and more organized. They can also fail if people expect too much from a single sheet of plastic.
The part I care about most is balance.
Acrylic looks clean. It lets light through. It keeps visibility. It can also be cut, bent, drilled, and fitted into custom shapes. That makes it appealing for people like me who think about both performance and appearance. In many real projects, that matters more than people admit. A barrier that works but makes the workspace feel cramped or ugly often gets removed later.
One thing I pay attention to early is whether the noise problem is really about blocking direct sound, because that is where acrylic usually helps, while deep vibration and low bass noise often need a different plan.
So this article is not about selling a fantasy. It is about making a smart decision.
I want to look at what a DIY acrylic noise barrier really is, how it works, where it helps, where it struggles, and how I would think through the design if I needed to build one myself. That way, you do not end up spending money on a clean-looking barrier that solves only half the problem.
That brings us to the first question, and honestly, it is the question that clears up most confusion right away.
What Is a DIY Acrylic Noise Barrier?
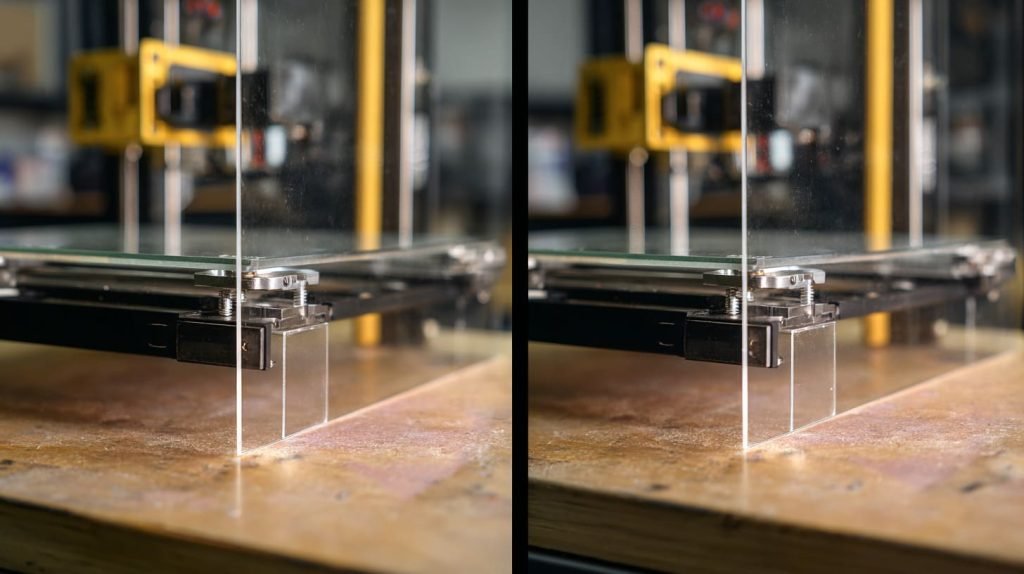
A DIY acrylic noise barrier is, in simple terms, a physical acrylic panel or set of panels placed between a noise source and the person hearing that noise. It is usually designed to interrupt the direct path of sound. That is the core idea. Nothing fancy. Just a clear barrier that helps control how sound moves through a space.
I think many people get stuck because they mix up blocking sound and absorbing sound. Those are not the same thing.
Definition and Basic Concept
When I talk about an acrylic noise barrier, I mean a shield, screen, cover, partition, or enclosure made mostly from acrylic sheets. It might stand on a desk. It might wrap around a printer. It might sit around a piece of equipment. In some cases, it forms only one side of protection. In other cases, it forms a partial or nearly full enclosure.
Acrylic mainly helps by creating a hard surface between the sound source and the outside area. That surface reflects some sound energy. It also helps reduce direct sound transfer in certain directions.
But acrylic is not soft acoustic foam. It does not drink in sound. It mostly pushes sound back or redirects it.
Here is a simple way I explain it:
| Term | What It Means | What Acrylic Usually Does |
|---|---|---|
| Noise blocking | Stops or weakens direct sound from traveling | Good at this when well placed |
| Noise absorption | Soaks up sound energy to reduce echo and bounce | Weak on its own |
| Noise control | Uses blocking, absorption, sealing, and layout together | Better when acrylic is part of a system |
That difference matters a lot. I have seen people build a clear acrylic box, then feel disappointed because the inside still sounds harsh. The barrier may block part of the noise from escaping, but the sound inside can still bounce around unless the design includes absorbing material too.
Why Choose Acrylic Instead of Other Materials?
I like acrylic for noise barrier projects because it solves more than one problem at the same time.
First, it is transparent. That sounds obvious, but it changes a lot. In offices, stores, workshops, and product testing areas, people still want visibility. They want to see the machine. They want to monitor the object inside. They want the space to feel open. A plywood box may reduce noise too, but it also hides everything and often makes the setup look heavy.
Second, acrylic is lighter and easier to fabricate than many rigid alternatives. It can be laser cut. It can be CNC machined. It can be flame polished. It can be drilled with care. It can also be bent into custom forms. That flexibility makes it useful for one-off DIY work and even more useful for small B2B projects.
Third, it looks better in many environments. I do not say that in a shallow way. A good-looking barrier gets kept. An ugly one often gets pushed aside.
My own way of judging material choice starts with asking whether the barrier must stay visually clean and easy to monitor every day, because if visibility matters, acrylic usually moves ahead of wood, fabric, or metal right away.
Here is how I compare common barrier materials:
| Material | Visibility | Ease of Fabrication | Appearance | Noise Blocking | Noise Absorption |
|---|---|---|---|---|---|
| Acrylic | Excellent | Good | Clean and modern | Moderate to good | Poor |
| Polycarbonate | Good | Good | Less crisp than acrylic | Moderate to good | Poor |
| Wood panel | None | Good | Heavier look | Good | Poor |
| Foam panel | None | Easy | Utility look | Weak | Good |
| Glass | Excellent | Harder | Premium | Good | Poor |
So yes, acrylic is not perfect. But it often sits in a very useful middle ground. It gives people control, visibility, and custom design options without making the whole setup feel industrial and closed off.
And once that basic idea is clear, the next question becomes much easier: how exactly does this thing reduce noise at all?
How Does an Acrylic Noise Barrier Reduce Noise?
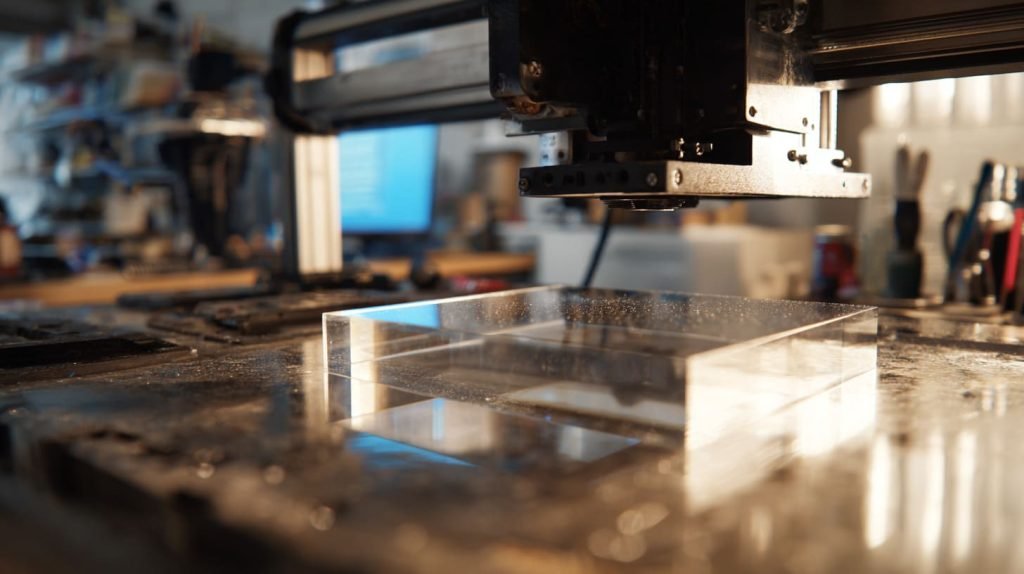
Acrylic reduces noise in a very physical, very unromantic way. It gets in the way.
That is the short answer. A sound wave leaves the source, travels through the air, and hits the acrylic surface. Some of that energy reflects. Some may pass through. Some may move around the edges if the barrier is too small or poorly placed. That is why design matters so much.
Sound Reflection vs Sound Absorption
Acrylic is a hard, smooth material. Hard surfaces reflect sound better than soft surfaces. That means acrylic works more like a shield than a sponge.
When reflection helps, the barrier can reduce the amount of direct sound reaching the listener. This works especially well when:
- the noise source is close to the barrier
- the barrier is tall enough or wide enough
- the listener sits outside the direct sound path
- the area is not too open around the sides and top
But there is a catch. Reflected sound does not disappear. It goes somewhere else. In a small space, that can create bounce and harshness.
That is why I do not like using acrylic alone when the source sits inside a tight enclosure. The sound may reflect inside and still feel aggressive. In those cases, adding absorption material to selected inner surfaces often improves the result.
Here is a quick comparison:
| Acoustic Action | What Happens | Good Result | Common Problem |
|---|---|---|---|
| Reflection | Sound bounces off the acrylic | Reduces direct line-of-sight noise | Can create echo or bounce |
| Partial blocking | Sound path is interrupted | Better comfort outside barrier | Sound leaks around edges |
| Absorption with added material | Sound energy gets reduced inside setup | Smoother and quieter result | Needs extra design work |
Key Factors That Affect Performance
Acrylic barriers do not all perform the same. A thin screen placed too far from the source will not behave like a thicker, better-positioned enclosure.
The main factors I look at are these:
Thickness of Acrylic Sheet
Thicker sheets are usually better at resisting vibration and blocking more sound. A very thin sheet may flex too much. That can reduce performance and make the whole setup feel cheap.
Distance from Noise Source
Barrier placement matters more than many people expect. If the acrylic sits close to the noise source, it intercepts more direct sound early. If it sits too far away, sound has more room to spread around it.
Barrier Height and Coverage Area
A small panel only blocks a small path. If the source is tall, wide, or sits on an open table, the sound may simply travel over or around the panel.
I usually think about these three factors together, not one by one, because a thicker sheet cannot fix a barrier that is simply too short or badly positioned.
This table shows how I think through it:
| Factor | Weak Setup | Better Setup |
|---|---|---|
| Thickness | 2mm–3mm panel that flexes | 6mm+ panel with better rigidity |
| Distance | Barrier placed far from source | Barrier placed close to source |
| Height | Stops at mid-machine level | Extends above main noise path |
| Coverage | Front side only | Front + sides or full enclosure |
| Edge control | Open gaps everywhere | Controlled openings and tighter fit |
The truth is simple. Acrylic can reduce noise, but only when the layout respects how sound actually moves. That leads straight into a more practical issue: where does this kind of barrier work best, and where does it disappoint people?
When Does a DIY Acrylic Noise Barrier Work Best?
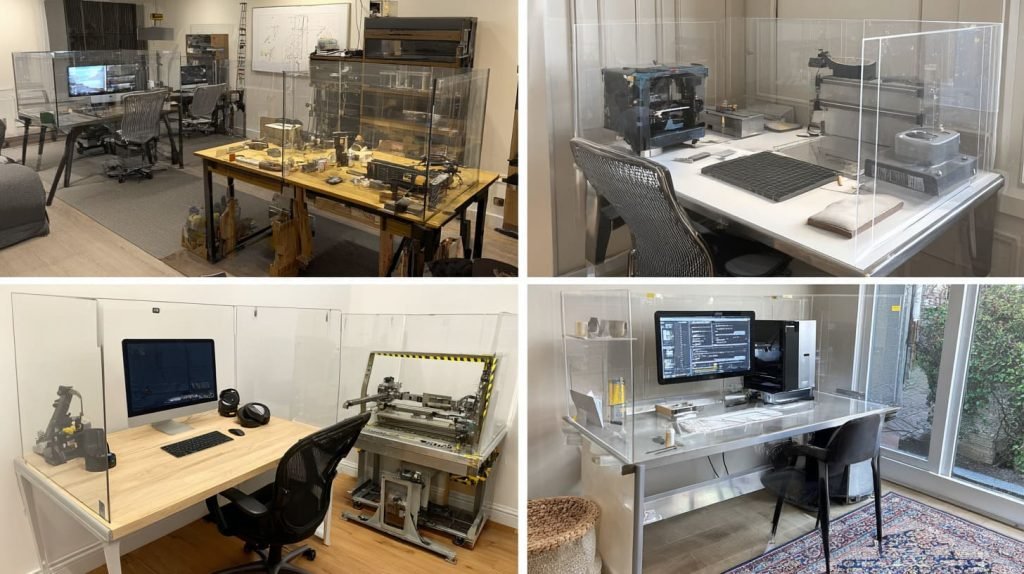
I think DIY acrylic noise barriers work best in spaces where the noise source is clear, localized, and not too extreme. That sounds technical, but it is actually a very practical idea. If you know exactly where the sound comes from, you have a better chance of controlling it.
Ideal Use Cases
There are several situations where acrylic barriers make real sense.
Desktop Partitions
In offices, customer service areas, and call centers, acrylic panels can help reduce direct sound spread between people. They do not create silence, but they can soften the sharpness of nearby voices and reduce distraction.
Machinery Enclosures
For light industrial use, acrylic barriers can sit around small machines, test equipment, tabletop tools, and compact production stations. The clear surface allows observation, which is often necessary.
Home Setups
I have also seen them work well around 3D printers, desktop PCs, small compressors, cutting tools, and hobby workstations. In these settings, people often care about noise reduction and visibility and appearance. Acrylic meets all three halfway.
Here is a practical overview:
| Use Case | Why Acrylic Works | Extra Notes |
|---|---|---|
| Office desk divider | Cuts direct voice spread | Best for moderate sound control |
| Call center panel | Keeps visibility while adding separation | Needs enough height |
| 3D printer shield | Contains direct machine noise | Add vent planning |
| PC noise cover | Reduces direct fan noise | Watch airflow carefully |
| Tool station guard | Adds control and visibility | Better with side panels |
Situations Where It May Not Work Well
Now for the less exciting part, which is often the more useful part.
DIY acrylic noise barriers do not perform well in every situation.
Low-frequency noise is a common weak point. Deep humming, heavy vibration, and bass-like sounds are harder to control with acrylic alone. Those noises often travel through structure and air in ways that need more mass, damping, or isolation.
Very open environments are another challenge. If sound can easily move around the barrier from multiple directions, the effect becomes limited.
I have seen people expect a small front panel to solve a workshop noise issue in a totally open room. That is usually wishful thinking, not design.
Where I get cautious is when the noise comes with strong vibration or too many open reflection paths, because in those cases the barrier may look impressive while the actual improvement stays modest.
Here is a quick warning table:
| Situation | Why It Struggles |
|---|---|
| Low-frequency hum | Acrylic alone lacks enough mass and damping |
| Large open room | Sound travels around barrier too easily |
| Heavy vibrating machine | Structure-borne noise stays a problem |
| High-heat equipment | Enclosure may trap heat if poorly designed |
| Large-scale industrial line | DIY barrier may be too limited |
So the good news is real. Acrylic barriers can help. But their best use is focused, local noise control, not total acoustic rescue. Once you know that, the next choice becomes more important than many people realize: thickness.
What Thickness of Acrylic Should You Use?
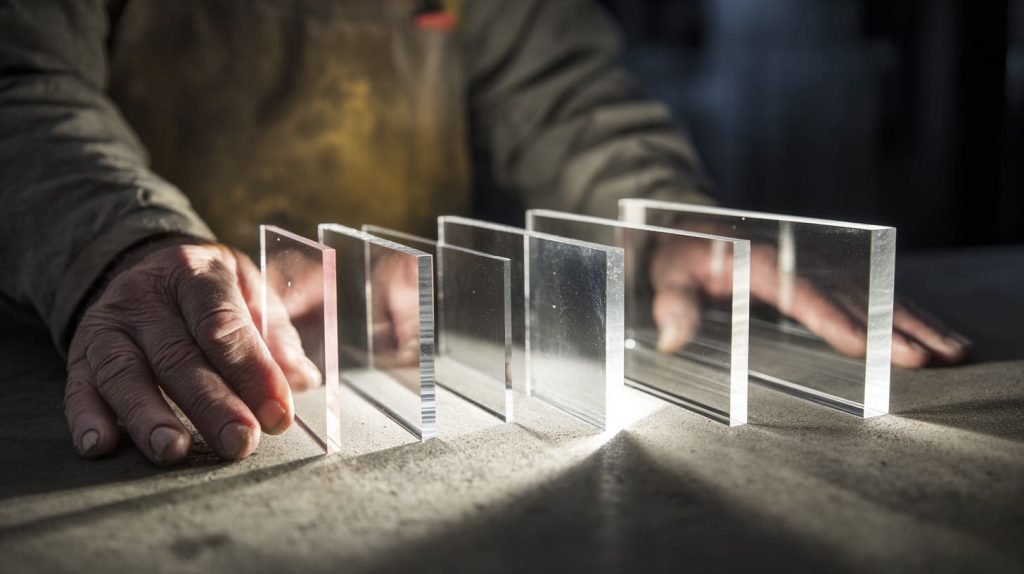
Thickness is one of those decisions that looks simple until money, weight, drilling risk, and real performance all start pulling in different directions.
I have seen buyers ask for the thinnest acrylic possible because they want to control cost. I understand that instinct. I really do. But with noise barriers, going too thin often creates two problems at once. The panel blocks less sound, and the structure feels less stable.
Recommended Thickness Levels
There is no single perfect thickness for every DIY acrylic barrier. The right range depends on the barrier size, the noise source, and the level of performance you want.
3mm–5mm: Light Noise Control
This range works for light-duty applications. Think desk dividers, small covers, or low-noise home setups. It is affordable and easy to handle. But it can flex more, and large panels in this range may feel weak.
6mm–10mm: Moderate Noise Reduction
This is the range I often find more practical. It gives better rigidity, better perceived quality, and more confidence in medium-size barriers. For many workshop, office, and machine-cover projects, this range feels like the sweet spot.
12mm+: Better Stability and Performance
This is where the barrier becomes more serious. Thick acrylic feels solid. It resists flex better. It can help with stronger sound control. But it also gets heavier, more expensive, and less forgiving during fabrication.
Here is a simple selection table:
| Thickness | Best Use | Pros | Limits |
|---|---|---|---|
| 3mm | Small dividers, light shields | Low cost, easy to handle | Flexes easily |
| 5mm | Desk panels, small machine covers | Better feel, still affordable | Moderate rigidity only |
| 6mm | General-purpose barrier panels | Good balance | Slightly higher cost |
| 8mm | Mid-size enclosures | Stronger and more stable | Heavier |
| 10mm | Demanding setups | Solid appearance and control | Cost rises fast |
| 12mm+ | Heavy-duty visible enclosure | Best rigidity | More weight, more fabrication care |
Trade-Off Between Cost and Performance
This is where the project becomes real.
Thicker acrylic usually performs better, but the gain is not infinite. At some point, the cost increase is larger than the practical benefit, especially if the barrier still has gaps or poor layout. That is why I never judge thickness alone.
My own rule is simple: if the panel is large enough to wobble, I stop thinking only about sheet price and start thinking about whether the whole barrier will feel trustworthy after assembly.
For B2B buyers, I think this matters even more. Jacky-type buyers are not only buying material. They are buying repeatability, stability, and fewer complaints later.
A quick cost-performance view helps:
| Goal | Better Choice |
|---|---|
| Lowest budget | 3mm–5mm for small barriers |
| Balanced project | 6mm–8mm |
| More serious enclosure | 8mm–10mm |
| Premium heavy-duty setup | 10mm–12mm+ |
A cheap panel that bends, vibrates, or cracks during assembly is not really cheap. It just delays the real cost.
And once thickness is decided, design becomes the next big lever. That is where even a good sheet can still underperform if the layout is weak.
How to Design an Effective DIY Acrylic Noise Barrier

Good acrylic alone is not enough. Design decides whether the barrier behaves like a useful control tool or just a shiny object sitting near the noise.
I think this is where many DIY efforts win or lose. People focus on the sheet. I focus on the path sound takes around the sheet.
Full vs Partial Enclosure Design
Not every barrier needs to fully surround the source. Sometimes a partial structure is enough. Sometimes it is not.
U-Shape Design
A U-shape barrier covers the front and both sides. I like this layout for desk equipment, printers, and small tools. It is simpler than a full box and still catches a lot of direct sound.
L-Shape Design
An L-shape setup works when the main sound path travels in one dominant direction and you only need a partial screen. It is easier and cheaper, but less complete.
Full Box Structure
A full enclosure gives stronger control because it surrounds more of the source. But it needs careful planning for heat, access, cleaning, and cable routing.
Here is a direct comparison:
| Design Type | Noise Control | Cost | Access | Best For |
|---|---|---|---|---|
| L-shape | Basic | Low | Easy | Partial directional noise |
| U-shape | Good | Medium | Good | Small machines, desktops |
| Full enclosure | Best | Higher | Harder | Stronger localized control |
Sealing Gaps and Edges
I cannot say this strongly enough: gaps matter.
Acrylic panels may look solid when they stand side by side, but small openings can become sound escape routes. This is why edge detail matters more than casual builders expect.
Rubber strips, foam tape, and simple edge seals can improve performance. They also help reduce vibration contact in some cases.
A detail that changes my decision very fast is the size and number of unavoidable openings, because once too many gaps appear for cables, airflow, or handling, the theoretical barrier performance drops in a very ordinary way.
Combining Acrylic with Other Materials
This is the part I like most, because it is where the design becomes smarter.
Acrylic is good at reflection. Soft materials are better at absorption. When you combine them, the barrier becomes more balanced.
For example:
- acrylic outside for visibility and structure
- acoustic foam inside for reducing bounce
- PET felt panel on selected surfaces
- rubber feet or pads below for vibration isolation
That kind of hybrid design often performs much better than acrylic alone.
Here is a design mix table:
| Material | Role in Barrier |
|---|---|
| Acrylic | Structure, visibility, sound reflection |
| Acoustic foam | Sound absorption inside enclosure |
| PET felt | Softer absorption and cleaner appearance |
| Rubber strip | Edge sealing and contact control |
| Silicone feet | Vibration isolation at base |
A simple acrylic screen can help. A well-thought-out mixed-material barrier usually helps more.
And once the design logic is clear, the actual build process becomes much easier and far less frustrating.
Step-by-Step Guide to Building Your Own Acrylic Noise Barrier

I like simple build steps because noise-control projects can become messy very fast when people improvise too much.
The goal here is not to build something flashy. The goal is to build something stable, useful, and realistic.
Materials and Tools Needed
For a basic acrylic noise barrier, I would usually prepare:
- acrylic sheets in the chosen thickness
- corner connectors or brackets
- screws or acrylic-friendly fasteners
- foam tape or rubber strips
- measuring tape
- marker or layout pen
- drill with proper bit for acrylic
- cutting tool or pre-cut panels from a supplier
- edge finishing tool or sandpaper
- support feet or base frame if needed
Here is a simple tool table:
| Item | Why You Need It |
|---|---|
| Acrylic sheets | Main barrier body |
| Brackets/connectors | Hold structure together |
| Foam tape | Seal edges and reduce leakage |
| Drill | Create fixing points |
| Pre-cut service | Improves fit and saves time |
| Rubber feet | Improve stability and reduce vibration |
Assembly Process
Measuring and Planning
Start by measuring the noise source carefully. Then think about the barrier shape. Do not only measure width and height. Measure access space, cable path, ventilation needs, and operator reach.
Cutting or Ordering Custom Sizes
You can cut acrylic yourself if you have the right tools and enough care. But for cleaner results, I often think custom pre-cut panels make more sense. They save time, reduce mistakes, and usually improve final alignment.
Fixing Panels and Ensuring Stability
Assemble the structure step by step. Do not over-tighten fasteners. Acrylic does not like careless pressure. Check that the barrier stands flat and does not wobble. If it vibrates, the performance and durability both suffer.
What often changes the whole build quality is whether I treat the base as part of the acoustic design, because a nice panel structure on a shaky base still behaves like a weak barrier.
Safety and Handling Tips
Acrylic looks forgiving. It is not always forgiving.
Avoid Cracking During Drilling
Use the correct drill method. Go slowly. Support the sheet. Keep enough distance from edges.
Proper Edge Finishing
Rough edges do not only look bad. They can create stress points, trap dirt, and make the project feel unfinished.
Here is a build checklist I would follow:
- Measure the source and the surrounding space
- Choose shape: L, U, or full enclosure
- Confirm acrylic thickness
- Plan airflow and cable openings
- Order or cut panels
- Prepare supports and connectors
- Assemble gently
- Add sealing strips
- Test noise reduction
- Adjust weak points
Once a barrier is built, the next problem is usually not construction. It is the small mistakes that quietly reduce performance.
Common Mistakes to Avoid
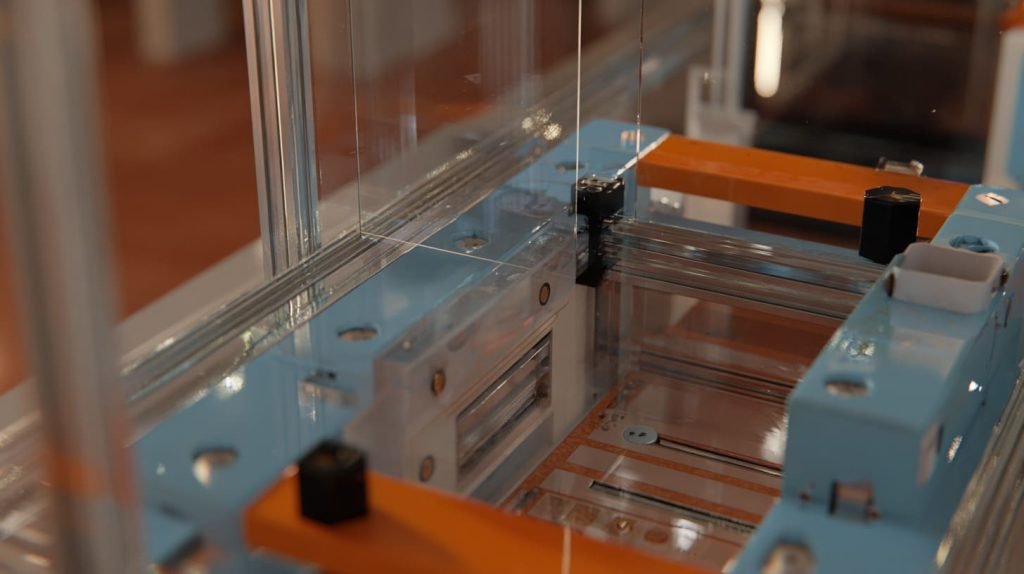
Most weak acrylic noise barriers do not fail because acrylic is the wrong material. They fail because the project ignores details that seem harmless at first.
I have seen that pattern too many times to ignore it.
Ignoring Sound Leakage Paths
This is the most common mistake.
A barrier may look complete from the front, but sound sneaks through side gaps, top openings, bottom clearance, and cable holes. Then people blame the acrylic when the real issue is leakage.
Tiny openings can have a bigger effect than expected. That is especially true when the main direct sound path stays partly open.
Choosing the Wrong Thickness
A very thin panel may save money early, but it can flex, rattle, and feel unstable. That makes the barrier less effective and less trustworthy.
At the same time, going too thick without solving layout problems can waste money. So the mistake is not only choosing too thin. It is also choosing thickness as if it is the only variable.
Overlooking Structural Stability
This one gets ignored a lot.
If the barrier shakes, the acrylic itself becomes part of the problem. A loose panel can buzz. A weak base can transfer vibration. A tall panel without support can feel temporary and cheap.
The moment I see a barrier wobble during normal use, I stop thinking about theoretical sound control and start thinking about user trust, because nobody keeps using a solution that feels unstable.
Here is a mistake table I wish more people looked at before building:
| Mistake | What Happens |
|---|---|
| Open gaps left untreated | Sound escapes easily |
| Thin unsupported panel | Flex and vibration increase |
| No airflow planning | Heat builds up inside |
| Sharp unfinished edges | Safety and appearance problems |
| Weak base structure | Whole barrier feels unreliable |
| Overbuilt design | More cost without matching benefit |
A good project often comes down to avoiding basic mistakes, not chasing a perfect idea.
And that leads to a question almost everyone asks sooner or later: how much quieter will it really get?
How Much Noise Reduction Can You Expect?

This is the part where I think honesty matters most.
Acrylic noise barriers can help, but they do not create silence. I would rather say that clearly than promise a result that depends on too many moving parts.
Realistic Expectations
For many small and medium setups, a DIY acrylic barrier may reduce noise by around 5–15 dB. That is a broad range, and it should be broad. Real projects are messy. Different sources behave differently. Different room layouts change the result.
A reduction on the lower end may feel like the noise is less sharp and less tiring. A reduction on the higher end can feel noticeably more comfortable.
But those numbers do not come from acrylic alone. They come from:
- barrier size
- panel thickness
- source distance
- room reflections
- gap control
- added absorption material
Factors That Influence Results
Here are the factors I would treat seriously:
| Factor | Effect on Result |
|---|---|
| Barrier placement | Close placement usually works better |
| Panel size | Larger coverage improves blocking |
| Acrylic thickness | Better rigidity can improve performance |
| Gap sealing | Reduces leakage |
| Room layout | Reflective rooms behave differently |
| Added foam or PET | Can improve overall control |
| Source type | High-frequency noise is easier to manage than low-frequency hum |
My practical expectation changes a lot depending on whether the user wants a softer, more comfortable environment or a dramatic drop in measured sound, because those are related goals, but they are not always the same goal.
That distinction matters. A setup can feel much better to use even when the meter reading is not spectacular.
And for single-user home projects, that may be enough. For business projects, though, the standard is often higher. That is where custom fabrication starts making more sense.
Why Custom Acrylic Solutions Make More Sense for B2B Projects

DIY is useful. I respect it. It helps people test an idea, solve a local problem, and understand what works.
But B2B projects usually ask for more.
They ask for cleaner fit, repeatable production, safer handling, easier assembly, and a look that matches the working environment or brand image. That is where custom acrylic solutions move from “nice to have” to “actually more practical.”
Standard DIY vs Custom Fabrication
Off-the-shelf sheets can work for experiments. They can even work for one simple installation. But they come with limits:
- fixed sizes
- more manual trimming
- rougher edge quality
- inconsistent holes and cutouts
- weaker visual finish
- more time spent correcting small fit issues
For one piece, maybe that is acceptable.
For a team, a facility, a customer-facing area, or a branded workstation, those little compromises add up fast.
Benefits of OEM Acrylic Barriers
Custom fabrication improves things in very ordinary but important ways.
Precision Cutting and Fitting
When panels are cut to the right size from the beginning, the barrier fits better. Better fit usually means fewer gaps, cleaner assembly, and more reliable performance.
Branding and Aesthetic Alignment
In some projects, the barrier is not hidden. Clients see it. Staff use it every day. Visitors notice it. In those cases, appearance matters. A clean custom acrylic barrier feels intentional, not improvised.
Faster Installation and Scalability
If multiple units are needed, custom production saves time. The panels arrive ready. The dimensions match. The assembly process becomes repeatable.
I start leaning toward custom production as soon as the project involves repeat orders or visible working areas, because that is usually the point where time, finish quality, and consistency become more expensive than the sheet itself.
Here is how I compare the two paths:
| Option | Best For | Main Benefit | Main Limit |
|---|---|---|---|
| Basic DIY build | Personal trial, one-off use | Lower starting cost | More manual work |
| Semi-custom local cut | Small business test setup | Better fit | Still limited consistency |
| OEM custom acrylic barrier | B2B, multi-unit, branded projects | Precision, repeatability, cleaner finish | Higher initial planning effort |
For a company like Feilong Acrylic, this is the kind of project that makes sense. Custom barriers fit the real working conditions better than generic panels do. That does not mean every buyer needs a full custom program on day one. It just means the long-term logic is often stronger than people first assume.
And that brings everything back to a very simple conclusion.
Conclusion
A DIY acrylic noise barrier can be a smart solution when the noise source is local, the layout is clear, and the goal is realistic.
I would not treat it like a magic fix. I would treat it like a practical tool.
Acrylic works best when I use it for what it does well. It blocks direct sound paths. It keeps visibility. It looks clean. It supports custom design. It can also fall short if I expect it to absorb sound like foam or stop deep vibration like a heavy damped structure.
That is why the important decisions are not only about material. They are about design, thickness, coverage, sealing, and placement. Those details decide whether the result feels useful or disappointing.
If I were making the choice for a real project, I would look less at the raw sheet price and more at whether the final barrier stays stable, easy to use, visually clean, and effective enough for daily work.
For simple setups, a DIY approach can absolutely help.
For B2B use, repeated installations, branded workspaces, or cleaner long-term results, custom acrylic fabrication usually makes more sense. It reduces guesswork. It improves fit. It makes the barrier feel like part of the environment, not an afterthought.
If you are planning an acrylic noise barrier for your workspace, machine area, retail setting, or custom project, I think the smartest next step is to start with your real noise source, your real layout, and your real use conditions. From there, the right structure becomes much easier to define.
If you want a custom acrylic solution that is built around your dimensions, use case, and finish needs, you can explore more at Feilong Acrylic through flacrylic.com. A well-made barrier should not only look clear. It should solve a clear problem too.




