Skip to content
When the first time I tried to order cut-to-size acrylic sheets. I was excited but also a bit unsure of how thick they needed to be. I had so many questions. I spoke to friends who worked in retail displays, and we debated about it for hours. It wasn’t until I got some expert advice that I finally felt confident in my choice. That’s what I hope to share with you today.
Why Thickness Matters for Cut-to-Size Acrylic Sheets

Selecting the right thickness can make or break your project. A sheet that’s too thin might bend under weight, while a sheet that’s too thick might be expensive and unwieldy. Acrylic sheets are popular for things like small enclosures, display boxes, and eye-catching signs. They’re known for clarity, durability, and convenience. But these traits hinge on choosing the proper thickness.
When I worked on a small display box project a few years ago, I tried to go with a very thin sheet to cut costs. It didn’t end well. The sides bowed out under even a slight load. That experience taught me the hard way: thickness is not just about looks, but also about functional stability and longevity.
(Curious about the technical details of manufacturing pitfalls? Feel free to check out acrylic manufacturing issues.)
I wish I had realized sooner that ignoring thickness can be a costly mistake. Let’s dive into some common misunderstandings so you can skip the confusion that I went through.
(Keep reading. I promise you’ll find more insight in the next section, especially if you’ve ever second-guessed whether thicker always means better.)
Common Misconceptions About Acrylic Thickness
- Overestimating or underestimating requirements: Some people assume super thick acrylic is always the best. Others think a thin sheet is enough for everything. Both can lead to wasted time or product failure.
- Assuming thicker sheets outperform all thinner ones: Thick does mean sturdy, but that doesn’t mean it’s the smartest choice for every situation. Smaller retail projects might only need moderate thickness.
I’ve learned that you should never let assumptions guide you. Always match the thickness to the project’s needs. Sometimes, lighter is better for portability or cost. Other times, you need reinforcement to handle heavy loads.
(Now, let’s talk about the range of thicknesses and why each one might matter. I promise it’s simpler than it sounds.)
Overview of Acrylic Sheet Thickness Options
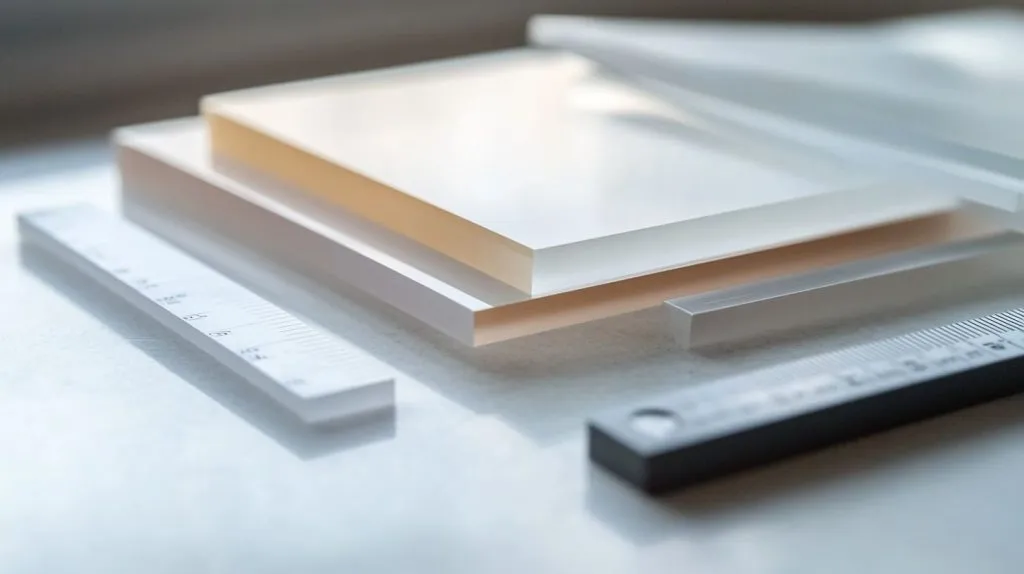
I once struggled to recall all the thickness ranges. My colleague teased me, joking that I was trying to memorize an entire acrylic encyclopedia. But there’s really no need to memorize every detail—just focus on how each thickness fits specific needs.
Standard Thickness Range
Typical acrylic sheets range from about 1mm up to 25mm or more. These are some of the most common thicknesses you’ll see:
| Thickness | Common Usage |
|---|---|
| 1–3mm | Light signage, simple overlays |
| 4–10mm | Retail displays, shelves, boxes |
| 10mm+ | Furniture parts, heavy enclosures |
In both commercial and industrial contexts, you’ll notice the thickness often directly relates to the type of project. Thinner sheets are great for short-term or lightweight tasks. Thicker sheets are designed for heavier, more durable applications.
(If you think this is a lot to digest, don’t worry—I used to feel the same. But keep reading to see how different materials stack up.)
Acrylic vs. Other Materials
- Glass: Heavier, can shatter under impact, though it has its own aesthetic appeal.
- Polycarbonate: Known for impact resistance, but can be more expensive.
Acrylic strikes a balance. It’s lightweight yet strong enough for many tasks. Plus, it offers great clarity. I’ve seen companies switch from glass to acrylic simply to minimize breakage and shipping costs. It’s also easier to shape and customize.
(On we go, to explore the specific factors that can guide us in making the best thickness decision for our projects.)
Key Factors in Determining the Right Thickness
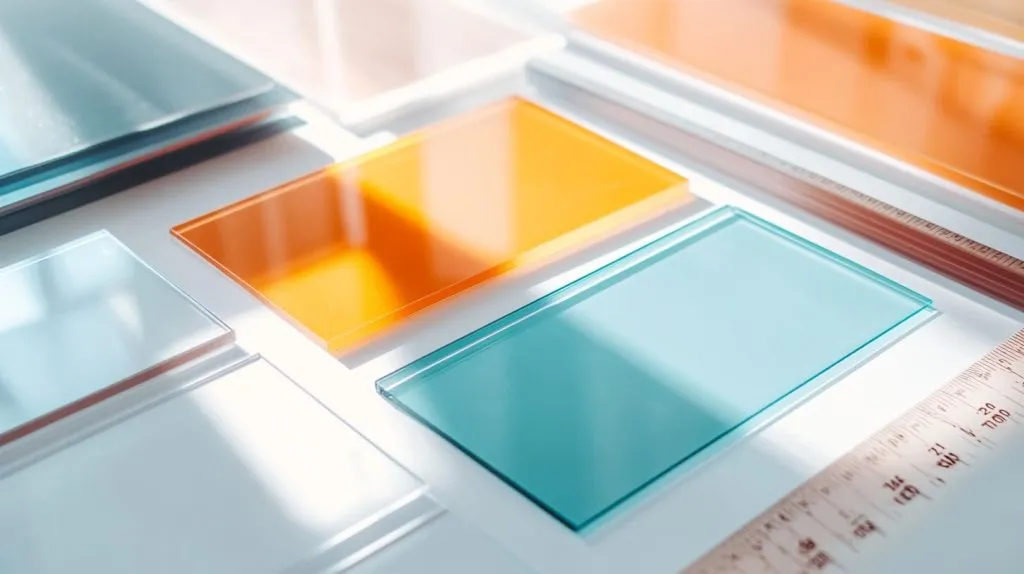
I once spoke to a friend who designed protective covers for electronic devices. He said the biggest challenge wasn’t the design itself but figuring out how thick the acrylic needed to be for both form and function. That’s why these key factors matter.
Load-Bearing Requirements
If you’re building a shelf or display that needs to support items, think about load-bearing capacity. A thicker sheet generally handles more weight. Thin sheets might bend or crack under pressure. In dynamic environments—like moving display shelves—extra thickness might be crucial to handle the constant motion.
By examining load requirements from different angles, you’ll see that thicker acrylic does reduce the risk of breakage. However, it might also increase shipping costs and limit certain design options. A balanced perspective helps you avoid overspending or having a final product that’s too bulky.
Environmental Conditions
If the acrylic is outside, temperature swings and UV exposure are big concerns. Thinner sheets may warp in heat. Thicker sheets provide more tolerance. If you live in a sunny area or a region prone to sudden weather changes, you’ll want to consider more robust options.
Viewing it from another angle: indoor usage might not demand the same UV resistance. So, you could use medium thickness without worrying about warping or discoloration. That multi-faceted approach ensures you don’t over-engineer the project.
Aesthetic and Design Goals
I once created a modern-looking coffee table out of acrylic. I wanted sleek edges and a near-invisible finish. That meant using a certain thickness to avoid that “bend” in the middle. A thicker sheet looks premium and stable, but if I’d gone too thick, it would have lost that elegant simplicity.
From a different perspective, a sign with bright graphics might not need thick edges, especially if it’s meant to be lightweight and easy to hang. Considering design goals from every angle ensures a suitable thickness that blends beauty and function.
(Now let’s take a closer look at the most common thickness categories and what they’re best for. I’ll share some personal disasters—and triumphs—along the way.)
Common Acrylic Sheet Thicknesses and Their Uses

One time, I purchased a 2mm sheet for a protective cover. It worked for a while, but after a few months, I noticed small cracks. On the other hand, I built a display case with 10mm acrylic that’s been going strong for years. So, it really depends on the project.
Thin Sheets (1mm–3mm)
Thin sheets are ideal if you’re making lightweight signs, simple overlays, or protective covers. They’re also easy to cut and transport. Think of quick pop-up displays or overlays on brochures. But from another perspective, if you put heavy items on it, it might bend or break.
These sheets are often the best bet for one-off projects or prototypes. However, they can lose shape or clarity if used in harsh conditions. The upside is the lower cost and simpler handling.
Medium Sheets (4mm–10mm)
I see these thicknesses in retail displays, small boxes, and shelves. This range is a nice middle ground. From a critical view, it balances cost and durability. If you want something sturdy without the hassle of extra weight, you might pick a sheet around 5–8mm.
I recall customizing a 5mm acrylic organizer for a trade show. It looked professional, withstanding the daily hustle. Yet it was light enough to transport easily. That’s why many B2B clients prefer medium thickness sheets—they’re practical for many uses.
Thick Sheets (10mm+)
When you need a strong enclosure or a piece of furniture, these are the sheets to get. I once visited a factory that crafted custom aquarium tanks out of thick acrylic. They could hold a surprising amount of water without cracking. But thicker sheets can be more expensive and heavier to work with.
Taking a step back, thick sheets offer superior impact resistance. But if you only need a small protective cover, you might be over-investing. Always weigh these factors for a balanced decision.
(Let’s move into some hands-on insights. How do you measure and cut these sheets with confidence? Keep reading to find out.)
Techniques for Measuring and Cutting Acrylic Sheets

I’ve had my fair share of mishaps cutting acrylic. Once, I tried to eyeball a measurement and ended up with uneven edges that didn’t fit my enclosure at all. Precision is key, so let’s talk tools and methods.
Proper Measuring Tools and Methods
A simple tape measure might do the trick for straightforward projects. But for tighter tolerances, a caliper is often more accurate. Always double-check measurements, especially for large orders. I sometimes use a scrap piece first to test the cutting settings. That way, I don’t ruin a full sheet.
From a broader perspective, consistent measuring practices save time and money. Even professional workshops use the “measure twice, cut once” rule. It’s vital no matter the project scale.
Cutting Methods
- Laser cutting: This gives you a clean edge and can handle intricate shapes. It’s my go-to for detailed projects.
- CNC routing: Great for precision and a smooth finish on thicker sheets.
- Score-and-snap: Useful if you only need a small or quick cut, though I’ve found it can lead to rough edges.
Thinking critically, each method has its pros and cons. Laser might be more expensive if you don’t have the equipment. Score-and-snap is budget-friendly but might sacrifice edge quality. It’s all about what trade-off you can live with.
(Now, let’s talk about staying safe, because accidents can happen if we’re not prepared.)
Safety Considerations When Working With Various Thicknesses
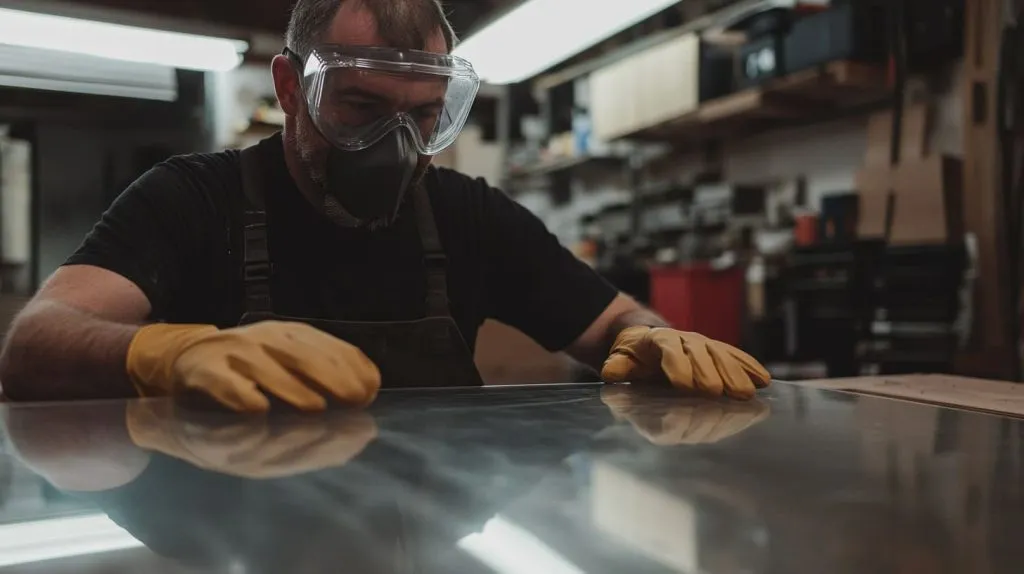
Years ago, a friend of mine cut a thick acrylic sheet without proper gloves, and a stray shard sliced his hand. It was a small accident but left a strong impression on me. Safety should never be an afterthought.
Personal Protective Equipment (PPE)
Always wear goggles when cutting or sanding acrylic. Tiny chips can fly up. Gloves help prevent cuts or burns (especially if you’re laser cutting). A simple mask can protect you from inhaling fine dust when sanding or polishing.
Think of it from multiple standpoints: not just for personal safety, but also for the safety of anyone around you. An overlooked detail can lead to big problems, so don’t skimp on the gear.
Proper Equipment Handling
Use the right tools for the job. If you’re working with thicker sheets, ensure your saw or laser cutter is powerful enough. If not, you risk damaging the material or the machine. Techniques like going slow, cooling the blade, or using the right bit can minimize chipping.
From another viewpoint, careful handling extends the life of your equipment too. Maintaining good habits will pay off in the long run, especially for professionals dealing with acrylic daily.
(Next, let’s explore design considerations to ensure your final product looks and functions the way you envision.)
Designing for Different Acrylic Sheet Thicknesses

When I designed an acrylic stand for a friend’s collectible figurines, I learned a lot about balancing aesthetic and structural integrity. Let’s see how to approach these elements effectively.
Load Testing and Prototyping
Creating small prototypes helps you see if the acrylic will bear the intended weight. I once built a mini version of a store display before finalizing the full-size structure. It saved me from costly mistakes. Different angles reveal different stress points.
Additionally, I always recommend getting feedback from anyone who will use the final product. They might have insights you overlooked. This multi-angle view often uncovers flaws or highlights opportunities for improvement.
Edge Finishing and Polishing
Polished edges can make a project look professional. For thicker sheets, flame polishing can offer a clear finish. For thinner sheets, a quick sand might be enough. The difference might seem small, but it can significantly affect the final presentation.
From another perspective, a rough edge can hurt aesthetics and functionality. It could even lead to cracks over time. Invest the effort in proper finishing if you want a sleek, long-lasting result.
(Now, if you’re wondering where to get all these custom thickness options and ensure top-notch quality, read on.)
Partnering With a Reliable Acrylic Manufacturer

I’ve learned the value of working with a manufacturer who listens and adapts to your needs. It’s like having a good friend who understands your project challenges and offers real solutions, not just a standard product list.
Importance of Customized Solutions
Different projects call for different thicknesses, finishes, and design tweaks. When I was handling a large corporate order, I needed specific edges, tinted panels, and exact measurements. A flexible manufacturing partner was crucial. Look for a team that values personalization over mass output.
Also, from a critical standpoint, over-reliance on standard “off-the-shelf” options might force you into compromises. Don’t be afraid to ask for something unique. It’s your project after all.
Feilong Acrylic’s Capabilities
I’ve teamed up with Feilong Acrylic before. They have over 13 years of experience in custom acrylic manufacturing. I appreciated their ISO9001-certified production and GSG-certified eco-friendly acrylic. The best part? They combine advanced machinery with a skilled workforce to deliver orders quickly.
Since they focus on B2B custom orders, I felt like their entire process aligned with my need for personalization. I didn’t have to sift through a massive catalog. Instead, I got tailored advice to match my project specs.
(We’re close to wrapping up. Let’s look at a few final considerations to keep in mind.)
Conclusion
Final Considerations for Choosing Acrylic Thickness
The right acrylic thickness is all about balance. I consider the load-bearing demands, environmental exposure, and the overall design. Sometimes thicker is better, sometimes it’s just overkill. Double-checking your requirements saves you from costly do-overs and ensures long-term satisfaction.
Next Steps and Recommendations
If you’re still unsure, chat with a professional manufacturer like Feilong Acrylic. They can walk you through the choices and even provide samples if needed. I often order test pieces before jumping into large-scale production. That final verification can be a game-changer.
(Remember, we all have unique project needs. Stay curious and keep exploring the best approach for your application.)