 Skip to content
The first time I etched a client’s logo onto acrylic, I was an anxious junior designer, sleeves rolled up in a Guangzhou workshop that smelled like coolant and ambition. The badge had to survive shipping, fingerprints, and fluorescent retail lights. It had to look perfect. Since then, I’ve tested every trick—ink layers, flame polishing, even a few “never again” glue mishaps—to get a crisp, durable mark. In this guide I’ll walk you through each technique so you can choose the one that fits your brand, timeline, and budget.
Ready? Let’s peel back the protective film on acrylic together — and find out what’s hiding underneath.
Understanding Acrylic Sheets for Logo Printing

Cast vs Extruded Acrylic Basics
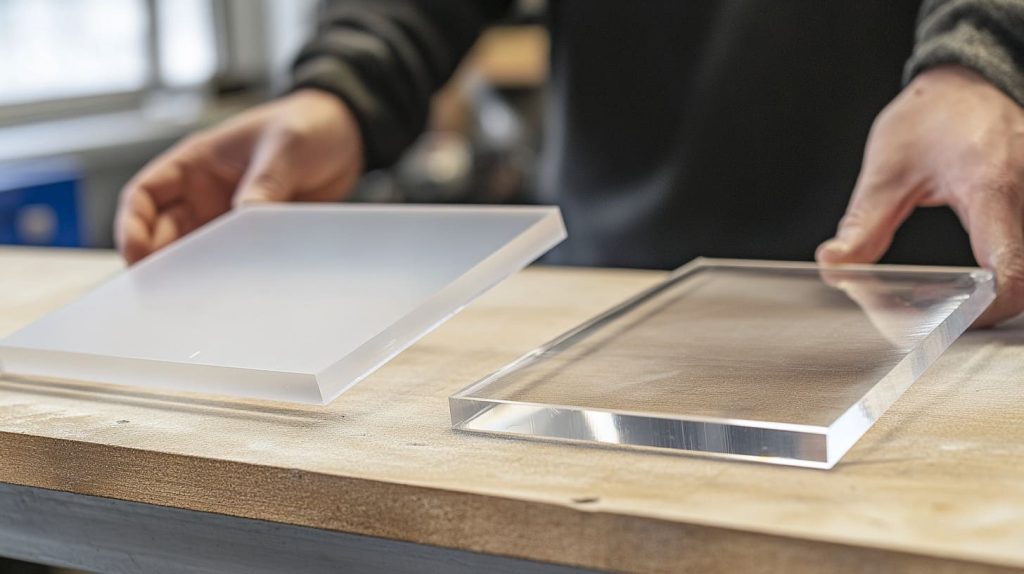
Cast sheets cool slowly, so their molecules relax. That makes them clearer, easier to polish, and pricier. Extruded sheets move fast through rollers, making thickness more consistent but also more prone to edge melt when laser-cut. If you need deep engraving or a beyond-glass sparkle, pick cast. Budget trade-show signage? Extruded can work.
Thickness & Clarity Considerations
A thin 3 mm sheet flexes like a ruler, which can micro-crack ink. A chunky 10 mm panel stays flat, but it magnifies dust and fingerprints on the back. I usually land around 5 mm for wall graphics—rigid enough, light enough, looks rich.
Surface Energy & Adhesion Principles
Ink needs grip. Fresh acrylic has decent surface energy, but a single fingerprint drops it by 30 %. A quick wipe with isopropyl alcohol, ionized air to chase dust, and lint-free gloves keep adhesion drama off the production floor.
Curious which file type talks nicest to these squeaky-clean sheets? Let’s slide into artwork prep.
Preparing Your Logo Artwork
Vector vs Raster File Requirements
Vectors (AI, SVG) scale forever. Raster files (PNG, TIFF) do not. If you dream of a 2 m storefront sign, send vectors. For photographic gradients, a 300 dpi PNG at full size is fine.
Color Modes & ICC Profiles
Design in CMYK, but soft-proof on an ICC profile that matches your printer. Trust me, nobody wants to explain why the client’s “Feilong red” turned salmon.
Adding White-Ink “Flood” or Spot Layers
Acrylic is clear. If you print cyan straight onto it, light passes through and kills saturation. Add a white flood or spot layer behind the artwork so colors pop like neon.
Scaling, Bleed & Safe Zones
Add 3 mm bleed on every edge. Keep critical text at least 5 mm inside the trim line. Flame polishing can bite off a sliver of ink—give it room.
Sample Proofing Steps
- Soft proof: PDF on a calibrated monitor.
- Hard proof: Small off-cut with final inks.
- Mini-panel: Full process on a 100 × 100 mm square.
Those three checkpoints catch 90 % of “uh-oh” moments before a full run.
Artwork locked? Perfect. Now, which printing road do we travel?
Choosing the Right Printing Technique
UV Flatbed Printing (Direct-to-Substrate)
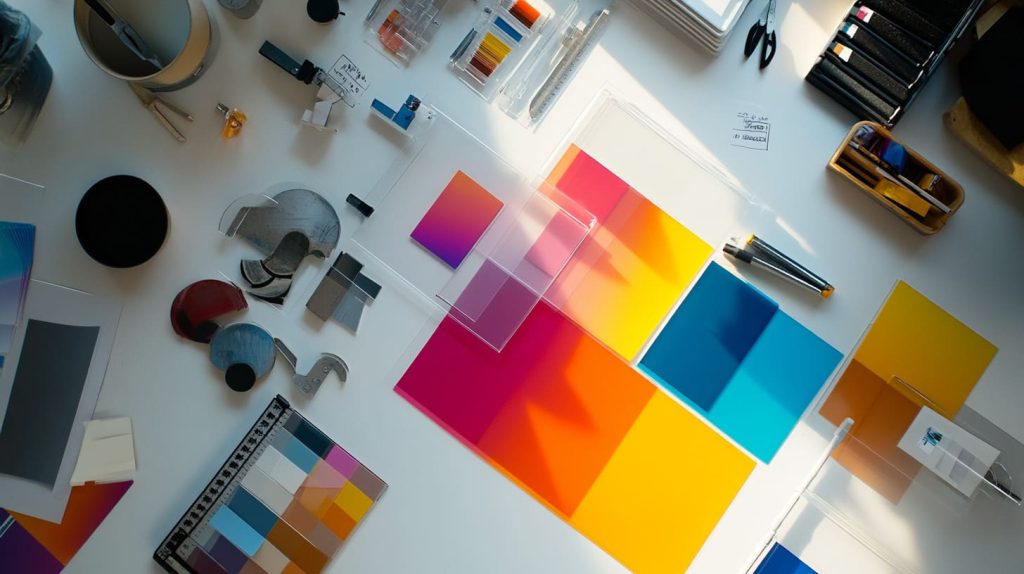
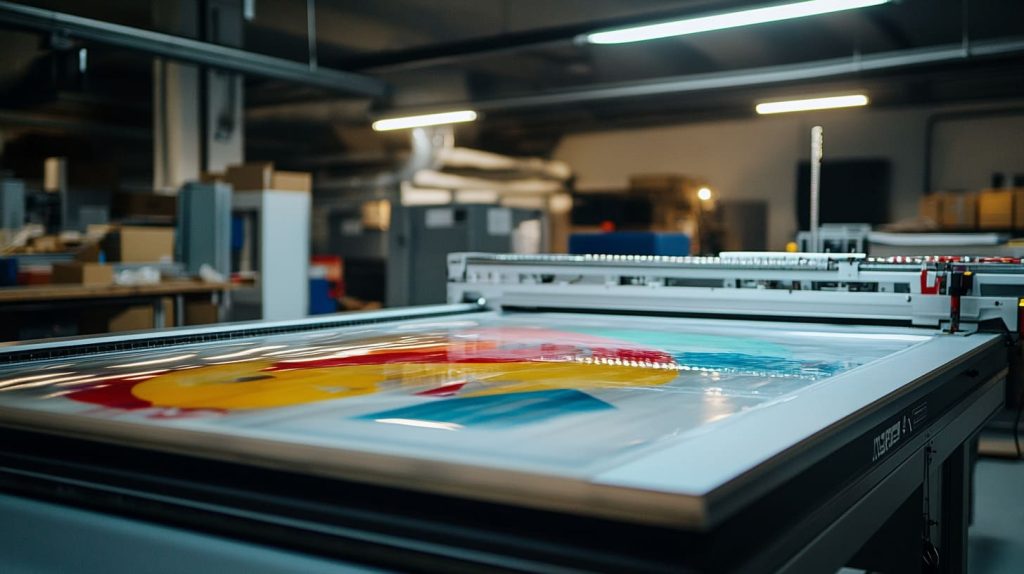
Inkjets lay CMYK + white directly on the sheet. Instant UV curing means no drying racks. Great for gradients and small runs. Watch lamp heat on thin stock.
Silk Screen Printing
Old-school but mighty. Thick, opaque ink that laughs at scratches. Best for solid colors and big volumes, yet every new color needs a new screen.
Laser Engraving & Etching
No ink at all—just a frosted mark inside the surface. It will never peel. Great for awards, backlit signs, and night-club bottle service plaques.
Adhesive Vinyl Decal Transfer
Print on vinyl, weed, laminate, then stick. Fast and cheap for outdoor installs. Edges can collect dust; use for temporary promos.
Dye Sublimation on Polymer-Coated Acrylic
Heat turns ink into gas and drives it under a special coating. The result feels part of the sheet. Limited to coated panels and lighter tones.
Comparative Pros & Cons
| Method | Resolution | Durability | Setup Cost | MOQ Friendly | Notes |
|---|---|---|---|---|---|
| UV Flatbed | 1200 dpi | ★★★★☆ | $ | 1+ | Gloss varnish optional |
| Silk Screen | 85–150 lpi | ★★★★★ | $$ | 100+ | Vibrant solids |
| Laser Engrave | Vector only | ★★★★☆ | $ | 1+ | No color |
| Vinyl Decal | 1440 dpi | ★★☆☆☆ | $ | 1+ | Edge wear outdoors |
| Dye Sublimation | 300 dpi | ★★★★☆ | $$ | 10+ | Needs coated sheet |
Still with me? Good. Let’s clean the surface so our chosen ink actually sticks.
Pre-Treatment and Surface Preparation

Cleaning & Anti-Static Procedures
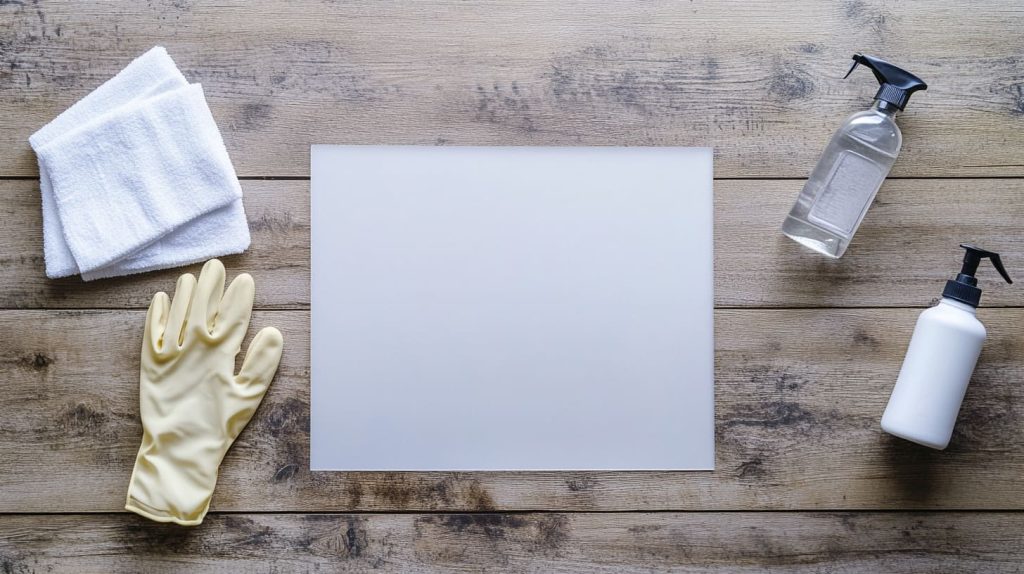
I keep a spray bottle of 70 % IPA and a stack of microfiber cloths. Spray, wipe, then blow ionized air. Static guns zap clingy lint that ruins prints.
Flame Treatment or Adhesion Promoters
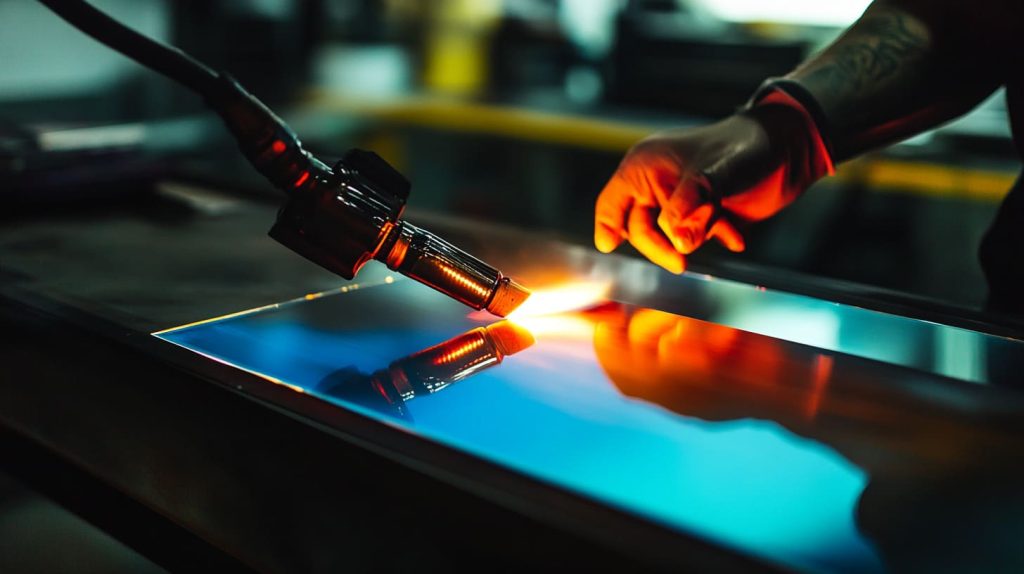
For stubborn inks, a quick propane flame pass raises surface energy. Move fast—too slow and you’ll warp the sheet. Adhesion promoter pens work for edges.
Masking Non-Print Areas
Liquid mask brushes on and peels like latex. Film masks handle straight edges. Tape works in a pinch, but residue can haunt you later.
A sheet is prepped, the printer is humming—time for a real-world walkthrough.
Step-By-Step Workflow: UV Printing Case Study
Machine Setup & Jig Alignment
Set bed height so the print head misses the panel by a credit-card thickness. Vacuum hold-down stops drift. I use a CNC-cut jig when panels repeat.
Printing Sequence: Primer → CMYK → White → Varnish
Primer first if your ink set needs it. Lay CMYK, then a full white flood. Finish with clear gloss for depth. The order matters; reverse it and colors look dusty.
UV Curing & Cooling
LED lamps cure each pass in seconds. Pause 2 min between layers on thick stock so heat doesn’t bow the sheet.
Edge Polishing & Protective Film
After printing, I flame-polish or diamond-polish edges for showroom sparkle. Finally, apply a removable PE film—nothing ruins a reveal like a surprise scratch.
Print looks sharp. But will it survive shipping? Let’s test.
Post-Printing Finishing & Quality Control
Adhesion Cross-Hatch & Tape Tests
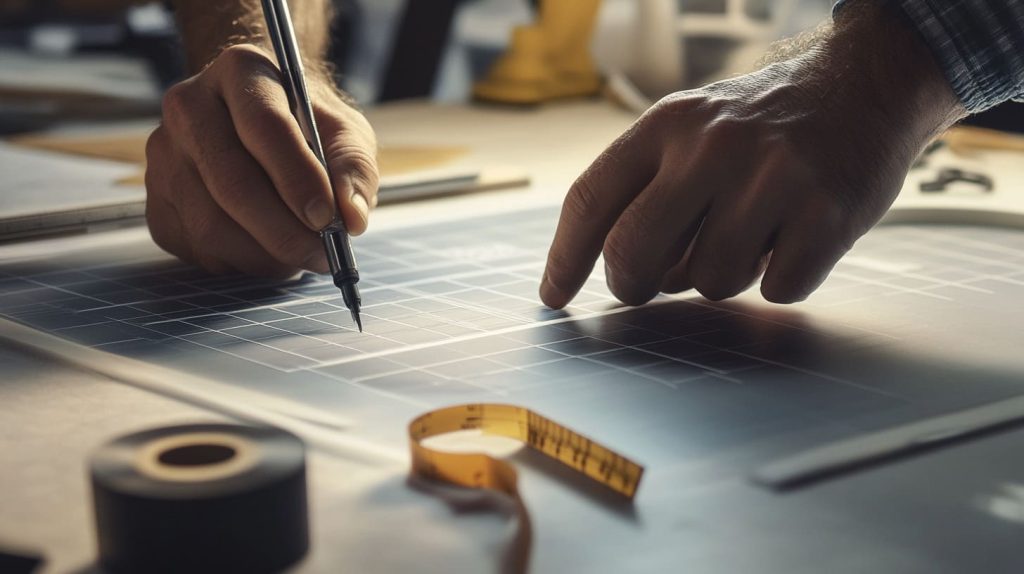
Score a 5 × 5 grid, stick 3M 600 tape, and rip. Anything above 5 % peel fails. It’s brutal—but bad prints show up now, not on the client’s shelf.
Scratch & Chemical Resistance Checks
A #2 pencil at 750 g pressure gauges hardness. Mild acetone rub tests chemical resistance. If ink smears, rethink your varnish.
Color Match Verification
A spectro-scanner compares print to Pantone. Keep ΔE below 2 for brand colors; the eye starts noticing around 3.
Pass all that? Time to tally cost and schedule.
Cost, Lead Time & MOQ Considerations

| Method | Typical Setup Fee | Speed (100 pcs) | Speed (5 000 pcs) | MOQ |
|---|---|---|---|---|
| UV Flatbed | $25 RIP | 1 day | 7 days | 1 |
| Silk Screen | $80/screen | 0.5 day | 3 days | 100 |
| Laser Engrave | $0 | 1 day | 12 days | 1 |
| Vinyl Decal | $20 | 0.5 day | 2 days | 1 |
| Dye Sublimation | $30 jig | 1 day | 5 days | 10 |
At Feilong Acrylic, five parallel lines mean a 15–25-day turnaround even during holiday crunch. Rush slots exist, but I only promise them if QC stays airtight.
Budget clear? Good. Let’s add creative polish that stuns boardrooms and shoppers alike.
Design & Customization Tips for B2B Projects

Second-Surface Printing for Depth Effect
Print mirrored artwork on the back face, so the logo floats beneath glossy acrylic. It resists scratches because nobody can touch the ink.
Spot Gloss & Texture Layers
Selective varnish can raise logos 10 µm above background matte ink. Run your finger across and feel the brand.
Integrating Print with Laser-Cut Shapes
Combine contour-cut letters with edge-lit LED bases. The print guides light; the cut defines form. Clients love the high-tech vibe.
Beauty can’t come at the planet’s expense. Let’s check safety next.
Environmental & Safety Considerations
UV Ink VOCs & Workplace Ventilation
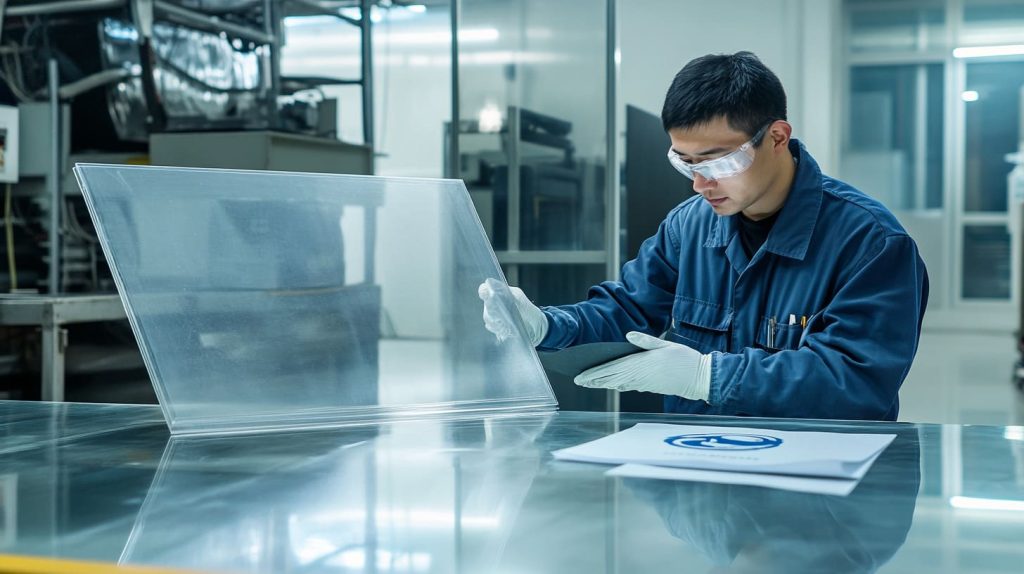
Modern UV inks are low-VOC, yet curing lamps generate ozone. We vent 500 m³/h per printer through carbon filters.
Waste Solvent Handling & ISO 9001 Compliance
Spent IPA flows into a closed-loop recycler. It saves money and keeps auditors smiling.
RoHS & REACH Material Declarations
European clients often need paperwork. We track every cartridge lot, so compliance letters print as easily as logos.
A vendor can claim anything—how do you know they deliver?
Selecting a Manufacturing Partner
Questions to Vet Capability
- How old is your printer fleet?
- Can you lay white and clear in one pass?
- Do you calibrate ICC profiles weekly?
Importance of ISO 9001 & SGS Certifications
A certificate can’t run a printer, but it proves the shop runs a process. That keeps quality steady when order #100 rolls around.
Sampling & Approval Workflow with Feilong Acrylic
- CAD mock-up ↔ client feedback.
- Prototype (3 days) → courier.
- Mass run after written approval.
Three gates, zero surprises.
Partner chosen, process locked. What did we learn?
Conclusion
Printing a logo on acrylic isn’t magic—it’s a series of practical choices:
- Prep spotless surfaces.
- Pick the method that fits volume and color needs.
- Test, test, test, then polish the edges till they shine.
If you need a hand turning those choices into tangible, showroom-ready pieces, Feilong Acrylic is one email away. I’ll be on the factory floor, gloves on, waiting to make your brand sparkle.




