 Skip to content

You might think acrylic sheets, once produced, are stable and ready for anything. After all, they’re tough, crystal-clear, and made to last. But here’s something most people overlook—how you store them matters just as much as how you make them.
In one of our partner warehouses in Dongguan, I noticed something subtle but important. Two stacks of the same acrylic batch were stored differently. One was neatly flat with soft padding. The other leaned against a metal frame near a skylight. A week later, some of those leaning sheets had a curve along the edge—not dramatic, but enough to cause rework.
That’s what warping does. It sneaks in slowly, and by the time you notice, your once-flat, beautiful sheet is off just enough to mess up a project. And in the world of B2B custom acrylic work, that tiny bend? It means delays, extra cost, and sometimes, unhappy clients.
In this post, I want to walk you through how to store acrylic sheets properly to prevent warping. No fluff. Just practical insights from years of real-world experience—both mistakes and best practices.
Understanding Acrylic Warping

Acrylic warping isn’t a mystery. It has a few real causes you should know. That helps you prevent problems before they start.
What Causes Acrylic Sheets to Warp
Temperature Change
Heat and cold make acrylic behave differently. Warm sheets expand. Cold sheets shrink. If one side gets hotter than the other, the sheet bends.
For example, a sheet stored near a window might bend on the side facing the sun. I once caught a stack leaning against a metal wall in the afternoon sun. A few sheets had a clear curve. That cost the production team time and material to replace.
Uneven Support
Acrylic likes flat surfaces. If you let a sheet rest with uneven support, gravity wins. Sheets sag. Edges droop.
Imagine a big board supported only by a few small blocks. That board will deform under its own weight over time.
Moisture and Humidity
Moisture doesn’t warp acrylic like wood — but it affects how sheets respond to temperature. High humidity can trap heat and make expansion worse.
UV Exposure
Sunlight isn’t just heat. UV light breaks down the surface slowly. Over time, you see color change and tiny distortions — subtle, but real.
| Cause | What Happens | Why It Matters |
|---|---|---|
| Heat | Expansion | Bends sheets, changes flatness |
| Cold | Contraction | Can make edges uneven |
| Uneven support | Sagging | Makes sheets unusable for precision parts |
| Humidity | Amplifies temperature effects | Faster distortion |
| UV light | Surface change | Color shifts, micro-warp |
Types of Warping Seen in Acrylic Sheets
Warping isn’t just one thing. It comes in forms:
- Bowing – center bends up or down
- Edge distortion – one edge curves more than the other
- Twist – corners rotate out of plane
- Size difference – thick sheets behave differently than thin ones
Thicker sheets resist warping more, but that doesn’t mean they don’t warp at all. I’ve seen thick sheets bend after months of leaning on the wrong surface.
Alright, now that you get the basics, let’s talk about how to stop warping before it starts.
Best Practices for Acrylic Storage

In my early days of sourcing materials, I saw too many companies treat storage like an afterthought. They blamed material quality when the real issue was how sheets were stored.
Let’s change that.
Ideal Storage Environment
Temperature Control
Acrylic likes a steady temperature. Sudden heat spikes or cold drafts make it shift.
Here’s a simple rule:
- Keep it cool and stable — think of a climate-controlled warehouse.
- Avoid hotspots — near radiators, direct windows, or HVAC vents.
If you can touch the surface and feel warm air blowing, that’s a warning sign.
Humidity and Moisture Control
Humidity doesn’t warp acrylic directly, but it plays with temperature effects.
- Too much moisture = trapped heat
- Too little air movement = stagnant conditions
Keep good airflow. That means vents and space between stacks if possible.
Horizontal Storage Methods
Flat Surface Storage
Horizontal storage is often safest for smaller sheets.
Here’s what I make sure of:
- Surfaces are clean
- Surfaces are level
- Support is even
Sheets must lie flat. Not on dusty floors. Not on warped shelves. Flat.
When I was setting up our first storage bay at Feilong Acrylic, we laid sheets on strong panels with felt between them. It made a big difference.
Stacking Multiple Sheets
Stacking is okay — with care.
Use spacers or soft layers between sheets:
- Foam pads
- Felt strips
- Cardboard sheets
And never stack too many at once. Too tall = too heavy = pressure distortion.
Think of it like stacking books. Stack too high and the bottom ones squish.
Vertical Storage Methods
Racks and Leaning Angles
Big, heavy sheets often do better standing up.
But they must be at the right angle — not flat against a wall.
I recommend 10º–15º tilt. Just enough to keep them upright without pressure.
Tips for vertical storage:
- Use wood or metal supports
- Keep a gentle lean, never a sharp angle
- Separate sizes so bigger sheets don’t press on smaller ones
Best Practices for Vertical Storage
- Keep sheets from touching side-to-side
- Use padding to avoid scratches
- Label by size so you handle them with purpose
Once, I found sheets leaning with no padding — the edges had tiny cracks from friction. It was a simple fix, but no one had thought of it until later.
Now that you know how to place sheets, let’s talk about protecting them once they’re stored.
Protective Measures for Stored Acrylic

Protecting acrylic is not just about storage position. It’s also about what touches it and how it stays clean.
Maintaining Protective Film
Most acrylic sheets come with a protective film.
Here’s the key:
Keep that film on until you’re ready to work with the sheet.
This film:
- Prevents scratches
- Keeps dust off
- Shields from accidental marks
I once pulled sheets out early just to check them. The next day, stacks had fine scratches. That film is cheap insurance.
Protecting Against Physical Damage
Avoid Weight on Sheets
Sheets shouldn’t hold heavy tools or parts. No exceptions.
Even small tools can cause micro-dents that matter later in production.
Dust, Debris, and Contact Prevention
Dust doesn’t warp acrylic, but it scratches it.
Use:
- Cloth covers
- Breathable fabrics
- Soft dust covers
And plan small cleanings. Dust accumulates fast in active warehouses.
| Action | Why It Matters |
|---|---|
| Keep protective film | Prevents scratches |
| No heavy tools on sheets | Maintains flatness |
| Cover stacks with cloth | Reduces dust buildup |
| Clean regularly | Keeps surface ready for use |
With these habits in place, your sheets stay ready and clean when you need them.
I once watched a team rush to use sheets right after a dusty installation job. They ran the risk of scratches and wasted material. Small habits make a big difference.
Now let’s look at how different types of acrylic need different care.
Storage Considerations for Different Acrylic Types

Not all acrylic is the same. Clear, colored, patterned — they all behave differently.
Clear vs Colored Acrylic
Clear acrylic shows every tiny mark. It also reacts to light differently.
Colored acrylic may fade if exposed to direct light. Keep them away from long sunlight exposure.
| Type | Storage Note |
|---|---|
| Clear acrylic | Watch for surface marks |
| Colored acrylic | Avoid long-term light exposure |
Textured, Frosted, or Patterned Sheets
Textured surfaces are more fragile.
They scratch easily. They trap dust deeper.
For these:
- Use extra-soft covers
- Avoid stack-bottom pressure
- Store separately if possible
I always separate textured sheets in our storage. It reduces mix-ups and protects the surface.
Every sheet deserves the right home. But what about time? How do you treat short-term versus long-term?
Long-Term vs Short-Term Storage Strategies
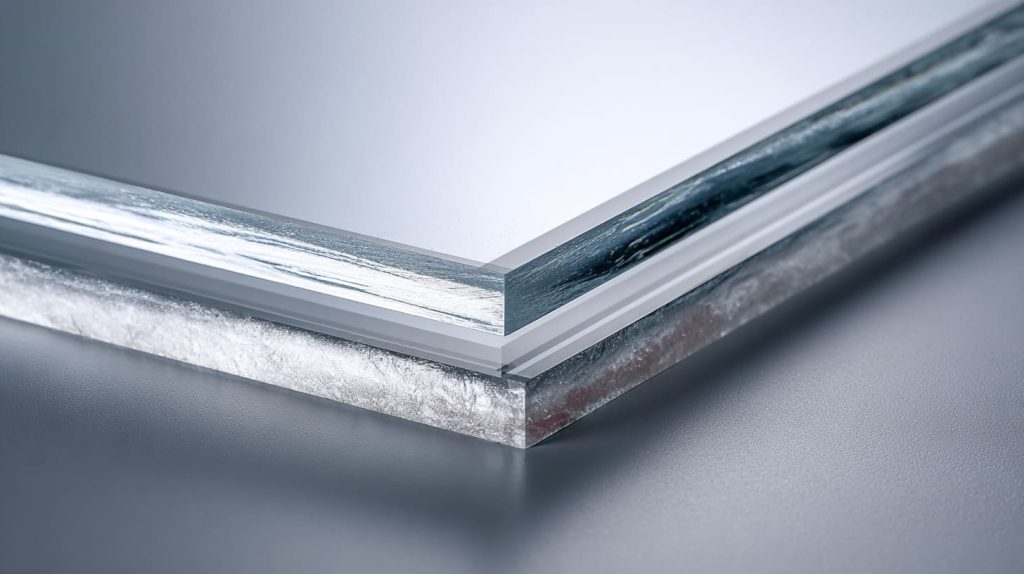
Different timeframes mean different setups.
Short-Term Holding in Workspaces
If you’re using sheets soon:
- Keep them close
- Keep them flat or gently leaning
- Use protective film until the last moment
Short-term storage is about access and readiness.
Long-Term Warehouse Storage
Long-term storage needs more planning.
Here’s what I focus on:
| Strategy | Purpose |
|---|---|
| Custom racks | Reduce pressure on sheets |
| Climate monitoring | Stable temperature and humidity |
| Clear labels | Find sheets fast without lifting |
I learned this the hard way. A big job once sat in storage through summer heat spikes. Without proper climate control, some sheets had subtle bends. Not enough to discard, but enough to slow production.
Add simple signs, clear tags, and a routine check — you’ll save headaches later.
Now let’s talk about some mistakes I’ve seen more than once.
Common Mistakes and How to Avoid Them
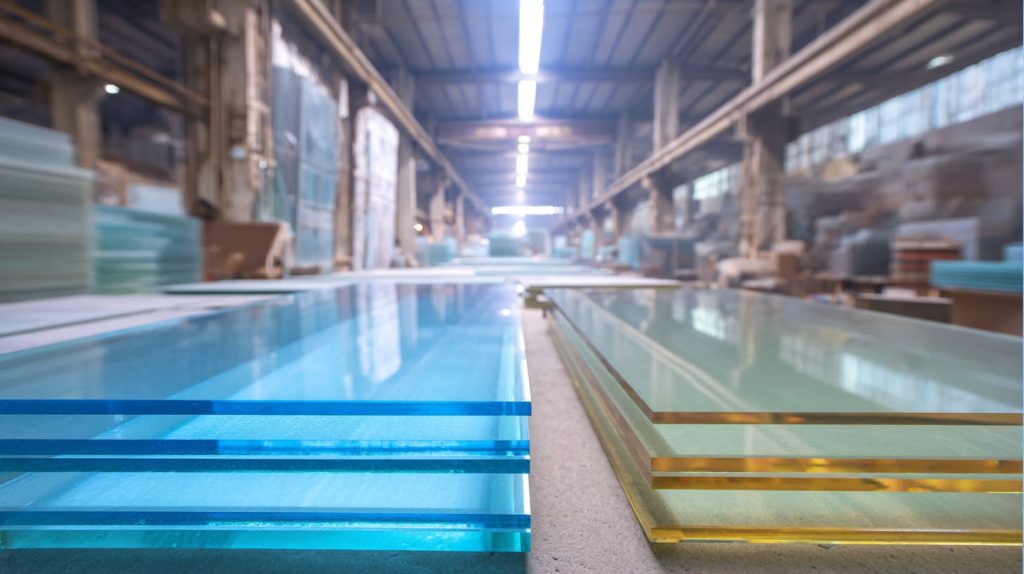
I’ve been on many shop floors. Some mistakes repeat again and again. You can avoid these if you know them.
Storing Near Heat or Light Sources
Heat warps. Light fades. Keep sheets away from:
- Windows with direct sun
- Radiators
- Heat vents
Overstacking or Unsupported Surfaces
Heavy stacks crush the bottom sheets. That’s simple physics.
If you stack, balance and pad each layer.
Removing Protective Film Too Early
I learned this the hard way. Early removal = scratches = waste.
Keep film on until final processing.
All these tips are simple, but they matter. What comes next ties every part together.
Conclusion
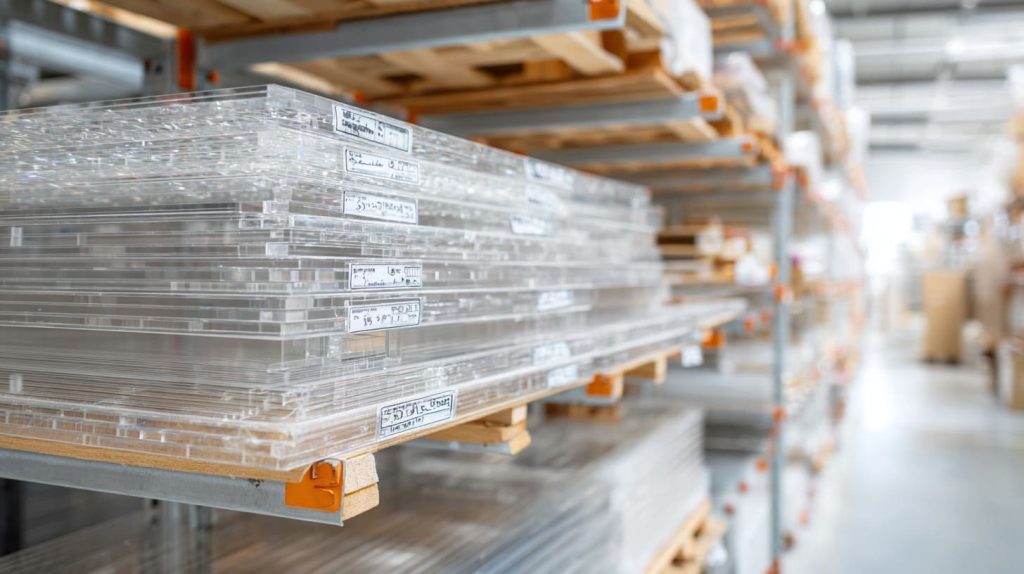
Storing acrylic sheets might seem simple. But the details separate average results from excellent ones.
When you control:
- Temperature
- Support
- Protection
- Organization
You protect flatness and clarity. You cut waste. You keep projects on schedule.
For someone like you — experienced, precise, and dealing with suppliers and factories — this matters. Your clients will thank you. Your teams will thank you.
Proper storage keeps acrylic sheets ready, reliable, and perfect for every custom job.
That’s the kind of quality I care about at Feilong Acrylic. That’s what “high-quality, custom solutions” really looks like.
If you follow these steps, you’ll prevent warping and keep your stock looking brand new — project after project.




