 Skip to content
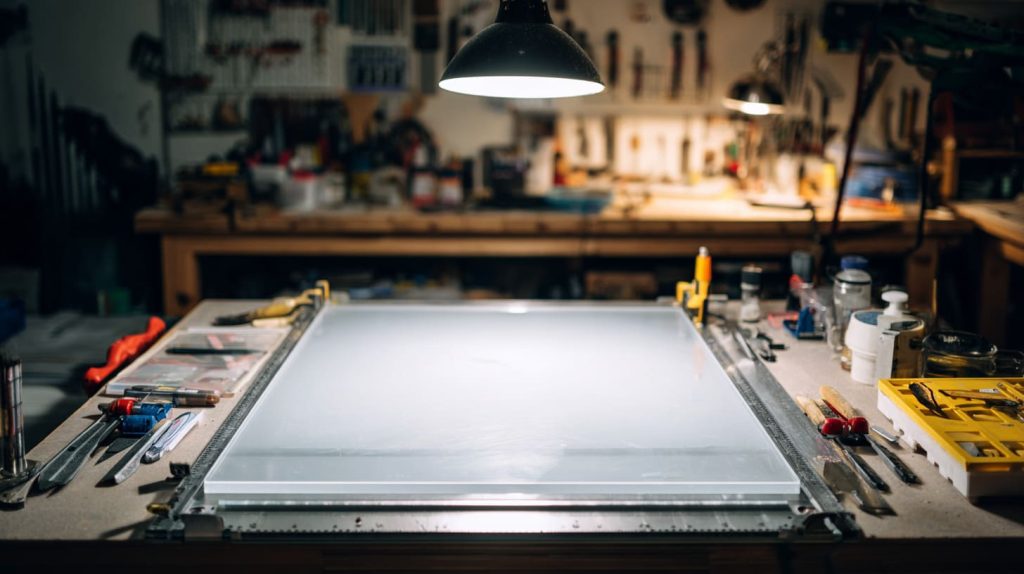
The sheet lay flat on the worktable, its glossy surface catching the overhead light. Tools were lined up beside it—marker, clamps, scoring knife—but the real question wasn’t about what was ready. It was how to begin.
That’s the thing about cutting acrylic. It looks simple until you’re the one making the first move. One wrong cut, and you’re left with splintered edges or a piece that’s half a millimeter too short. And depending on the project—whether it’s a high-end display riser or just a panel for a prototype—those tiny errors can cost time, money, or worse, credibility.
Over the years, I’ve seen every cutting method you can name used in real production environments: the clean laser job, the table saw workaround, the late-night jigsaw improvisation. Each one has its place, and each comes with its quirks.
So in this guide, I want to make things easier—not by dumping theory, but by walking through each cutting method like we would in the shop. What works. What doesn’t. What to watch for. Whether you’re customizing 5 pieces or managing a 5,000-unit run, you’ll walk away with a cutting plan that actually fits your needs.
Let’s start with the basics—because understanding your acrylic is half the battle.
Understanding Acrylic Sheet Basics
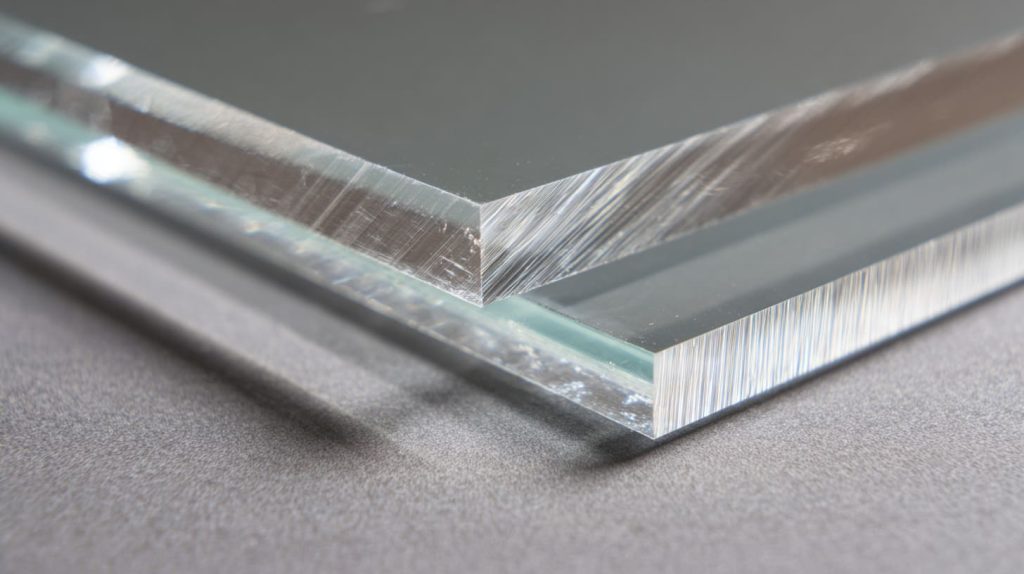
Cast vs Extruded Acrylic: Why It Matters
Cast sheets cure in molds, so the material sets slowly and evenly. That means fewer internal stresses, better optical clarity, and cleaner-polished edges after machining. Extruded sheets roll out of a die like pasta. They’re cheaper and dimensionally consistent, yet more prone to melt marks when sawn. I test both by flame-polishing a scrap: cast stays clear; extruded can blush white. Tip: choose cast if edge finish is critical.
Thickness Considerations and Cutting Difficulty
Rule of thumb: every extra millimeter doubles the effort. A 3 mm panel scores with ease; a 12 mm slab laughs at a hand knife. Thick sheets demand slower feed rates, cooler blades, and stronger clamping. In my shop, anything above 8 mm goes straight to the table saw or CNC router.
Common Applications That Drive Cutting Choices
| Application | Sheet Type | Typical Thickness | Best Cutting Method |
|---|---|---|---|
| Cosmetic display risers | Cast | 3 – 5 mm | Scoring / Laser |
| Retail shelving | Extruded | 6 – 10 mm | Table saw |
| Furniture side panels | Cast | 10 – 15 mm | CNC router |
| LED edge-lit signs | Cast | 6 mm | Laser |
When a client insists on flawless edges for a luxury perfume stand, I push cast. If volume pricing rules, extruded wins.
Feeling the difference already? Let’s gear up before the blades spin.
Pre-Cutting Preparation

Safety Gear and Workspace Setup
I never trim acrylic in shorts and sandals. Wear safety glasses, sleeves, and closed shoes. Clear the bench of metal shavings; one rogue chip can scratch a flawless surface.
Measuring, Marking & Masking the Sheet
Use a fine-tip alcohol marker over the factory film. Peel only the cutting path, then lay painter’s tape on top. The tape reduces chipping and keeps the marker from rubbing off when the panel slides across the fence.
Clamping & Support to Avoid Vibration
Acrylic sings—literally—when it vibrates. That pitch means micro-cracks. I bolt sacrificial MDF under the workpiece and use at least two side clamps. Less chatter equals cleaner edges.
Tools prepped? Time to test the simplest cut in the book.
Scoring & Snapping Method (≤ 6 mm)

Choosing a Scoring Knife or Utility Blade
A carbide-tipped scoring knife stays sharp longer, but a fresh single-edge razor can work. I avoid box cutters with wobbly blades—they wander.
Step-By-Step Scoring Technique
- Clamp a straightedge.
- Draw the knife toward you 6-8 times with moderate pressure.
- Flip the sheet, repeat from the backside.
- Move the scored line to the edge of the bench.
- Press down sharply; the sheet snaps clean.
Troubleshooting Breaks and Uneven Snaps
If the break curves, your score wasn’t deep enough or the sheet flexed. Re-score, tighten clamps, and try again. For small chips, flame-polish or sand to hide the scar.
Quick, quiet, no electricity. But what if the panel is thicker or longer? Cue the power tools.
Power Saw Techniques

Table Saw Basics for Straight Long Cuts
I outfit the saw with a 10-inch, 80-tooth ATB blade labeled “plastic” or “non-ferrous.” Fence straight, feed slow, and let chips eject—don’t force it.
Circular Saw for On-Site Cutting
Construction crew on a retail build-out? A cordless circular saw with a plywood blade (60 tooth) and a clamp-on guide rail saves the day. Hold the saw shoe flat; tilting scars the face.
Jigsaw/Reciprocating Saw for Curves
For cutouts or large radius curves, I pick a jigsaw on low orbital action. Up-cut acrylic blades cut clean on the pull stroke, leaving fewer burrs.
Blade Selection: Tooth Count, Kerf & Material
| Saw Type | Blade Teeth | Kerf Width | Notes |
|---|---|---|---|
| Table saw | 80 T | 2.8 mm | Triple-chip grind |
| Circular saw | 60 T | 2.5 mm | Fine plywood style |
| Jigsaw | 10 TPI | Narrow | Up-cut, no orbit |
Feed Rate, Cooling and Reducing Melt-Back
Push too fast and edges chip. Too slow and friction melts. I aim for a steady feed where chips, not dust, fly off. Compressed air or a mist of water-soluble coolant keeps temps down.
Straight cuts mastered? Let’s talk CNC when tolerances tighten.
CNC Routing for Precision & Repetition
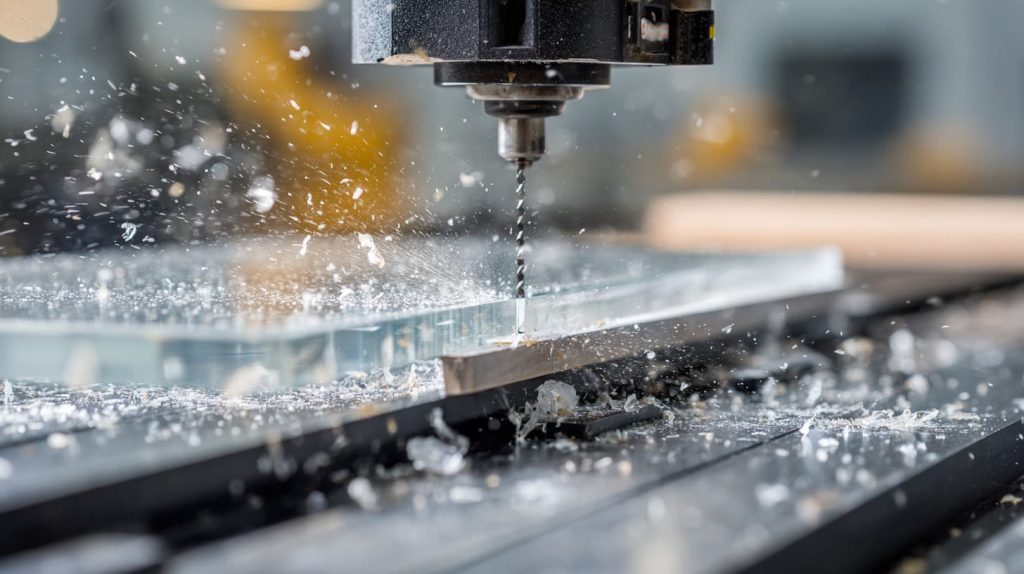
Bit Types (O-Flute, Spiral) and RPM Settings
O-flute bits evacuate chips quickly. On 6 mm cast sheet I run 18,000 RPM and 2 m/min feed. Spiral-up bits lift chips out; spiral-downers press the surface clean for thin laminates.
Holding Fixtures, Vacuum Tables & Chip Extraction
A vacuum table grips the part without clamps, perfect for nested shapes. Add a skirt of 3 mm MDF to boost suction and catch blow-through.
Edge Finishing Straight off the Router
With sharp tools and right feeds, edges come off milky-smooth. A quick pass with 600-grit or a flame kiss turns them crystal clear.
But nothing beats a laser when you need showroom-ready edges straight off the machine.
Laser Cutting for High Precision & Polished Edges

CO₂ vs Diode vs Fiber Lasers
- CO₂ (10.6 µm): Best for acrylic, polished edges, up to 25 mm.
- Diode: Cheap, slow, limited depth.
- Fiber: Great for metals, useless on clear plastics.
Optimal Power, Speed & Focus Settings
On a 100 W CO₂, I cut 6 mm cast at 12 mm/s, 70 % power, focus at surface. Lower power gives less flare but risks incomplete cuts.
Controlling Heat Affected Zones & Edge Yellowing
Too much heat yellows the edge. To fix, lower power, increase air assist, and check focus height. I also elevate the sheet on honeycomb to let fumes escape.
Lasers hum quietly, yet some jobs crave pure brute force. Enter the waterjet.
Waterjet & Other Industrial Options

When Waterjet Outperforms Sawing or Laser
Thick (30 mm+), opaque, or multi-material laminates that might scorch under a laser cut clean with waterjet. Tolerance stays within ±0.2 mm on a good machine.
Abrasive Selection and Kerf Management
Garnet #80 grit balances speed and edge quality. Expect a 1 mm kerf; plan CAD files accordingly.
Cost, Availability and Typical Lead Times
Waterjet time costs more per minute than laser, but tooling is zero. For one-off industrial panels I often spec waterjet, deliver in three days, and sleep well.
Edges look great, but raw cuts still need finishing touches.
Post-Cut Edge Finishing

Sanding Grit Progression for Matte Edges
I go 220 → 400 → 800 → 1200 grit, wet sanding each step. This leaves a satin edge perfect for light diffusion panels.
Flame Polishing for Crystal-Clear Finish
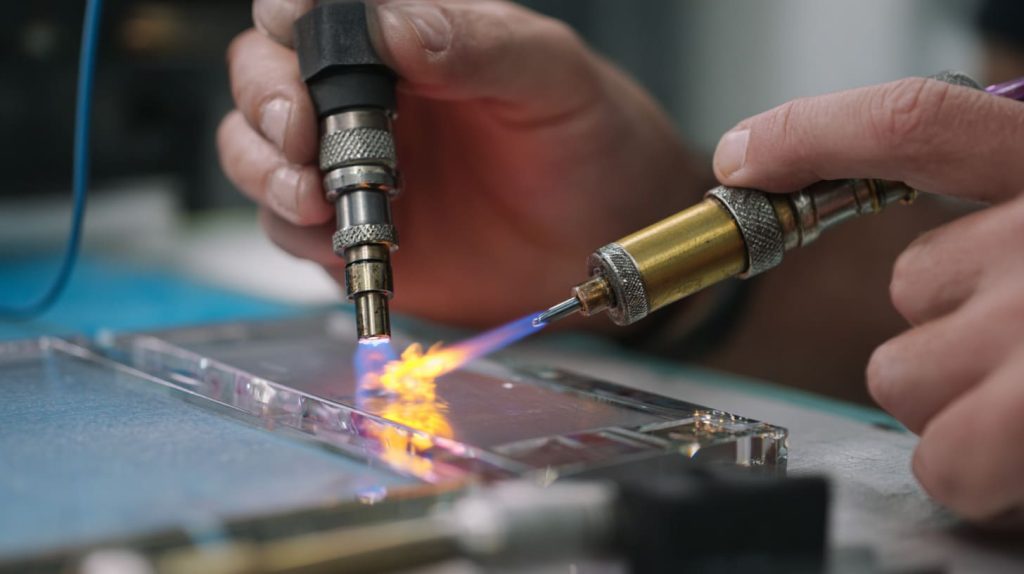
A quick dance with a hydrogen-oxygen torch melts micro-scratches. Keep the flame moving; dwell too long and bubbles appear.
Solvent Vapor & Buffing Techniques
Methylene chloride vapor smooths fine machining marks. It’s messy and toxic—full respirator, please. For small parts, I buff on a cotton wheel charged with white rouge.
Finishing hides mistakes, yet prevention beats repair. Let’s stop chips before they start.
Preventing Cracks, Chips & Melt Marks

Managing Heat Build-Up During Cutting
Pause cuts on thick sheets every 30 cm to let heat dissipate. I place a temperature sticker on test pieces; if it hits 90 °C, we slow the feed.
Corner Relief Holes & Pilot Drilling
Internal corners like letter “A” peaks crack easily. I drill a 3 mm relief hole at the point before routing the slot. Stress disappears.
Using Protective Films and Backer Boards
Leave the factory film on until all machining is finished. Add a plywood backer board under thin sheets to catch blow-through.
So many variables—how do we choose a method quickly? A simple matrix helps.
Selecting the Right Method: Decision Matrix
Thickness vs Complexity Table
| Sheet Thickness | Cut Complexity | Suggested Method |
|---|---|---|
| ≤ 6 mm | Straight | Score / Snap |
| ≤ 6 mm | Intricate | CO₂ Laser |
| 6 – 15 mm | Straight | Table Saw |
| 6 – 15 mm | Intricate | CNC Router |
| 15 – 40 mm | Any | Waterjet |
Budget, Volume & Lead-Time Considerations
High volume favors saws and routers—cheap per cut once set up. Lasers cost more per hour but excel when edges double as final finish. Waterjet sits at the premium end yet punches through thick stock in one pass.
How Feilong Acrylic Matches Client Needs
At Feilong Acrylic, we run all four: twin CO₂ lasers, two CNC routers, a 3 m waterjet, and a bank of precision saws. When Jacky from Canada needs 5,000 perfume risers in six days, we split the load—laser for display windows, saw for hidden structural parts—keeping price down and shipping on time.
Clients ask many of the same questions, so I keep answers ready.
Frequently Asked Questions from Buyers
Tolerance Expectations After Cutting
We hold ±0.15 mm on laser and CNC, ±0.3 mm on saw. Post-finish adds ±0.05 mm.
Minimum Order Quantities & Sample Policies
Standard MOQ is 100–200 pcs (50 pcs for panels over 50 cm). One off-tool sample is free; shipping extra.
Material Certifications & Sustainability Queries
All clear acrylic is GSG-certified, ROHS-compliant, and recyclable. We can provide FSC-certified wood backers on request.
You made it to the end—one last slice of wisdom remains.
Conclusion
Cutting acrylic isn’t black magic. It’s a mix of sharp edges, cool heads, and choosing the right tool for the sheet in front of you. I’ve broken panels at dawn and polished perfect edges by dusk; both taught me patience and respect for the material. Follow the steps above, ask questions, and you’ll spend more time admiring clean cuts—and less sweeping up shattered dreams.




