 Skip to content

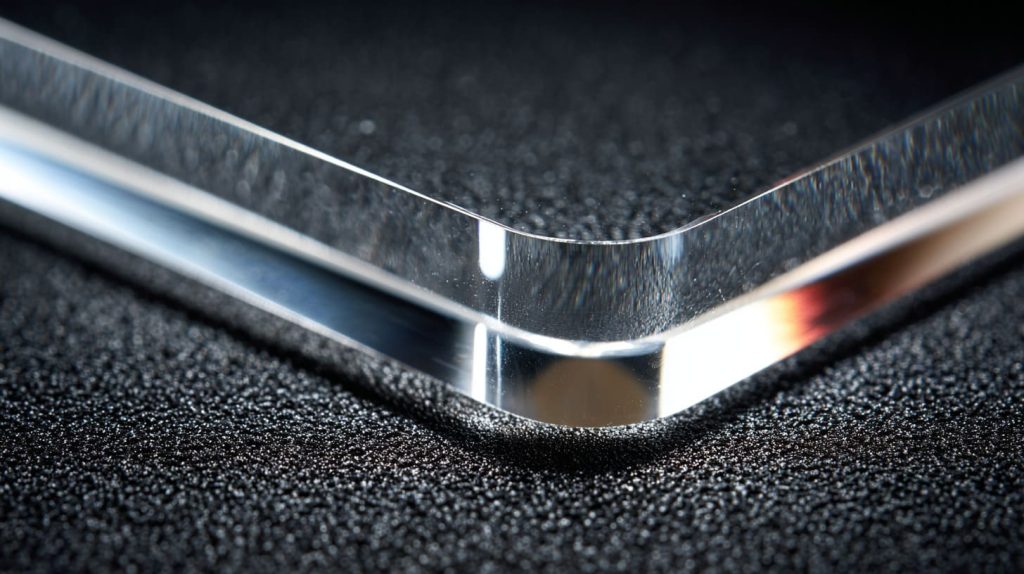
Rough plexiglass edges have a way of showing up at the worst moment. A display is almost finished. The shape looks right. The dimensions check out. Then light hits the edge—and instead of clarity, you see scratches, haze, and a dull line that pulls your eye away from the whole piece.
That moment is familiar to me. In custom acrylic work, especially at Feilong Acrylic, cutting is never the final step. The edge decides how the product feels. It decides whether it looks like plastic or something closer to glass. A clean, polished edge can lift a simple acrylic box into something that feels intentional and well made.
In this article, I want to walk you through how I smooth and polish plexiglass edges. I’ll keep it practical. I’ll keep it honest. And I’ll share the small details I’ve learned over more than 13 years working on custom acrylic displays, boxes, and retail fixtures.
Understanding Plexiglass Edge Quality

Let’s start with basics. Not all edges are created equal. The way an edge looks after cutting depends on a few things. Over the years, I’ve learned to read an edge like a book. It tells you how it was cut and what it needs next.
What Affects Edge Quality After Cutting?
- Cutting method: A laser cut looks different from a saw cut. Laser cuts can be cleaner but may have melted edges. Saw cuts often need more sanding.
- Initial roughness: Some methods leave deep lines or marks. These need more work to smooth.
- Material thickness: Thicker acrylic can show more imperfections if not cut right.
Glossy vs Matte Edges: What They Mean
Edges don’t all finish the same. You have:
| Edge Type | Look | Common Cause |
|---|---|---|
| Glossy | Clear like glass | Polished or flame finished |
| Matte | Frosted look | Sanded but not polished |
A frosted edge isn’t bad. It just looks different. For cosmetic items or displays, I usually aim for glossy. It feels more premium.
If you’re curious, keep reading. The tools and methods make all the difference.
Tools & Materials for Smoothing & Polishing
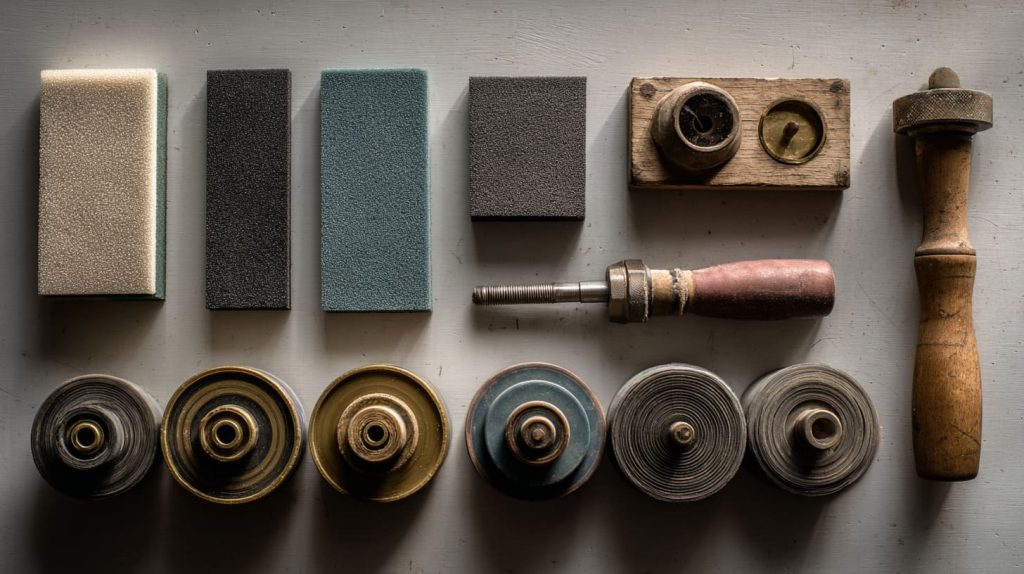
Tool choice defines results. Just like painting, the right brush matters. Here’s how I organize my workbench.
Basic Sanding Supplies
These are the basics for most edges:
- Waterproof sandpaper (150–600+ grit)
- Sanding blocks
- Water spray or a bucket for wet sanding
I used to dry sand only. Once I tried wet sanding, it changed how the edges feel.
Polishing Compounds and Buffing Accessories
Polishing makes edges shine. Here’s what I use:
- Plastic/acrylic polishing compound
- Soft cloths
- Buffing wheels (cotton or muslin)
Specialized Finishing Tools
For professional results:
| Tool | Use |
|---|---|
| Flame torch (propane/MAPP) | For high gloss flame finish |
| Rotary tool + felt wheel | Small areas |
| Diamond polishing tools | Very high-end finish |
These aren’t always needed, but great for special projects.
Curious how all these come together? Let’s dive into the workflow.
Step-by-Step: Sanding to Smooth Edges

If sanding seems boring, stick with me. It’s like sculpting: the slow work creates the best look.
Start with Coarse Sanding (Remove Major Imperfections)
- Begin with 150–180 grit sandpaper.
- Sand evenly along the edge.
- Keep the paper wet to reduce heat and scratches.
I always remind myself: don’t hurry. Slow sanding gives more control.
Progress Through Finer Grits
- Move up to 320–360 grit next.
- Finish with 600+ grit to get things smooth before polish.
Tips for Consistent Sanding
- Sand in one direction first.
- Keep water on the surface.
- Check how it feels with your fingertip.
If you master sanding, polishing becomes easy. But polishing itself has its own steps.
Polishing Techniques
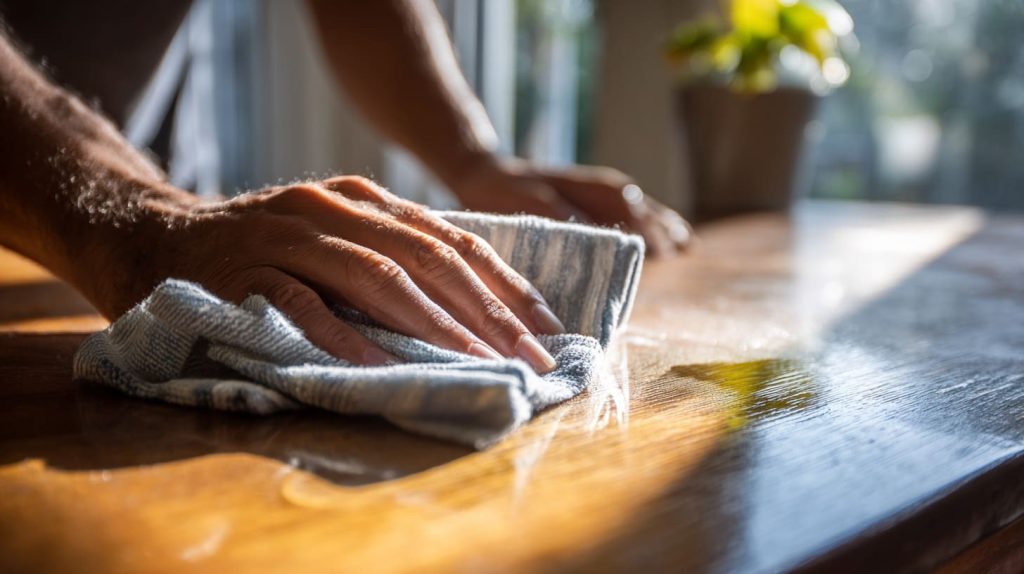
Polish is what takes an edge from good to great. Here’s how I think about it.
Hand Polishing with Paste and Cloth
This is the simplest method:
- Apply a bit of polishing compound on a soft cloth.
- Rub the edge with small circular motions.
- Keep checking clarity as you go.
You’re basically burnishing the surface. It feels almost therapeutic if you take your time.
Machine Polishing with Buffing Wheels
For larger jobs, a machine helps:
- Use low speed so you don’t melt the acrylic.
- Apply compound carefully.
- Keep the wheel clean.
This is what we use for big display panels at our factory.
Flame Polishing Method
This is where it gets interesting.
- A flame torch briefly melts the edge surface.
- It re-hardens clear and glossy.
It’s fast, but you need practice. Too much heat and you get waviness or bubbles.
Professional Diamond or Vapor Polishing
For very high-end pieces, pro tools do a deep, clear finish. But that’s usually for large runs or special orders.
So far, sanding and polishing are things many designers overlook. Let’s talk about going beyond simple edges.
Advanced Edge Finishing Tips
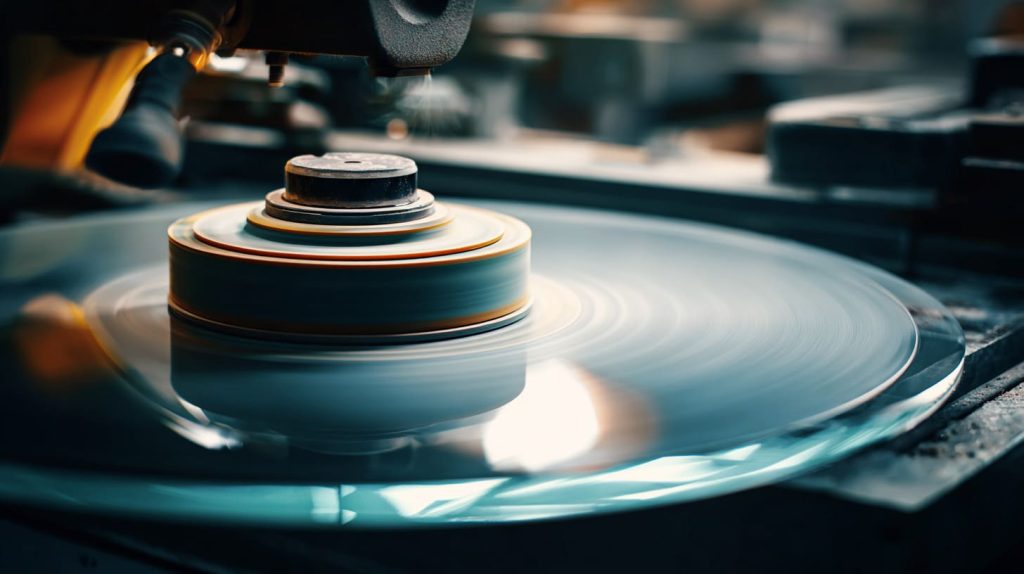
Once you know basics, you start seeing small details that matter.
Edge Rounding and Shaping
Not all edges need to be flat. Sometimes a slight bevel or rounded edge feels better in hand. It also hides tiny imperfect spots.
Protecting Polished Edges
After polishing:
- Don’t glue without roughening the surface first.
- Use masking film when you handle parts.
Little habits like this save you headaches later.
If you’re still with me, good. There’s one thing we must always think about — safety.
Safety Considerations
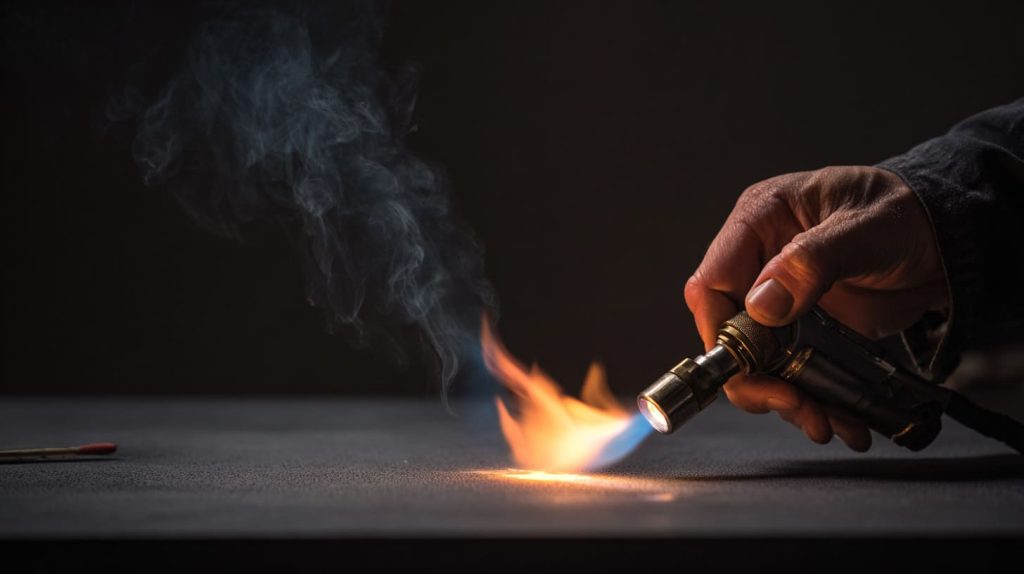
Edges can be beautiful, but the process isn’t without risks.
Personal Protective Equipment
At a minimum:
- Gloves
- Eye protection
- Dust mask
Plexiglass dust isn’t good for lungs.
Handling Heat & Flame
- Work in a well‑ventilated area.
- Practice flame polishing on scraps first.
You can get burned if you rush.
Now, let’s talk about problems that always come up, even for pros.
Common Problems & Solutions
Even after years of work, I still run into issues. Here’s how I fix them.
Cloudy or Foggy Finished Edges
Often this means you skipped a grit. Go back one step and try again.
Heat Damage or Crazing
Caused by too much heat during polishing. Solution? Slow down. Use cooler tools or more water.
These simple checks save you from wasted material.
Conclusion

Smoothing and polishing plexiglass edges is an art and a skill. It starts with sanding. Then polishing. If you want glass‑like clarity, flame or pro methods help. There’s no one perfect way, but there are best ways for each project.
Whether you’re doing a simple box or a large retail display, patience and the right steps make all the difference. And trust me — practice brings confidence.
If you have any questions or want to share your edge‑finishing stories, I’d love to hear them.
— From my bench to yours.




