Skip to content
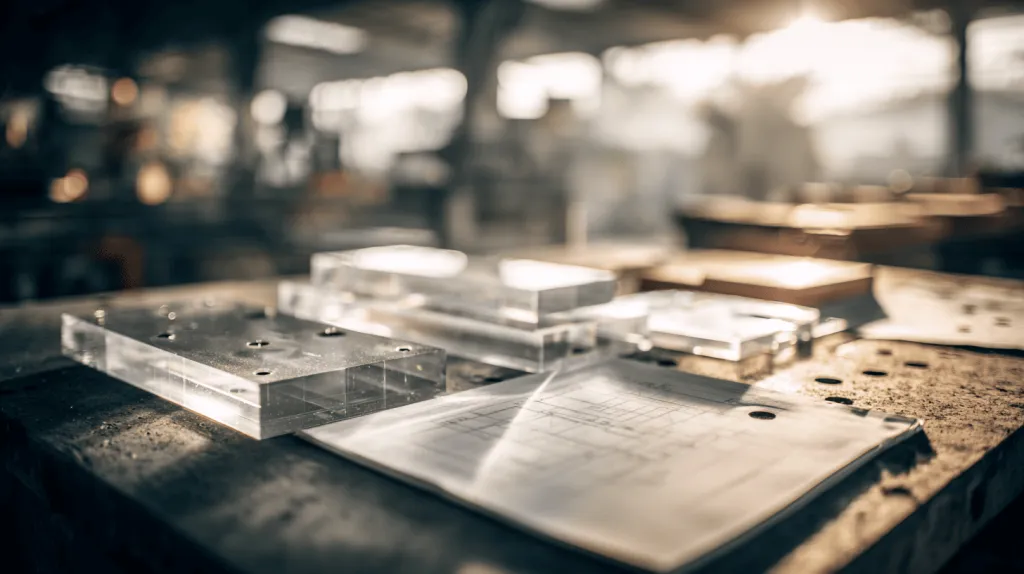
The emails that change my day rarely shout. They arrive with a simple drawing of a clear plexiglass box, stand, or panel, and one quiet line in the notes: “Can we make it blue?” No color code. No process. Just that one question sitting on top of budget, risk, and lead time.
Clear plexiglass is only acrylic sheet, but once color enters the picture, it becomes something else. It becomes part of the brand, part of the shopper’s eye path, part of how a display or prototype feels in real space. For cosmetic organizers, retail risers, brochure holders, or small architectural panels, the same sheet can look cheap or premium, depending on how we add color.
I see two big worlds when we talk about color on plexiglass:
- We can buy pre-colored acrylic from the sheet supplier
- Or we can take clear plexiglass and color it after machining with paint, dye, film, printing, or back-painting
Both paths work, but they do not behave the same in real projects. One is stable and slow to change. The other is flexible and fast, but carries more variables.
From my side of the inbox, the real decision is whether color is just decoration or part of how the product works and sells.
In this article, I want to stay close to the second world: how to color clear plexiglass after you already have the sheet. I will walk through different methods we actually use or review in the factory, and I will share where they shine, where they fail, and how I think through the trade-offs.
When we understand the map of methods, it becomes much easier to match a simple note like “make it blue” to a process that will not surprise us later.
Choosing the Right Coloring Method
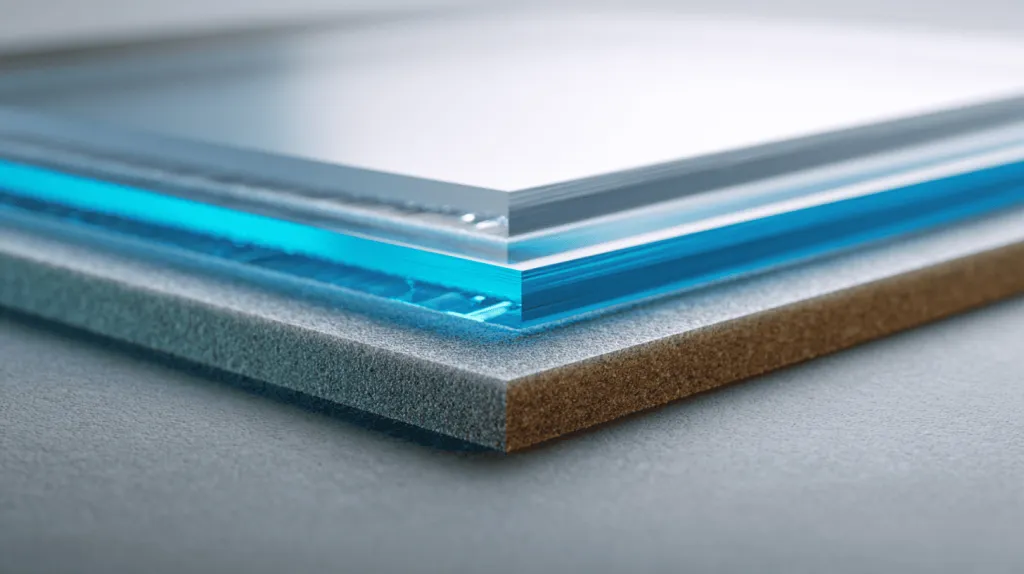
Before I talk about spray cans and dye baths, I want to slow down at the decision point that most drawings skip. Many buyers ask, “How can we color it?” I usually ask back, “What are you actually trying to control?”
Sometimes the goal is stable, repeatable production over many years. Sometimes the goal is flexibility for small runs, seasonal colors, or quick tests. Both are valid, but they point to different tools.
When to Use Pre-colored vs. Post-colored Acrylic
In my work at Feilong Acrylic, I often compare these two paths with buyers like Jacky in Canada who already understand factories quite well. A simple table usually helps us see the structure.
Comparison: Pre-colored vs. Post-colored Acrylic
| Aspect | Pre-colored Acrylic Sheet | Post-colored Clear Plexiglass |
|---|---|---|
| Color source | Pigment in the raw sheet | Paint, dye, film, ink, or back-paint |
| Consistency batch-to-batch | Very high (if supplier stable) | Depends on process and operator |
| MOQ | Usually higher (sheet production limits) | Often lower, good for small or mixed runs |
| Lead time | Longer, depends on sheet supplier | Can be faster if done in-house or locally |
| Rework / change color | Hard, needs new sheet | Often possible (strip, re-spray, re-film) |
| Durability | Excellent, color is through-thickness | Varies; some methods are only on the surface |
| Cost structure | Higher sheet cost, simpler downstream steps | Cheaper sheet, more labor and process time |
When a buyer knows they will repeat the same design for years, pre-colored sheet is often the safest backbone. When they want to test seasonal colors, short runs, or limited editions, post-coloring gives more freedom.
When I weigh methods, the first thing I match is not the color code but the failure mode I can live with.
Surface vs. Penetrative Coloring
The next choice is more technical but still simple: do we want color on the surface, or inside the material thickness?
Surface coloring means we add color on top of the plexiglass:
- Spray paint
- Brushed paint
- Airbrushing
- Adhesive tint films and vinyl
- UV print on the surface
- Back-painting on the reverse side
Penetrative coloring means the color goes into the body of the acrylic:
- Dyeing with a heated dye bath
- Factory-tinted sheets from the supplier
Surface vs. Penetrative Methods
| Parameter | Surface Coloring | Penetrative Coloring |
|---|---|---|
| Transparency control | Can be opaque, translucent, or mixed | Usually tinted but still light-transmitting |
| Scratch resistance | Depends on topcoat / film quality | Better, because color is inside |
| Repair behavior | Can repair or refinish surface | Hard to change; color is permanent |
| Edge appearance | Clear edge unless fully coated | Colored edge because sheet itself is tinted |
| Best for | Graphics, gradients, short runs | Long-term uniform color, structural parts |
If a client wants colored edges and deep, glass-like color, I lean toward penetrative solutions. If they only care about front-facing color or brand prints, surface methods are more flexible and cheaper to adjust.
The moment we understand these two big axes—sheet vs. post-color, surface vs. inside—the discussion about “make it blue” becomes less emotional and more controlled.
In the next part, I want to start with the most common tool I see on real projects: the humble spray can.
Method 1: Spray Painting
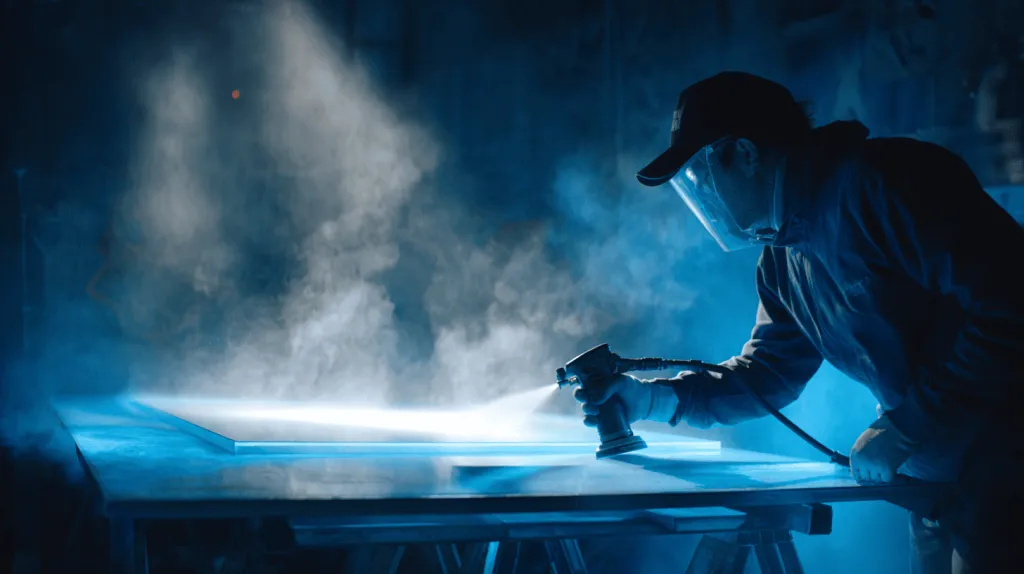
Spray painting is often the first idea that comes up in quick calls. Someone says, “We can just spray it, right?” This method is simple, cheap, and widely available. That is why it is popular, and also why it causes trouble if we do not define the limits.
Materials & Tools
For plexiglass, ordinary metal or wood spray is not always enough. I look for paints that are made for plastic or that bond well to smooth surfaces.
Typical items we prepare:
- Acrylic-compatible spray paint (often labeled for plastic)
- Primer that works on acrylic or general plastics
- Masking tape and masking film
- Lint-free cloth and mild cleaner
- Gloves and eye protection
- Optional: clear topcoat for extra protection
Example Setup Table
| Item | Why I Use It |
|---|---|
| Plastic primer | Helps paint grip the smooth acrylic surface |
| Fine masking tape | Keeps edges sharp and avoids paint bleed |
| Lint-free cloth | Removes dust without scratching the sheet |
| Clear topcoat spray | Adds scratch resistance for high-touch surfaces |
On spray jobs, I treat every painted face as a consumable surface unless a client is ready to pay for extra protection.
Step-by-Step Process
I prefer to break the process into clear stages. This is not to make it complex, but to avoid small mistakes that later look like “random defects.”
1. Clean the Surface
- Wash or wipe the plexiglass with mild soap and water or a suitable plastic cleaner.
- Dry it fully with a soft, lint-free cloth.
- Remove any oil, fingerprints, or sticker residue.
If dirt stays under the paint, we can never hide it later.
2. Mask the Areas You Want to Keep Clear
- Use masking tape along edges.
- Cover larger zones with paper or film.
- Press the tape properly so the paint does not creep under.
3. Apply Primer
- Shake the can well.
- Hold it at a stable distance (usually 20–30 cm).
- Apply thin, even coats rather than one heavy pass.
4. Spray the Color
- Use light passes, moving your hand before pressing and after releasing the nozzle.
- Build up several thin coats, allowing each to flash off according to the paint’s instructions.
- Inspect between coats under good light.
5. Dry and Optional Seal
- Let the paint cure fully. “Touch dry” and “fully cured” are not the same.
- If the part will be handled often, add a clear topcoat.
Simple Process Overview
| Stage | Key Checkpoint |
|---|---|
| Cleaning | No dust, grease, or fingerprints |
| Masking | Tape edges pressed well, no gaps |
| Priming | Thin, even layer, no runs |
| Color coats | Multiple light coats, uniform coverage |
| Curing | Fully dry before stacking or packing |
Pros & Cons
Spray painting is powerful when used inside its real limits.
Advantages
- Low entry cost. No complex equipment needed.
- Flexible. Easy to change color for small batches or tests.
- Fast. Short lead time for samples and prototypes.
- Good for opaque finishes. Hides internal glue lines or hardware.
Disadvantages
- Paint sits on the surface, so it can scratch or chip.
- Not ideal for parts that will flex or take impact.
- Standard spray paints are usually not fully transparent.
- Edge color stays clear unless we spray the edge too.
Quick View: Spray Painting at a Glance
| Use Case | Is Spray a Good Fit? |
|---|---|
| Short-run retail display backs | Often yes |
| High-touch handles or edges | Needs topcoat or better |
| Outdoor parts in strong sun and rain | Often no, unless specialized paint |
| Hidden internal parts | Yes, if only color is needed |
For me, spray painting is like a pocket tool: it is great when used in the right size jobs, but dangerous when we pretend it is a long-term industrial coating.
When a buyer wants deeper color that lives inside the acrylic and not just on the top, the next natural step is to talk about dyeing.
Method 2: Dyeing (Heat Bath Method)
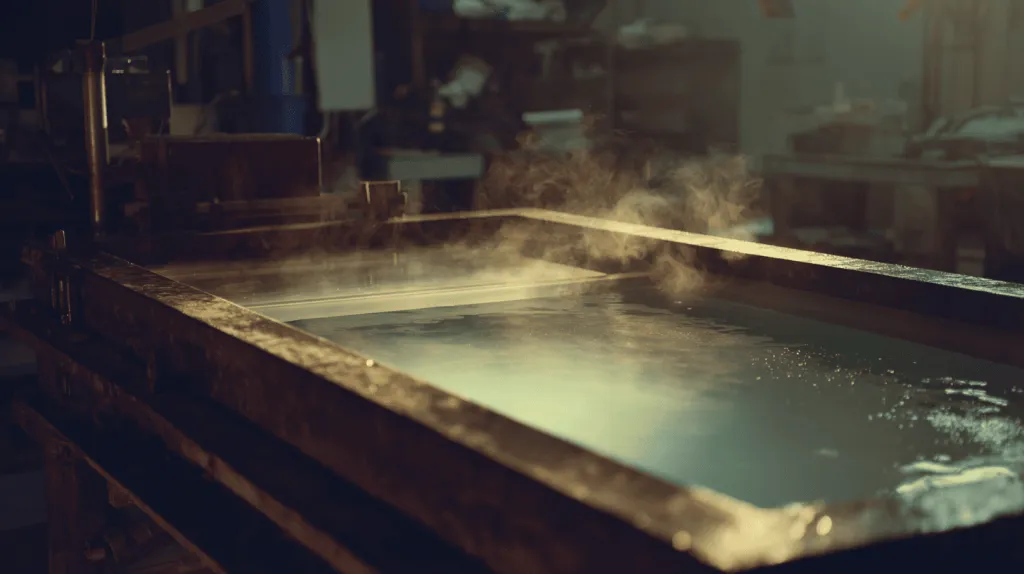
Dyeing clear plexiglass in a heated bath feels almost like cooking. We control time, temperature, and concentration, and the material slowly takes on a new tone. When it works, the result is a beautiful, even tint that keeps the depth and glow of acrylic.
This method is more sensitive than spray painting, and it does not work on every sheet type. That is where many DIY videos look simpler than the reality in a factory.
Suitable Dyes and Sheets
There are many color products on the market, but for tinting acrylic, I usually see two main families:
- Fabric dyes (like RIT), used in hot water
- Solvent-based or acetone-based dyes made for plastics
The second group can be stronger and riskier, so I treat it with care.
The type of plexiglass matters just as much as the dye. Acrylic is not all the same.
Cell-cast vs. Extruded Acrylic for Dyeing
| Property | Cell-cast Acrylic | Extruded Acrylic |
|---|---|---|
| Internal structure | More open to dye penetration | More uniform, less open |
| Dyeing behavior | Takes color more readily | Often resists or behaves unpredictably |
| Optical quality | High, good for displays | Often used for cost-sensitive projects |
| Heat resistance | Better for carefully heated dye baths | Can warp more easily under heat |
Whenever someone asks for dyed acrylic, my mental alarm only relaxes after I confirm the sheet is truly cell-cast, not a random extruded panel.
If we skip this check, we may promise a color effect that the material simply cannot deliver.
Step-by-Step Process
Below is a simplified version of how a basic heat dye bath can work. In a real factory, we add more control points, but the logic is the same.
1. Prepare the Dye Bath
- Fill a heat-safe container with enough water to fully submerge the part.
- Add the dye according to the supplier instructions.
- Mix well so no powder or concentrate sits at the bottom.
- Heat to around 120–140°F (50–60°C). Some people go hotter, but that raises the risk of warping.
2. Clean the Acrylic
- Clean the surface so no oil or dust blocks the dye.
- Handle with gloves to avoid new fingerprints.
3. Submerge and Monitor
- Place the acrylic into the dye bath with care to avoid trapped air bubbles.
- Move it gently from time to time to keep dye contact even.
- Check the color at intervals (for example every 5–10 minutes).
4. Remove, Rinse, and Dry
- Take the sheet out when the shade looks slightly lighter than the target; it may deepen a bit as it dries.
- Rinse with clean water to remove surface dye.
- Dry with a soft cloth and air.
Simple Dyeing Control Table
| Parameter | Typical Range / Note |
|---|---|
| Temperature | 120–140°F (50–60°C) |
| Time | 10–60 minutes, depending on depth |
| Sheet type | Cell-cast recommended |
| Dye concentration | Start with supplier recommendation |
| Risk | Warping, uneven tint, internal stress |
Safety and Control Tips
Dye baths mix heat, chemical colorants, and plastic. I do not treat them as a casual step.
Some basic points I always keep in mind:
- Use good ventilation around heated dye baths.
- Wear gloves and eye protection.
- Do a small test piece from the same batch of acrylic before you commit the full part.
- Watch for warping or softening, especially on thin sheets.
- Keep track of time and temperature in a simple log, so you can repeat a good result.
Dyeing is a beautiful solution when you want transparent color without adding layers on top. It is less good if you need very tight color repeat over many years, unless you have stable process controls.
When a client wants something more reversible or more “mechanical,” the conversation often moves to films and adhesive vinyl.
Method 3: Tint Films or Colored Adhesive Vinyl
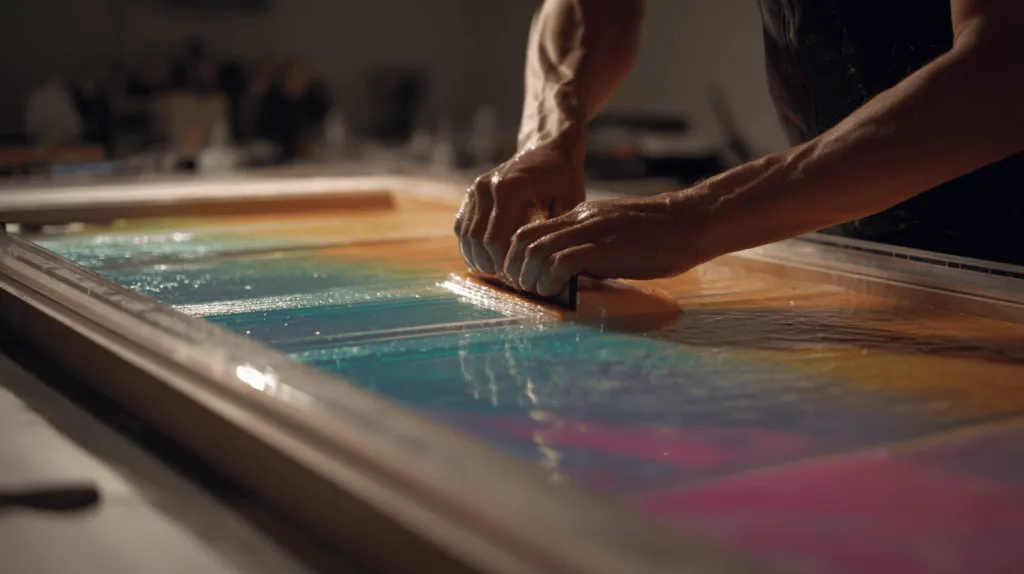
Tint films and colored vinyl sit between raw material and paint. They are like clothing for the acrylic: they change the look, and sometimes the function, without altering the sheet itself. If we choose well, they bring color, privacy, or branding in a way that we can repair or update later.
I see them a lot in retail windows, lightboxes, POS displays, and short-term campaigns.
Application Steps
The basic process looks simple, but the details separate a clean installation from a bubble farm.
1. Measure and Cut
- Measure the panel size and add a small margin.
- Cut the film with a sharp knife or plotter.
- Keep track of the direction if the film has a pattern.
2. Clean the Acrylic Surface
- Remove dust and grease with a mild cleaner.
- Dry with a lint-free cloth.
- Avoid cleaners that leave a silicone film.
3. Apply with Squeegee
- Peel the backing slowly.
- Some films like a light soapy water spray on the surface to help repositioning.
- Place the film and work from the center outward with a squeegee to push out air and water.
- Trim the edges once it is flat.
4. Final Inspection
- Look for bubbles, trapped dust, or misalignment.
- Fix small bubbles with a pin and a gentle press if needed.
Simple Application Overview
| Step | Common Risk | Quick Control |
|---|---|---|
| Cutting | Wrong size, torn edges | Use a sharp blade, steady guide |
| Cleaning | Dust under film | Wipe twice, inspect under good light |
| Applying | Bubbles, creases | Use squeegee, work center to edges |
| Trimming | Damaging plexiglass surface | Light pressure, sharp blade |
With films, my main question is always who will peel or replace them in three years, because that decides if the idea is smart or painful.
Advantages
Tint films and vinyl bring a few things that raw acrylic and paint cannot offer easily.
- Reversible. We can remove or change the color later.
- No curing time. Once installed, it is ready for use.
- Special effects. Frosted, mirrored, gradient, printed graphics.
- Good for existing installations. We can upgrade clear acrylic in the field.
Limitations
- Edges can lift under heat, humidity, or rough cleaning.
- Poor application shows dust and bubbles very clearly.
- Film can scratch or mark if people rub bags or tools against it.
- Some adhesives age and leave residue if not chosen well.
Quick Comparison: Tint Film vs. Spray Paint
| Aspect | Tint Film / Vinyl | Spray Paint |
|---|---|---|
| Reversibility | Easy to remove and replace | Harder to strip |
| Transparency options | Many tints and frosted effects | Mostly opaque or semi-opaque |
| Edge behavior | Film edge may lift or peel | Paint edge is fixed once dry |
| Application environment | Needs clean, dust-controlled area | Needs ventilated spray area |
| Best for | Windows, lightboxes, campaigns | Panels, backs, non-removable surfaces |
When a buyer sees their product as a living display that may change with seasons or promotions, I often see films as a nice compromise between color, flexibility, and risk.
But sometimes the request is not about simple color. It is about soft gradients, shadows, and artistic transitions. That is when airbrushing starts to appear in our conversation.
Method 4: Airbrushing and Gradient Effects
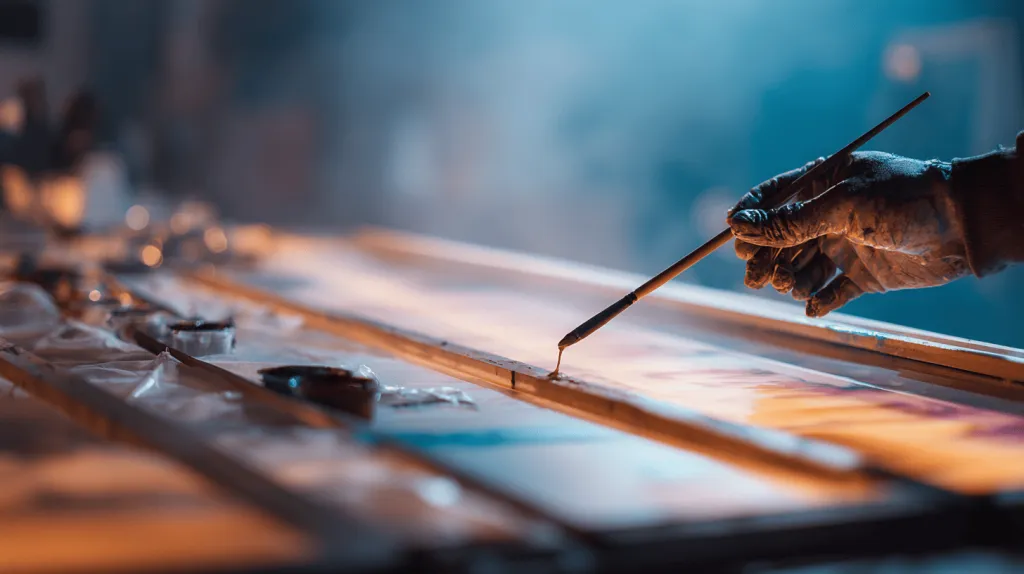
Airbrushing is where plexiglass stops looking like “just a sheet” and starts to look like part of a story. I see it used for luxury cosmetic displays, back-lit logos, and special edition projects where a flat block of one color feels too basic.
Instead of a single uniform coat, we can create soft transitions, halos around a logo, or layered colors that shift as you move.
When and Why to Use
Airbrushing makes sense when:
- You need smooth gradients, not solid blocks.
- You want to highlight a logo, edge, or product zone.
- You want a soft, premium feel that normal spraying cannot give.
- The quantity is moderate rather than huge mass production.
It is not the first choice for a basic, low-budget shelf divider. It is more of a “special treatment” for display pieces that justify the extra work.
Artistic and Technical Tips
The creative side is fun, but the technical side decides if we can repeat the effect for 50 or 500 pieces.
Use Masks for Clean Shapes
- Cut masks from tape or masking film to protect clear areas.
- Apply them firmly to avoid soft edges where you want sharp borders.
- Remove masks at the right time so paint does not chip at the edge.
Build Color in Layers
- Start with very light coats.
- Grow the gradient slowly from the darker or more intense zone.
- Allow each pass to flash off so you do not flood the surface.
Test on Scrap First
- Adjust air pressure, paint thinning, and distance on sample pieces.
- Take photos and short notes so you can repeat the setup.
Typical Airbrushing Issues and Fixes
| Problem | Likely Cause | Possible Fix |
|---|---|---|
| Spattering | Paint too thick or pressure too low | Thin paint or adjust air pressure |
| Fuzzy edges | Mask not sealed, spray too far away | Press mask edges, move closer |
| Uneven gradient | Inconsistent movement or passes | Practice steady passes, overlap evenly |
| Peeling with mask | Paint too thick at edge, mask removal | Use thinner layers, remove mask carefully |
For airbrushed pieces, my personal rule is that any effect I cannot repeat on a second batch is not a responsible production method.
I like airbrushing a lot, but I respect it. It sits in a space where art and production fight each other, and the only way to keep peace is to build in tests and controls.
When the job moves away from “hand skill” and into sharp, repeatable branding with tight graphics and logos, I often see the discussion shift toward UV printing.
Method 5: UV Printing and Inks
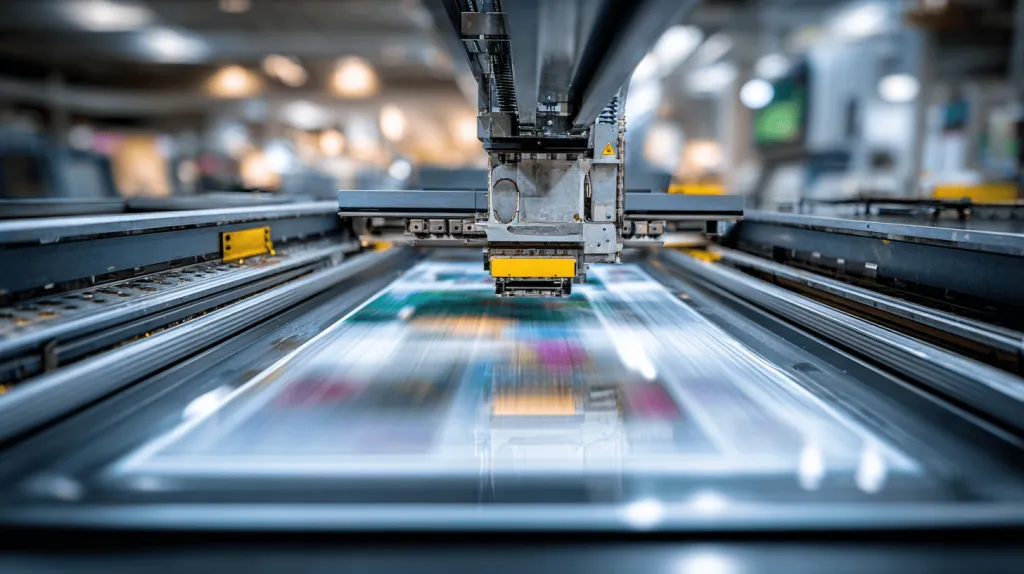
UV printing looks almost like magic when buyers see it for the first time. A flatbed printer moves over the plexiglass, and in a few passes, you get sharp logos, gradients, and even textures directly on the sheet. No film, no transfer paper, no manual paintbrush.
For high-end displays, branded panels, and detailed graphics, UV printing is one of the strongest tools we have.
Use Case
I see UV printing used most often when:
- The brand logo must match other materials exactly.
- There are small text, QR-like elements, or fine lines on the design.
- We need multi-color artwork instead of a simple block color.
- The client wants white ink on clear or colored acrylic.
It is less about “turning the whole sheet blue” and more about embedding controlled graphics into the surface.
Equipment and Limitations
UV printing is powerful, but it is not a garage tool. It needs:
- A flatbed UV printer that can handle the panel size.
- Inks that bond well to acrylic.
- Proper pre-cleaning and sometimes flame or chemical treatment to improve adhesion.
- Careful control of print height and curing.
Where UV Printing Excels vs. Where It Struggles
| Aspect | UV Printing Works Well For | UV Printing Struggles With |
|---|---|---|
| Detail and sharpness | Logos, fine text, small icons | Very rough or uneven surfaces |
| Color complexity | Multi-color artwork, gradients, images | Single flat color over large areas (often overkill) |
| Durability | Good for indoor retail use | Heavy abrasion or harsh outdoor exposure unless top-coated |
| Cost efficiency | Medium to large batches with repeated art | One-off large panels with simple color needs |
| Flexibility on site | Fixed; changes require reprinting | Not as flexible as film or paint touch-ups |
When I choose UV printing, I do it to solve a branding problem, not a simple color problem, because ink is best used where the logo needs to work hardest.
Even though UV printing sits in the “surface” family, it often pairs nicely with back-painted or tinted acrylic to create depth. That leads to a method that many designers like once they see it in real life: back-painting.
Method 6: Back-Painting Techniques
Back-painting is one of my favorite tricks with clear plexiglass. We paint or print on the rear side of the sheet, then let the viewer look through the clear front. The result is a glossy, deep color that looks more expensive than it really is.
You may have seen this effect in high-end cosmetic displays, wall panels, or logo plates that look like a color lives under glass.
Process Overview
The logic is simple: we keep the front face clear and glossy while coloring the back.
Typical steps:
Prepare the back surface
- Light scuff or proper cleaning to help adhesion.
- Remove dust, grease, and fingerprints.
Mask and layout
- Mask areas that must stay clear.
- Define logos or shapes with stencil or printed film.
Apply paint or print
- Spray, roll, or UV print paint on the back.
- Build layers until the color is solid from the front.
Cure and protect
- Let the paint cure fully.
- If the back faces hardware or walls, sometimes we add another protective layer.
Basic Back-Painting Flow
| Step | Front Face | Back Face |
|---|---|---|
| Before painting | Clear | Cleaned, maybe slightly scuffed |
| Painting | Protected | Receives paint or print |
| After curing | Glossy view | Solid color layer |
Visual Effects
Back-painting gives some very specific looks that normal surface paint cannot match.
- High gloss. The front surface stays as-glossy-as-acrylic.
- Depth. The color looks like it is under glass, especially on thicker sheets.
- Cleanability. We can clean the front face as usual without touching the paint.
- Edge play. Edges can stay clear or be separately tinted or lit.
On back-painted panels, I judge success by how the color looks from three meters away under store lighting, not by how pretty it seems in my workshop.
Example: Color and Lighting Interaction
| Design Choice | Visual Result |
|---|---|
| White back-paint + front logo | Strong contrast, clean brand look |
| Solid black back-paint | Deep mirror-like effect, hides all hardware |
| Metallic paint on back | Soft metallic glow through clear front |
| Back-paint + edge lighting | Color appears to float, edges glow |
Back-painting works best when we know the environment and the viewing distance. If the panel will sit behind strong lights or near windows, we adjust the color density to keep it readable and calm.
At this point, we have talked a lot about tools. But tools are only smart when they match the real use of the part. That is why, before we lock a process, I always ask a few simple questions about where and how the plexiglass will live.
Things to Consider Before Coloring
Many coloring problems do not come from bad paint or bad acrylic. They come from good methods used in the wrong situation. So before I recommend any process, I walk through a short mental checklist with the buyer.
Will the Part Be Lit or Backlit?
Light changes everything. A color that looks perfect on a desk can look washed out or too strong once we turn on LEDs or put it in front of a window.
For backlit panels, I usually lean toward:
- Transparent or translucent tints
- Dyeing or colored films designed for lightboxes
- Carefully controlled back-painting with tested opacity
For non-lit parts, opaque sprays, vinyl, or UV prints can be enough.
Matching Application and Light
| Lighting Situation | Better Choices | Risky Choices |
|---|---|---|
| Strong backlight (LED panel) | Tints, dyes, lightbox films | Solid opaque spray that blocks all light |
| Soft front lighting | Back-painting, UV print, tints | Very reflective film if glare is an issue |
| No direct light | Almost any, but test real environment | Overly dark tints that hide the product |
Will It Be Used Outdoors?
Sun, rain, and temperature cycles slowly break down anything that is not prepared. Outdoor use changes how I think about both color stability and adhesion.
I look for:
- UV-resistant paints or films
- Acrylic with good outdoor rating
- Protection against moisture at edges
I try to avoid:
- Basic indoor spray cans with weak UV resistance
- Low-grade films whose adhesive ages badly in the sun
Will It Be Touched or Handled Often?
A display that sits behind glass for five years has a very different life from an acrylic tray that staff move ten times a day.
High-touch zones (handles, edges, shelves):
- Prefer back-painting or printed graphics on protected sides.
- If we must use surface paint, I consider strong topcoats.
Low-touch zones (rear panels, high signage):
- Surface paint and film can work well if we control the environment.
Before I lock a color plan, I imagine the part in its worst possible day—dirty, hot, or badly lit—and decide if the finish still earns its keep.
Quick Map: Use Case vs. Method
| Use Case | Recommended Methods |
|---|---|
| Backlit cosmetic shelf strip | Tinted acrylic, dye, or lightbox film |
| Outdoor sign panel | UV-resistant film, outdoor-grade paint, proper acrylic |
| Cashier counter edge trim | Colored sheet or back-painted strip |
| Temporary promotion in mall | Films, vinyl, simple spray for short-term |
Once we align the method with the real-world scenario, the coloring process stops being a gamble and starts to feel like a controlled choice. That is also the point where I share some very direct factory habits from Feilong Acrylic.
Real Factory Tips from Feilong Acrylic

Running a custom acrylic factory for more than 13 years has given me many small scars, and each scar has a story. When it comes to color, I try to turn those stories into rules that protect both us and our clients.
What We Recommend for Bulk Orders
For bulk B2B orders—the kind Jacky would place for a big retailer—I care more about stability than tricks.
Most of the time, I lean toward:
- Factory-tinted sheets for long-term programs.
- Back-painting for solid, high-end color on visible faces.
- UV printing for logos and fine graphics.
- Films mainly for controlled campaigns, not as a permanent core.
In my factory, the most expensive coloring mistake is usually not the wrong shade, but the wrong process pinned to the wrong volume.
Bulk Order Choices: A Simple Table
| Project Type | Our Usual Recommendation |
|---|---|
| 10,000 identical cosmetic trays | Pre-colored sheet or back-painted standard colors |
| 1,000 premium logo plates | Clear acrylic + back-paint + UV printed logo |
| 500 seasonal display sets | Standard clear + films or controlled spray |
| 100 prototype sets for testing | Flexible post-color, sometimes spray or film |
What We Avoid
There are also habits we avoid because they look attractive at first but hurt later.
- We avoid heavy spray painting on load-bearing parts that may flex.
- We avoid promising DIY-style dyeing for tight brand colors across big volumes.
- We avoid using cheap films on high-touch or long-term outdoor projects.
- We avoid mixing too many methods in one project without a strong reason; each method adds a failure mode.
Sometimes a buyer will show me a photo from the internet and say, “Can we do exactly this, but for 5,000 pieces and in three weeks?” My answer is not “no,” but “let’s translate that photo into a process that we can actually repeat.”
Example: Translating a Concept to a Process
| Buyer Idea | Risk if Copied Directly | Safer Translation |
|---|---|---|
| Complex gradient with airbrush | Hard to repeat at big volume | Simplify gradient or move to UV print |
| All-blue, glowing edges and faces | Unknown mix of methods | Use blue sheet + controlled edge lighting |
| Mirror film on every surface | Peeling and fingerprints | Limit mirror film to protected panels |
These are not hard rules, but they are patterns that keep both factory and client comfortable during and after production.
Coloring clear plexiglass is not about picking one “best” method. It is about matching a real-world story to the right combination of tools. That is also where my personal view of this topic comes together.
Conclusion
I spend a lot of time looking at simple drawings with small notes. “Make it blue.” “Add tint.” “Frost this side.” On the surface, these notes look easy. But behind them are decisions about durability, cost, user behavior, and brand feeling.
In this article, I walked through several ways to color clear plexiglass:
- Spray painting for flexible, low-cost, mostly opaque finishes
- Dyeing for deep, transparent tints inside the material
- Tint films and vinyl for reversible, campaign-friendly color
- Airbrushing for gradients and artistic effects on special pieces
- UV printing for sharp branding and graphics directly on acrylic
- Back-painting for glossy, high-depth color with protected faces
Then we stepped back and looked at what really matters before choosing a method: lighting, outdoor exposure, and how people will touch or clean the part in daily life.
When I step back from all these projects, the pattern I trust most is simple: the calmer the coloring process feels in production, the better it performs in the field.
I think this way because I have seen both ends. I have seen displays that still look clean after years in a shop, and I have seen beautiful sample pieces that failed as soon as they met real customers, cleaning staff, or sunlight. The difference was not the beauty of the first sample. It was how well the color method matched the real story of the product.
So if you are planning a new display, a set of organizers, or a custom acrylic project and you are staring at that small note—“Can we make it blue?”—you do not need a magic answer. You need a clear conversation.
Tell your supplier, or tell us at Feilong Acry