 Skip to content
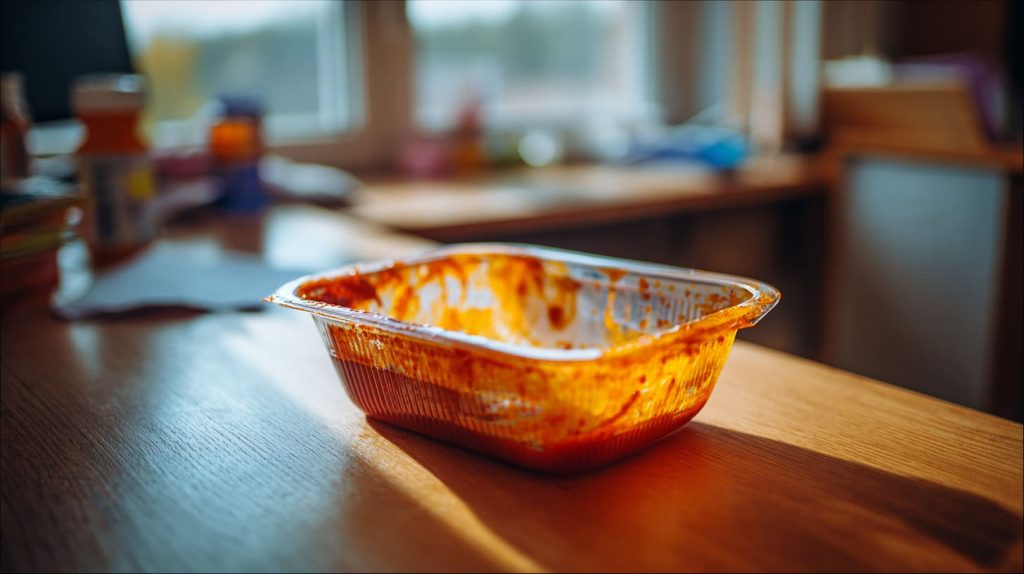
I learned the tomato-stain lesson the annoying way: I opened a lunch container at my desk, and the inside looked like it had been spray-painted orange.
The food was gone. The color stayed. And somehow, the container also smelled like yesterday’s spaghetti had signed a lease.
If you use plastic containers a lot, this problem shows up fast. Tomato sauce, curry, chili, kimchi stew—anything red and oily has a talent for leaving a “memory” behind.
Here’s the part most people skip: tomato stains are not just “color.” They are pigment + oil, and plastic is more “grabby” than it looks.
Tomatoes carry lycopene, a strong red pigment. Add heat, add oil, and those pigments settle into plastic like they belong there.
I’m going to walk you through what is actually happening, how to clean it without wrecking the plastic, and how to stop the stain from showing up again.
And if you’ve ever wondered why glass stays clear while plastic turns orange… keep reading. The reason is painfully simple.
What Causes Tomato Stains on Plastic
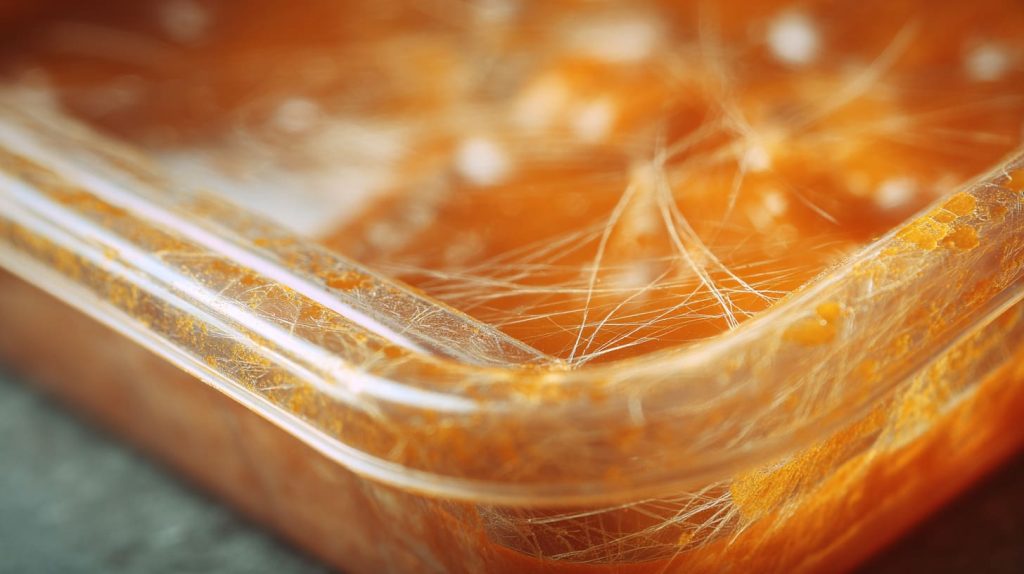
Tomato stains feel personal because they show up even when you “cleaned properly.”
But plastic is not a smooth, sealed surface the way our eyes want to believe. It has tiny texture and micro-pores, and stains use that to their advantage.
The Chemistry Behind Tomato Stains
Lycopene is the star troublemaker here. It’s a pigment that loves fat.
So when tomato sauce has oil (and most sauces do), you get a sticky combo:
- Oil acts like a carrier that spreads pigment across the surface.
- Pigment clings to plastic more than it clings to glass.
- Scratches and haze give pigment more places to hide.
Now, a critical thought: not every “orange container” is the same problem.
Sometimes you have a pigment stain. Sometimes you have plastic aging. If the plastic is old, cloudy, and scratched, it may look stained even after cleaning. That matters because the “best cleaner” can’t fix a worn surface.
Here’s a quick way I judge it:
| What you see | Likely cause | What it means |
|---|---|---|
| Bright orange film, mostly on smooth areas | Pigment + oil | Usually removable |
| Orange mainly in scratches | Pigment trapped | Harder, may never fully clear |
| Whole container looks dull and yellowish | Plastic aging | Cleaning helps, but won’t look new |
Also, some plastics stain faster. Softer plastics and older containers usually lose this fight.
Heat and Plastic Interactions
Heat is the stain’s best friend.
Microwaving tomato sauce in plastic does two things:
- It warms the oil, so pigment spreads faster.
- It softens the plastic surface, so pigment settles deeper.
I’ve seen people blame the dishwasher, and sometimes they are right.
But the microwave is often the real “stain setter.” High heat plus red sauce is like pressing a shirt with ink on it—everything sinks in.
A more balanced view: heat is not “bad” by itself.
It’s heat with pigment and oil that causes trouble. If you microwave rice in plastic, it doesn’t turn orange. If you microwave bolognese, it often does.
Next, we should slow down and do the boring part that saves time: a quick check before we start scrubbing like we’re angry at the container.
Preparations Before Stain Removal
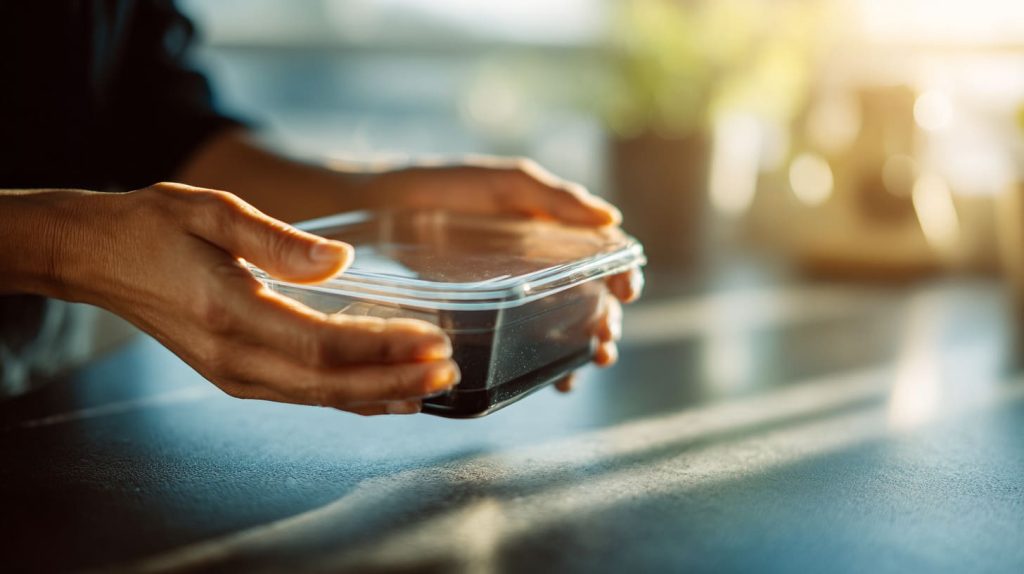
The mistake I see most is people jumping straight to harsh scrubbing.
It feels productive. It also can turn a temporary stain into a permanent one by scratching the surface.
Safety and Material Check
Before you use anything “strong,” check two things: plastic type and container condition.
If your container has a recycling mark, you may see numbers like 1, 2, 5. If you don’t see it, treat it as “unknown plastic” and use gentle methods first.
Here’s a practical compatibility guide I use at home:
| Method | Works on most plastics? | Risk level | Notes |
|---|---|---|---|
| Dish soap + warm water | Yes | Low | Best first step |
| Baking soda paste | Yes | Low | Mild abrasive, don’t grind hard |
| Vinegar soak | Usually | Low–Medium | Avoid long soaks on very cheap plastic |
| Lemon + sunlight | Yes | Low | Slow but gentle |
| Diluted bleach soak | Sometimes | Medium–High | Use only if plastic is sturdy and odor-free after |
Critical thinking moment: “Stronger cleaner” is not always “better cleaner.”
If bleach makes the plastic smell forever, or makes it cloudy, you didn’t win. You just traded orange for ugly.
Also avoid this mindset: “I’ll scrub harder.”
Hard scrubbing can create micro-scratches, and those scratches catch pigment later. So you lose twice—now and next week.
Remove Food Residue First
This step sounds obvious. People still skip it.
- Rinse out all food bits.
- Use warm water and dish soap first.
- Get the corners and lid grooves clean.
Why? Because cleaners work on the stain only when they touch the stain.
If there is oil residue or dried sauce, your “stain remover” is fighting a layer of grease first. That wastes time and makes you add harsher chemicals than you need.
One small habit that helps: wipe the inside with a paper towel before washing.
It removes a lot of oil that would otherwise spread pigment around.
Now that the container is clean-but-stained, let’s move to methods that actually work, and why each one works.
Proven Stain Removal Methods

I don’t believe in “one magic trick.”
I believe in picking the right method for the kind of stain you have—fresh, oily, set-in, or trapped in scratches.
Here’s the quick method map I use:
| Stain level | Best starting method | Why |
|---|---|---|
| Fresh stain (same day) | Dish soap shake method | Breaks oil fast |
| Moderate stain | Baking soda paste | Lifts pigment with gentle abrasion |
| Stubborn stain | Vinegar soak + baking soda | Loosens + lifts |
| Light stain / you want gentle | Lemon + sunlight | Slow fading without harsh chemicals |
| Set-in stain on sturdy plastic | Diluted bleach soak | Strong oxidizing action |
Baking Soda Paste — Everyday Effective
Baking soda is simple, cheap, and surprisingly reliable.
But the key is paste, not “sprinkle and hope.”
How I do it:
- Make a paste: 2–3 tablespoons baking soda + a little water.
- Spread it on the stained area like icing.
- Let it sit 15–30 minutes.
- Scrub gently with a soft sponge.
- Rinse and wash with dish soap.
Why it works:
- Baking soda is mildly abrasive, so it helps lift pigment.
- It also helps neutralize oily residue, especially when combined with soap.
Critical thought: there is a fine line between “gentle abrasive” and “sandpaper.”
If you scrub hard enough to create haze, the container will stain faster next time. So keep pressure light. Let time do the work.
A quick test I like: rub lightly with your finger.
If the stain fades without force, you’re on the right track.
Good for: fresh and moderate stains, and plastics you want to protect.
White Vinegar or Vinegar + Baking Soda Soak
Vinegar is acid. That helps with some stain components and residue.
But vinegar alone is not magic. The real value is that it helps loosen what’s stuck, so your next step works better.
Simple vinegar soak:
- Fill the container with warm water.
- Add vinegar (about 1:1 for tough stains, or 1:3 for gentler).
- Soak 30–60 minutes.
- Wash with dish soap.
Vinegar + baking soda combo (for stubborn stains):
- Add warm water and vinegar first.
- Sprinkle baking soda after soaking a bit.
- You will see fizzing. That action helps lift residue.
- Then scrub gently and wash.
Critical thinking: fizzing looks impressive, but it’s not proof it’s “working.”
The fizz is a reaction that can help loosen grime, yes. But you still need time, and you still need a proper wash after.
Also, don’t soak for half a day “just in case.”
Long soaks can warp cheap plastic or soften stickers and seals.
Good for: stubborn stains that didn’t respond to soap or baking soda alone.
Lemon Juice and Sunlight Boost
This method feels old-school, but it’s gentle and real.
How I do it:
- Rub lemon juice on the stain, or fill with water + lemon juice.
- Place the container in direct sunlight for a few hours.
- Wash with dish soap after.
Why it works:
- Lemon is acidic.
- Sunlight helps fade pigments over time.
Critical thought: sunlight is not consistent.
Weather, season, and window glass can change results. So treat this as a low-risk method, not a guaranteed fix.
This is my favorite method for containers I don’t want to damage, especially when the stain is light but annoying.
Good for: light stains, fragile plastic, and “I don’t want chemicals” days.
Dish Soap + Warm Water Shake Method
This one looks silly. It also works shockingly well on fresh stains.
The trick is friction + soap + something to wipe.
What you need:
- Warm water
- Dish soap (a bit more than normal)
- Paper towel pieces
Steps:
- Put a few torn paper towel pieces inside.
- Add warm water and a good squeeze of dish soap.
- Close the lid tightly.
- Shake hard for 20–30 seconds.
- Open, rinse, and wash normally.
Why it works:
- Dish soap breaks down oil.
- Paper towel provides wiping action inside the container.
- Shaking makes the whole inside surface get scrubbed without scratching with a harsh pad.
Critical thinking: this works best when the stain is mostly oil-based residue.
If the stain has already “set,” shaking alone may not be enough. That’s when you move to baking soda or vinegar.
Good for: fresh stains, everyday containers, and quick fixes.
Bleach Soak (Use With Caution)
Bleach is a last tool, not a first tool.
It can remove set-in stains, but it can also ruin plastic, leave odors, and make people nervous (for fair reasons).
If you use bleach, keep it diluted and keep it short.
Basic safe approach:
- Use cold or room-temperature water.
- Add a small amount of bleach (follow label guidance).
- Soak 10–15 minutes, not hours.
- Rinse thoroughly.
- Wash with dish soap.
- Air out until there is zero smell.
Critical thinking: if you can still smell bleach, the container is not “done.”
And if the container is used for food, that matters. I don’t gamble on smell. I wait until it’s clean and neutral.
Also, don’t use bleach on plastics that already look stressed: warped, cracked, or cloudy.
Those plastics often react badly and end up worse.
Good for: sturdy plastic with deeply set stains, when gentler methods failed.
Before you go all-in on stronger cleaning, it’s worth knowing what not to do—because some “common advice” makes stains worse.
What Not to Do
I’ve seen people treat stained plastic like a dirty pan.
They grab the roughest tool, scrub until their hands hurt, then wonder why the container stains again even faster.
Avoid Abrasives and Harsh Scrubbing
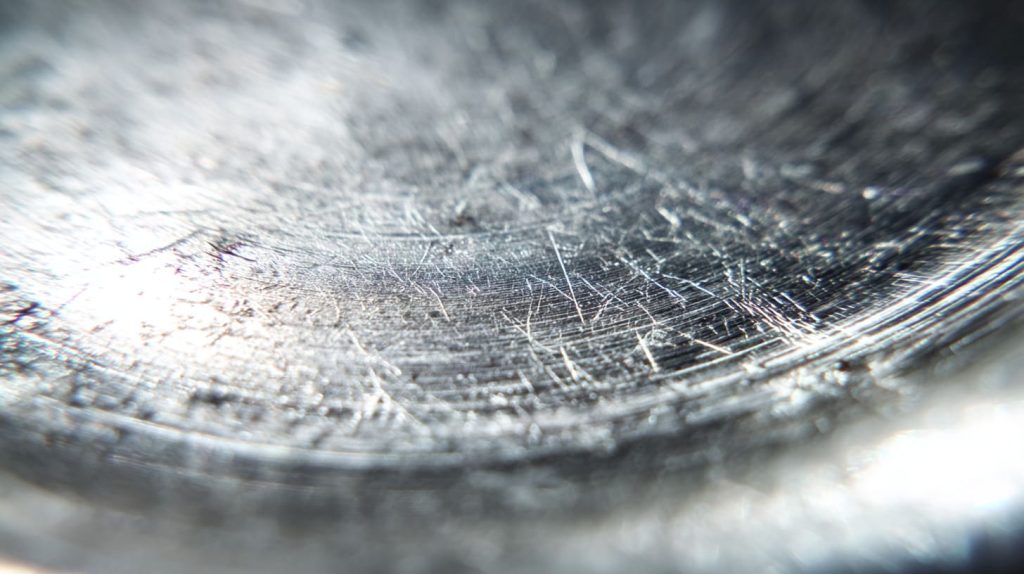
Steel wool and rough scouring pads can scratch plastic fast.
Even if you can’t see the scratches right away, the plastic surface changes.
Here’s what happens after harsh scrubbing:
- Micro-scratches hold pigment next time.
- The surface gets dull and hazy.
- You end up needing stronger cleaners more often.
Critical thought: “clean” is not only about color. It’s also about surface condition.
A scratched surface traps grime and can also hold odors. So your container becomes harder to clean over time, even if you wash it well.
If you need more scrubbing power, switch to:
- Baking soda paste (gentle abrasion)
- A soft brush
- More soak time, not more force
Dishwasher Heat Cycle Risks
Dishwashers can help, but they can also lock stains in.
High-heat drying can:
- push pigment deeper
- set oily residue
- warp thin plastic
Critical thought: the dishwasher is consistent, but it doesn’t “think.”
It can’t adjust for what you stored in the container. If you had tomato sauce, and you run a hot cycle right away, you may be baking the stain into the plastic.
If you use a dishwasher, I prefer:
- rinse first
- avoid high-heat dry for stained items
- let containers air dry
Now let’s shift from “fix” to “prevent,” because prevention is the only method that saves time every single week.
Preventing Tomato Stains in Plastic

Once you remove a stain, it feels great for about five minutes.
Then the next pasta night happens, and the orange tint tries to come back like it owns the place.
Prevention is not about being perfect. It’s about a few small habits that stop pigment from bonding in the first place.
Quick Tips Before Storing Food
I keep these rules simple:
- Let hot tomato food cool before putting it in plastic.
- Rinse quickly after emptying, even if you can’t wash fully yet.
- Use dish soap sooner, not later.
Critical thought: time matters as much as the cleaning product.
A fresh stain is mostly surface residue. A day-old stain has already “moved in.”
Here’s a fast checklist:
| Habit | Why it works | Effort |
|---|---|---|
| Cool food before storing | Less softening of plastic | Low |
| Wipe oil with paper towel | Less pigment carrier | Low |
| Rinse right after emptying | Less bonding time | Low |
| Avoid microwaving tomato in plastic | Less stain setting | Medium |
Protective Barrier Methods
This is a little weird, but it can help: create a barrier between the sauce and the plastic.
Options:
- Lightly coat the inside with a tiny bit of cooking oil before adding tomato sauce.
- Use plastic wrap as a liner for messy sauces.
- Use silicone liners if you have them.
Critical thought: yes, using oil to prevent oil stains sounds backward.
But the idea is that a thin, clean layer can stop pigment from grabbing directly onto the plastic. The key is “thin.” If you dump oil in there, you create a new cleaning problem.
I usually use liners only when I know the food is stain-heavy and I care about the container staying clear.
Choosing the Right Storage Material
Sometimes the honest answer is: plastic is the wrong tool for the job.
If you store tomato sauces often, glass can save you a lot of frustration:
- It doesn’t stain easily.
- It handles heat better.
- It stays clear for years.
Plastic still has a place:
- It’s lightweight.
- It’s less likely to break.
- It’s easy to stack.
Critical thought: the “best” material depends on your real life, not on ideals.
If you drop things, glass may be stressful. If you meal prep tomato sauce every week, plastic may be stressful. Choose the stress you want.
As someone who works with clear materials in manufacturing, I also notice how surface quality changes behavior. A smooth, high-quality surface stays cleaner longer. A rough surface grabs everything. That’s true for storage materials too.
Now, there’s one more honest moment we need: sometimes the container is not worth saving.
When to Replace Rather Than Clean
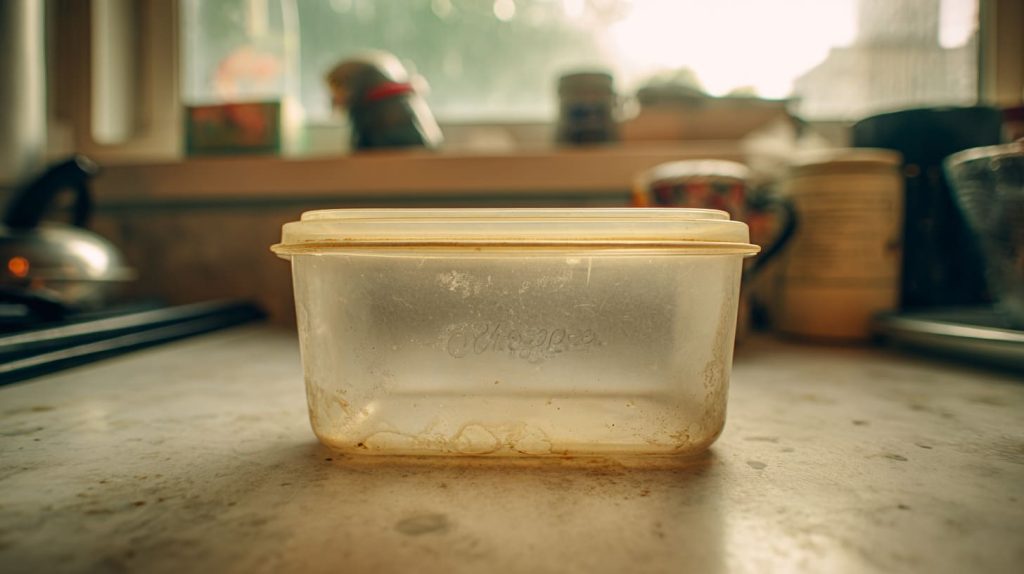
I used to treat every stained container like a personal challenge.
Then I realized something: some containers are not “stained.” They’re worn out.
Here are the signs I stop fighting:
- Deep scratches you can feel with your fingernail
- A smell that returns after washing
- Warping, especially around corners and lids
- Sticky or chalky texture that won’t go away
Critical thought: if a surface is damaged, it becomes a trap for stains and bacteria.
Even if the color fades, the rough surface still holds residue. That’s not the kind of “clean” I want around food.
A simple decision table helps:
| Condition | Can cleaning help? | My advice |
|---|---|---|
| Smooth surface, orange stain only | Yes | Clean it |
| Lots of scratches, stain in grooves | Maybe | Clean if you must, but expect limits |
| Warped, cloudy, smells | Not really | Replace it |
And there’s no shame in replacing one container if it saves you ten annoying cleaning sessions.
Your time counts too.
Alright—now that you know the causes, the fixes, and the prevention, let me wrap this up in a clear way and give you an easy next step.
Conclusion
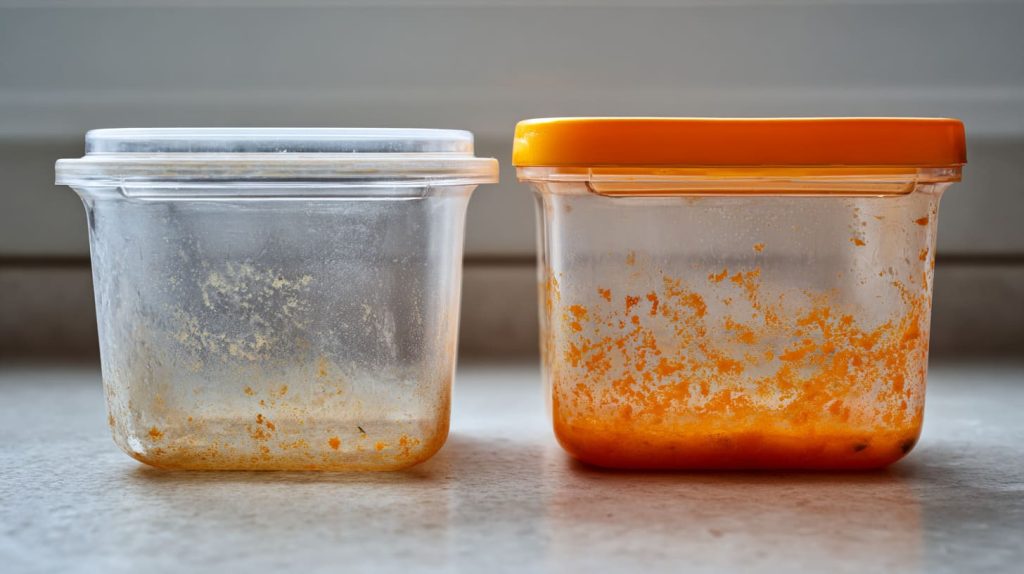
Tomato stains on plastic happen for a simple reason: pigment likes oil, and plastic gives it places to cling, especially when heat gets involved. The fastest wins usually come from the dish soap shake method for fresh stains, and baking soda paste for moderate stains. For stubborn stains, a vinegar soak can loosen the mess so you don’t have to scrub hard. Lemon and sunlight are gentle when you have time. Bleach can work, but only as a careful last step.
If you want fewer orange containers next month, prevention beats rescue. Cool the food first. Wipe oil out. Rinse sooner. And if tomato sauce is a weekly habit, consider switching those meals to glass.
If you want, tell me what kind of plastic container you’re using (thin takeaway type, thick food prep box, or branded storage). I’ll point you to the safest method for that exact case—and help you avoid the “cloudy and scratched” problem that makes stains permanent.




