Skip to content
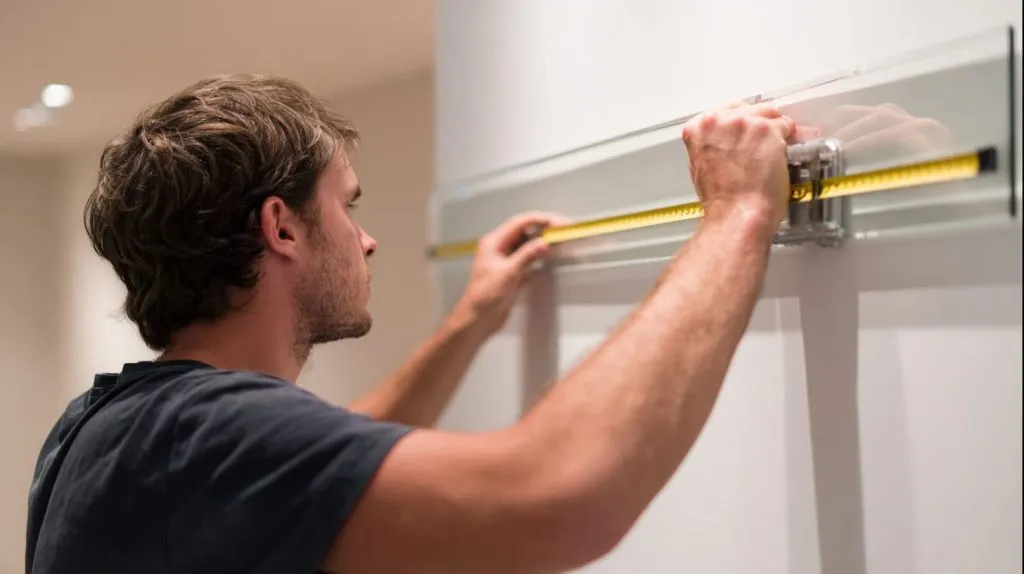
Acrylic signs often look easy right up until installation day. On the drawing, everything feels controlled. The logo is centered. The panel size is clear. The mounting points look neat. Then the real wall enters the conversation, and that is where small assumptions start causing expensive problems.
I have seen a polished acrylic brand sign lose half of its impact the moment it was mounted. The panel itself looked great. The surface was clean. The print was sharp. The edges were smooth. But the installer had to deal with a wall that was slightly uneven, and the spacing was judged too quickly on site. The final result was secure enough, yet it looked off. Not broken. Just wrong in a way people notice immediately.
That is why I never treat hanging acrylic signs as a minor finishing step. I see installation as part of the product itself. A sign can be manufactured beautifully and still fail the moment it sits crooked, reflects too much light, or shows stress around the fixing points. When that happens, the visitor does not blame the wall. The visitor blames the sign.
I am writing this for buyers and designers like Jacky, who already understand acrylic products but still need practical answers once a sign moves from factory drawing to a real jobsite. Making the sign is only one part of the work. Making sure it still looks right after someone installs it is the part that decides whether the whole project feels premium or careless.
One thing I pay attention to very early is whether the buyer has already thought about the wall, the hardware, and the final viewing angle before production starts. That one habit tells me a lot. It usually separates smooth projects from the ones that end with rushed drilling, uneven gaps, and quiet disappointment.
Acrylic signs reward careful planning and expose careless decisions very quickly. That may sound blunt, but I think it is fair. A small mounting mistake can easily drag down a sign that took real time and money to make well.
That is why I want to start with the basics first, because before anyone drills a hole or peels adhesive tape, there are a few things I always stop and check.
What Should You Consider Before Hanging Acrylic Signs?
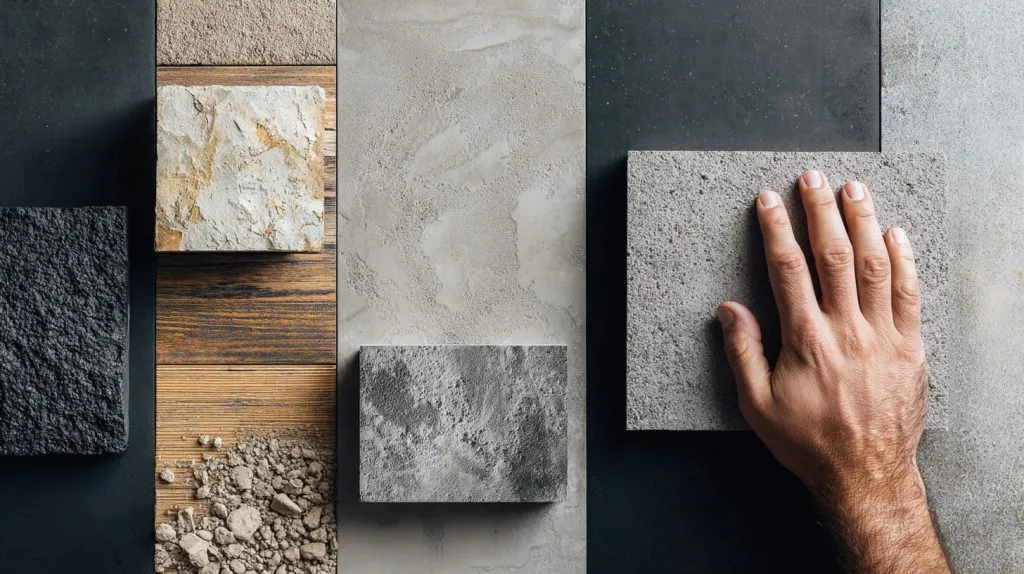
I once reviewed a sign project that looked excellent in the CAD file. The issue was not the shape, not the print, and not the material. The issue was the wall. The buyer planned to mount the sign on a textured painted surface, but the design team had assumed a smooth panel wall. That one wrong assumption changed the whole installation plan.
I always think about three things first: where the sign will go, how heavy it is, and how people will see it. If I miss one of those, I am already inviting trouble.
What often changes my recommendation is not the sign itself but the real jobsite condition, because a strong mounting method on concrete can fail badly on rough paint or thin drywall.
Surface Type and Environment
The surface decides a lot more than many buyers expect. Acrylic does not hang in a vacuum. It hangs on a real wall, in a real room, with dust, heat, moisture, and human traffic around it.
Here is how I usually look at common surfaces:
| Surface Type | Good for Adhesive | Good for Screws/Anchors | Main Risk |
|---|---|---|---|
| Drywall | Sometimes | Yes | Weak holding power without proper anchors |
| Concrete | Rarely | Yes | Drilling needs proper tools |
| Glass | Sometimes | No direct drilling in most cases | Adhesive failure or visibility issues |
| Wood | Yes | Yes | Surface movement over time |
| Tile/Stone | Sometimes | Yes | Cracking during drilling |
| Textured Wall | Poor | Better | Tape may not sit evenly |
Indoor and outdoor conditions matter too. Indoor office signs usually face fewer problems. Outdoor signs need more caution because UV, rain, heat, and temperature changes all put stress on acrylic and hardware.
Indoor vs Outdoor Changes the Game
A sign in an air-conditioned lobby is one thing. A sign near a shop entrance is another. A sign on an exterior wall is a very different product story.
| Environment | What I Check | Why It Matters |
|---|---|---|
| Indoor office | Flatness, visual level, glare | Appearance is the top priority |
| Retail store | Traffic flow, touch points, lighting | People get close and notice details |
| Outdoor covered area | Humidity, dust, fixing strength | Materials age faster |
| Full outdoor use | UV, rain, expansion, corrosion | Installation and material choice both need upgrading |
I do not like making a mounting decision from a product photo alone. I want to know what the wall feels like, what the air is like, and whether the sign will stay in one quiet place or deal with constant movement around it.
Acrylic Thickness and Weight
Thickness is not just a production detail. It affects strength, stiffness, drilling safety, and the type of hardware you can trust.
A thin acrylic sign may look fine when it is lying flat on a table. Once it is mounted, it may flex, bow slightly, or feel too fragile around the holes. A thicker sign usually gives a better premium feel, but it also adds weight and cost.
Here is a simple way I think about it:
| Acrylic Thickness | Common Use | Mounting Notes |
|---|---|---|
| 2 mm | Light indoor graphics | Better for framed or adhesive use only |
| 3 mm | Small indoor wall signs | Works for light-duty installations |
| 5 mm | Brand signs, office panels | Good balance of look and strength |
| 8 mm+ | Premium signs, large panels | Needs stronger support and more careful drilling |
For large signs, weight is only part of the issue. Flex is another. A big sign may not be extremely heavy, but if it bends slightly during installation, the stress near the holes can become a hidden problem.
Design and Visual Positioning
The sign can be installed perfectly and still look wrong. I have seen that too. The hardware was solid. The wall was fine. The problem was visual placement. The sign sat too high, too low, or too close to another element. It looked awkward.
I check these points before final approval:
- Viewing distance
- Centerline height
- Spacing around the sign
- Relation to doors, desks, counters, or display shelves
- Lighting direction
- Brand balance on the wall
Acrylic signs are very visual products. Even one centimeter of misalignment can stand out, especially in a clean office or a branded showroom.
Quick Pre-Installation Checklist
- Confirm wall material
- Confirm indoor or outdoor use
- Confirm acrylic thickness
- Confirm finished sign size and weight
- Confirm mounting method
- Confirm final viewing height
- Confirm surrounding lighting
- Confirm whether a paper template is needed
That planning stage may feel slow. Still, it saves much more time than fixing a cracked sign after installation.
And once those basics are clear, the next question becomes more practical: which mounting method actually makes sense for the job?
What Are the Most Common Methods to Hang Acrylic Signs?
A buyer once asked me which mounting method was “the best.” I told him that question sounds simple, but it hides a trap. There is no single best method. There is only the best method for that sign, on that wall, in that setting.
I usually divide acrylic sign mounting into four common methods: standoff mounting, adhesive mounting, screw fixing, and hanging systems. Each one solves a different problem. Each one also creates its own risks.
The choice gets easier when I stop asking what looks nicest and start asking what will still look good six months after installation.
Standoff Mounting
Standoff mounting is one of the most popular choices for acrylic branding signs. It creates a clean gap between the wall and the sign, which gives the piece depth and a more finished look.
I like standoffs for:
- Office logo signs
- Reception branding
- Corporate wall displays
- Premium directional signs
The visual result is strong because the sign looks like it is floating slightly off the wall. That small gap adds shadow and depth.
| Benefit | Why It Matters |
|---|---|
| Premium appearance | Makes the sign feel more architectural |
| Stable support | Good for medium to larger signs |
| Professional spacing | Keeps sign off the wall evenly |
| Easy to clean around | Better than full-surface adhesive in many cases |
The downside is that standoff mounting usually needs drilling, accurate hole placement, and careful tightening. It is not forgiving.
Adhesive Mounting
Adhesive mounting looks easy, and that is exactly why people misuse it. Tape feels simple. Peel, stick, done. But acrylic signs are not always light, walls are not always flat, and indoor conditions are not always stable.
I use adhesive methods mostly for:
- Small and light signs
- Temporary displays
- Smooth indoor walls
- Projects where drilling is not allowed
| Adhesive Method | Best Use | Main Risk |
|---|---|---|
| Foam tape | Small light signs | Can fail under heat or weight |
| VHB tape | Better hold on smooth surfaces | Hard to reposition |
| Silicone or glue | Special cases | Messy and hard to remove |
Tape can work very well, but only when the surface is clean, flat, and suitable. It is not a magic shortcut.
Screw Fixing
Direct screw fixing is simple and strong. It is often chosen for signs that need security more than visual softness. In some industrial or utility settings, that is the right call.
This method works well for:
- Heavy signs
- Utility signs
- Back-of-house areas
- Projects where appearance is less delicate than strength
The issue is that direct screw fixing can look harsher. It can also put stress around the holes if the spacing, washer choice, or tightening is wrong.
Hanging Systems (Wire or Chain)
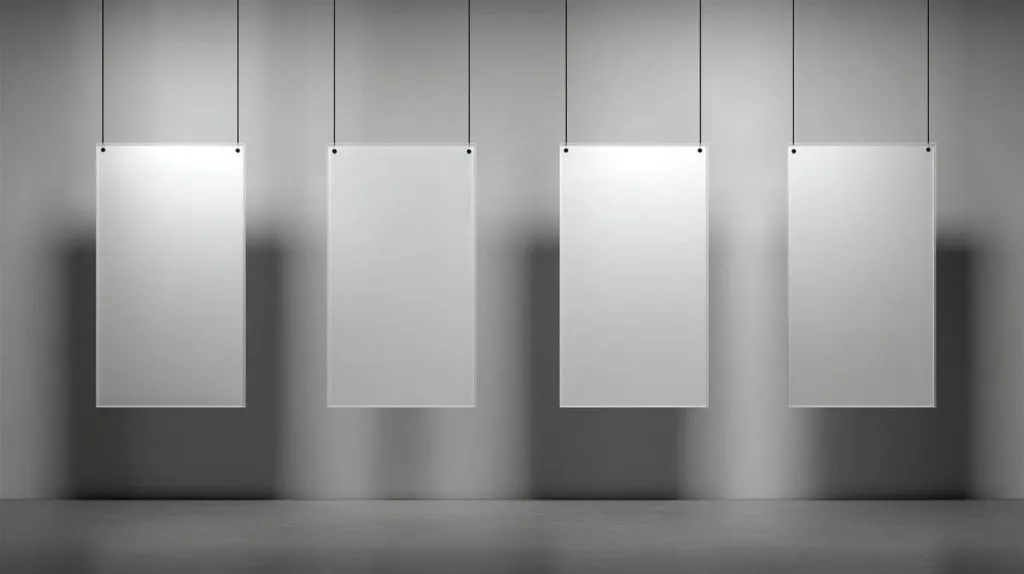
Some acrylic signs do not sit flat on a wall at all. They hang from above. I see this in retail, wayfinding, and window display projects.
Wire or chain systems work for:
- Ceiling-suspended signs
- Window graphics
- Retail aisle signs
- Signs that need double-sided viewing
| System | Good Point | Limitation |
|---|---|---|
| Steel wire | Clean and modern look | Needs careful tension balancing |
| Chain | Easy and visible | More industrial appearance |
| Rod system | Strong and neat | Higher cost |
I do not judge hanging systems by hardware strength alone. I also look at how much they move when people walk by, because a sign that keeps twisting looks cheap even if it never falls.
Which Method Fits Which Situation?
| Situation | Best Choice |
|---|---|
| Premium office logo sign | Standoff mounting |
| Small indoor room sign | Adhesive or small standoffs |
| Heavy wall sign | Screw fixing or strong standoffs |
| Retail suspended sign | Wire or chain system |
| Temporary event sign | Adhesive |
The mounting method should match the project, not just the drawing. That sounds obvious, but many installation issues start because people pick the fastest method, not the right one.
And when the project calls for standoffs, which happens a lot in branding work, the installation needs a bit more care than most people expect.
How Do You Install Acrylic Signs Using Standoffs?
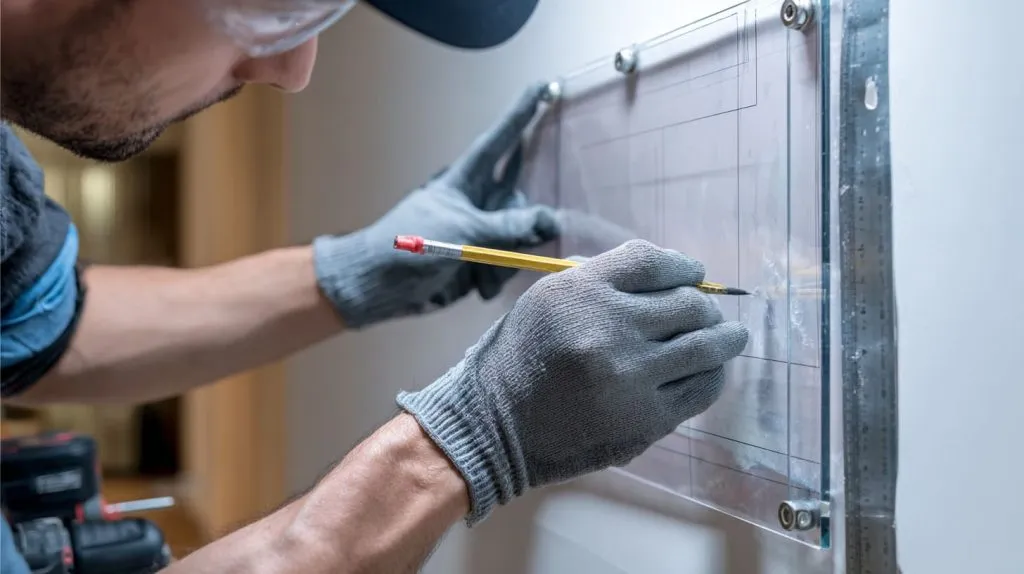
I have a soft spot for standoff-mounted signs because they often look the best when done well. Still, they are also one of the easiest ways to ruin a nice acrylic panel if the installer rushes the job.
The problem usually starts with confidence. Someone says, “It is just four holes.” That sentence has caused a lot of ugly walls and stressed acrylic.
The moment that makes me slow down is when hole positions are transferred from paper to wall, because a tiny measuring error there can throw off the whole sign and there is no graceful fix after drilling.
Tools and Materials Needed
A clean install starts with the right tools. I do not believe in forcing a sign into place with whatever tools happen to be nearby.
Here is the basic setup I prefer:
| Tool or Material | Purpose |
|---|---|
| Drill | Make anchor holes in wall |
| Correct drill bit | Match wall type and hole size |
| Wall anchors | Hold screws securely |
| Screws | Fix standoff base to wall |
| Standoff hardware | Create spacing and support |
| Level | Keep sign aligned |
| Tape measure or ruler | Accurate layout |
| Pencil or masking tape | Mark hole positions |
| Paper template | Reduce layout mistakes |
| Soft gloves | Protect acrylic surface |
Step-by-Step Installation Process
1. Confirm the Template
I prefer working from a full-size installation template. This can be paper, cardboard, or a factory-prepared sheet with hole marks.
I tape the template to the wall and check:
- Center position
- Left-right balance
- Height from floor
- Relation to nearby objects
- Level line
2. Mark the Holes Carefully
Once the template is in the right place, I mark all hole centers. Then I check them again before drilling. I really mean again.
Acrylic signs do not forgive lazy measuring.
3. Drill the Wall and Set Anchors
The drill bit must match the wall type and the anchor size. Drywall, concrete, and tile all behave differently.
| Wall Type | What I Watch Closely |
|---|---|
| Drywall | Use proper anchors, not just screws |
| Concrete | Keep drill straight and depth correct |
| Tile | Drill slowly to avoid cracking |
| Wood | Check splitting risk near edges |
4. Install the Standoff Bases
I fix the standoff bases to the wall first. Then I use a level to make sure the line still looks right. Hardware can shift a little during tightening.
5. Mount the Acrylic Panel
I place the acrylic panel over the mounted bases. Then I secure the front caps gently. This is the part where people often get too aggressive.
The goal is firm, not forced.
Common Mistakes to Avoid
I have seen the same mistakes repeat in different countries, on different wall types, and with different sign designs.
| Mistake | What Happens |
|---|---|
| Over-tightening | Acrylic cracks around the hole |
| Wrong anchor type | Sign feels loose or unstable |
| No level check | Sign looks crooked |
| No template | Hole mismatch |
| Tight edge spacing | Higher crack risk |
| Dirty handling | Scratches during install |
Small Details That Matter More Than People Think
Hole Tolerance
Acrylic should not be treated like steel. It needs some breathing room. Holes that are too tight can create stress fast.
Edge Distance
If the hole sits too close to the edge, the acrylic becomes more fragile during tightening and use.
Protective Film
I often leave the protective film on as long as possible during installation. That simple habit helps reduce scratches.
Simple Standoff Installation Table
| Installation Step | Main Goal | Main Risk |
|---|---|---|
| Template setup | Correct layout | Off-center sign |
| Hole marking | Position accuracy | Misalignment |
| Drilling wall | Stable support | Wrong hole size |
| Base mounting | Even hardware spacing | Crooked mounting line |
| Acrylic fixing | Secure without stress | Cracking |
When standoff mounting goes well, the sign looks calm, expensive, and intentional. When it goes badly, it tells on itself from across the room.
Still, not every project wants drilling. Some sites forbid it. Some signs are too small to justify it. That is where adhesive methods enter the conversation, and that is where many people get overconfident.
How Do You Use Adhesive Methods Safely?
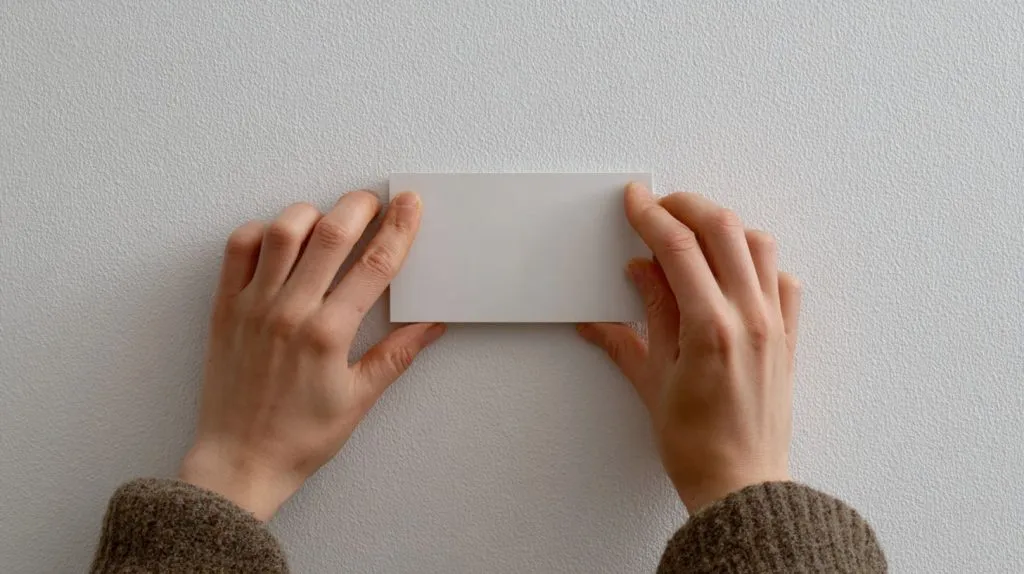
There is something very tempting about adhesive mounting. No drill. No dust. No anchors. No noise. It feels quick, clean, and low-risk. That feeling is often misleading.
I once saw a small acrylic office sign mounted with tape on a painted wall. It looked perfect on day one. A few weeks later, one side started lifting. Then the gap grew. Then the whole sign leaned like it had given up.
I get cautious with adhesive jobs when the client says the wall is “probably smooth enough,” because tape depends on surface quality more than many buyers realize.
Choosing the Right Adhesive
Not all adhesive products perform the same way. Some are made for light décor. Some are meant for much stronger hold.
Here is how I roughly separate them:
| Adhesive Type | Good For | Limitation |
|---|---|---|
| Foam tape | Very light signs | Limited long-term strength |
| VHB tape | Smooth surfaces, stronger hold | Needs careful positioning |
| Silicone adhesive | Some custom jobs | Hard to remove, messy curing |
| Construction adhesive | Rare for acrylic signs | Can damage appearance or serviceability |
I do not choose tape by brand reputation alone. I choose it by sign size, sign weight, surface quality, and whether the sign needs to be removable later.
Surface Preparation
This part sounds boring, so people skip it. Then the tape gets blamed for a failure that really started with dust, oil, or wall texture.
Before applying adhesive, I make sure the surface is:
- Clean
- Dry
- Smooth
- Free from loose paint
- Free from powder or grease
A microfiber cloth and a mild cleaning method usually help. Strong solvents can damage some painted surfaces, so I stay careful there too.
Best Conditions for Adhesive Use
| Condition | Suitable for Adhesive? |
|---|---|
| Smooth painted wall | Yes, often |
| Glass surface | Yes, often |
| Rough concrete | Usually no |
| Brick wall | No |
| Textured paint | Poor choice |
| Humid outdoor area | Risky |
Limitations of Adhesive Mounting
Tape has real limits. I think that is the most important thing to say clearly. It is useful, but it is not universal.
Adhesive is often a poor choice when:
- The sign is heavy
- The surface is rough
- The environment gets hot
- The sign is outdoors
- The sign is large enough to flex
- The wall has weak paint
How I Apply Adhesive More Safely
Use Enough Contact Area
Tiny strips on a large sign are asking for trouble. The adhesive layout should match the panel size and weight.
Press Evenly
Uneven pressure creates weak contact zones.
Let the Bond Set Properly
Some adhesives need time before they reach full strength. Rushing this stage can weaken the result.
Avoid Repositioning Too Much
Many tapes lose performance when peeled off and re-applied.
Adhesive vs Standoff at a Glance
| Factor | Adhesive | Standoff |
|---|---|---|
| Installation speed | Faster | Slower |
| Visual premium feel | Lower | Higher |
| Rework difficulty | Hard once stuck | Easier to remove hardware |
| Best for heavy signs | No | Yes |
| Wall damage risk | Lower | Higher due to drilling |
I do not dislike adhesive mounting. I just do not romanticize it. It is best for the right job, not every job.
And once tape or screws enter the process, one fear sits in the back of nearly every buyer’s mind: what if the acrylic cracks? That fear is reasonable.
How Do You Prevent Acrylic from Cracking During Installation?
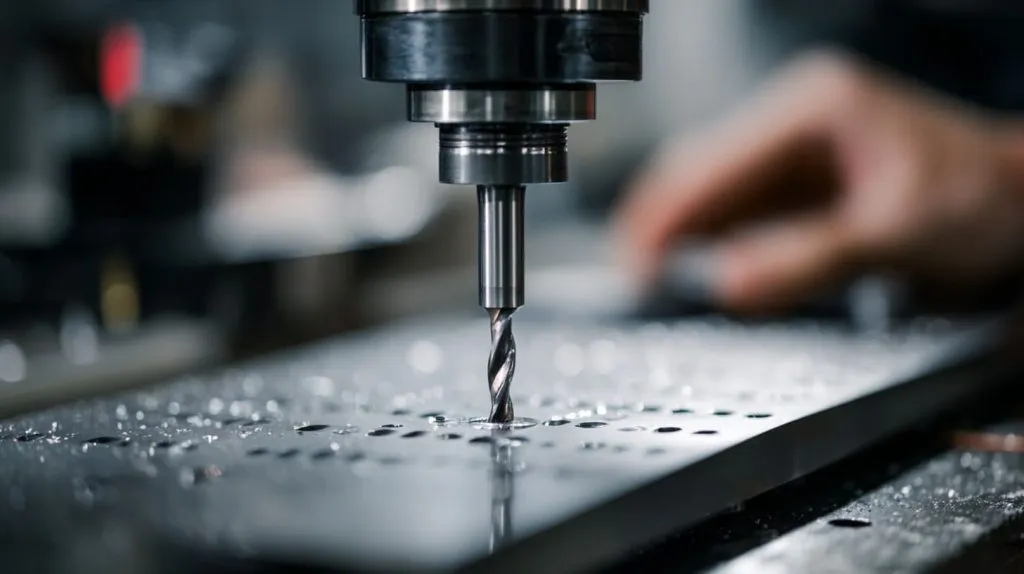
Acrylic is strong in many ways, but it is not forgiving in the same way as metal. It can look solid and still react badly to stress in one small area. That is why cracks often surprise people. The sign looked fine. Then a little pressure was added in the wrong place, and the damage appeared.
I have seen cracks happen during drilling, during transport, during mounting, and even days later because tension stayed trapped near the hardware.
The thing I never ignore is that acrylic usually cracks for a reason that felt minor at the time, like a tight hole, too much force, or temperature movement that nobody planned for.
Proper Drilling Techniques
If the sign needs drilled holes, those holes should be prepared correctly. Acrylic does not like rough handling.
I pay attention to:
- Drill bit type
- Drill speed
- Support under the acrylic
- Heat buildup
- Hole edge quality
A poorly drilled hole can leave stress marks that may not show right away. Then the crack appears later, which makes the installer think the material was weak when the real cause was process damage.
Good Hole Practice
| Drilling Point | Why It Matters |
|---|---|
| Use suitable drill bits | Reduces chipping and stress |
| Support the sheet | Prevents vibration |
| Drill steadily | Avoids heat spikes |
| Keep holes clean | Stops rough edges from starting cracks |
| Leave enough edge distance | Improves strength around the hole |
Handling and Pressure Control
Acrylic signs often get damaged by pressure, not impact. That is why tightening matters so much.
Tighten Evenly, Not Aggressively
I prefer a gentle, balanced approach. If one corner is tightened much faster than the others, the panel can twist slightly and build internal stress.
Use Hardware Wisely
Washers, gaskets, or standoff spacing can help spread load more evenly, depending on the design.
Avoid Forcing Misaligned Holes
If the sign holes do not line up with the wall hardware, forcing them together is one of the fastest ways to create trouble.
Temperature Considerations
Acrylic moves with temperature. That movement is not huge in every case, but it matters enough to respect.
| Temperature Issue | Possible Result |
|---|---|
| Heat expansion | Pressure builds around tight fixing points |
| Cold contraction | Hardware fit changes slightly |
| Outdoor temperature swings | More stress over time |
| Direct sun exposure | Higher surface temperature |
This is one reason I do not like overly tight fixing on large acrylic panels. A little tolerance can save a lot of trouble.
My Practical Rules to Lower Crack Risk
- Do not overtighten
- Do not drill too close to edges
- Do not force hardware into misaligned holes
- Do not use damaged panels
- Do not install in a rush when the sign is cold from transport or hot from sun
- Do use proper spacing and support
Common Crack Causes
| Cause | Typical Scenario |
|---|---|
| Tight hole fit | No room for movement |
| Edge hole too close | Weak point near sign edge |
| Rough drilling | Micro-damage grows later |
| Uneven tightening | One side carries too much stress |
| Large temperature change | Expansion pressure builds |
Acrylic cracking often looks sudden. In reality, it is usually the final step in a chain of small bad decisions.
And even if the sign survives installation without a crack, it still has to look right in the space. That brings me to height, spacing, and placement.
What Is the Best Height and Placement for Acrylic Signs?
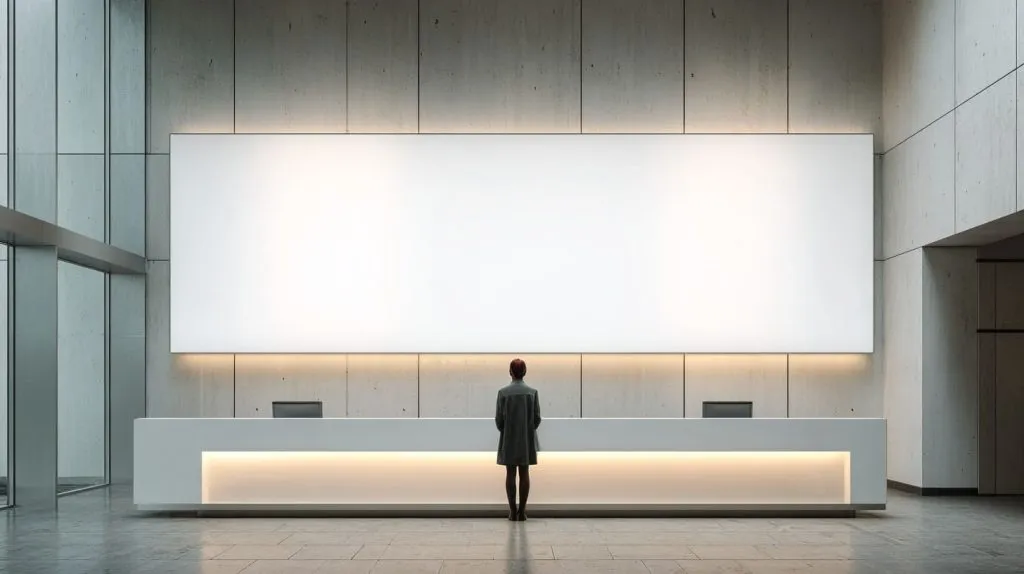
I once saw a nice acrylic company logo mounted so high on the wall that everyone had to tilt their head up just to read it. The sign was expensive. The finish was beautiful. Still, the placement made it feel awkward. That is the strange part of signage. A product can be made perfectly and still fail because of where it sits.
I judge sign placement by how a real person will notice it in motion, not by how centered it looks on an empty wall drawing.
Eye-Level Guidelines
For many wall signs, eye level is a useful starting point. That does not mean every sign should sit at exactly the same height. A reception logo, a room sign, and a retail promotion sign all serve different viewing habits.
| Sign Type | Typical Placement Idea |
|---|---|
| Reception logo | Often centered to the main wall view |
| Room identification sign | Near door, easy to scan |
| Retail wall branding | Based on customer flow and shelf height |
| Directional sign | Based on walking line and fast reading |
I use eye level as a guide, not a law. In some spaces, the furniture line, counter height, or architecture matters more.
Spacing and Layout
Spacing can make a sign feel calm or cramped. This is especially important when there are multiple acrylic panels, letters, or layered pieces.
What I Look At in Multi-Panel Layouts
- Distance between panels
- Margin from doors and corners
- Visual center of the full composition
- Symmetry where needed
- Intentional asymmetry where branding allows it
| Layout Issue | Visual Effect |
|---|---|
| Panels too close | Feels crowded |
| Panels too far apart | Looks disconnected |
| Off-center grouping | Feels accidental |
| Uneven vertical spacing | Looks amateur |
Lighting Considerations
Acrylic reacts strongly to light. It can catch glare, shadow, reflection, and edge highlights. That can help the sign or hurt it.
I pay attention to:
- Front lighting
- Side lighting
- Window reflection
- Overhead spotlight direction
- Night visibility if relevant
A clear acrylic sign near strong direct light can show glare that makes reading harder. A frosted or printed sign may handle that better, but placement still matters.
Placement Mistakes I Watch For
| Mistake | Why It Hurts |
|---|---|
| Too high | Poor readability |
| Too low | Feels visually heavy |
| Too close to door edge | Looks squeezed |
| Ignoring reflections | Sign loses clarity |
| Bad centering with furniture | Branding feels off-balance |
A Simple Placement Mindset
I ask three easy questions before final placement:
- Can people see it clearly?
- Does it feel balanced in the space?
- Does the light help it or fight it?
Those questions sound basic. Still, they catch many real problems.
Once the sign is up at the right height, the job is not over. Acrylic always looks best when someone keeps it clean and checks the hardware before small issues become visible ones.
How Do You Maintain and Clean Hanging Acrylic Signs?

Acrylic signs have a way of showing neglect quickly. Dust, fingerprints, smudges, fine scratches, loose hardware, yellowing around neglected edges. None of those problems usually arrive all at once. They build slowly, and then one day the sign just looks tired.
I have seen buyers focus so much on production and installation that maintenance gets forgotten completely. That is a mistake, especially for signs in stores, receptions, or busy public areas.
The small clue I trust most is how the surface catches light, because a sign can look clean at a distance and still show wipe marks, dust lines, or hairline scratches up close.
Cleaning Methods
Acrylic needs a gentler touch than many people expect.
What I Prefer for Routine Cleaning
- Microfiber cloth
- Mild cleaner
- Clean water if needed
- Soft drying method
What I Try to Avoid
- Rough cloths
- Dirty paper towels
- Strong solvents
- Abrasive cleaners
- Dry wiping on dusty surfaces
Dry wiping can drag dust across the surface and create fine scratches. Those scratches may be hard to see at first, but they add up.
| Cleaning Tool | Good or Bad for Acrylic? | Reason |
|---|---|---|
| Microfiber cloth | Good | Soft and low scratch risk |
| Paper towel | Risky | Can leave marks and fine scratches |
| Strong chemical cleaner | Risky | May damage surface or print |
| Mild soap solution | Good | Simple and safe in many cases |
Long-Term Maintenance
Cleaning is one part. Hardware checks are another.
I like to inspect these points from time to time:
- Are the screws still firm?
- Are standoffs still level?
- Is adhesive still fully seated?
- Are there signs of yellowing?
- Is the print or surface peeling?
- Are corners catching dust because of gap changes?
Maintenance Schedule Idea
| Frequency | What to Check |
|---|---|
| Weekly | Dust, fingerprints, obvious tilt |
| Monthly | Surface condition, light scratches |
| Every 3–6 months | Hardware tightness, adhesive hold |
| Yearly | Full visual and structural review |
Why Maintenance Matters to Brand Image
Acrylic signs often sit in the most visible parts of a business. That means surface condition becomes part of brand perception. A scratched or leaning sign sends a message, even if nobody says it out loud.
I do not think of maintenance as housekeeping only. I think of it as protecting the value of the original design and installation work.
And when signs start to look wrong early, the cause is often not cleaning at all. It is usually an installation mistake that showed up later.
What Are Common Installation Mistakes Buyers Should Avoid?
Some installation mistakes are dramatic. A sign falls. A panel cracks. Most mistakes are quieter than that. The sign stays on the wall, but something feels off. It is crooked. The spacing looks nervous. One corner lifts. The whole thing feels cheaper than it should.
I have learned that buyers do not usually lose on the big idea. They lose on small execution details that looked harmless in the moment.
The pattern I keep seeing is that people rush the setup stage, and then they spend much more time hiding the result than they would have spent doing it right.
Poor Measurement and Alignment
Measurement errors are still the most common problem I see.
Typical Causes
- No level used
- Template not checked twice
- Marks taken from the wrong reference line
- No centerline confirmed
- Different spacing from left to right
| Measurement Mistake | Real-World Result |
|---|---|
| Crooked template | Slanted sign |
| Wrong center point | Sign feels off-balance |
| Uneven spacing | Poor visual rhythm |
| No test layout | Surprises after drilling |
Using the Wrong Mounting Method
This is where cost-saving can go the wrong way. A buyer may choose tape to avoid drilling or choose simple screws to save hardware cost. Sometimes that works. Sometimes it creates a more expensive problem later.
Examples I Have Seen
- Heavy sign mounted with light tape
- Large acrylic panel fixed too tightly with direct screws
- Premium reception sign installed with hardware that looked too industrial
- Suspended sign using hardware that allowed too much swinging
Ignoring Material Properties
Acrylic is not glass. It is not steel. It is not wood. It has its own behavior. When people ignore that, damage follows.
| Wrong Assumption | What Goes Wrong |
|---|---|
| “It is hard, so I can tighten it more” | Hole stress and cracking |
| “It is light, so any tape is fine” | Peeling or drop risk |
| “It looks flat, so wall flatness does not matter” | Gaps and wobble |
| “Small scratches do not matter” | Surface quickly loses premium feel |
My Short List of Avoidable Mistakes
- Drilling without a verified template
- Using poor anchors
- Ignoring wall texture
- Overtightening hardware
- Cleaning with rough materials right after installation
- Choosing mounting by speed, not by fit
I try to be blunt about these mistakes because they are common, and they waste good products. A great sign should not be made to suffer because someone rushed the last 30 minutes of the job.
The good news is that many of these problems can be reduced much earlier, before the sign even leaves the factory.
How Can Custom Design Improve Installation Efficiency?
This is the part I care about a lot, because good installation often starts in design, not on the wall. When I see a sign install go smoothly, it is usually because somebody planned for installation early. The hardware choice matched the acrylic thickness. The holes were in the right place. The spacing made sense. The installer did not have to improvise.
I often judge a custom sign design by how much guesswork it removes for the installer, because every extra guess on site increases the chance of damage, delay, or poor alignment.
Pre-Drilled Holes and Design Planning
Factory-prepared holes can save a lot of trouble when they are designed properly.
What Good Pre-Planning Can Include
- Correct hole diameter
- Safe edge distance
- Matching hardware size
- Layout template
- Marked installation drawing
- Thickness matched to mounting load
| Design Choice | Installation Benefit |
|---|---|
| Pre-drilled holes | Faster and more accurate mounting |
| Installation template | Fewer layout errors |
| Thickness matched to hardware | Better fit and lower crack risk |
| Edge distance planned well | Stronger acrylic around holes |
Matching Mounting Method with Application
Not every sign should be designed the same way. A retail hanging sign, a reception wall logo, and a directional panel all need different thinking.
Application-Based Design Thinking
| Application | Better Design Focus |
|---|---|
| Office branding | Premium finish, hidden precision |
| Retail display | Visibility, movement, easy maintenance |
| Industrial sign | Strength, readability, fast installation |
| Temporary campaign | Easy mounting and removal |
I do not like designing a sign first and figuring out installation later. I prefer treating design and installation as one combined decision.
Working with Experienced Manufacturers
An experienced acrylic manufacturer can help beyond cutting and polishing. That matters more in custom projects than many buyers expect.
A good supplier can support with:
- Hole layout suggestions
- Thickness advice
- Mounting method recommendations
- Packaging that protects drilled panels
- Faster correction before mass production
Why This Matters in Real B2B Work
Jacky-type buyers do not only need a pretty sign. They need a sign that arrives, installs well, looks right, and does not create trouble for their team or client. That is why I believe design support from the manufacturing side is not extra value. It is part of the job.
Design Support vs Reactive Fixing
| Early Design Support | Late Jobsite Fixing |
|---|---|
| Lower risk | Higher risk |
| Better appearance | More compromise |
| Faster installation | More delays |
| Less damage chance | More chance of cracks or misalignment |
When I work on custom acrylic signs, I try to think one step ahead of the drawing. I ask where the sign will go, how it will be mounted, and what can go wrong if the installer only has one shot to get it right. That way, the final result has a much better chance of looking calm and effortless.
Conclusion
Hanging acrylic signs looks simple from far away. In real work, it is a chain of decisions. Wall type matters. Thickness matters. Weight matters. Placement matters. Hardware matters. Small details matter more than most people expect.
I have learned that a good acrylic sign is not only about clean cutting, smooth polishing, or sharp printing. It is also about whether the sign can be mounted safely, aligned properly, and kept looking good over time. That is where many projects quietly succeed or quietly fail.
The best results usually come from a simple approach: plan early, choose the right mounting method, respect the material, and do not rush the installation. That sounds basic, but it solves a lot.
If I were advising a buyer like Jacky, I would say this clearly: do not separate sign design from sign installation. Treat them as one project. That one shift in thinking can save time, reduce mistakes, and protect the final look your client will actually judge.
If you are planning a custom acrylic sign project and want the design, hole layout, thickness, and mounting method to work together from the start, I suggest working with an experienced custom acrylic manufacturer who understands both production and installation logic. That is often the difference between a sign that simply gets delivered and a sign that truly works.