 Skip to content
The installer did not sound angry on the phone. He sounded confused.
He stood in front of a large outdoor acrylic sign that had just been mounted three months ago. The color reference in his hand looked deep and rich. The sign on the wall looked… softer. Slightly washed. Not terrible. Just not right.
That small mismatch is what triggers bigger problems.
The client did not complain loudly. They asked a quiet question instead:
“Is this normal? We used UV printing.”
That sentence carries weight. Because UV printing is usually sold as strong, durable, and made for modern signage. And yes, it can be. But outdoor exposure is not a showroom. Sun, heat, rain, cleaning cloths, and time all work together. They do not care about marketing claims.
For buyers like Jacky in Canada, this is not just about color. It is about responsibility.
- A fading sign weakens brand image.
- Warranty conversations get uncomfortable.
- Reprint and reinstallation cost time and money.
- The supplier relationship becomes tense.
What I have learned from years of making custom acrylic signs is simple: fading rarely comes from one mistake. It comes from incomplete thinking.
It is not only ink.
It is not only acrylic.
It is not only weather.
It is the whole system: material grade, printing structure, protection layers, curing process, installation angle, and specification clarity.
Once you look at it that way, fading stops being “bad luck.” It becomes predictable.
And when something is predictable, it can be prevented.
Why Does UV Printing Fade on Outdoor Acrylic Signs?
A lot of people ask me, “Is it the ink?”
Sometimes yes. Often, it is not only the ink.
A printed layer is a small “system.” Ink pigments, binders, adhesion, curing, and the acrylic surface all work together. If one part is weak, the sun finds it.
Here is the real-world way I look at it: when a sign fades fast, I don’t blame the printer first—I trace the failure like a detective, starting from exposure, then materials, then process.
UV Radiation and Photodegradation
Sunlight is not just “light.” UV is energy. It attacks pigments and the binder that holds pigments together. Over time, it breaks the chemistry down. That is why colors shift, and blacks can turn gray.
The detail most buyers miss: not all UV inks are equal. Some are tuned for indoor display, where UV exposure is low and stable. Outdoors is the opposite.
Here’s a quick view that helps in discussions:
| Item | Indoor-focused UV print | Outdoor-focused UV print |
|---|---|---|
| Target use | Retail displays, indoor signs | Outdoor signage, harsh exposure |
| Typical risk outdoors | Color shift and dulling fast | Slower fading (still not “forever”) |
| What to ask for | Basic ink brand info | Outdoor rating + test data |
Acrylic signage is supposed to look “alive.” If your color turns flat, the sign becomes a quiet apology.
Heat, Humidity, and Environmental Stress
Heat changes everything. Acrylic expands and contracts. Ink layers do too, but not always at the same rate. That mismatch creates stress. Stress becomes micro-cracks. Micro-cracks become peeling or a “hazy” look.
Humidity adds another problem. Water finds edges, screw holes, and tiny gaps. Then it cycles: wet, dry, wet, dry. That movement is slow, but it is constant.
This is where outdoor signs fail in a boring way. Not dramatic. Just slowly getting uglier.
Acrylic Surface Type and Adhesion
Acrylic is acrylic, right?
Not really.
Cast acrylic and extruded acrylic behave differently on the surface. Cast acrylic is usually more stable and has a more consistent surface for printing. Extruded acrylic is often cheaper and fine for many uses, but it can be less forgiving for long-term outdoor print adhesion.
Also, even “good acrylic” can fail if surface prep is lazy:
- Dust
- Silicone contamination
- Static attracting particles
- Finger oil from handling
If the ink does not grab the surface well, sunlight and weather will finish the job.
Ink Layer Thickness and Curing Quality
UV printing depends on curing. Too little cure and the ink is not strong. Too much cure and it can become brittle. Both paths can end in early failure.
I’ve seen jobs where the print looked perfect on day one, but the curing was uneven. Later, the weak areas started to fade first, like a map showing where the process was unstable.
Here is the simple table I use when explaining curing risk to buyers:
| Process issue | What it looks like later | Why it happens |
|---|---|---|
| Under-curing | Fading + poor rub resistance | Ink not fully hardened |
| Over-curing | Cracks + edge lifting | Ink too brittle |
| Uneven curing | Patchy fade | Speed, lamp aging, setup issues |
Here’s my honest take from the factory side: when a buyer only specifies “UV print,” I treat it like a danger sign, because “UV print” is a method, not a performance requirement.
Now comes the painful question buyers always ask next: “So… how long should it last, really?”
How Long Should Outdoor UV Printing Actually Last?
I wish I could give one clean number. But outdoor life is not a single number. It is a range, because exposure is a range.
When someone tells me, “It must last 5 years,” I don’t say yes or no. I ask one thing in my head first: What protection level are we buying, and what environment is trying to destroy it?
Realistic Lifespan Expectations
Here is a practical expectation chart I use when setting buyer expectations. It is not a promise. It is a planning tool.
| Build approach | Typical outdoor performance | Where it fits |
|---|---|---|
| Basic direct UV print, no protection | ~6–12 months | Short campaigns, temporary signage |
| UV print + protective clear coat | ~2–3 years | Mid-term branding needs |
| Reverse print or laminated protection | 5+ years (often) | Long-term signage, higher value installs |
Two warnings that matter:
- “5+ years” depends heavily on sun angle and climate.
- Even if the print survives, acrylic can still haze or scratch if the site is rough.
Geographic and Exposure Variables
The same sign can live very different lives.
- High UV regions (Australia, Middle East) can punish colors fast.
- A south-facing wall gets more direct sun for longer periods.
- Coastal air adds salt, which is not friendly to edges, hardware, and some coatings.
I once compared two signs for the same brand. Same materials. Same print file. One was under a canopy. One was fully exposed. The exposed one looked older in under a year, while the shaded one stayed respectable much longer. That gap shocks buyers, but it should not.
To keep discussions simple, I often break “outdoor exposure” into levels:
| Exposure level | Typical site | Risk level |
|---|---|---|
| Light | Covered entry, shaded wall | Lower |
| Medium | Partial sun, some rain | Medium |
| Heavy | Full sun + rain + heat | High |
| Extreme | Coastal + full sun | Highest |
A small decision like “covered or not” can change the whole durability story.
My personal rule is blunt: if the sign is full sun and the buyer expects multi-year color stability, I push them away from bare direct UV printing—even if it means a higher quote.
Once you accept lifespan is a “system outcome,” the next smart move is choosing the right print structure. That’s where direct print vs reverse print becomes a very practical decision.
What Is the Difference Between Direct UV Print and Reverse Print on Acrylic?
This is one of those topics where the “right choice” depends on what you fear more: cost today, or failure later.
I like to explain it with a simple image in your head:
- Direct print is like painting the outside of a helmet.
- Reverse print is like putting the artwork inside the helmet, protected from the fight.
Surface (First-Surface) Printing
Direct UV printing means the ink is on the exposed face. It looks vivid. It is simple. It is fast.
Pros
- Lower cost
- Shorter lead time
- Strong color punch
Cons
- The ink faces UV, rain, dust, and cleaning
- It can scratch
- It fades faster when fully exposed
If the sign is for a short-term event or seasonal promotion, direct print can be a reasonable choice. The mistake is using it for long-term branding without protection.
Reverse (Second-Surface) Printing
Reverse printing puts the artwork on the back side of clear acrylic, so the acrylic itself shields the ink from weather and abrasion.
Usually, you add a white backing layer to make colors pop. Without white, colors can look transparent and weak, depending on the mounting surface.
A typical layer stack looks like this:
- CMYK (printed on back)
- White ink backing (opacity)
- Optional clear layer / extra protection
- Mounting surface (wall, panel, frame)
This method is often the “quiet winner” for outdoor jobs.
When to Specify Each Method
Here’s a table that makes this decision easier in buyer meetings:
| Situation | Direct print makes sense | Reverse print makes sense |
|---|---|---|
| Temporary promo | ✅ | Sometimes |
| Tight budget | ✅ | Maybe not |
| High-end retail exterior | Risky | ✅ |
| Frequent cleaning expected | Risky | ✅ |
| Full sun exposure | Risky | ✅ |
| Need long warranty | Risky | ✅ |
One practical thought I use: if I can imagine a maintenance worker wiping the sign with a rough cloth and chemical cleaner, I immediately lean toward reverse print or protection, because “real cleaning” is never gentle.
Of course, reverse print is not the only tool. Protection layers can change the outcome too—and that’s where specs start to look like a shopping list.
What Protective Options Prevent Fast Fading?
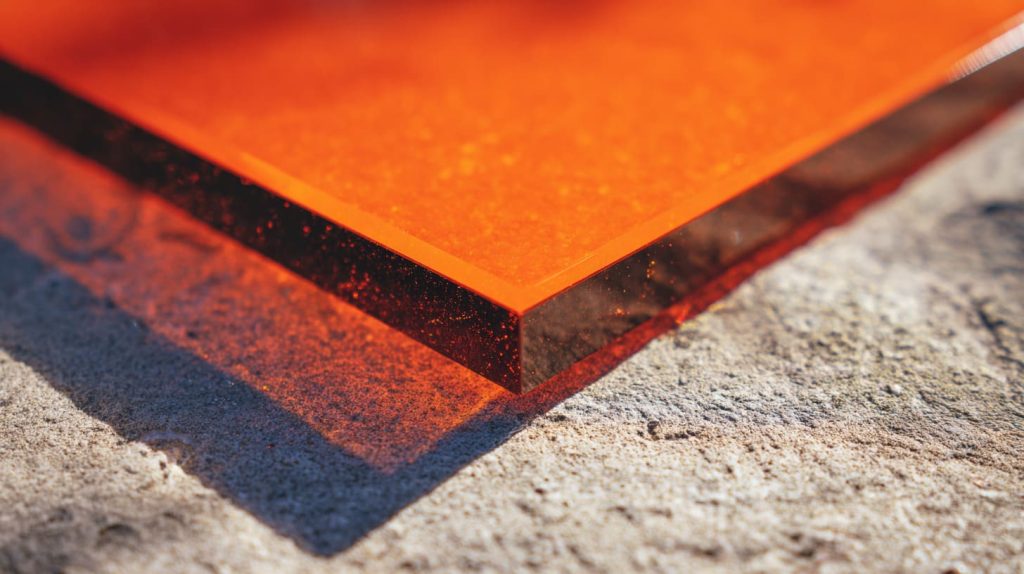
Protection is not just about UV. It is also about abrasion, cleaning chemicals, and edge exposure.
The tricky part is this: adding protection can fix one risk and create another risk, like adhesion issues between layers if the process is rushed.
So I treat protection options like tools, not like magic.
UV-Resistant Clear Coating
A clear coat can act like sunscreen for the ink layer. It can also add scratch resistance.
But clear coat is not one thing. It can be:
- Liquid clear coat (sprayed or applied)
- UV varnish layer (depending on system)
What buyers should think about:
- Coating quality control matters a lot.
- Cheap coating can yellow, haze, or peel.
- Coating adds cost and sometimes adds lead time.
Here is a simple comparison:
| Option | Benefit | Risk | Best use |
|---|---|---|---|
| Clear coat | Better UV + abrasion resistance | Peel/yellow if poor quality | Mid-term outdoor |
| No coat | Lower cost | Faster fade + scratches | Short-term |
Laminated Protective Films
Lamination can protect ink and acrylic surface. Some films also reduce UV exposure. It can be very effective.
But again, it is not “free.”
- Bad lamination can bubble.
- Edges can lift if installation is rough.
- Film choice matters for clarity and outdoor stability.
Still, for many outdoor signage projects, lamination is a strong option when reverse print is not possible.
Using Acrylic with Built-In UV Stabilizers
UV-stabilized acrylic sheets can help reduce yellowing and slow down degradation. This is often overlooked because buyers focus only on printing.
I like to say it this way: the ink is one part of the story, but the acrylic is the stage. If the stage turns yellow or hazy, the show still looks bad.
Additional Protective Backing Layers
White backing layers are not only for color. They can also:
- Block light transmission that can “wash out” graphics
- Improve contrast
- Create a more consistent look on different wall surfaces
Mounting on opaque panels like PVC or aluminum composite can also improve stability for certain installations.
My own decision bias is simple: if the sign must look premium for years, I’d rather spend money on protection up front than spend money later on apologies and rework.
Protection is powerful, but the base material still decides a lot. And yes—“acrylic type” sounds boring until it ruins a sign.
Does Acrylic Type Affect Outdoor Print Durability?
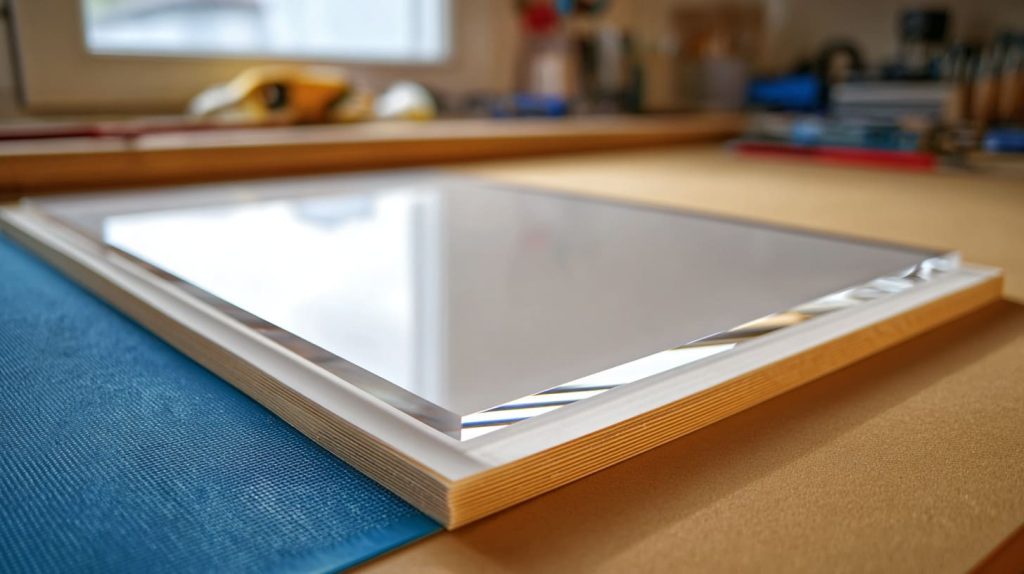
If you only remember one thing from this section, remember this: acrylic is not a single “grade.” Your sheet choice affects adhesion, warping, and how the sign looks after months of sun.
And outdoor signage is unforgiving. It exposes every shortcut.
Cast Acrylic vs. Extruded Acrylic
Cast acrylic usually has better optical clarity and more stable behavior. Extruded acrylic can be cost-effective and fine for many indoor uses, but it may show more stress patterns and can be less forgiving for demanding outdoor printing.
This is not a hate message to extruded sheets. It is just a reality: when you push for long durability, small material differences matter.
Here’s a practical table for buyer discussions:
| Acrylic type | Typical strengths | Typical risks outdoors |
|---|---|---|
| Cast acrylic | Stable, good print surface, good clarity | Higher cost |
| Extruded acrylic | Lower cost, easy to source | More warping risk, sometimes weaker print consistency |
Thickness and Structural Stability
Thin acrylic outdoors can warp, especially in heat. Warping creates stress on mounting points and can cause micro-gaps that invite moisture and dirt.
I often see problems when buyers choose thickness based on “looks” only, not structural behavior.
A quick guideline table:
| Sign size | Common outdoor thickness range | Why it matters |
|---|---|---|
| Small (under 300mm) | 3–5mm | Basic stiffness |
| Medium | 5–8mm | Better flatness and stability |
| Large panels | 8–12mm+ | Reduce bowing and stress |
Mounting method can change these numbers, but ignoring thickness is a classic way to get surprise warping.
Clear vs. Colored Acrylic
Clear acrylic is common for reverse print because it looks clean and modern. Colored acrylic can add style, but it changes light behavior. It can also affect how the printed colors appear, especially if graphics rely on transparency.
Also, darker colors can heat up more in sun, which increases stress on the print stack.
This is the quiet judgment I make in real projects: if a buyer wants a very thin panel for a large outdoor sign, I warn them hard, because warping can turn a “printing problem” into an “installation nightmare” in one summer.
Now we’re ready for the part that actually prevents most of these failures: the specification. This is where good buyers protect themselves.
What Should You Specify to Avoid UV Printing Failure?
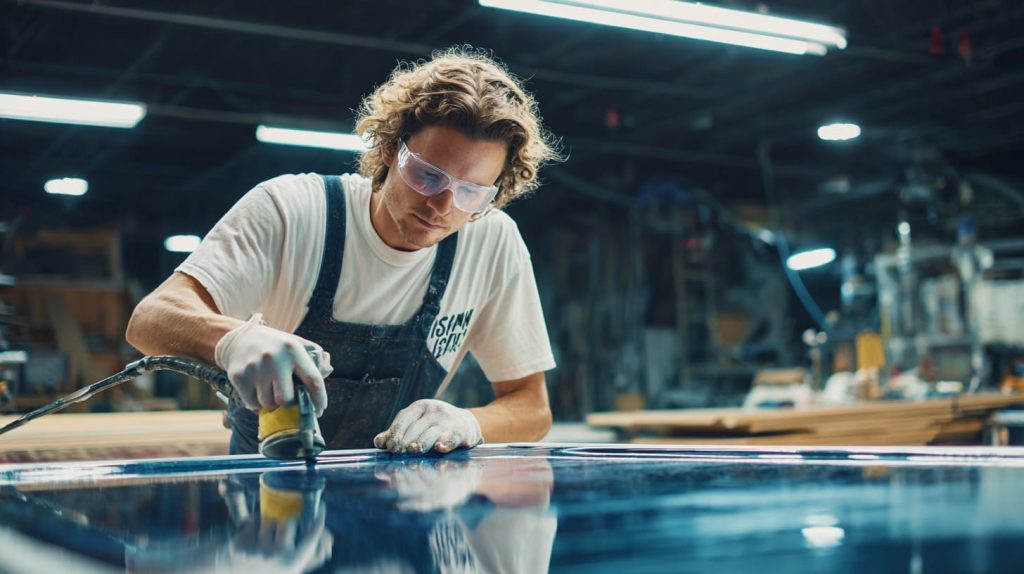
This is my favorite part, because specs are where you stop guessing.
A good spec does two things:
- It tells the supplier what performance you need.
- It protects you when something goes wrong.
I’ll keep this practical. If you give me a vague request, I can only give you a vague result. If you give me a tight spec, I can build you a sign system that behaves.
Ink Type and Outdoor Rating
Don’t accept “UV ink” as a full answer.
Ask for:
- Outdoor rating or intended use
- Any weathering test references they can provide
- Ink system brand (at least basic transparency)
Even if the supplier does not have perfect test reports, their reaction tells you a lot. Good suppliers will discuss it calmly. Weak suppliers get defensive.
Printing Method
Specify the method clearly:
- Direct print (front)
- Reverse print (back)
- Or reverse print + backing + protective layer
Also specify layer structure when it matters. For example:
- CMYK
- White backing (for opacity)
- Optional clear coat / varnish
I often write it as a simple “stack” so nobody misunderstands.
Protective Treatment
If you need protection, specify it like a real requirement:
- Clear coat type
- Lamination type
- UV rating claims (if available)
- Edge handling expectations
Edges are where failure starts. If protection doesn’t wrap or if edges are exposed, water and sun attack from the side.
Acrylic Sheet Grade
Be explicit:
- Cast acrylic (if needed)
- UV-stabilized acrylic (if needed)
- Thickness
- Any supplier compliance or certification requirements
Installation Conditions
This is the part buyers skip, then regret.
Tell your supplier:
- Indoor-outdoor transition? Covered entry?
- Facing direction if known (full sun vs shade)
- Cleaning routine expectations
- Mounting method (standoffs, tape, frame)
- Ventilation gap if mounted on a wall (to reduce heat build-up)
Here’s a buyer-friendly spec checklist table you can paste into RFQs:
| Spec item | What to write | Why it matters |
|---|---|---|
| Environment | Full sun / partial / covered | Sets durability expectation |
| Print method | Direct or reverse | Changes exposure risk |
| Protection | Clear coat / laminate / none | Major lifespan driver |
| Acrylic type | Cast / UV-stabilized / thickness | Adhesion + warping control |
| Color requirement | Pantone or reference sample | Reduces “close enough” disputes |
| Cleaning | Water only / mild soap / chemicals | Prevents premature surface damage |
A real decision I make when quoting: if the buyer refuses to share installation exposure details but expects a long warranty, I treat that as a project risk and adjust recommendations, because hidden conditions always show up later as “supplier fault.”
Specs are your seatbelt, but you still want a crash test before you drive fast. That’s what sampling and testing are for.
How to Test Before Mass Production?
Testing sounds expensive until you compare it to replacing 200 signs.
I’ve watched buyers skip testing to save a small amount, then spend ten times more later on rework. That is not “bad luck.” That is a process choice.
Accelerated Weather Testing
QUV testing is a common concept. It simulates UV exposure and sometimes moisture cycles. It is not perfect, but it gives useful signals.
The dangerous mistake is treating test hours like a clean translation to real years. Reality has dust, heat spikes, cleaning, and installation stress.
So I use QUV results as:
- A comparison tool (Option A vs Option B)
- A risk reduction tool (not a guarantee)
Adhesion Testing
Two basic checks can save a lot of pain:
- Cross-hatch test
- Tape peel test
They are simple, but they reveal weak adhesion early.
Here’s a small table of what they catch:
| Test | What it catches | What it does NOT catch |
|---|---|---|
| Cross-hatch | Poor bonding to acrylic | Long-term UV fade rate |
| Tape peel | Weak curing or surface contamination | Warping stress over time |
Sample Exposure Trial
If the project is serious, I like to do a real exposure trial:
- Make samples using the real process
- Install them outdoors for 30–60 days
- Compare color shift and surface condition
This is especially important when the sign is going to a high UV or coastal area.
A practical mindset I use: when the order value is high or the brand is strict, I’d rather slow down one week for a sample trial than lose three months later arguing over blame.
Testing reduces risk, but cost still pressures buyers. So let’s talk about the uncomfortable question: is the cheaper option ever worth it?
Cost vs. Risk: Is Cheaper UV Printing Worth It?
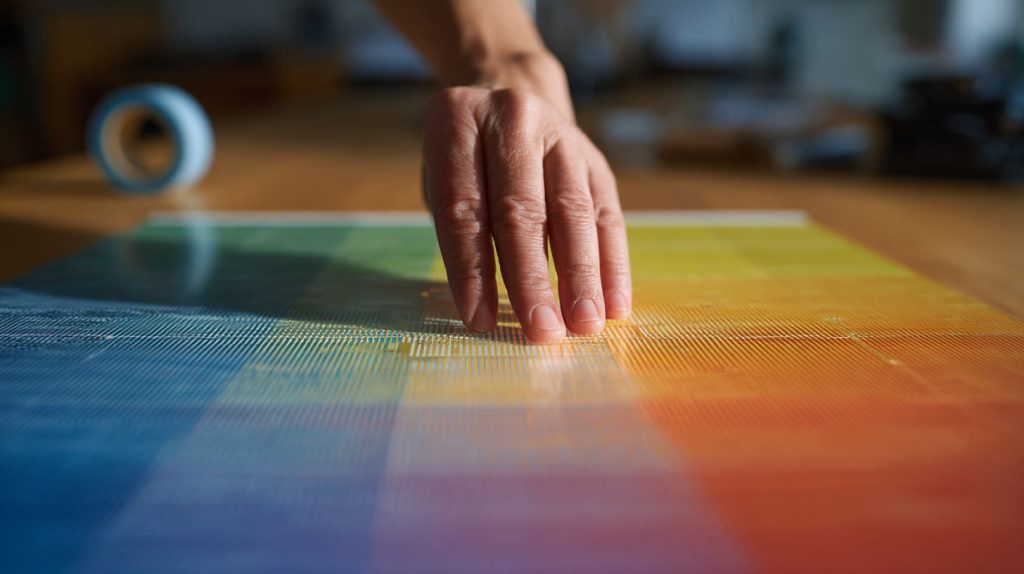
Sometimes, yes. Often, no.
The mistake is thinking the cheapest print is “saving money.” It only saves money if failure cost is low.
So I look at it like this: outdoor signage cost is not just printing cost. It is printing + shipping + installation + reputation + replacement risk.
Short-Term Savings vs. Replacement Cost
If a sign fades, you don’t only reprint.
You also:
- ship again
- schedule labor again
- remove old signage
- deal with the client’s mood
Here’s a simple cost reality table:
| Cost type | Often ignored? | Why it hurts |
|---|---|---|
| Reprint | No | Visible cost |
| Shipping | Yes | Adds up fast |
| Installation labor | Yes | Usually the biggest pain |
| Client management time | Yes | Hidden but real |
| Brand damage | Yes | Hard to measure, easy to feel |
Brand Reputation Risk
Outdoor signage is public. People see it every day. If it looks faded, it sends a signal.
And signals matter.
A premium store with a tired-looking sign feels “less premium,” even if the inside is perfect. It is unfair, but it is how humans judge.
ROI of Proper Specification
If you spend a bit more on:
- reverse print
- protective layers
- better acrylic grade
- sample testing
You often reduce the chance of rework and conflict. That is real ROI.
The way I decide in my head is very human: if the sign sits at the main entrance where every customer takes a photo, I treat durability as a brand asset, not a print detail—and I push for the safer build even if the buyer hesitates.
If you’re still reading, you’re probably the kind of buyer who wants fewer surprises. Let me close this with how I personally think about it when I’m responsible for the outcome.
Conclusion
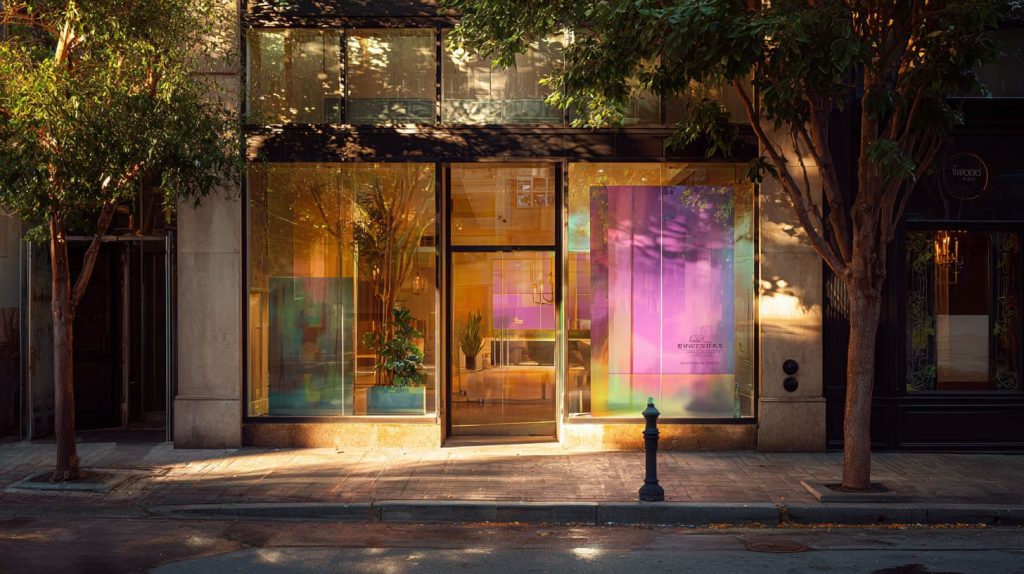
When UV printing fades fast, it is tempting to blame one thing: the ink, the supplier, the sun, the “bad batch.”
But the truth I’ve learned—sometimes the hard way—is that outdoor acrylic signage is a system. If you treat it like a single line item (“UV print on acrylic”), you get system-level surprises.
This is why I think the way I think:
- I’ve seen direct UV prints look amazing at delivery, then fade into disappointment because nobody specified exposure level.
- I’ve seen reverse printing quietly solve durability problems because the ink stopped fighting weather face-to-face.
- I’ve seen protective coatings save projects, and I’ve also seen cheap coatings create new failures.
- I’ve seen thin acrylic warp and turn a “print issue” into an installation fight that nobody wanted.
So my conclusion is not “UV printing is bad.”
My conclusion is: outdoor UV printing becomes risky when specs are lazy.
What I do now, every time, is push buyers to specify the full performance setup:
- environment
- print method
- protection
- acrylic grade
- thickness
- and basic testing expectations
If you want, you can send me your sign size, installation condition (full sun or covered), and your target lifespan. I’ll tell you what I would specify and why—plain language, no marketing fog.
And if you are sourcing for a client like Jacky does, that clarity is not just technical. It is the difference between “nice project” and “why is my phone ringing again?”




