 Skip to content
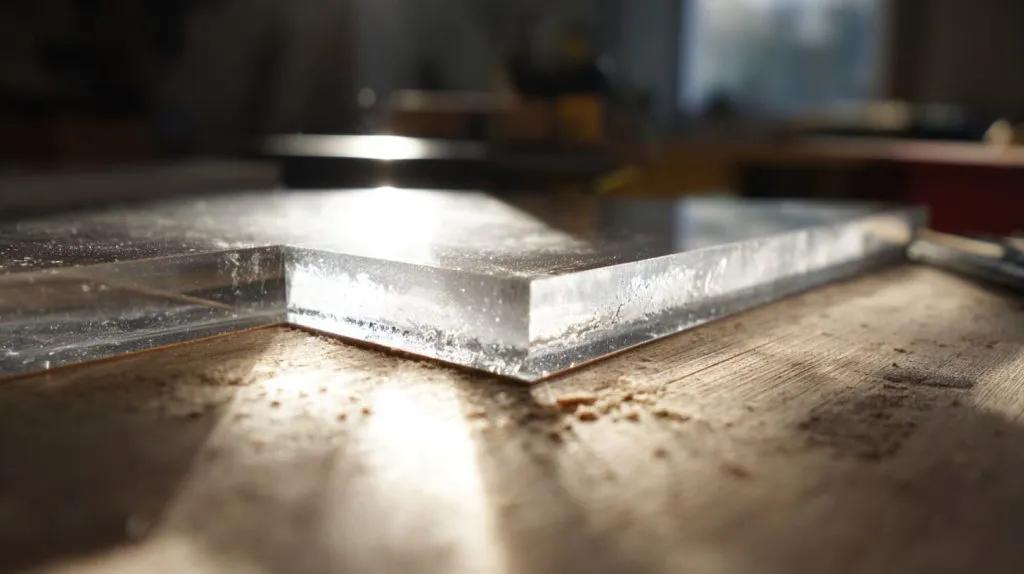
In acrylic work, problems rarely announce themselves early. Most of the time, everything looks fine at first. The sheets are clear. The edges line up. The design on the screen looks perfect. The issue only shows up at the very last step—when two pieces are supposed to become one.
That’s usually when questions start to surface. What glue should I use? Why does the edge look cloudy? Why does the joint feel weak even though it’s stuck? I’ve seen these questions come up again and again, both on the factory floor and in emails from buyers and designers.
Acrylic isn’t forgiving. It doesn’t behave like wood, and it doesn’t act like metal. The wrong adhesive, or the right one used the wrong way, can ruin hours of work in seconds. That’s why gluing acrylic is less about “sticking parts together” and more about understanding how the material reacts.
In this guide, I’ll walk through how to glue acrylic together in a clear, practical way. I’ll share what actually works, what often goes wrong, and how we handle bonding in real production. No theory for theory’s sake. Just methods that hold up in daily manufacturing.
Why Acrylic Requires Special Adhesives
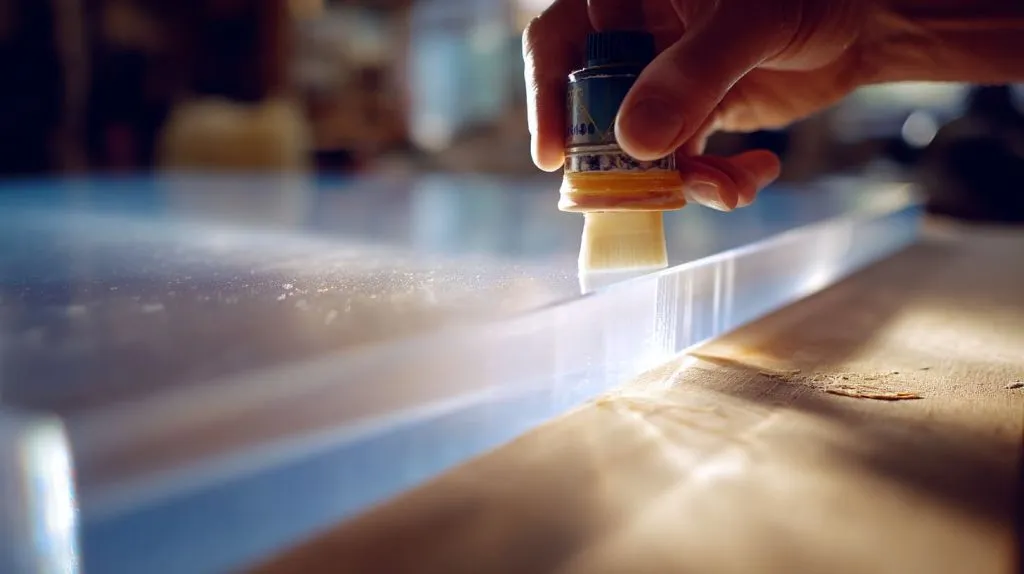
I often tell new team members: acrylic is like glass that thinks it’s plastic. It looks tough, but ordinary glue just won’t cut it.
When you look at wood or metal, you’ll see tiny pores where glue can lock in. Acrylic has a very smooth, tight surface. That means chemical bonds behave differently.
What Makes Acrylic Different from Other Materials
Acrylic is a thermoplastic. It doesn’t absorb glue. That’s why normal glues sit on the surface and fail. Acrylic needs something that either dissolves a tiny layer or cures into a solid that sticks well.
Chemical Bonding vs Ordinary Glues
| Glue Type | Bond Type | Strength | Clarity |
|---|---|---|---|
| Ordinary Craft Glue | Surface Hold | Weak | Foggy |
| Solvent Cement | Chemical Weld | Strong | Clear |
| Epoxy | Mechanical Lock | Strong | Slight Haze |
| UV Cure | Polymerize | Good | Very Clear |
Solvent cements actually dissolve a thin layer of the acrylic and fuse the parts. That makes the joint almost as strong as the plastic itself.
Common Bonding Challenges with Acrylic
Here are the usual headaches I see:
- Foggy edges from wrong adhesives
- Joints that pop apart under stress
- Glue pooling and leaving marks
- Uneven color where light hits the seam
Once you understand why those happen, you can avoid them easily.
You might be wondering what glue you should reach for first. Let’s explore the types next.
Types of Adhesives for Gluing Acrylic
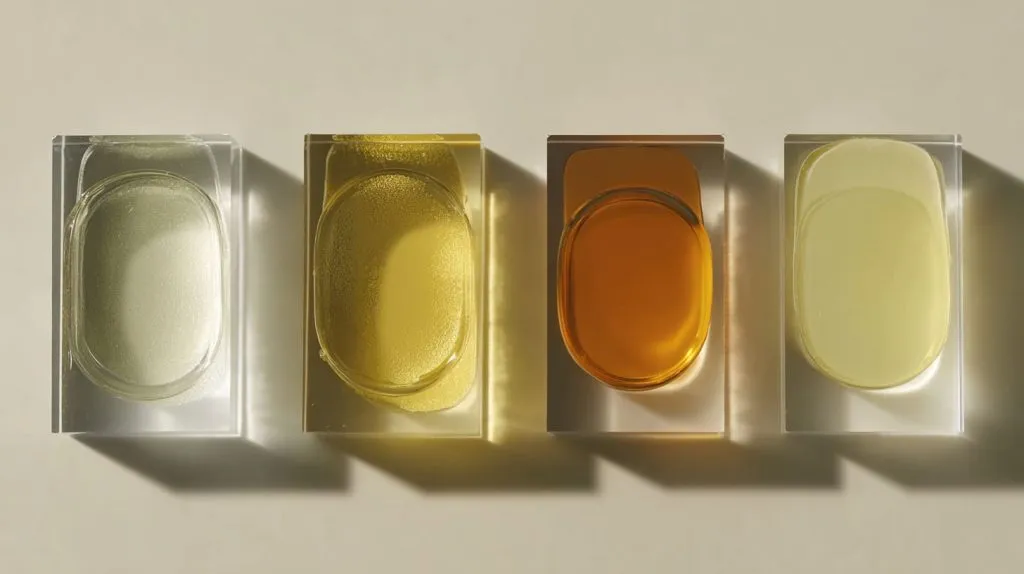
Choosing the right adhesive is like choosing the right tool for a job. The better the fit, the cleaner the result.
1. Solvent-Based Acrylic Cements (Acrylic Glue)
How It Chemically Fuses Acrylic Pieces
I call solvent cement the magic glue. It doesn’t just stick parts together. It melts them slightly so they become one piece.
This is ideal for display cases, boxes, and frames.
Popular Product Examples
- Weld‑On 4
- Acri‑Bond 810
Pros & Cons for Clear Bonds
Pros
- Crystal clear joints
- Strong connections
- Often sets fast
Cons
- Needs careful application
- Can fog if applied too heavy
2. Cyanoacrylate (Super Glue)
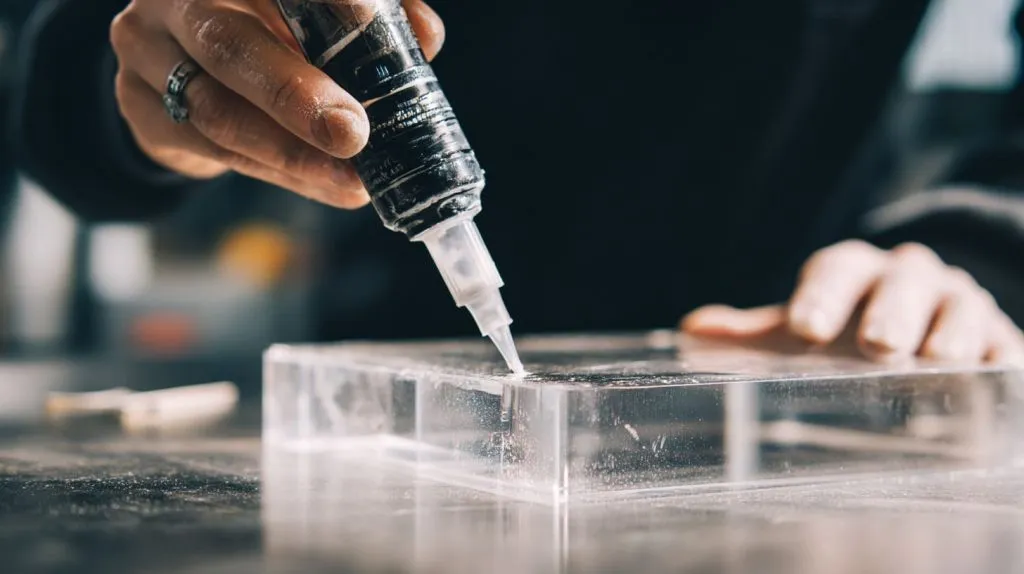
Super glue gets a bad rap in acrylic work, but it has a place.
Fast Cure Options and Surface Compatibility
If you need a quick set for small pieces, super glue works.
Limitations
- Can leave white fog marks
- Brittle under stress
I rarely use it for structural work, but for small fixes or tight edges it’s fine.
3. Epoxy Resin Adhesives
Epoxy is your fallback glue when solvent cement might be too aggressive.
- Good for thicker joints
- Works where solvent can’t reach
| Feature | Epoxy |
|---|---|
| Strength | High |
| Clarity | Medium |
| Cure Time | Slow |
| Gap Filling | Excellent |
4. UV‑Curable Adhesives
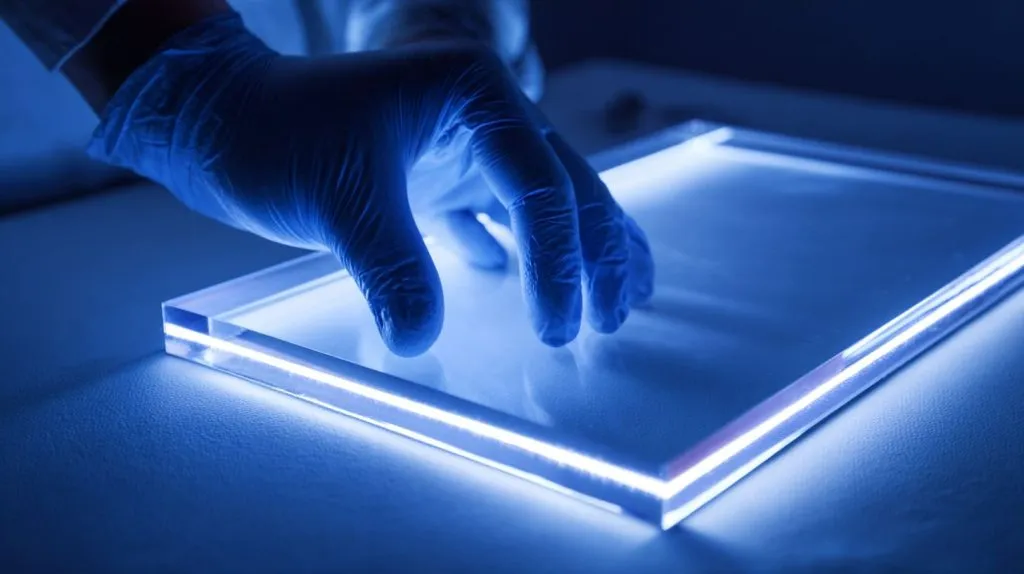
UV can be amazing. You align your pieces, shine a light, the glue hardens.
Great for optical clarity and precision.
But you need a good UV lamp. Without it, it won’t cure.
5. Double‑Sided Tape & Other Bonding Methods
Sometimes you don’t even need liquid glue.
Double‑sided acrylic tape works well for:
- Sign faces
- Light acrylic decor
- Non‑structural parts
Benefits
- No fumes
- Easy to adjust
Limitations
- Not as strong long term
- Can peel over time
Now that you know the main types of adhesives, let’s talk about preparation — the step most people skip but can make all the difference.
Preparing Acrylic for Gluing
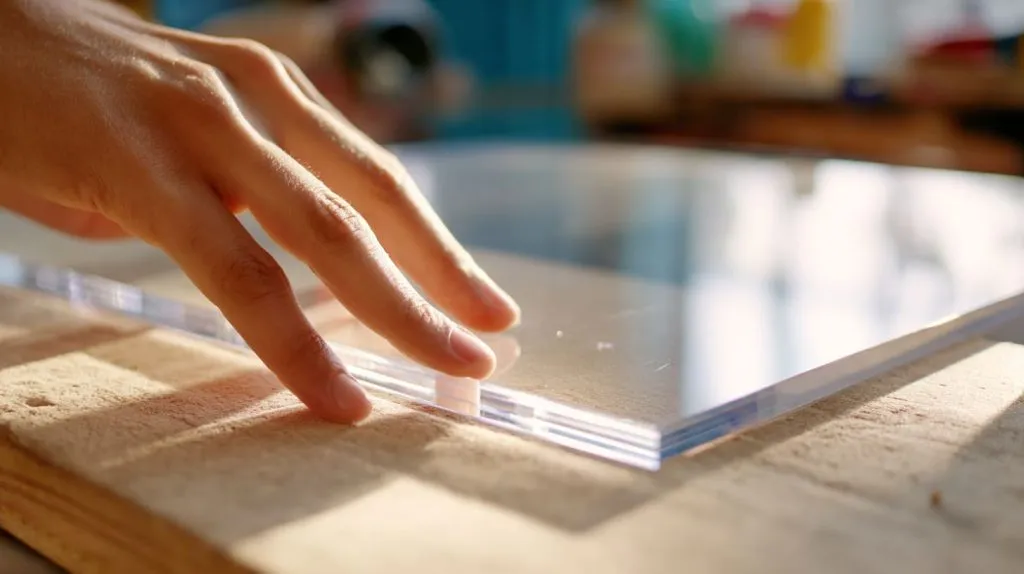
I can’t stress this enough: prep is half the job. Rush prep, and you’ll suffer later.
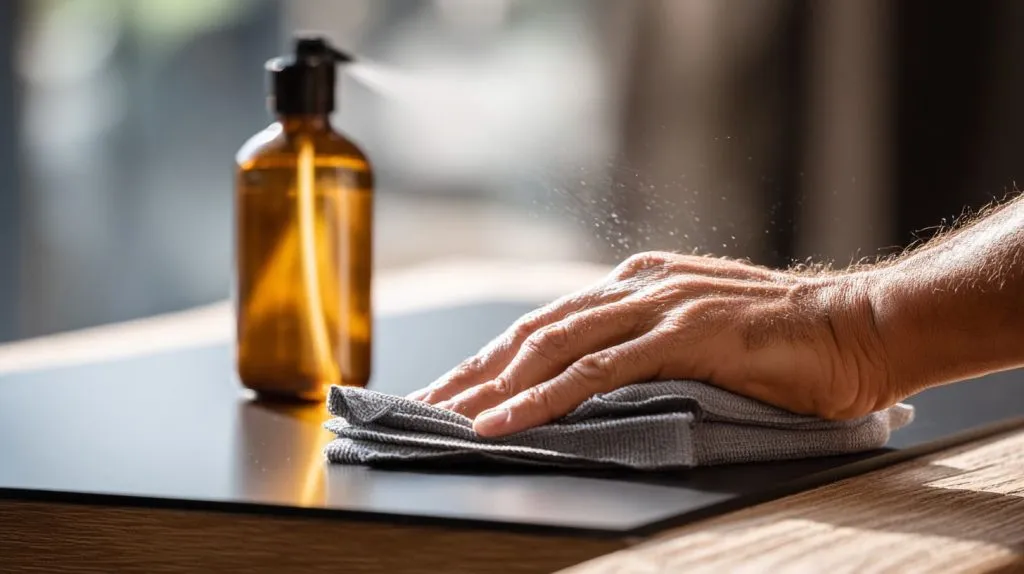
Cleaning and Degreasing
You want every surface clean and dust‑free.
Steps:
- Wipe with lint‑free cloth
- Use mild detergent or isopropyl alcohol
- Avoid paper towels — they scratch
Dirty surfaces mean weak bonds. Simple as that.
Edge Finishing and Smooth Surfaces
Edges matter.
Ways to finish edges:
- Hand sanding
- Router
- Laser cut
Smoother edges = tighter contact = stronger bond.
Workstation Setup & Safety
You’re working with fumes and chemicals.
Must‑haves:
- Good ventilation
- Gloves
- Safety glasses
Don’t skimp here. I’ve seen cheap mistakes cost time and health.
That was prep—now comes the real action: tools.
Tools and Materials Needed
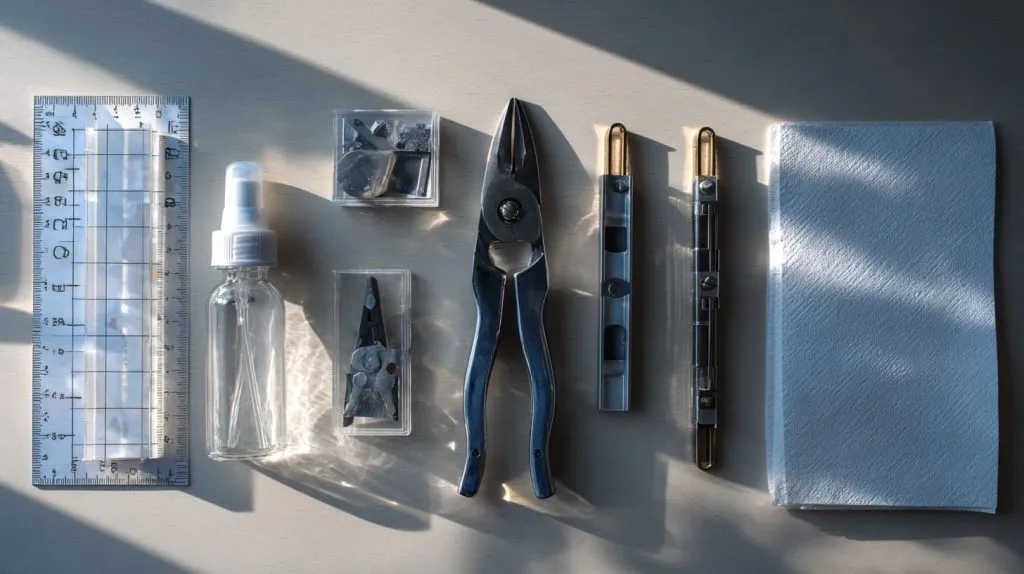
Let’s list what you’ll want on hand:
- Applicator bottles & needle tips
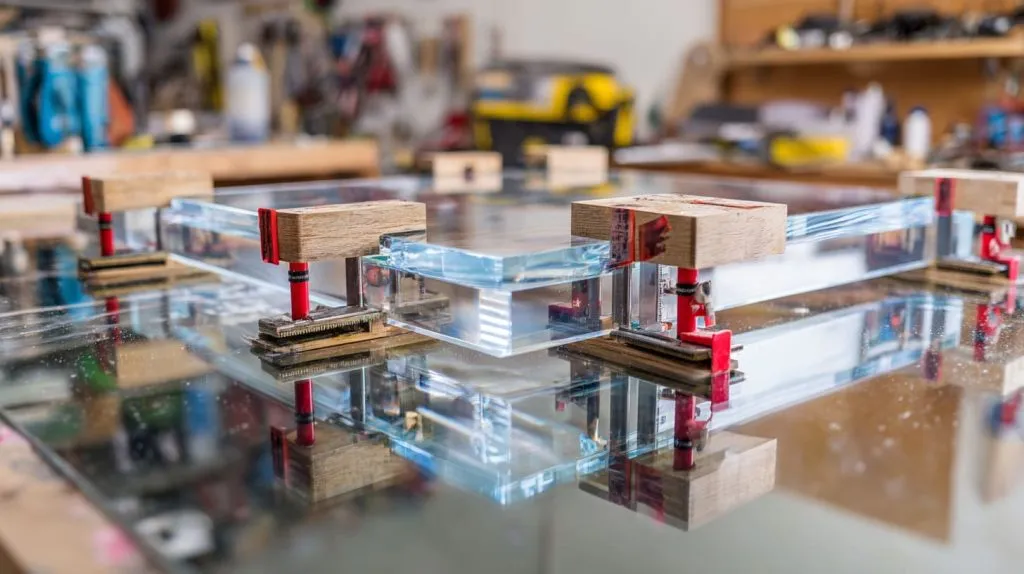
- Clamps and alignment jigs
- Squares and straight edges
- Clean cloths
- UV lamp (if using UV glue)
| Tool | Why You Need It |
|---|---|
| Needle tips | Precision glue placement |
| Clamps | Hold pieces steady |
| Square | Keeps corners perfect |
| UV lamp | Cures UV glue fast |
Missing a tool can cost you a clean joint.
Step‑by‑Step Guide to Gluing Acrylic
Now the core steps. Read slowly. Take your time.
Step 1: Dry Fit and Alignment
Before glue hits plastic, fit the pieces dry.
Make sure edges align perfectly. You don’t want surprises once glue is flowing.
Step 2: Applying the Adhesive
Use capillary action for solvent cement. That means letting the glue flow into the seam, not smearing it on.
For epoxies or super glue, control the bead — small and steady.
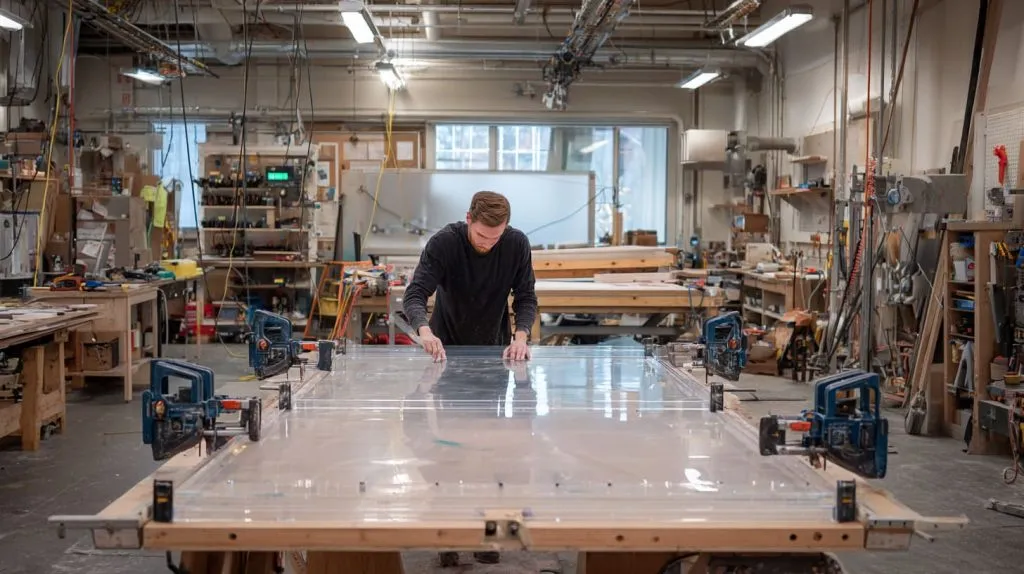
Step 3: Joining & Clamping
Once adhesive touches both pieces:
- Bring them together gently
- Clamp with even pressure
- Don’t over‑tighten
Clamps should hold, not crush.
Step 4: Initial Setting vs Full Cure
Every adhesive has two timings:
- Initial set: pieces hold
- Full cure: full strength
Don’t rush this. Often the wait is the hardest part.
Step 5: Post‑Bond Cleanup
Once cured:
- Remove excess glue with razor or solvent
- Sand or polish edges if needed
Neat edges make professional pieces.
Best Practices for Strong, Clear Bonds
This is where good becomes great.
Avoiding Air Bubbles and Cloudiness
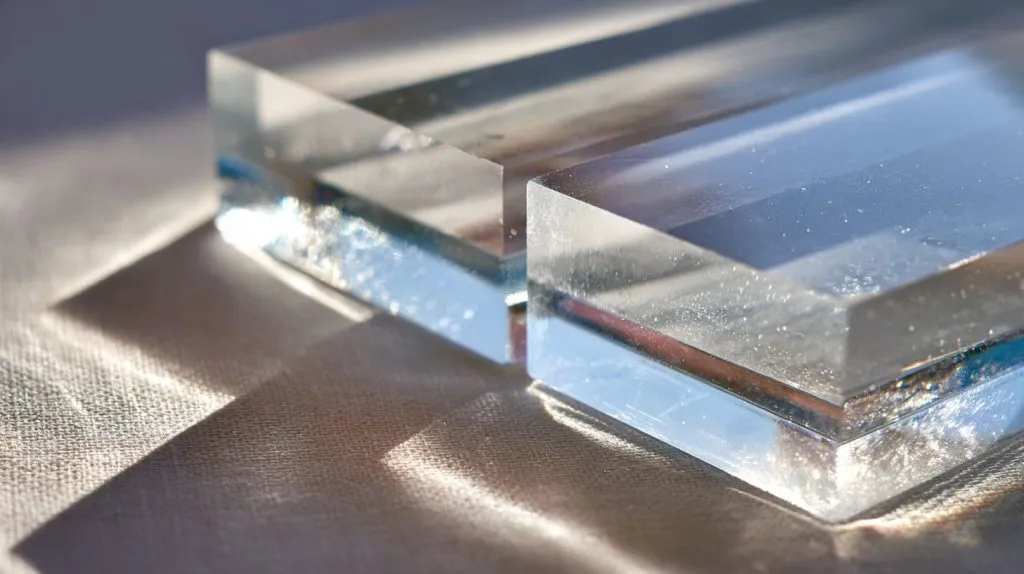
Air bubbles kill clarity. Tap lightly as glue flows. Let gravity help.
Small bubbles now = big eyes later.
Controlling Glue Flow & Excess
Too much glue = haze.
Keep lines thin. Less is more.
Environmental Considerations
Heat and humidity matter.
Ideal:
- 18‑25°C (64‑77°F)
- Low humidity
Work outside extremes.
Up next — the usual screw‑ups I see on the floor.
Common Mistakes and Troubleshooting
Even pros mess up. Let’s break it down.
Weak Bond Failures
Usually caused by:
- Bad surface prep
- Wrong adhesive choice
- Rushing cure time
Cracks, Crazing, Stress Lines
These lines are stress talking.
Solution:
- Reduce clamp pressure
- Use proper adhesive
Adhesive Incompatibility
Not all adhesives like all plastics.
Match choice to job.
Excess Glue & Messy Joints
Fix with careful cleanup.
Patience helps here.
Advanced Techniques
Let’s go deeper.
Acrylic Bonding for Load‑Bearing Structures
For heavy pieces:
- Use structural epoxies
- Reinforce joints
Think about forces in play.
Bonding Acrylic to Other Materials
Metal? Wood? PC?
Different materials mean:
- Different prep
- Different adhesives
Sometimes mechanical fasteners help.
Using UV Curing or Structural Adhesives
UV cure shines where clarity matters.
Structural adhesives are strong but take time.
Always test first.
Real‑World Applications
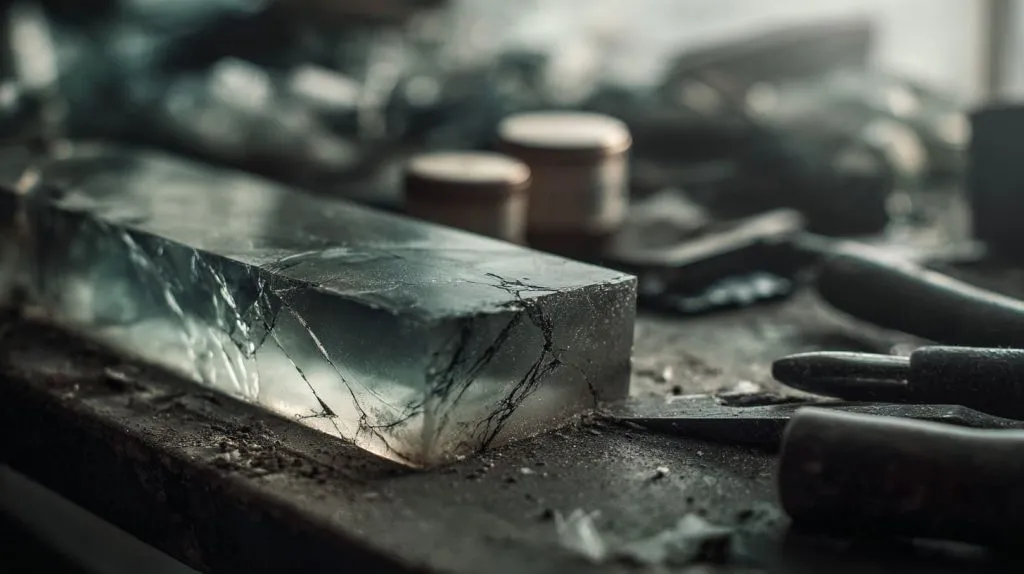
I want you to see this in real jobs.
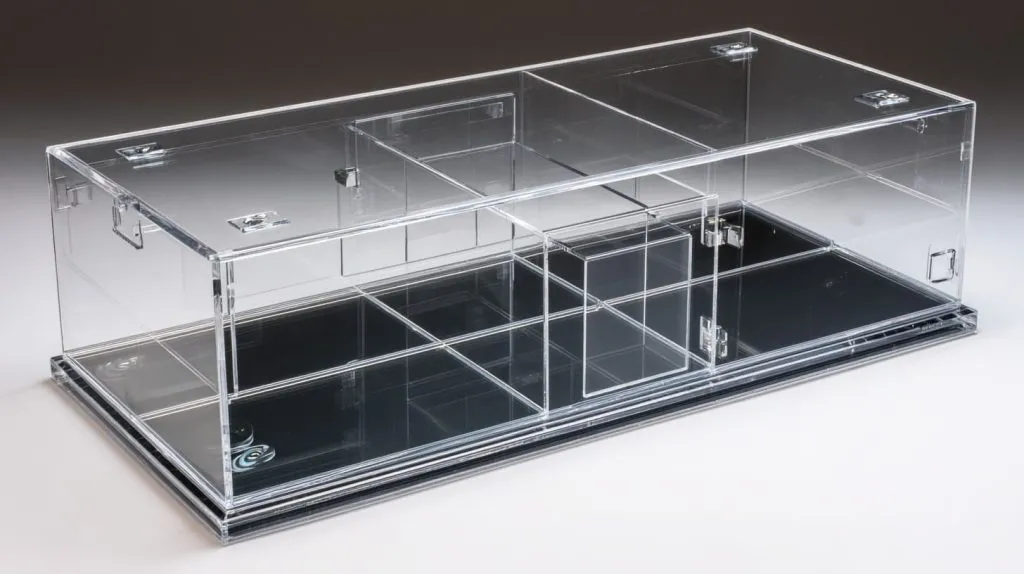
Custom Display Cases and Cabinets
Perfect clearness and strength matter here.
Small scrap in prototype saves time later.
Signage & Retail Fixtures
Here speed matters. Tape or UV often wins.
Aquariums and Water‑Tight Projects
This is tricky.
Water + pressure = high demand on glue.
Only reliable solvent or structural epoxy works.
Prototype & Model Fabrication
Quick tests, many iterations.
Sometimes tape first, permanent glue later.
Safety Precautions Summary
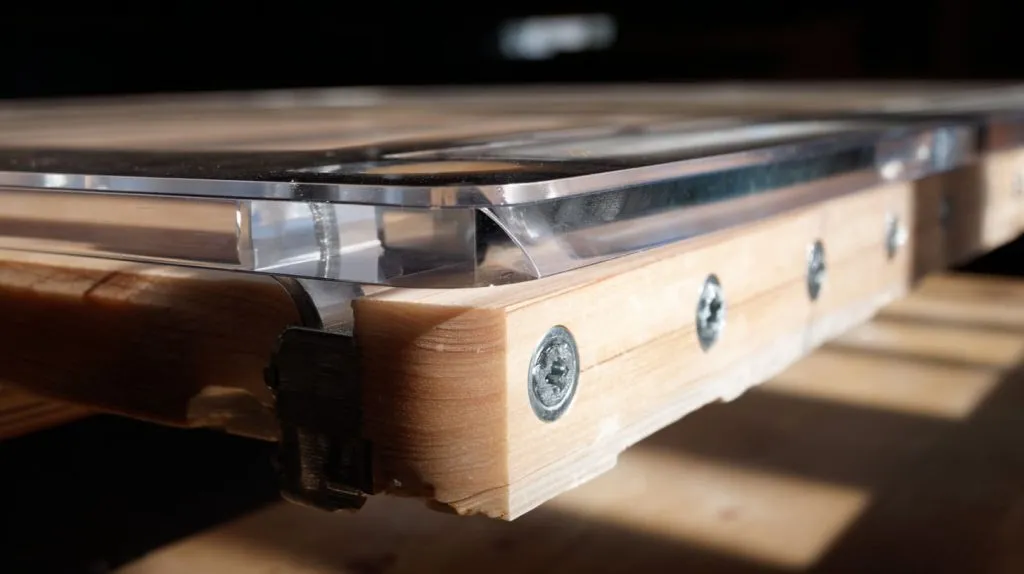
Never cheap out on safety.
- Wear respirators with solvents
- Use gloves
- Dispose of rags safely
Acrylic solvents can bite.
Conclusion
I hope this guide gave you real, actionable steps.
Here’s what I want you to remember:
- Choose the right adhesive for the job
- Prep thoroughly
- Work clean and patient
Gluing acrylic is both a craft and a science. With practice, you’ll get clean joints consistently.
Now go make something you’re proud of.




