Skip to content

Acrylic thickness can look so harmless on a drawing.
It sits there like a tiny note in the corner. 2mm. 3mm. 5mm. Clean. Quiet. Easy to skip past. But I do not treat it that way anymore, because I have seen one thickness choice change the whole fate of a product.
A buyer once sent me a neat acrylic display design for cosmetic products. The shape was good. The branding looked sharp. The dimensions made sense. Everything felt ready. Then I checked the sheet thickness. It was too thin for the width of the shelves. Nothing looked wrong on the screen, but I already knew what would happen in real life. The shelf would bow little by little. The samples would look fine at first. Then the middle line would sink, the product would lean, and somebody would start asking why the display looked tired after only a short time.
That is why I never see acrylic thickness as just a number.
I see it as a quiet decision with loud consequences. It affects cost. It affects stability. It affects how premium a product feels in the hand. It affects how well a piece survives shipping, handling, cleaning, and daily use. It even affects whether the customer trusts the product when they first see it.
A lot of buyers make the same mistake. They choose thickness by habit. Or they copy an old project. Or they assume thicker is always better. I understand why that happens. When the deadline is close, thickness feels like a detail. But this is often the detail that decides whether the design still looks smart six months later.
The way I judge thickness is very simple: I do not ask what looks acceptable on a drawing, I ask what will still work after real people load it, move it, clean it, and judge it.
In this guide, I want to break that down in a practical way. I want to look at acrylic thickness by application, not by guesswork. That is the only way I trust the decision.
Before I talk about mistakes and applications, I think it helps to slow down and ask a more basic question first: what does acrylic thickness really mean in real work?
What Does Acrylic Thickness Actually Mean?
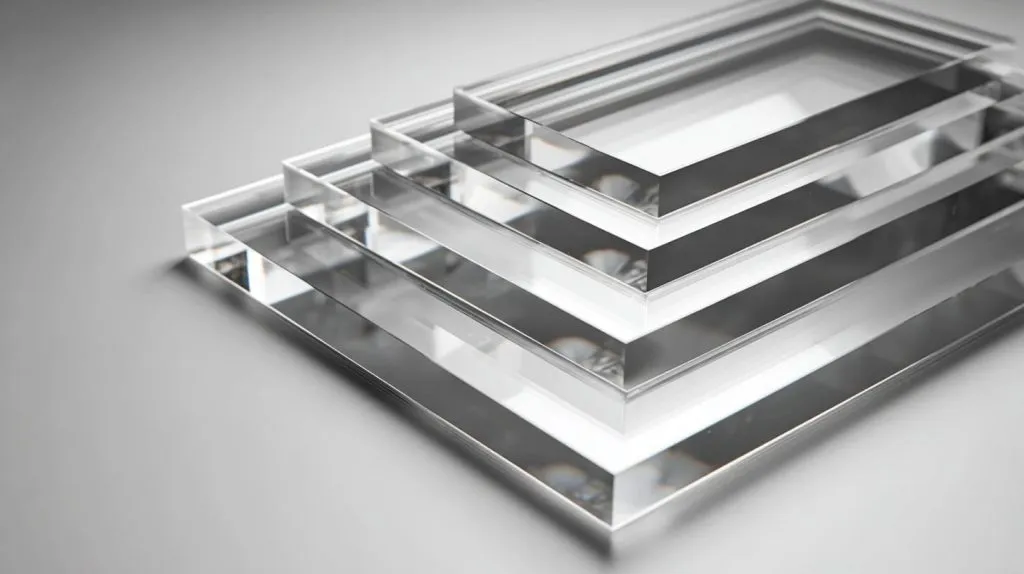
When people first talk about acrylic thickness, they often talk as if it is only a measurement. In one sense, that is true. It is simply the thickness of the acrylic sheet, usually measured in millimeters or inches. But in real work, that number carries much more weight than it seems to.
I think of thickness as the point where design, strength, cost, and feel all meet. It is not just a physical size. It is a performance choice.
One thing I pay close attention to is this: two sheets may look almost the same at a glance, but a small thickness change can completely change how they behave under load, during fabrication, and in the customer’s hand.
Standard thickness ranges in acrylic sheets
In the factory world, acrylic sheets come in many standard thicknesses. Some are thin and light. Some are thick and heavy. The most common range I see in custom work is from 2mm to 20mm, though acrylic can go much thicker.
Here is a simple reference table:
| Thickness | Common Use | General Feel |
|---|---|---|
| 1mm–2mm | Light covers, small inserts, simple signage | Flexible, light, lower rigidity |
| 3mm | Small displays, boxes, sign panels | Very common, balanced for light use |
| 4mm–5mm | Display stands, stronger boxes, medium signs | More stable, better visual weight |
| 6mm–8mm | Shelves, stronger panels, medium load applications | Noticeably more rigid |
| 10mm–20mm | Furniture parts, blocks, heavy-duty structures | Premium, heavy, structural feel |
| 25mm+ | Luxury blocks, architectural and furniture use | Very thick, very solid look |
I also need to mention something buyers do not always notice right away: cast acrylic and extruded acrylic do not behave exactly the same.
Cast vs extruded acrylic thickness tolerance
Cast acrylic usually has a wider thickness tolerance. Extruded acrylic is often more consistent in thickness. That sounds like a small manufacturing detail, but it matters when the project needs tight-fit slots, polished edges, or precise assembly.
| Type | Thickness Consistency | Best For | Watch Out For |
|---|---|---|---|
| Cast acrylic | Slightly less uniform | Polishing, machining, premium custom work | Sheet thickness may vary a bit more |
| Extruded acrylic | More uniform | Volume cutting, tighter tolerance work | Can behave differently in machining and heat forming |
I do not choose between cast and extruded only by price. I also look at the fabrication method, the finish requirement, and how visible the part will be in the final product.
How thickness affects performance
Thickness changes the way acrylic performs. It changes how much it bends. It changes how strong it feels. It changes how safely it can carry weight.
A thin sheet may work perfectly for a small sign. The same sheet may fail badly as a wide shelf. That is why I never discuss thickness without discussing the job the material has to do.
Strength and load-bearing capacity
The first thing most people think about is strength, and that makes sense. Thicker acrylic usually handles more load. It resists bending better. It feels more dependable.
But I try not to reduce the topic to “thicker equals stronger,” because that is only part of the truth. Support, span, shape, and load distribution also matter. A poorly supported thick sheet can still disappoint.
Flexibility vs rigidity
Acrylic is not steel. Even when it is strong enough, it can still flex. That flex might be acceptable in one product and unacceptable in another.
For example:
- A little flex in a protective cover may be fine
- A little flex in a luxury cosmetic display may look cheap
- A little flex in a shelf may become a long-term bow
That is where buyers sometimes get trapped. The part does not crack, so they assume the thickness is fine. I do not judge it that way. I also ask whether the product still looks stable and premium.
Impact resistance and durability
Thickness also affects how the acrylic reacts to handling, drops, pressure, and daily use. A thicker sheet often feels safer because it is less fragile in ordinary handling.
Still, I do not like broad statements here. Acrylic is impact resistant to a point, but it is not magical. If the application involves abuse, repeated force, or safety risk, I step back and judge the whole structure, not only the thickness.
Visual and design impact
Acrylic thickness also changes the look of the product, and I think this part gets ignored too often.
A thin sheet can look elegant and light. A thick sheet can look expensive and bold. Neither is automatically better. The question is whether the thickness fits the visual message of the product.
Transparency and edge finish
Thicker acrylic often gives a stronger sense of depth. Polished edges catch light differently. Blocks and premium displays benefit from that effect. Thin sheets do not create the same visual weight.
On the other hand, very thick acrylic can make a design feel bulky if the structure does not need it. I have seen clean display concepts lose their elegance because the sheet was made too thick out of caution.
This part is surprisingly important. People judge quality with their eyes and hands very fast.
Here is a simple view:
| Thickness Choice | Customer Perception |
|---|---|
| Too thin | Weak, cheap, unstable |
| Well-matched | Balanced, intentional, reliable |
| Too thick | Heavy, overbuilt, expensive-looking in the wrong way |
My own test is very practical: if the acrylic part looks like it is apologizing for itself, it is usually too thin; if it looks like it is trying too hard, it may be too thick.
That leads to the next problem, and this is where real cost starts creeping in: what happens when the thickness choice is wrong?
Why Choosing the Wrong Thickness Causes Problems

A wrong thickness choice does not always fail in a dramatic way. That is part of what makes it dangerous.
Sometimes nothing breaks. Nothing cracks. Nothing falls apart. The product simply starts looking a little worse than it should. A shelf sags. A box edge feels weak. A display shakes when someone touches it. The failure arrives slowly, and that makes it easier to miss until the complaints start.
I have seen this happen enough times that I no longer think of thickness as a technical detail. I think of it as risk control.
The real trouble often begins when a buyer approves a thickness based on what the item looks like empty, not how it behaves when it is loaded, moved, or used for months.
Structural failures in real applications
The most obvious problem is structural weakness. When acrylic is too thin for the job, it starts to bend, warp, or crack.
Bending, warping, and cracking issues
Acrylic does not need to snap to fail the job. Even visible bending can ruin a product.
I have seen this with:
- Display shelves holding skincare bottles
- Acrylic lids on larger boxes
- Wide sign panels without enough support
- Organizer trays that twist during shipping
A buyer may say, “But the sample looked fine.” Yes. Empty samples often look fine. Real use tells the truth.
Long-term deformation under load
This is one of the most overlooked issues. Acrylic under constant load can slowly deform. That means a shelf that looks flat today may not look flat later.
Here is a simple breakdown:
| Problem | What Causes It | What the Buyer Notices Later |
|---|---|---|
| Shelf bowing | Thin sheet + long span + product weight | Display looks tired or uneven |
| Lid warping | Large panel + weak rigidity | Poor fit, weak closing feel |
| Panel flexing | Thin face panel + poor support | Cheap feel during use |
| Edge cracking | Stress points + weak thickness | Returns, complaints, safety worry |
I tend to worry more about slow deformation than instant breakage, because slow problems damage trust quietly.
Cost inefficiency
A lot of people assume the thickness discussion is about safety only. It is also very much about money.
Too thin creates failure cost. Too thick creates waste cost. Both hurt margins.
Over-specifying thickness increases cost unnecessarily
This happens a lot in custom work. A buyer gets nervous and adds extra thickness “just to be safe.” I understand that feeling, but extra material does not always create extra value.
Thicker acrylic often means:
- Higher raw material cost
- Higher shipping cost
- More machining time
- More polishing time
- More weight in the final product
For high-volume orders, this adds up quickly.
Under-specifying leads to replacement and complaints
The opposite problem is just as bad. A buyer chooses a thinner sheet to reduce cost, but later pays much more through complaints, remakes, or product image damage.
| Choice | Short-Term Effect | Long-Term Effect |
|---|---|---|
| Too thin | Lower quote | Higher complaint risk |
| Too thick | Higher quote | Possible overcost and waste |
| Right thickness | Balanced quote | Better performance and profit control |
The way I see it, thickness is not where I try to “win” the quote. It is where I try to prevent stupid losses later.
User experience and product perception
This part matters more than many technical discussions admit. Acrylic products are seen up close. People touch them. They notice movement. They notice edge quality. They notice whether the structure feels solid.
Acrylic can look beautiful, but only when the thickness supports the design. If a display wobbles or flexes too easily, the whole product starts feeling cheaper than it really is.
I have watched well-designed pieces lose their premium image because the thickness saved a little money in the wrong place.
Stability and safety concerns
This is even more serious for retail displays, organizers, covers, and furniture-related items. If the product moves too much, the user loses confidence.
A simple rule I use is this: when a person touches the product and immediately adjusts their hand because it feels less stable than expected, I already know the thickness choice was not good enough.
Once I start thinking that way, I naturally move to the next step: what should I check before deciding thickness in the first place?
Key Factors to Consider When Choosing Acrylic Thickness

I do not like thickness decisions made in isolation. I prefer to walk through a few real questions first. What will the acrylic carry? How wide is the unsupported span? Where will the product be used? How will it be processed? How many pieces are being made?
That sounds basic, but these are the questions that save projects.
When I review a drawing, I do not begin with the thickness chart. I begin with the use case, because a “correct” thickness in one job can be a bad decision in another.
Load and weight requirements
Load is usually the first factor I check, because the acrylic has to survive real use, not empty display photos.
Static vs dynamic load
A static load sits there. A dynamic load moves, shifts, or gets handled. Dynamic load usually creates more risk.
For example:
- A brochure holder has light static load
- A retail display touched by customers has dynamic load
- A storage organizer that gets opened and moved has repeated stress
If the product will be touched often, picked up, restocked, or cleaned, I become more conservative.
Distributed vs point load
This difference matters a lot. A sheet may handle a distributed load quite well and still fail under a concentrated point load.
| Load Type | Example | Thickness Risk |
|---|---|---|
| Distributed load | Many small items across a shelf | Lower local stress |
| Point load | One heavy item in the center | Higher local bending risk |
I have seen buyers test a shelf with evenly spread products and feel confident, then later the end user places one heavy item in the middle and the shelf starts bowing. That is not rare. That is normal human behavior.
Size and span of the acrylic panel
Panel size changes everything. A thickness that works on a small piece may fail badly once the panel gets longer or wider.
Larger panels require thicker sheets
This is one of the easiest mistakes to make. A buyer copies a 3mm design from a small sign and scales it up into a larger panel without changing thickness enough.
The result is usually flex.
Support structure considerations
Support can reduce thickness demand. No support can increase it fast.
Here is a simple decision table:
| Panel Condition | Thickness Need |
|---|---|
| Small panel with strong frame | Lower |
| Medium panel with partial support | Moderate |
| Large panel with long open span | Higher |
| Large panel with load and no frame | Much higher |
I often tell buyers that thickness and support work like teammates. If one is weak, the other must do more.
Indoor vs outdoor environment
Acrylic behaves differently depending on where it lives. Indoor jobs are usually more forgiving. Outdoor jobs are not.
UV exposure and temperature changes
Outdoor use means sun, heat, cooling, and expansion changes. Even if the acrylic itself is suitable, the design may need more thickness or better structural planning to stay stable.
Moisture and weather resistance
Moisture itself may not be the main problem for acrylic, but weather cycles, mounting method, and wind load can all affect performance.
A quick comparison helps here:
| Environment | Main Thickness Concern |
|---|---|
| Indoor retail | Visual balance and normal stability |
| Indoor household | Daily handling and long-term neatness |
| Outdoor signage | Panel movement, mounting stress, weather exposure |
| Semi-outdoor display | Mixed load, cleaning, UV, and handling |
When I look at outdoor use, I do not only ask whether the sheet can survive. I ask whether it will still look straight and clean after months of exposure.
Fabrication and processing methods
Thickness affects how the acrylic can be cut, bent, polished, and assembled. That means fabrication is not something I check at the end. I check it early.
Laser cutting, CNC machining, and bending
Different processes behave differently depending on thickness.
- Thin sheets cut quickly and easily
- Medium sheets are flexible for many custom uses
- Thick sheets need more machining time
- Some thick parts become harder to bend cleanly
Thickness limitations in fabrication
This point gets ignored too often. A thickness may look perfect on paper but create extra trouble in production.
| Process | Thin Sheet | Thick Sheet |
|---|---|---|
| Laser cutting | Easy, fast | Slower, more limits |
| CNC machining | Good | Good, but more time |
| Heat bending | Easier in many cases | More demanding |
| Edge polishing | Fine | More work, more visual payoff |
I have learned to be careful here. A design that looks simple in CAD can become annoying in the workshop if the thickness and process do not match.
Budget and production scale
No thickness decision is complete without cost thinking. A one-piece prototype and a 5,000-piece order are not judged the same way.
Balancing cost and performance for B2B projects
B2B buyers need a thickness choice that survives use and still keeps the quote competitive. That balance is not always easy.
MOQ and material optimization
Material use matters even more in larger runs. A small thickness increase may look harmless, but over many pieces it changes total cost in a very real way.
I often compare options like this:
| Thickness Option | Material Cost | Performance | Best Use Case |
|---|---|---|---|
| Lower thickness | Lower | Riskier if span/load is high | Light-duty, cost-sensitive jobs |
| Medium thickness | Balanced | Usually the best balance | Most standard custom work |
| Higher thickness | Higher | Stronger, heavier, more premium | Furniture, blocks, heavy load |
My own habit is to avoid choosing thickness from fear or from habit. I prefer to choose it from use, process, and numbers.
That becomes much easier once I map thickness to actual product categories, which is what most buyers really want to know.
Recommended Acrylic Thickness by Application

This is the section many buyers jump to first, and I understand why. People want practical ranges. They want to know what usually works. I do too.
Still, I treat these ranges as starting points, not fixed rules. The final answer always depends on load, span, design, and support.
When I give thickness advice by application, I am not trying to sound precise in a fake way. I am trying to give a useful working range that helps the discussion move faster.
Display stands and retail fixtures
Retail displays often need to look clean and light. They should not feel bulky. At the same time, they cannot look weak.
Typical range: 2mm–5mm
For many small display stands, I often see 2mm to 5mm used well.
- 2mm–3mm for lighter, smaller, lower-load display parts
- 4mm–5mm for stronger displays and more stable shelves
Balancing clarity and lightweight design
Thin acrylic often gives a more elegant retail look. But the risk is flex and instability if the design gets wider or the products get heavier.
| Display Type | Common Thickness |
|---|---|
| Brochure holder | 2mm–3mm |
| Small cosmetic stand | 3mm–4mm |
| Medium countertop display | 4mm–5mm |
| Heavier retail shelf display | 5mm+ |
I usually become cautious when a buyer wants a large display to “look light” but also hold real product weight. That is where design taste and structural truth start arguing with each other.
Acrylic boxes and covers
Boxes and covers are common in custom acrylic work, and thickness matters here for both appearance and function.
Small boxes: 3mm–5mm
This range often works well for small storage boxes, countertop covers, and compact display cubes.
Large enclosures: 5mm–10mm
As the size grows, the need for rigidity grows too. Large covers and boxes often need thicker panels to avoid flex and poor fit.
| Box or Cover Size | Common Thickness |
|---|---|
| Small | 3mm–5mm |
| Medium | 4mm–6mm |
| Large | 6mm–10mm |
I do not judge box thickness by wall strength alone. I also check whether the lid, side panel, and bonded corners will still feel sharp and aligned after repeated handling.
Shelves and load-bearing panels
Shelves are where bad thickness decisions reveal themselves fast.
Light load: 5mm–8mm
This range may work for lighter products and shorter spans.
Heavy load: 8mm–20mm+
As the span grows or the products get heavier, the required thickness rises quickly.
| Shelf Condition | Suggested Range |
|---|---|
| Small shelf, light items | 5mm–6mm |
| Medium shelf, moderate weight | 6mm–8mm |
| Long shelf, heavy products | 8mm–12mm+ |
| Structural or premium heavy-duty use | 12mm–20mm+ |
I have become very skeptical of “it only bends a little” when shelves are involved, because a little bow is usually the first warning, not the last one.
Signage and branding displays
Signs often look simple, but thickness affects flatness, installation feel, and visual quality.
Indoor signs: 2mm–5mm
Indoor signs usually have fewer structural demands. Many work well in thinner acrylic.
Outdoor signs: 5mm–10mm
Outdoor signs usually need more thickness for stability, mounting confidence, and better resistance to panel movement.
| Sign Type | Common Thickness |
|---|---|
| Small indoor sign | 2mm–3mm |
| Premium indoor logo panel | 3mm–5mm |
| Outdoor sign panel | 5mm–8mm |
| Larger exterior sign | 8mm–10mm+ |
When I review sign thickness, I do not stop at the face material. I also think about mounting points, wind movement, and whether the sign will still look straight from a distance.
Furniture and structural applications
This is where acrylic thickness gets serious. Furniture and structural parts demand more from the material.
Tables, chairs, and partitions: 10mm–30mm+
Furniture usually needs much thicker acrylic because the product must carry weight, stay stable, and feel safe.
Safety and stability considerations
For these applications, I care about much more than visual beauty. I care about edge strength, support, contact points, and user confidence.
| Furniture Use | Common Thickness Range |
|---|---|
| Light decorative panel | 8mm–10mm |
| Acrylic side panel | 10mm–15mm |
| Tabletop or bench element | 15mm–25mm+ |
| Heavy block-style furniture | 25mm–30mm+ |
My instinct gets stricter with furniture because people forgive a weak display less than they forgive a weak sign, and they forgive a weak chair least of all.
At this point, many buyers start comparing acrylic with glass, especially when they are replacing one with the other. That comparison sounds simple, but it is easy to oversimplify.
Acrylic Thickness vs Glass: What Buyers Should Know
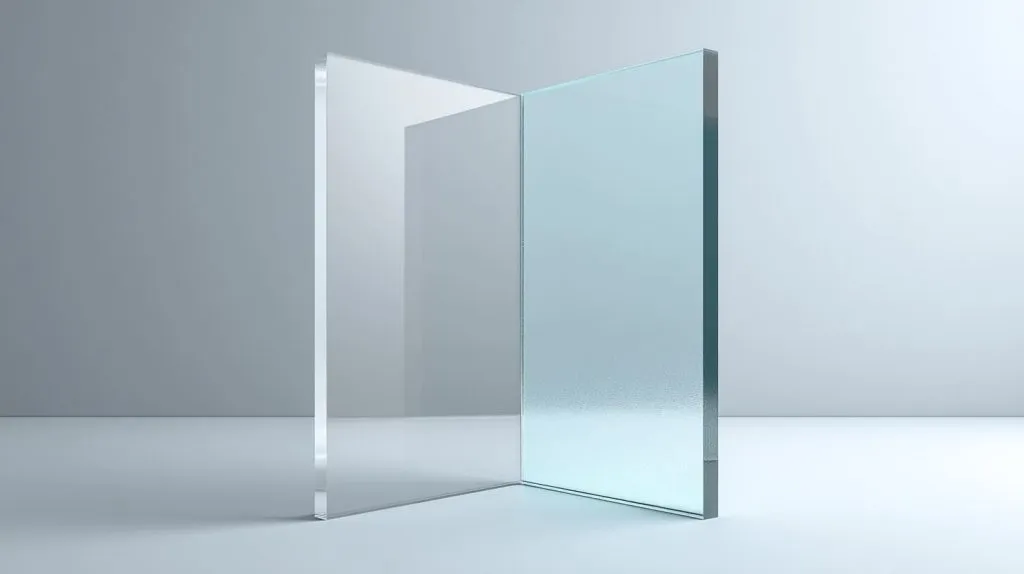
Acrylic and glass get compared all the time. I understand why. They can both be clear. They can both be used for display, protection, and furniture. But I do not treat them as direct twins, because they behave differently in ways that matter.
A buyer once asked me why an acrylic panel needed a different thickness from the glass panel it was replacing. The question was fair. From a distance, both looked similar. In use, they were not similar at all.
That is why I like this comparison, but only when it stays honest.
Strength-to-weight comparison
Acrylic is lighter than glass. That is one of its biggest practical advantages. It is easier to transport, easier to handle, and often safer in many commercial uses.
But lighter does not always mean you can use the same thickness as glass and expect the same rigidity.
Acrylic is lighter but requires thickness adjustment
Acrylic often needs thickness adjustment because its stiffness is different from glass. It may be lighter and tougher in impact, but it can flex more.
| Material | Weight | Rigidity | Break Behavior |
|---|---|---|---|
| Acrylic | Lighter | Lower than glass in stiffness | More likely to crack than shatter |
| Glass | Heavier | Higher stiffness | Can shatter dangerously |
So yes, acrylic can replace glass in many uses. But I do not approve a substitution just because the clear look is similar. I also compare support, movement, and load.
Safety and impact resistance
This is one of the biggest reasons buyers choose acrylic.
Acrylic does not shatter like glass
That matters in retail, household, and display settings. If impact safety is important, acrylic often has a strong case.
Still, I try not to turn that into a lazy conclusion. Acrylic may be safer in impact, but surface scratching, flex, and visual wear still need to be considered.
Where safety matters most
- Retail fixtures around customers
- Household organizers and covers
- Display cases in busy spaces
- Protective barriers and guards
I pay more attention to the user’s likely behavior than to the material label alone, because a safe material used in the wrong thickness can still create a shaky and disappointing product.
When thicker acrylic replaces glass
This is the practical question many buyers really care about.
Practical substitution guidelines
There is no single formula that fits every job, but this kind of simplified comparison can help start the conversation:
| Existing Glass Use | Acrylic Replacement Thinking |
|---|---|
| Small decorative panel | Similar or slightly thicker acrylic may work |
| Shelf or cover | Acrylic often needs more thickness for stiffness |
| Furniture panel | Acrylic usually needs careful redesign, not just replacement |
| Safety barrier | Acrylic may be preferred, but thickness depends on size and mounting |
I do not like “material replacement” decisions that only compare transparency and price. I trust them much more when the team also compares feel, movement, cleaning, and long-term appearance.
Once that comparison is clear, the next question usually comes fast: how do I estimate the right thickness for my own project?
How to Estimate the Right Thickness for Your Project

I wish there were a magic thickness chart that answered every project cleanly. There is not. Still, I do think there are practical ways to estimate the right starting point without guessing blindly.
My approach is not fancy. I start with size, load, support, and use behavior. Then I narrow the thickness range. Then I test the risk areas.
That may sound slow, but it actually saves time because it prevents bad assumptions.
Simple rule-of-thumb calculations
I do not rely on rules of thumb alone, but I do use them as a first filter.
Thickness vs span ratio
Longer unsupported spans usually need more thickness. A short shelf and a long shelf are not the same problem.
A simple planning habit helps:
- Short span = lower thickness may work
- Medium span = check load carefully
- Long span = expect thickness or support increase
Load estimation basics
I ask simple questions first:
- What will sit on the acrylic?
- How much does it weigh?
- Is the load spread out or concentrated?
- Will users lean on it, press it, or move it?
- Is the product expected to stay premium-looking over time?
That last question matters more than people think.
Here is a very rough planning table:
| Condition | Likely Direction |
|---|---|
| Small part + light load | Lower thickness may be enough |
| Medium span + regular handling | Move toward medium thickness |
| Long span + visible shelf | Add thickness or support |
| High load + premium expectation | Increase thickness and validate |
When I estimate thickness, I do not ask whether the acrylic can survive the load once; I ask whether it can survive the load repeatedly without looking embarrassed.
When to involve your supplier
Some projects are simple enough for quick estimates. Others are not.
Custom design support from manufacturers
A good supplier can help spot weak areas early. That is especially useful for custom displays, bonded structures, large covers, and furniture parts.
Engineering validation for large projects
For large or high-risk parts, I prefer more than instinct. I want drawings, use-case details, and sometimes sample testing or design adjustment.
| Project Type | Supplier Involvement Needed |
|---|---|
| Simple small sign | Low to moderate |
| Display stand | Moderate |
| Shelf system | High |
| Acrylic furniture | Very high |
I become much more careful when the acrylic part is large enough that one wrong assumption can affect the whole production run.
Prototyping and sampling strategy
Nothing beats real testing.
Testing before mass production
I strongly believe in samples when the application matters. A sample can reveal flex, edge feel, fit issues, and visual balance in a way that drawings cannot.
Adjusting thickness based on real use
A smart sample is not just about checking dimensions. It is about checking behavior.
I like this checklist:
- Does it bend more than expected?
- Does it feel stable when touched?
- Does the edge look premium enough?
- Does the bonded area feel trustworthy?
- Does the loaded sample still look clean?
That naturally leads into a topic I care about a lot, because I keep seeing the same errors repeat across projects.
Common Thickness Selection Mistakes (And How to Avoid Them)
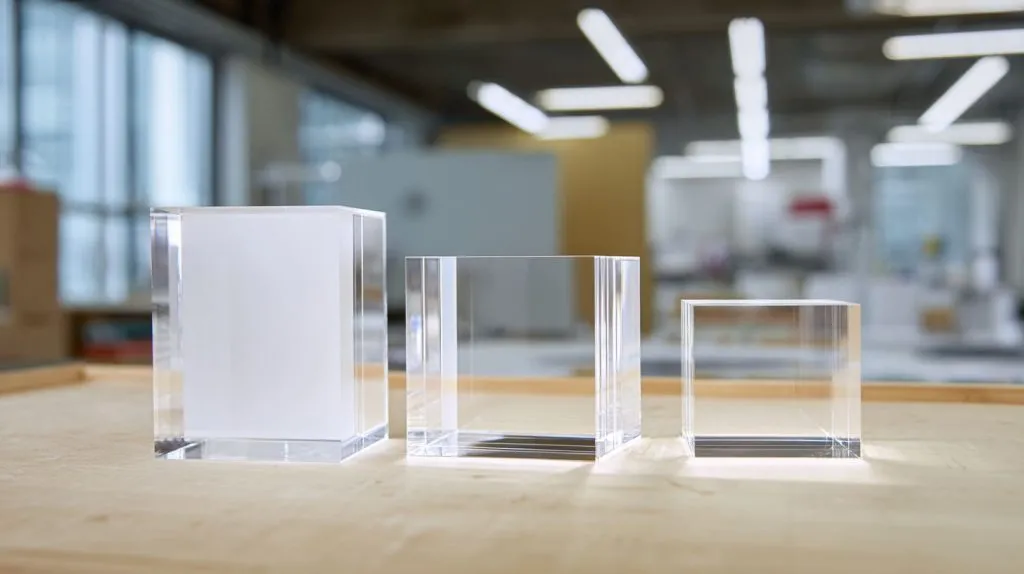
I do not think most thickness mistakes happen because buyers are careless. I think they happen because the wrong shortcut gets used at the wrong time.
Acrylic looks simple. That is part of the problem. Because it looks simple, people assume the thickness decision will also be simple.
Then the product teaches them otherwise.
Choosing based only on appearance
This mistake is very common, especially in beautiful display work.
Ignoring load and structural needs
A design can look elegant in thin acrylic and still fail in daily use. That does not mean the designer was wrong to want a clean look. It means the structure needed more respect.
I have seen buyers fall in love with a slim visual style and then try to force the thickness to follow the mood instead of the function.
| Decision Style | Likely Outcome |
|---|---|
| Chosen only for looks | Risk of flex or weakness |
| Chosen only for strength | Risk of clumsy appearance |
| Chosen for both | Stronger design result |
I trust a design much more when it looks refined and behaves calmly under real handling.
Copying competitors blindly
This is another trap. A buyer sees a similar product and copies the thickness.
Different applications require different specs
The trouble is that two products can look similar while carrying very different loads, spans, or user behavior.
A competitor’s 3mm organizer may work because it is smaller. A competitor’s 5mm shelf may work because it has hidden support. Without that context, copying thickness is guesswork.
I get suspicious when a thickness choice is defended with “another supplier used this before,” because that tells me history is replacing judgment.
Over-engineering due to fear
I understand this one very well. Nobody wants failure, so they push thickness upward.
“Thicker is safer” myth
Sometimes thicker helps. Sometimes it just adds cost, weight, and production trouble.
A buyer who fears complaints may choose 10mm where 6mm would work beautifully. The item becomes heavier, more expensive, and less elegant, without solving a real risk.
| Fear-Based Choice | Hidden Cost |
|---|---|
| Extra thickness everywhere | Higher material spend |
| Heavy panels | Higher shipping and handling cost |
| Overbuilt look | Worse design balance |
| Slower production | Longer processing time |
The mistake here is not caution itself. The mistake is using material thickness as emotional insurance.
Ignoring fabrication constraints
This problem usually appears later, when the design reaches production.
Thickness limits in bending and polishing
Some thicknesses are harder to bend neatly. Some require more machining. Some change the polish result. Some affect slot fit and assembly.
A beautiful drawing may not stay beautiful if the thickness and process do not work together.
I always worry when the drawing solves the shape but says almost nothing about how the part will actually be made, because that is where acrylic projects start turning stubborn.
So what helps prevent those mistakes? In many cases, it is the right manufacturing partner, not just the right material chart.
How Custom Manufacturers Help Optimize Thickness

A good custom manufacturer does more than cut acrylic to a size. At least, that is how I see it. The real value is not only in production. It is in helping the buyer avoid bad thickness choices before those choices become expensive.
I have had many cases where the drawing looked settled, but a small thickness adjustment made the product cheaper, stronger, or more elegant. That kind of change usually does not come from software. It comes from experience.
Design-for-manufacturing (DFM) support
This is one of the most useful parts of custom work.
Material savings without performance loss
A manufacturer who understands acrylic well can often suggest a smarter structure instead of simply adding thickness. Maybe a support rib helps. Maybe the slot design changes. Maybe the panel size is adjusted. Maybe a different bonding method solves the issue.
That matters because not every strength problem needs a thicker sheet.
| DFM Adjustment | Possible Benefit |
|---|---|
| Add support feature | Reduce required thickness |
| Change joint design | Improve stability |
| Adjust span | Reduce flex risk |
| Refine panel size | Improve material efficiency |
I put a lot of value on suppliers who challenge a thickness choice with evidence, not just suppliers who silently cut whatever is on the file.
Cost optimization strategies
This part matters for every serious B2B project.
Reducing waste and improving yield
Thickness affects sheet usage, cutting layout, processing time, and shipping. A supplier who thinks clearly about those points can help the buyer protect margin.
Matching thickness to order scale
A small difference in thickness can matter much more in large orders than in small ones. That is why volume and thickness should be discussed together.
| Project Scale | Why Optimization Matters |
|---|---|
| Sample run | Function and appearance first |
| Small batch | Balance cost and flexibility |
| Large batch | Thickness efficiency becomes very important |
What often changes my recommendation is not the part itself, but the production quantity, because waste that looks tiny on one unit can become very ugly over a few thousand pieces.
OEM/ODM customization advantages
This is where custom manufacturing becomes especially useful.
Tailored solutions for specific industries
Different industries care about different things. Cosmetic displays care about elegance. Store fixtures care about repeat use. Household organizers care about daily handling. Furniture parts care about stability and confidence.
A custom manufacturer can align thickness with those real priorities.
Better fit for custom order logic
For buyers like Jacky, who already know China suppliers and care about practical performance, this matters a lot. The best thickness choice is not always the thickest or cheapest one. It is the one that matches the job, the market, and the production logic.
I respect custom acrylic work most when the factory does not act like a sheet seller, but like a partner who understands how design decisions survive in the real world.
That leaves one final thing to do, and I think it is the most useful place to end: pulling all of this back into one clear judgment.
Conclusion

Acrylic thickness is never just a number to me.
It is a design choice, a cost choice, a durability choice, and very often a reputation choice. A sheet that is too thin can weaken the product quietly. A sheet that is too thick can waste money just as quietly. That is why I do not trust shortcut answers here.
What has worked best for me is simple, even if it takes a bit more thought. I look at the application first. I check the span, load, support, fabrication method, and the way the user will actually touch and judge the product. Then I decide thickness from there.
That approach is not glamorous. But it is reliable.
I also think this is where experienced custom manufacturers can help in a very real way. A good partner does not only quote the drawing. A good partner helps test the logic behind the drawing. That can reduce risk, avoid waste, and make the final product feel more intentional.
If I had to put the whole article into one sentence, it would be this: the right acrylic thickness is the one that keeps the product stable, cost-aware, visually right, and believable in real use.
If you are working on a custom acrylic display, box, sign, organizer, or furniture part, I think it is worth reviewing the thickness before production starts. A small change at that stage is easy. A small mistake after production is not.
If you want a second opinion on your acrylic design, thickness plan, or custom project idea, you can always reach out to us at Feilong Acrylic through flacrylic.com. I think a quick technical discussion early on is often the cheapest part of the whole project, and sometimes the most valuable.