 Skip to content
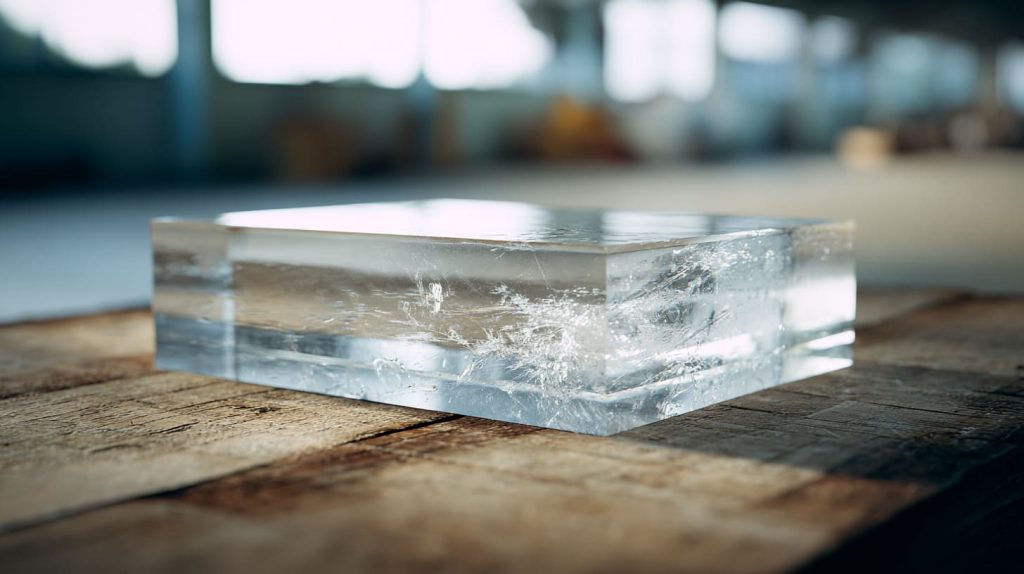
Acrylic thickness gets treated like a small line on a drawing far too often.
I have seen this happen in very normal product talks. A buyer asks for a quote. A supplier gives 2 mm, 3 mm, and 5 mm options. Everyone looks at the price first. That reaction is natural. Price is easy to see. Thickness feels technical. So people move on too fast.
I do not move on that fast anymore.
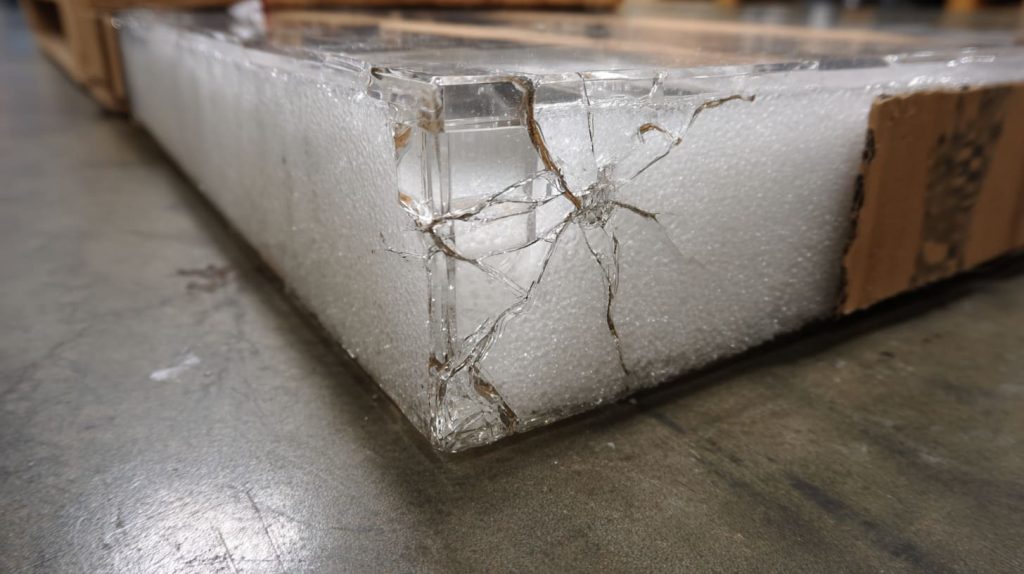
A while ago, I watched a project move through approval almost too smoothly. The sample looked clean. The edges were bright. The shape was right. The price looked comfortable. Everyone felt relaxed. Then the goods arrived after shipping, and the mood changed fast. A few corners had fine cracks. Some panels had small white stress marks. One unit was slightly bent. Nothing looked dramatic at first glance, but the product no longer felt premium. That was enough. The damage had already happened.
That kind of failure taught me something simple. Acrylic thickness is not only about whether the sheet stands up. It also changes how the product looks, how it feels in the hand, how it survives transport, and how much trouble shows up later.
I do not judge acrylic thickness by sheet price first anymore. I judge it by what the final product is expected to survive.
This guide is for people who make real purchasing decisions. Not theory-only decisions. Real ones. The kind that involve sample approval, packaging, logistics, customer expectations, and the quiet pressure of trying to balance quality and cost at the same time.
If you have ever looked at 2 mm, 3 mm, and 5 mm and felt that the difference seemed small, this article is for you.
Why Is Acrylic Thickness Often Misjudged in Purchasing Decisions?

I think this problem starts in a very human place. Buyers are busy. Suppliers are moving quickly. Product teams want answers fast. In that environment, the easiest number often gets the most attention. That number is price.
The trouble is that acrylic thickness does not behave like a small detail. It behaves more like a hidden lever. Pull it one way, and the product feels solid, clean, and reliable. Pull it the other way, and the same design can start feeling weak, cheap, or risky.
When I look at a thickness decision now, I do not ask, “Which one is cheaper?” first. I ask, “Which one is more likely to embarrass me later?”
Price vs. performance mindset
I understand why buyers focus on price first. It is the fastest thing to compare. A quote sheet makes it easy. You see one number beside 2 mm. Another beside 3 mm. Another beside 5 mm. It feels neat. It feels measurable. It feels under control.
Performance does not show up that neatly.
Visual feel, bending, shipping damage, customer touch, shelf life, assembly risk. These things are harder to squeeze into one line on a quotation. So they get pushed back. Not because people are careless. Just because the quote arrives before the problem does.
That is why thickness often gets treated like a technical note instead of a strategic choice.
| What buyers see fast | What buyers often see late |
|---|---|
| Lower material cost | Higher damage rate |
| Easier approval | More complaints after use |
| Better quote comparison | Poorer product feel |
| Faster decision | Higher replacement cost |
A lot of teams also assume that if the sample looks fine, the thickness must be fine. That is a risky shortcut. Samples live easy lives. Finished goods do not.
The gap between sample success and real-world use
This gap is where many good-looking projects go wrong.
A sample usually sits on a desk, in a meeting room, or in a sample cabinet. It does not get stacked in cartons. It does not vibrate inside a truck. It does not get handled by warehouse workers, shop staff, and end users in the same week.
So yes, the sample may look beautiful.
But beauty under soft conditions does not prove stability under real conditions.
I have seen a thin acrylic display look sharp in the sample room and start showing tiny stress whitening after assembly. I have seen a box look perfectly square before shipping and come back with cracked corners after transport. I have seen products that passed visual review but failed emotional review the moment the customer touched them.
That last one matters more than some people admit. Customers do not always explain why a product feels cheap. They just feel it.
Hidden risks behind thin acrylic choices
Thin acrylic is not always wrong. I want to be fair about that. Some products do not need heavy structure. Some covers only need light protection. Some projects are temporary. Some are cost-sensitive in a very real way.
But thin acrylic does carry risks that people often underestimate.
Here are some common ones:
- Micro-cracks near corners or drilled holes
- Bending on larger flat surfaces
- Stress whitening around tight joints or screws
- A weaker hand feel when customers pick up the product
- Higher sensitivity during shipping and repeated handling
These problems do not always show up in a dramatic way. That is why they are dangerous. They often arrive quietly.
A panel stays flat in week one, then sags later.
A clear box looks fine from far away, then shows a white mark near the joint.
A display survives the factory, then fails inside the carton.
That is why I think thickness decisions deserve more respect than they usually get.
And once I started noticing how thickness changes not only strength but also appearance, I found it hard to unsee. That is the next part worth looking at.
How Does Acrylic Thickness Affect Visual Quality?

People often talk about acrylic thickness like it only matters for strength. I do not agree with that. Thickness changes visual quality in a very direct way.
It changes how the product catches light.
It changes how the edges look.
It changes how much visual weight the piece carries.
It even changes how trustworthy the product feels before anyone tests it.
I often make this judgment in a few seconds: if a product is meant to feel premium, thin acrylic usually tells on itself before the customer says a word.
Perceived value: thin vs. thick acrylic
Acrylic has a funny habit. Even when the design is simple, thickness changes the emotional reaction.
A 2 mm piece can look neat, but it often feels light in a way that makes people hesitate. A 3 mm piece usually feels more balanced for many standard items. A 5 mm piece starts to carry that “real product” feeling. It has body. It has presence. It reflects light in a stronger way. It feels more intentional.
Here is a simple comparison:
| Thickness | First visual impression | Hand feel | Typical emotional reaction |
|---|---|---|---|
| 2 mm | Light, plain | Thin, flexible | Budget, temporary |
| 3 mm | Clean, balanced | Reasonably solid | Standard, acceptable |
| 5 mm | Strong, clear | Stable, premium | Trustworthy, higher-end |
| 8 mm+ | Bold, luxury feel | Heavy, substantial | Premium, display-grade |
This is not only about thickness itself. It is about what thickness communicates.
Customers do not stand there saying, “Ah yes, this is 5 mm.” They do something more human. They touch it. They look at the edges. They judge the object in two seconds.
And those two seconds matter.
Optical clarity and distortion
Some buyers assume thinner acrylic always looks cleaner because it feels lighter and more delicate. That can be true in some small parts. But in larger panels, thinner sheets can start to work against visual clarity.
A thin sheet is more likely to flex. Once it flexes, light behaves differently across the surface. Straight lines behind the panel may look less stable. Reflections may feel uneven. The product can start to look less precise even when it was cut correctly.
That matters a lot in:
- Retail display holders
- Cosmetic stands
- Sign holders
- Acrylic covers over printed materials
- Boxes where product presentation matters
If branding sits behind or inside the acrylic, visual distortion becomes more than a small flaw. It becomes a branding flaw.
Edge finishing and light interaction
This is one of my favorite parts of acrylic work, because it is subtle and powerful at the same time.
Acrylic edges tell a story.
A thin edge gives less depth. It can still look good, especially when polished well, but it does not create the same visual richness. A thicker edge catches more light. It produces more depth. It feels brighter. In some designs, that edge glow is part of the premium effect.
The finishing method matters too.
| Edge type | Visual effect | Best use |
|---|---|---|
| Raw cut edge | Functional, simple | Utility parts, hidden edges |
| Polished edge | Clean, bright | Retail and display products |
| Flame-polished edge | Glossy, high clarity | Premium visual presentation |
A polished 5 mm edge usually gives more visual satisfaction than a polished 2 mm edge. There is just more there. More depth. More light play. More visual confidence.
I always think this part gets overlooked because it is hard to explain on a quote sheet. But once you place two samples side by side under normal lighting, the difference becomes much easier to feel.
And after visual quality, the next question comes quickly. Good looks are nice. But can the product actually hold up?
How Does Thickness Influence Structural Strength and Durability?

This is where acrylic thickness stops being a design preference and starts becoming a performance issue.
Acrylic can look strong long before it behaves strong. That is one of the reasons people misjudge it. The surface is hard. The edges can be beautiful. The piece feels neat and finished. So it is easy to assume it will also hold up under stress.
That assumption can get expensive.
The first thing I pay attention to is not whether the part looks rigid on the table, but whether it stays stable after weeks of load, movement, and handling.
Load-bearing capacity and deflection
When acrylic takes weight, thickness matters fast.
A thin shelf or panel may look perfectly fine when empty. Add products. Add time. Add a bit of heat or repeated use. Then deflection starts to show. Not always as a dramatic bend. Sometimes as a small sag that slowly makes the whole product look tired.
I have seen this happen in display shelves more than once. The customer does not complain on day one. The problem shows up later, when the shelf line is no longer clean and straight.
Here is a simple way to think about it:
| Situation | Thin acrylic behavior | Thicker acrylic behavior |
|---|---|---|
| Wide flat panel | More likely to flex | More likely to stay flat |
| Shelf with product load | Sag risk increases | Better load support |
| Standing display wall | Can wobble or bow | Holds shape better |
| Repeated handling | Loses stiffness faster | Feels more stable |
This does not mean thick acrylic solves everything. Span, support points, joint design, and product weight all matter too. But thickness gives you a wider safety margin. And that margin matters.
Impact resistance and crack behavior
Acrylic is not famous for loving impact. It is hard, clear, and attractive. It is not forgiving in the same way some softer plastics are.
When acrylic is too thin for the job, cracks tend to happen faster and with less warning. Corners, holes, notches, and bonded areas become risk zones. A small hit during packing or installation can create a failure point that grows later.
Thicker acrylic does not become unbreakable. But it usually handles stress better because the force spreads through more material.
That difference matters most in these areas:
- Drilled holes
- Screw locations
- Corners
- Bonded seams
- Edges exposed during transport
A brittle failure often feels unfair because the product looked fine right before it failed. But materials do not care how good the sample looked.
Long-term fatigue and environmental stress
This part gets ignored too often because it is not dramatic enough.
Long-term fatigue is not one big event. It is many small ones.
A bit of vibration in transport.
A bit of pressure in stacking.
A bit of cleaning every week.
A bit of tightening during assembly.
A bit of expansion and contraction in changing temperatures.
Each one sounds manageable. Together, they can quietly damage a design that had too little thickness from the start.
I have learned to watch stress points very carefully. Around screws. Around joints. Around narrow corners. Around any place where design and real use collide.
Here is a practical checklist I like to think through:
| Stress area | What can go wrong |
|---|---|
| Screw holes | Stress cracking or whitening |
| Bonded joints | Weak seam under repeated handling |
| Long unsupported spans | Warping or sagging |
| Corners | Chips or crack starts |
| Transport-exposed edges | Small impact damage |
Acrylic does not always fail loudly. Sometimes it simply loses dignity first. It stops looking precise. It stops feeling stable. It starts telling the customer that corners were cut.
And if you want to understand that clearly, it helps to look at the most common real failure scenes. That is where theory becomes very easy to believe.
What Are the Most Common Failure Scenarios Caused by Wrong Thickness?
I think buyers learn this topic fastest when they stop looking at acrylic as a sheet and start looking at it as a journey.
The product gets cut.
Then polished.
Then bonded.
Then packed.
Then shipped.
Then unpacked.
Then installed.
Then used.
Failure can enter at any point.
That is why a part that looked “good enough” in production can become a problem later. The wrong thickness usually does not fail in theory. It fails in a scene.
When a thickness choice gives me a bad feeling, it is usually because I can already picture where the product will suffer first.
Shipping and packaging damage
Shipping is where many weak decisions get exposed.
Inside a carton, acrylic deals with vibration, pressure, movement, and accidental knocks. Corners take hits. Edges rub. Stacks press down. If the acrylic is too thin, small damage becomes much easier.
Common shipping failures include:
- Corner cracks
- Edge chipping
- Fine surface scuffs
- Stress whitening near bonded areas
- Warping from pressure during stacking
I have seen cartons arrive looking acceptable from the outside while the acrylic inside already lost part of its value. Not smashed. Just damaged enough to feel disappointing.
| Shipping factor | Common result with insufficient thickness |
|---|---|
| Vibration | Tiny cracks grow over time |
| Stack pressure | Panel distortion or stress marks |
| Corner impact | Chips or visible crack lines |
| Loose internal movement | Surface wear and edge damage |
Assembly and installation issues
Some acrylic products survive shipping, then fail during assembly.
This happens a lot around screws, fittings, and alignment points. Thin acrylic gives less room for error. A little extra tightening can create stress. A small mismatch in hole position can force the panel into place. Once that happens, the material remembers the pressure.
And acrylic has a long memory.
It may not crack right there in front of you. It may crack later. That is what makes it frustrating.
A few common assembly problems are:
- Cracks from over-tightened screws
- Stress whitening around fasteners
- Panel flex that causes poor fit
- Joint tension that shows up after installation
I do not trust a thickness choice if the assembly process needs everyone to be unusually gentle to avoid damage.
Retail and daily usage failures
This is the quiet stage. The product is already in service. Nobody wants problems now. But this is where slow weakness shows up.
A shelf starts to dip.
A stand starts to wobble.
A cover picks up wear too quickly.
A box loses its crisp shape after repeated use.
These failures are not always catastrophic. But they are still failures. A product can stay physically intact and still lose the premium feeling it was supposed to deliver.
Here is a simple view:
| Daily use issue | What the customer notices |
|---|---|
| Shelf sagging | “This looks weak” |
| Surface wear | “This looks old too quickly” |
| Panel flex | “This does not feel solid” |
| Joint stress marks | “This does not look premium anymore” |
That is the painful part. The customer may never mention “wrong thickness.” They will just decide that the product feels lower quality.
And once I started tracing those failures back to thickness decisions, I found that application-specific choices became much easier to discuss. Because not every acrylic product needs the same answer.
How to Choose the Right Acrylic Thickness for Different Applications?

This is where the conversation becomes practical.
I do not believe in one perfect thickness for everything. That would be lazy advice. Acrylic thickness should match the job, the size, the load, the visual goal, and the shipping reality. A small countertop sign holder and a large retail shelf should not be judged by the same rule.
The mistake is not choosing 2 mm or 3 mm or 5 mm. The mistake is choosing without context.
If I see a buyer asking for one “best thickness” without telling me the size, load, and use scene, I already know the decision is standing on shaky ground.
Display stands and retail fixtures
Display products need to do two jobs at once. They must look good, and they must hold shape.
That is why many retail fixtures live in the 3 mm to 5 mm range, and sometimes higher depending on size and load. Small displays can work well at 3 mm. Bigger structures, wider spans, or more premium visual goals often push the decision toward 5 mm or beyond.
| Application | Common thickness range | Why |
|---|---|---|
| Small countertop display | 3 mm | Good balance of cost and appearance |
| Medium retail stand | 4 mm–5 mm | Better rigidity and premium feel |
| Heavier product display | 5 mm+ | More support and lower sag risk |
The visual side matters here too. A display that feels too thin can make the product on it feel cheaper. That is not a small issue in retail.
Acrylic boxes and covers
Boxes and covers are interesting because size changes everything.
A small acrylic box for light display use may work well in 3 mm. A larger cover, especially one with tall walls or bigger panels, often benefits from 5 mm or more. The more surface area you add, the more visible flex becomes.
This is where I usually slow down and ask whether the buyer is paying for a clean quote now or for fewer complaints after delivery.
Acrylic boxes also have bonded joints. That means thickness is tied to both structure and joint reliability. Thin walls can still work, but they leave less margin for stress at the corners.
Structural or load-bearing applications
Once acrylic starts acting like structure instead of decoration, thickness deserves much more caution.
Shelves, supports, racks, and furniture-related parts are not light-duty decisions. These are the places where I start asking whether a thicker sheet alone is enough, or whether the design also needs reinforcement, ribbing, or shorter spans.
Sometimes increasing thickness is the right answer.
Sometimes changing the design is smarter.
Sometimes both are needed.
| Structural situation | Better approach |
|---|---|
| Long flat shelf | Increase thickness and reduce span |
| Tall unsupported panel | Add support or use thicker sheet |
| Heavy product load | Move to thicker acrylic or redesign |
| Premium furniture part | Combine thicker sheet with better edge finish |
That is the key point. Thickness is powerful, but it is not magic. Good structure comes from thickness plus design.
And once people see thickness as part of total project logic, not just material choice, the cost conversation starts to change in a healthier way.
How Does Thickness Impact Total Project Cost (Not Just Material Price)?

This is one of my favorite parts of the discussion because it clears away a lot of false savings.
A thinner sheet may reduce material cost. That part is true. But buyers do not sell sheets. They sell finished products, delivered products, accepted products. Once you look at the full path from factory to customer, the cheapest thickness can become the most expensive one.
I have changed my mind on thickness more than once after thinking through the cost of one replacement shipment. That single number can destroy the savings from a thinner sheet very quickly.
Material savings vs failure cost
Material cost is visible. Failure cost hides until it arrives.
That is why teams sometimes feel clever when they reduce thickness on paper. The quote improves. The unit price drops. Everyone feels efficient. Then the real bill comes later through replacements, returns, complaints, or damaged reputation.
Here is the trade-off in plain form:
| Cost area | Thinner acrylic may save | Thinner acrylic may also cause |
|---|---|---|
| Material | Lower upfront cost | Higher failure risk |
| Shipping weight | Slight savings | More damage risk |
| Product price target | Easier to hit | Poorer customer feel |
| Short-term approval | Faster decision | Long-term after-sales cost |
A buyer should never ask only, “How much do I save per piece?”
The better question is, “What does one bad thickness choice cost across the whole batch?”
Processing and manufacturing considerations
Thickness also changes how acrylic behaves during production.
Different thicknesses can affect:
- Cutting stability
- Polishing quality
- Bonding area
- Part rejection rate
- Scrap value when mistakes happen
A thicker sheet may cost more, yes. But it can also support a more stable finished product. On the other hand, very thick acrylic may add processing difficulty if the design was not planned well. So this is not about “thicker is always better.” It is about using the right thickness in a way that supports production quality too.
I have found that bad thickness choices create factory trouble in quiet ways. Small cracks during handling. Extra care needed during assembly. Higher scrap on delicate parts. Those costs do not always stand out on a simple material sheet.
Logistics and packaging cost trade-offs
This part is more balanced than some people think.
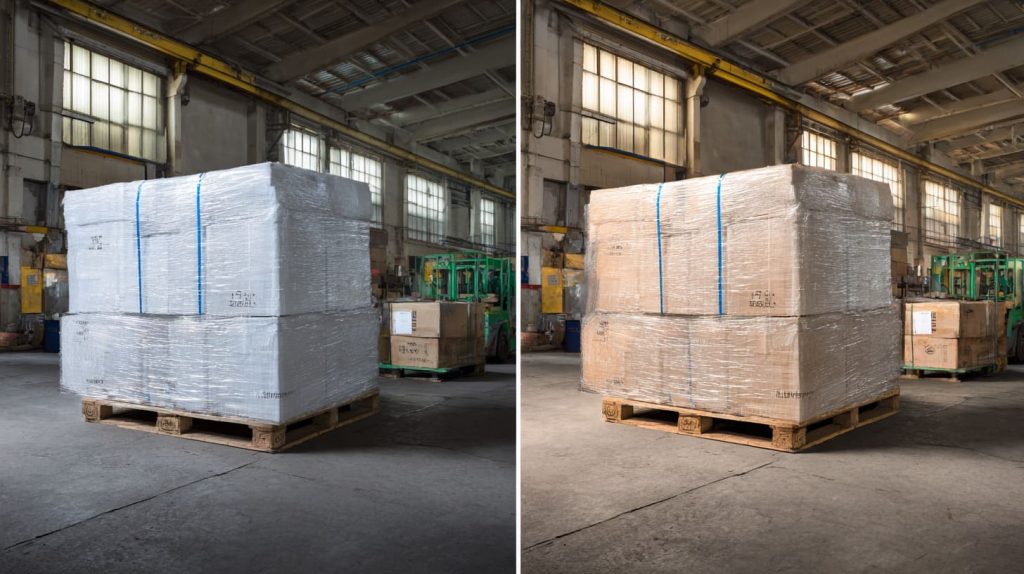
Yes, thicker acrylic adds weight. That can raise freight cost. But thicker acrylic can also reduce damage risk, which may lower total logistics pain. Sometimes the better move is not only increasing thickness. Sometimes it is improving packaging. Sometimes it is doing both.
| Option | Benefit | Risk |
|---|---|---|
| Keep thin acrylic | Lower material and weight cost | More fragile during shipping |
| Increase thickness | Better survival and feel | Higher material and freight cost |
| Improve packaging only | Better transport protection | Product may still feel weak in use |
| Increase thickness + optimize packaging | Balanced protection and quality | Higher upfront planning effort |
I usually dislike decisions that save a little in freight but quietly increase the chance of disappointing the customer when the carton gets opened.
And this is where direct thickness comparisons become useful, because buyers often need a practical way to compare 2 mm, 3 mm, 5 mm, and 8 mm without getting lost in theory.
What Thickness Options Should Buyers Compare (2mm vs 3mm vs 5mm vs 8mm)?
I like comparison tables because they force the conversation to become honest.
Not perfect. Not complete. But honest.
When buyers compare thicknesses side by side, they can usually see that the decision is not only about cost. It is about where the product sits on the line between “good enough” and “ready for real life.”
One small detail often changes my decision faster than anything else: if the buyer wants the product to feel premium the first time it is touched, I almost never stay relaxed with very thin acrylic.
Quick comparison table
| Thickness | Visual Quality | Strength | Risk Level | Typical Use |
|---|---|---|---|---|
| 2mm | Low | Low | High | Light covers |
| 3mm | Medium | Medium | Moderate | Small displays |
| 5mm | High | High | Low | Retail displays |
| 8mm+ | Premium | Very High | Very Low | Structural / luxury |
That table is simple, but it helps.
I would also add this practical version:
| Thickness | What I think of it in real work |
|---|---|
| 2 mm | Use carefully. Best for light-duty, low-stress parts |
| 3 mm | Good starting point for many standard display items |
| 5 mm | Strong all-around choice for quality retail products |
| 8 mm+ | Best when presence, strength, or luxury feel matters |
When thinner is acceptable
Thinner acrylic is not a mistake by default. It can be the right choice when the application is light, short-term, small, or strongly cost-sensitive.
For example:
- Light protective covers
- Small holders with little load
- Temporary promotional fixtures
- Projects where premium feel is not the main goal
But even then, I still check the span, edge exposure, and shipping route. Thin acrylic is only acceptable when the full use case is also light.
When thicker is non-negotiable
Some projects do not leave much room for compromise.
I become much more cautious when the product is:
- Exported over long shipping routes
- Used in retail where appearance matters
- Large in size
- Expected to carry weight
- Meant to feel premium in the hand
- Used in higher-end display settings
That is when 5 mm or 8 mm starts making much more sense.
A buyer may resist that at first because the quote changes. Then the sample gets touched, or the load gets tested, or the packaging risk gets discussed, and the logic becomes harder to argue with.
And that brings me to something I respect a lot: how experienced buyers actually think through this issue beyond the price column.
How Do Experienced Buyers Evaluate Thickness Beyond Price?
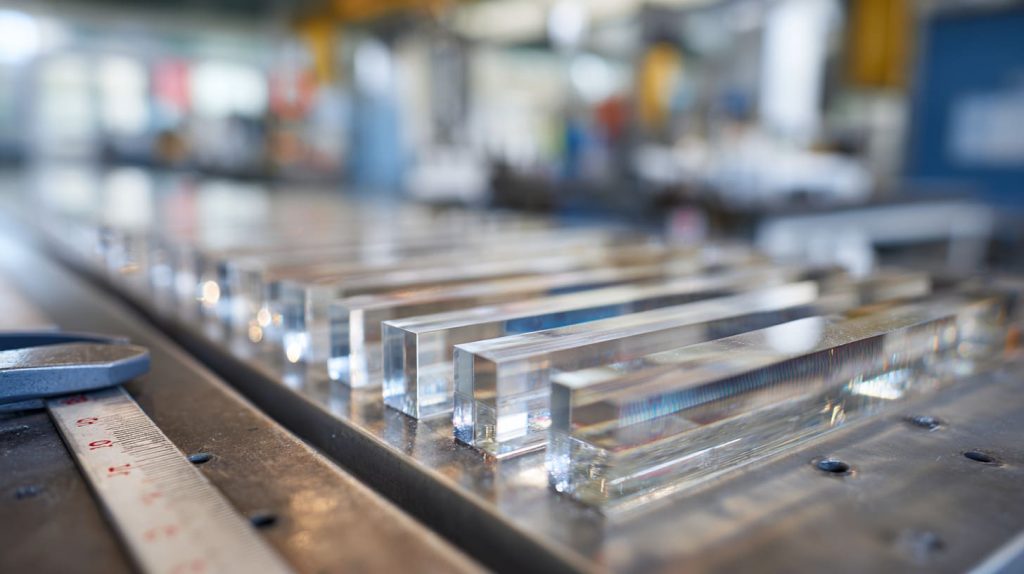
Good buyers do not just buy acrylic. They buy fewer surprises.
That is the mindset difference I notice again and again. Less experienced teams may compare prices first and ask questions later. Experienced buyers usually do the opposite. They try to understand the risk first.
I have always trusted the buyer who starts asking about span, load, packing method, and use environment before asking for the cheapest option.
Questions professional buyers ask
Experienced buyers usually ask practical questions like these:
- How much load will the part carry?
- How wide is the unsupported area?
- How will the goods be packed?
- How far will they travel?
- How often will the product be handled?
- What kind of feeling does the end customer expect?
These questions matter because acrylic thickness never lives alone. It lives inside a system.
| Question | Why it matters |
|---|---|
| What is the load? | Helps avoid sagging or breakage |
| What is the span? | Helps judge flex risk |
| What is the shipping condition? | Helps predict transport damage |
| What is the expected lifespan? | Helps balance cost and durability |
| What visual feel is required? | Helps match thickness to brand perception |
Sample testing strategies
This is the part I wish more teams would take seriously.
A sample should not only be approved by looking at it. It should be challenged a little.
That does not need to be fancy. Even simple tests can reveal a lot:
- Light load tests
- Hand-pressure checks on wide panels
- Screw assembly trials
- Packing simulation
- Short drop tests when relevant
- Repeated handling checks
I get nervous when a sample passes because it looked nice under office lighting and nobody asked what happens after shipping.
Real approval should feel a bit harder than that.
Working with manufacturers for optimization
This is where collaboration helps a lot.
Sometimes the answer is not just moving from 3 mm to 5 mm. Sometimes the manufacturer can adjust the design, improve support points, reduce span, change edge treatment, or improve packaging. Good thickness decisions often come from design and factory thinking working together.
I like conversations that sound like this:
- Can we keep 3 mm here but reinforce the structure?
- Should this panel move to 5 mm because of the span?
- Can better packaging lower the shipping risk?
- Is the premium visual effect worth the thicker edge?
That is a much better conversation than just asking for the lowest quote.
And after all that, the final lesson becomes pretty simple. Thickness is not a small technical note. It is one of the clearest places where product quality, cost logic, and customer experience meet each other.
Conclusion

Acrylic thickness is easy to underestimate because it looks simple on paper. Just a number. Just a sheet. Just a cost difference.
In real work, it is much more than that.
It shapes visual quality. It affects how the product feels in the hand. It influences crack risk, bending risk, shipping survival, assembly safety, and long-term product confidence. It also changes the story your product tells when the customer first sees it and first touches it.
I do not see thickness as a material choice anymore. I see it as a product decision.
The cheapest option can work in the right situation. I do not deny that. But I have seen too many cases where a small saving at the quote stage turned into a bigger loss later through damage, weak visual feel, or avoidable complaints.
If I had to give one simple piece of advice, it would be this: choose acrylic thickness based on how the product will live, not only how the quote will look.
If you are working on a custom acrylic project and you want to judge the right thickness for visual quality, structural safety, and shipping reality, you can use this article as a starting point. And if you want to talk through a real design with real dimensions and use conditions, you can reach out through flacrylic.com. I always think these decisions get better when they are discussed before the product goes into production, not after the problems begin.




