 Skip to content

The air smelled faintly of sawdust and machine oil as I set a sheet of plexiglass on my workbench. A friend had asked me to help with his race car—his rear window had cracked, and he wanted a lightweight replacement. Nothing fancy, just something strong, clear, and clean enough to look professional on the track.
That small request turned into one of the most unexpectedly delicate jobs I’ve done. Plexiglass looks sturdy, but it’s sensitive—too much pressure and it snaps, too much heat and it melts. And when you’re trying to shape it for a vehicle window, every millimeter matters.
Over time, I learned that cutting plexiglass isn’t about brute strength—it’s about control, rhythm, and patience. In this guide, I’ll walk through everything I’ve picked up along the way, from preparing your workspace to the final polish that makes the surface shine like real glass.
1. Understanding Plexiglass (Acrylic) & Alternatives for Vehicle Windows
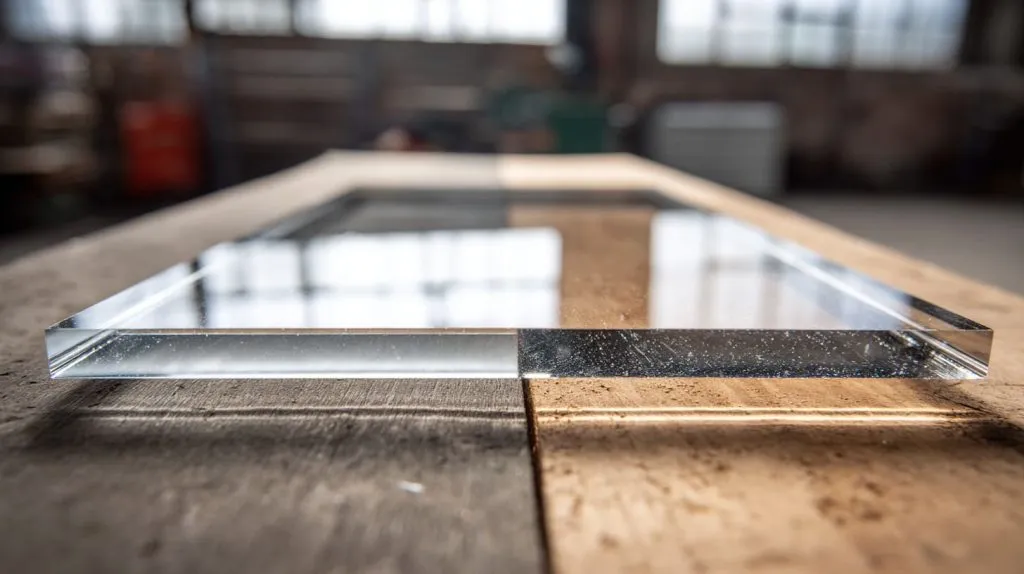
When it comes to replacing vehicle windows, most people start with the same question I did: Should I use plexiglass or something else?
1.1 Material options: Plexiglass (cast acrylic) vs Polycarbonate (Lexan)
Plexiglass and polycarbonate are like cousins—related, but not the same.
| Property | Plexiglass (Acrylic) | Polycarbonate (Lexan) |
|---|---|---|
| Clarity | Excellent, crystal clear | Slightly tinted, good |
| Impact resistance | 10x stronger than glass | 250x stronger than glass |
| Scratch resistance | Better | Weaker |
| Heat resistance | Moderate | Higher |
| Price | Lower | Higher |
I often choose plexiglass for cosmetic builds—it’s clearer and easier to polish. But if impact resistance is your priority, say for off‑road racing or track use, polycarbonate (Lexan) is the safer bet.
1.2 Limitations & legal/regulatory concerns
Here’s where many people get caught off guard. Plexiglass is not automotive safety glass. It can crack, scratch, or even shatter under pressure. In some regions, it’s not legal for road‑use front windows. Motorsport leagues, like ChampCar, require specific thicknesses (often 4 mm–6 mm) and even expansion holes to manage stress from heat.
That said, plexiglass works beautifully for temporary setups, prototypes, or race builds, as long as you understand its limits—especially heat and UV exposure that can cause warping over time.
1.3 Best practices before cutting
Acrylic behaves differently than wood or metal. It’s sensitive. So before you even touch a saw:
- Keep the protective film on—it prevents scratches.
- Work in a cool, stable environment.
- Support the sheet fully to stop vibrations.
Even a small wobble during cutting can cause a hairline crack that ruins the whole piece.
And once you start to see that clean, glossy edge forming—it’s addictive. But first, you need a good plan.
2. Planning & Layout: How to Prepare the Cut

Before the blade touches plastic, most of the work happens on paper—or at least with masking tape and a marker.
2.1 Measuring & templating
If you have the original glass, trace it. If not, create a mock‑up with cardboard. Add small offsets for mounting holes or thermal expansion (about 1–2 mm). When I built my first custom window, I forgot that acrylic expands slightly in heat—it bowed outward by summer.
2.2 Marking & guide lines
Use painter’s tape or layout tape to mark your cuts. Draw centerlines and control points. For curved windows, use flexible rulers or even string to keep symmetry. Small relief cuts can also help prevent binding in tight corners.
Once you finish drawing your guide lines, it feels like looking at a map before a road trip—the route’s ready, and you’re itching to go.
3. Tools & Equipment for Cutting Plexiglass
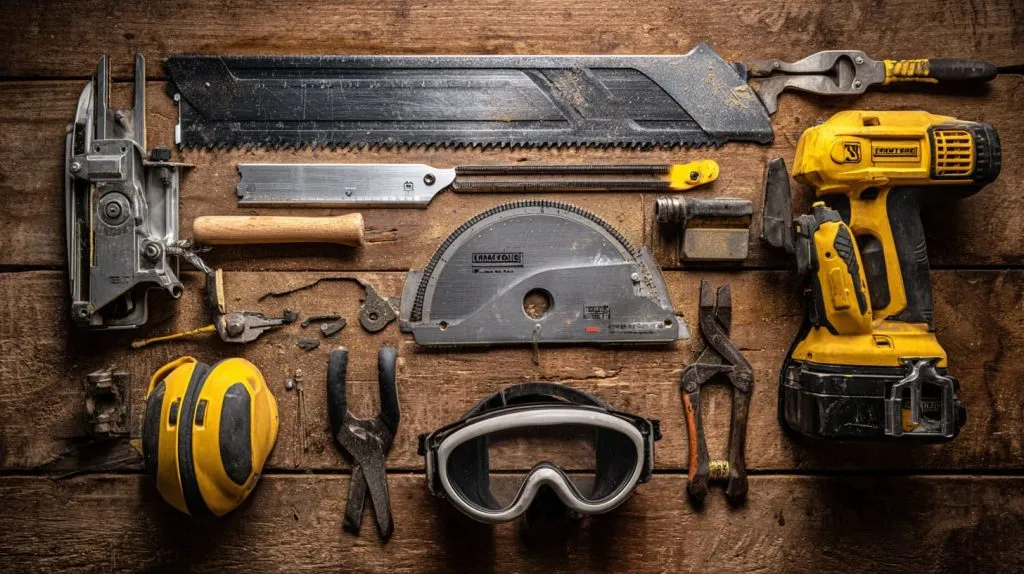
Tools can make or break this job—literally.
3.1 Hand / manual tools (for thin sheets)
For sheets under 6 mm, scoring and snapping is the simplest method. Use a scoring blade or utility knife and run it along a straightedge several times. Clamp it, snap it cleanly, and you’ll get a surprisingly crisp break.
Still, it’s easy to underestimate how brittle acrylic can be—one uneven score, and you’ll see a spider crack spread across your hard work.
3.2 Power tools for straight & curved cuts
Thicker sheets need more power and control.
| Tool | Best Use | Blade Type |
|---|---|---|
| Table saw | Straight long cuts | Fine‑tooth, triple‑chip blade |
| Circular saw | Portable straight cuts | Fine‑tooth acrylic blade |
| Jigsaw | Curved cuts | Fine‑tooth, slow feed |
| Band saw | Complex or thick curves | Carbide or skip‑tooth blade |
The golden rule? Slow and steady. Let the blade do the work. Push too fast and the acrylic melts; too slow and it grabs.
3.3 CNC routers & laser cutters
For precise, repeated cuts or commercial jobs, CNC routers and laser cutters shine. CNC routers give smooth, consistent edges, while lasers cut with almost surgical precision. But lasers can slightly discolor the edge if the speed or power isn’t dialed in perfectly.
3.4 Auxiliary tools & safety gear
You’ll need:
- Clamps or vacuum bases for stability
- Dust extraction to clear chips
- Gloves, safety glasses, ear protection
- Cooling sprays to prevent melting
Trust me, molten acrylic smells terrible—and it sticks.
4. Cutting Techniques & Best Practices
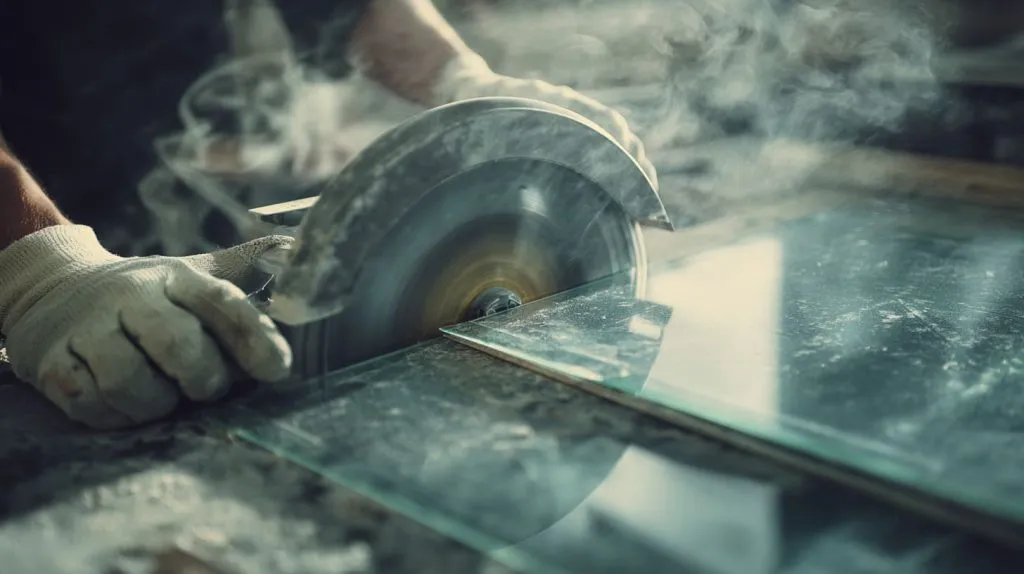
This is where you start to feel the rhythm of the material.
4.1 Straight cuts
Always clamp the workpiece. Feed it at a consistent rate, steady hands, no rush. Choose fine‑tooth blades—preferably with a negative rake angle. Too aggressive, and you’ll chip the edges.
4.2 Curves, arcs, and compound shapes
Curves look elegant but need patience. Relief cuts prevent the blade from binding. Use gradual arcs rather than sharp corners. When cutting curves for a rear‑window project once, I made multiple shallow passes—it took longer, but the result was flawless.
4.3 Handling thickness transitions & cutouts
Drilling into acrylic can be tricky. Always start with a small pilot hole and work up in size. Use brad‑point or carbide bits. Avoid pressing too hard; let the drill glide through.
4.4 Preventing heat damage & melting
Heat is your invisible enemy. Use compressed air or cooling sprays. Keep your feed steady, and don’t let the blade linger.
4.5 Scoring + snapping (for thin sheets)
Perfect for quick jobs. Just remember—score both sides for clean edges, clamp firmly, and snap in one confident motion. Hesitate, and it’ll crack.
Cutting acrylic is like learning to play guitar. The first few times are rough, but once you find the rhythm—it just flows.
5. Post‑Cut Treatment: Finishing & Polishing Edges
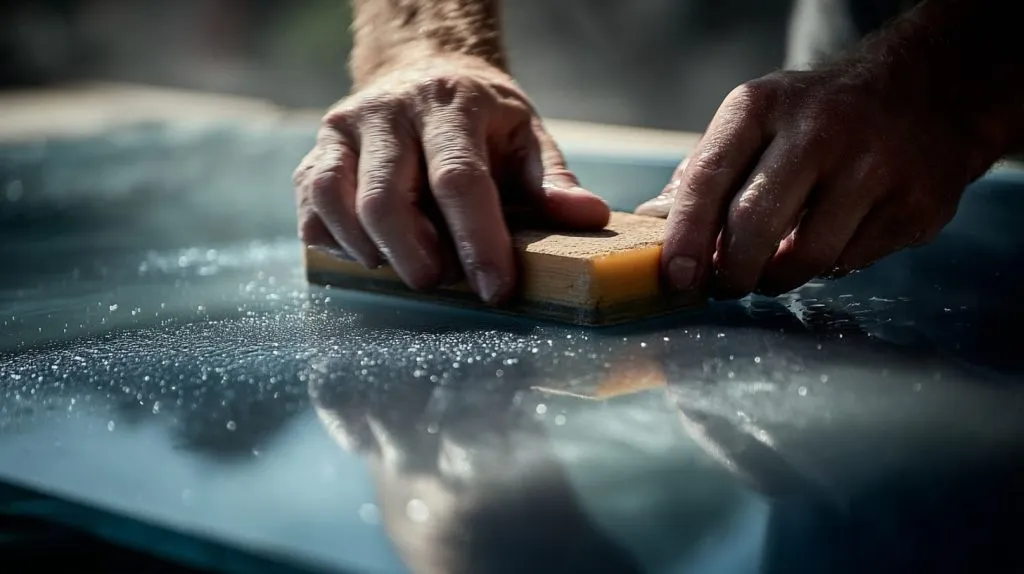
A cut edge is only half the story. The magic lies in the finish.
5.1 Deburring & smoothing
Start with a file or scraper to remove burrs. Then wet sand with fine grit—start around 400 and go up to 1500 for that glassy look. Use water to keep dust down.
5.2 Polishing or flame polishing
For perfectionists like me, this step is addictive. A buffing wheel with polishing compound makes edges shine like crystal. Flame polishing, on the other hand, is fast but risky—too much heat, and you’ll see bubbles or warps.
5.3 Edge protection & sealing
To protect against UV and impact, apply rubber trim or sealant. Some even use silicone gaskets for waterproofing. I like rounding or chamfering edges slightly—it reduces stress points and looks elegant.
Every polished edge feels like a small victory. But fitting it into the car is where the real test begins.
6. Fitting & Installing the Cut Plexiglass Window

This is the moment you hold your work up to the light and hope it fits.
6.1 Trial fit & adjustment
Place it gently, check the fit, and mark any tight spots. It’s easier to trim a millimeter now than to redo the entire piece later.
6.2 Mounting strategies
Several methods work:
- Bolts or screws with oversized holes
- Rivets with washers
- Silicone or rubber gaskets
The key is to let the plexiglass move slightly—it expands with heat. Don’t trap it too tightly.
6.3 Thermal expansion & tolerance considerations
Leave a little clearance, especially along the edges. Acrylic expands about 0.2 mm per 10 cm with temperature changes. That’s enough to crack it in summer if you don’t plan ahead.
6.4 Vibration & support
Rubber mounts absorb vibration. Backing plates prevent stress from fasteners. It’s not about locking the panel down—it’s about letting it breathe.
6.5 Final trimming & touch‑up
Once mounted, trim the edges flush. Remove the protective film and clean it with mild soap (never alcohol—it can cause crazing). Then stand back and admire that glossy finish.
7. Common Pitfalls, Troubleshooting & Tips
Experience is the best teacher, but here are a few shortcuts to avoid frustration.
7.1 Cracking, chipping, or breakout
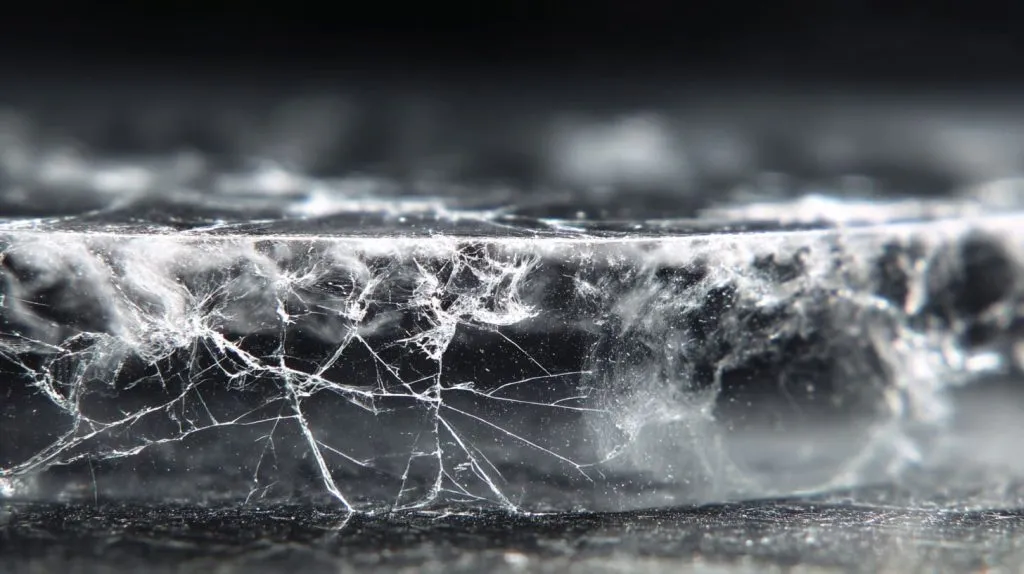
Usually caused by rushing or using the wrong blade. Slow down, add support, and make relief cuts where needed.
7.2 Warpage or thermal distortion
Heat is sneaky. If your panel bows after cutting, it likely overheated. Cool it with air, or take multiple shallow passes.
7.3 Edge haze or frosting
Aggressive sanding causes micro‑scratches. Use finer grit and finish with polish or a quick flame pass.
7.4 Fitment issues & leaks
Misalignment happens. Adjust with shims or re‑drill gently. Never over‑tighten screws—it’s tempting, but it causes stress cracks.
7.5 Safety & handling mistakes
Always wear eye protection. Cut on stable surfaces. One slip, and you’re looking at a crack—or worse, a ruined sheet.
The truth? Plexiglass teaches patience. You can’t rush it. You have to listen to it—the vibration, the smell, even the sound.
Conclusion
Cutting plexiglass for vehicle windows isn’t just a DIY project—it’s craftsmanship. You learn to measure twice, cut once, and polish like you mean it. The biggest lessons? Use the right tools, plan your cuts, and let the material guide you.
If precision isn’t your thing, CNC or laser shops can save hours. But if you enjoy the process—hearing the blade hum and watching edges turn glassy—there’s real satisfaction in doing it yourself.
In the end, it’s not just about the window. It’s about seeing your reflection in something you shaped with your own hands.




