Skip to content
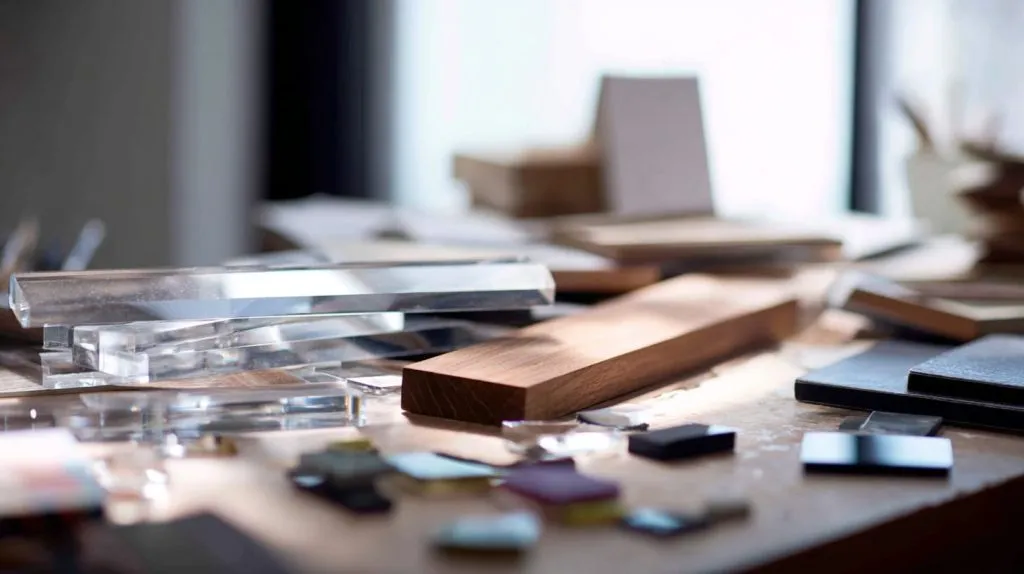
On my desk right now, I have a small pile of offcuts: a clear acrylic panel, a strip of walnut, and a sample from a cosmetic display we made last month. All three came from the same kind of question buyers keep asking me: “How do I glue acrylic to wood so it does not fail?”
It sounds simple. One panel. One base. Some glue. Done.
But when the project moves from drawing to real parts, the story changes. The acrylic cracks near the edge. The wood warps a bit. The glue line turns cloudy. Or the bond feels strong at first, then becomes weak after a few months in a store with air conditioning on all day and heaters at night.
In my work with custom acrylic displays and boxes for export projects, I see acrylic-to-wood combinations very often:
- Retail sign backers and logo panels
- Cosmetic display bases with acrylic risers
- Menu boards and tabletop displays in cafés
- Furniture details: shelves, doors, and light panels
These mixed-material designs look beautiful when they are done well. They also cause a lot of trouble when the bond is not planned from the beginning.
Some typical problems I see:
- The acrylic pops off when someone lifts the display by the top
- Cracks or stress marks appear near screw holes or glued edges
- The glue line turns white or foggy over time
- Wood movement pulls against the acrylic and creates gaps
From my side as a factory, the hardest part is not finding “a strong glue.” The hard part is matching the glue to the material pair, the environment, and the way people will actually use the item.
A practical thought I keep in mind is this: the right adhesive can forgive small design mistakes, but the wrong adhesive will punish even a perfect drawing.
Once we understand why acrylic and wood fight each other, it becomes much easier to choose glue, plan the process, and avoid expensive rework. That is what I want to walk through with you step by step.
When designers and buyers see what is really happening between these two materials, they usually change the way they brief the factory. That change is where failures start to disappear.
What makes acrylic and wood difficult to bond?
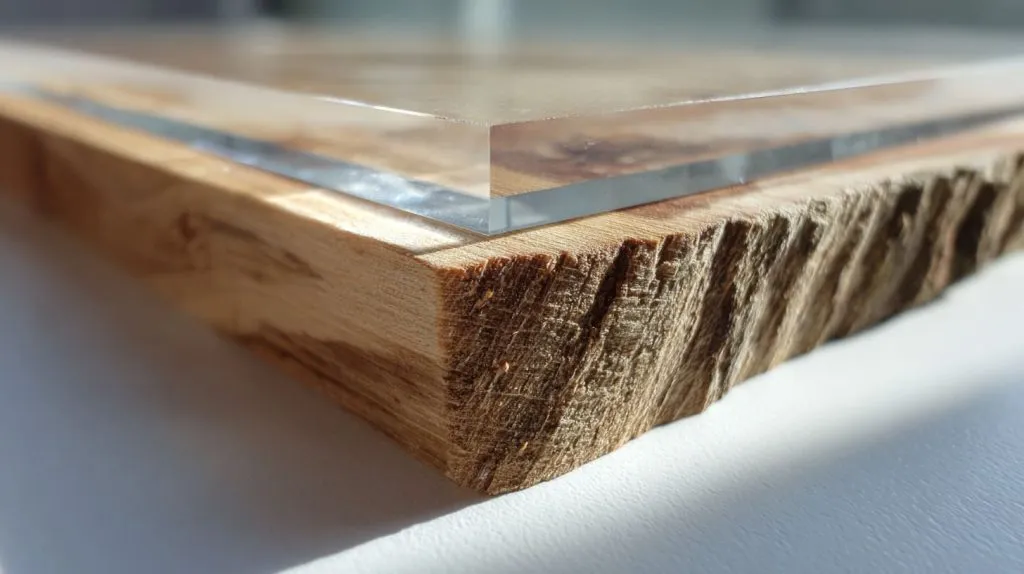
When someone brings me a mixed acrylic-and-wood sample and asks, “Can you glue this for us?”, I do not look at the glue first. I look at how different these two materials behave.
Material behavior differences
Acrylic is quite rigid. Wood is flexible and “alive”.
- Acrylic holds its shape but hates point stress.
- Wood moves with humidity and sometimes twists or bows.
So when the environment changes, the two materials try to move in different ways. The glue sits in the middle and has to absorb that fight.
Acrylic rigidity vs. wood flexibility
Acrylic likes even support. If only part of the sheet touches the wood, the glued area takes all the stress. That is when I see:
- Cracking around glue spots
- Localized stress marks
- Corners that chip when someone bumps the display
Wood, especially solid wood, may cup or twist a little after machining. If we glue a flat acrylic panel onto a slightly warped board, the stress is already inside the bond from day one.
Thermal expansion mismatch
Acrylic expands more than wood when temperature rises. In a store with big glass windows, the sun can hit a display for a few hours and then fade. This cycle repeats every day.
If the bond is very stiff, the difference in movement will collect at the edges or corners. That is where I often see micro-cracks first, especially around laser-cut corners.
A small comparison helps explain this:
| Property | Acrylic sheet | Wood (typical hardwood) |
|---|---|---|
| Movement with temperature | High | Medium / low |
| Movement with humidity | Low | High |
| Behavior under point load | Cracks or chips | Dents or compresses |
Surface characteristics
The surface of acrylic and wood also work very differently with adhesives.
Non-porous acrylic vs. porous wood
Acrylic has a smooth, non-porous surface. Many glues sit on top without “biting” into it unless we prepare it well.
Wood is porous. It likes to drink glue, especially if the surface is not sealed. This difference can cause:
- Glue starvation on the wood side
- Weak bonds because most adhesive sinks into the wood
- Visible bond lines where glue did not wet the acrylic properly
How surface energy affects adhesion
In simple terms, acrylic can be harder to wet. If the glue beads up or shrinks, the bond will be weak.
I often see problems when:
- There is dust from sanding still on the wood
- There is oil or release agent on the acrylic
- Someone touched the bonding area with bare hands
A small oil fingerprint can reduce the bond much more than people expect.
Environmental factors
We can make a perfect sample in the workshop and still fail in the field if we ignore the environment.
Humidity changes in wood
Wood responds to humidity. Indoor heating and cooling cycles change moisture content. Over time, wood can:
- Swell
- Shrink
- Warp slightly
If the design has a large acrylic plate glued over a big wood panel, the wood wants to grow and shrink under a “stiff lid”. The stress goes directly into the adhesive layer and the acrylic sheet.
Temperature and long-term stress
Temperature does not only change expansion. It also changes adhesive performance. Some glues become slightly brittle in cold conditions. Others soften in heat.
In real projects, I worry most when the display sits:
- Near windows with direct sunlight
- Close to heaters, or in HVAC air streams
- In unconditioned storerooms or warehouses
The moment I hear “window display” and “solid wood base” in the same sentence, I already know I must allow the adhesive to move, not just hold.
When you see how many things push and pull this bond, the choice of glue stops being a small detail and becomes a design decision.
Which adhesives work best for acrylic to wood?
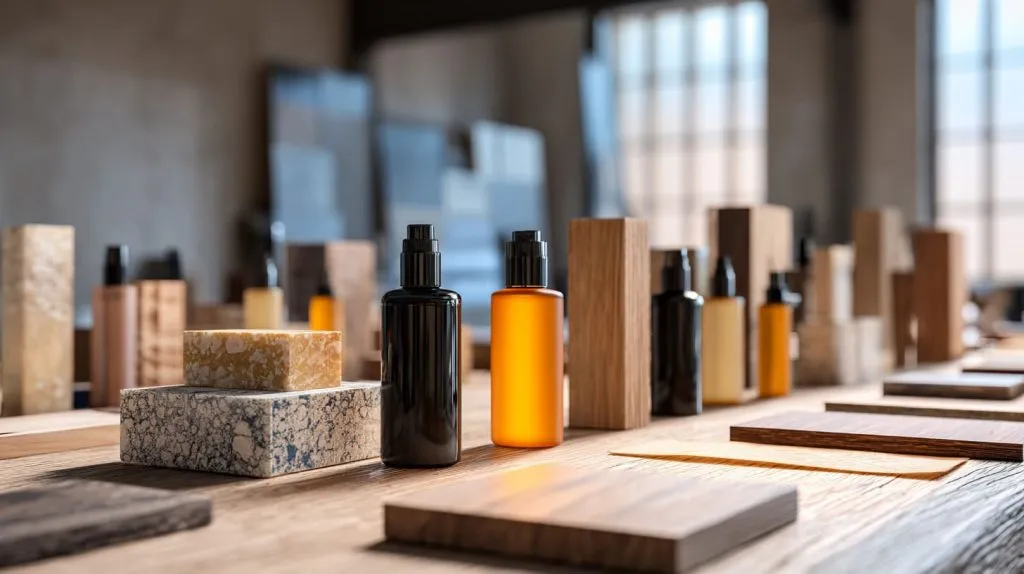
When buyers ask me for “the strongest glue,” I usually smile a bit. Strong is not always safe. For acrylic to wood, I think about strength, flexibility, clarity, speed, and field conditions together.
Here is a quick overview I often sketch for customers:
| Adhesive type | Flexibility | Clarity on acrylic | Typical use case |
|---|---|---|---|
| Solvent acrylic cement | Low | Very clear | Acrylic-to-acrylic, not wood |
| Two-part epoxy | Medium-low | Slightly amber/clear | Structural joints, hidden areas |
| Acrylic structural adhesive | Medium | Clear / translucent | Strong permanent bonds |
| Silicone | High | Clear, visible bead | Vibration, thermal movement |
| Polyurethane | Medium-high | Usually opaque | Wood-heavy structures, outdoor use |
Solvent-based acrylic cements
Solvent cements work beautifully for acrylic to acrylic. They melt the surface slightly and create a fused joint.
But with wood, they have big limits:
- Wood does not melt or fuse. It just absorbs solvent.
- The joint line often looks uneven on the wood side.
- Over time, any stress from wood movement goes straight into a brittle acrylic edge.
I only accept solvent cement in a mixed acrylic-wood project when:
- The acrylic pieces are bonded together first
- Then the fused acrylic assembly is mechanically fixed to the wood (screws, brackets, etc.)
For direct acrylic-to-wood bonding, solvent cement is usually the wrong tool.
Two-part epoxies
Two-part epoxies are popular because they feel “serious”. You mix, you apply, it becomes a hard solid.
Pros:
- Very good bond strength
- Fills small gaps between uneven surfaces
- Works on many substrates, including wood and acrylic
Cons:
- Some formulas are quite rigid
- Many turn slightly yellow over time
- Working time and cure time must be respected
In B2B projects, I prefer epoxies when:
- Bond lines are mostly hidden
- The part will not see large temperature swings
- We need strong support in a local area, like a bracket or small pad
Acrylic structural adhesives
These are more specialized products made for demanding plastic bonds.
They can offer:
- Strong adhesion to acrylic
- Some flexibility to handle movement
- Good clarity or at least neat, clean lines
They are often used in:
- POS displays with high loads
- Furniture components where acrylic takes weight
- Larger assemblies where rework is not easy
Because they are industrial products, they require controlled process:
- Precise mix ratio (for two-part versions)
- Clean surfaces
- Good clamping and fixture design
Silicone adhesives
Silicone is like a shock absorber in adhesive form.
Advantages:
- High flexibility
- Good handling of thermal and humidity movement
- Transparent versions look acceptable on many projects
Trade-offs:
- Bond is “strong enough,” but not usually structural
- The bead can be visible, which some designers do not like
- Surface must be very clean, or adhesion will suffer
I like silicone for:
- Adhesive “pads” under acrylic panels
- Situations with vibration or impact
- Designs near windows with daily temperature cycles
Polyurethane adhesives
Polyurethane glues sit in the middle: stronger than silicone, more flexible than many epoxies.
Useful traits:
- Good adhesion to wood, MDF, and some plastics
- Better tolerance of moisture and outdoor conditions
- Some ability to handle movement
Limitations:
- Often not visually “invisible”
- Can foam or expand if moisture is present
- Needs controlled application to avoid squeeze-out mess
For outdoor signs or mixed-material structures where wood plays a large role, polyurethane is often a good candidate.
When I choose between these options, my mind first filters by environment and visibility, not by the datasheet strength value.
Once we understand the personality of each adhesive type, the next step is to match it with the real project demands.
How do I choose the right glue for my project?
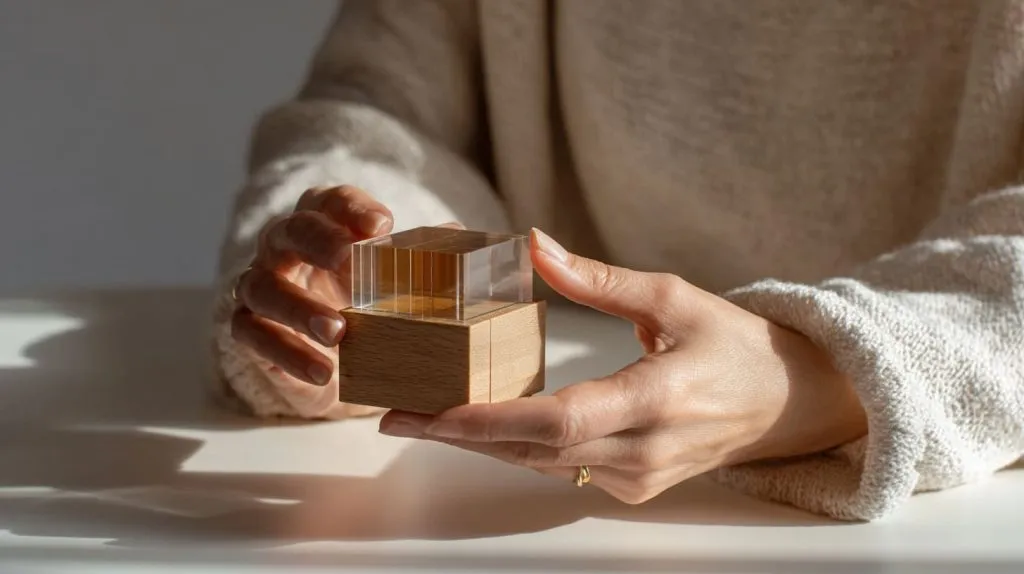
When a designer sends me a drawing, I do not answer “which glue” until I ask a few simple questions about load, look, quantity, and environment.
Load and stress requirements
The first question is very basic: what happens if the bond fails?
- If the acrylic piece is only a light logo plate that sits against a wood backer, failure means rework and maybe some embarrassment.
- If the acrylic shelf holds products or glass bottles, failure means real risk.
I usually divide projects into:
| Type of application | Example | Glue priority |
|---|---|---|
| Decorative | Logo plaque, number plate | Aesthetics and clarity |
| Semi-structural | Small risers, menu holders | Balanced strength and flexibility |
| Structural | Shelves, heavy product supports | Strength, safety, and movement |
For structural roles, I often combine adhesives with mechanical fastening.
Visual requirements
Some projects need an almost invisible bond. Others allow hidden glue lines.
Questions I ask:
- Will the customer look straight at the bond line?
- Is the acrylic clear, or is it frosted or colored?
- Can we hide the bond behind a groove, rebate, or cover strip?
If the bond must be “invisible”, I lean toward:
- Clear acrylic structural adhesives
- Very controlled bead size and masking
- Designs where the bond line does not catch the light directly
If we can hide the bond, we can use more forgiving but less pretty options like polyurethane or some epoxies.
Production scale considerations
Glue choice also changes with quantity.
- For prototypes or small batches, we can accept longer cure times and manual mixing.
- For mass production, we need repeatable application, fast fixture turnover, and easy quality checks.
I compare it like this:
| Scale | Glue choice bias |
|---|---|
| 1–20 pcs | Flexible, manual-friendly systems |
| 20–200 pcs | Medium cure times, simple jigs |
| 200+ pcs | Fast-curing, predictable, easy to inspect |
A glue that is “perfect” for ten pieces may be a nightmare for one thousand.
Indoor vs. outdoor use
Environment is not only “inside vs. outside”. It also includes:
- Strong indoor lighting
- Air conditioning outlets
- High humidity spaces like bathrooms or pool areas
For outdoor or harsh locations, I look at:
- UV stability (especially for clear acrylic)
- Moisture resistance, especially at wood edges
- Operating temperature range
In many outdoor mixed-material projects, I favor:
- Polyurethane for its wood compatibility
- Silicone pads where movement is high
- Mechanical fasteners assisting the adhesive
On real orders, the choice I trust is rarely the one with the highest listed strength; it is the one that matches how the product will actually be abused, not how we hope it will be used.
Once you start thinking in these simple buckets—load, look, scale, and environment—the “glue question” turns from guesswork into a clear decision.
How should acrylic and wood surfaces be prepared?
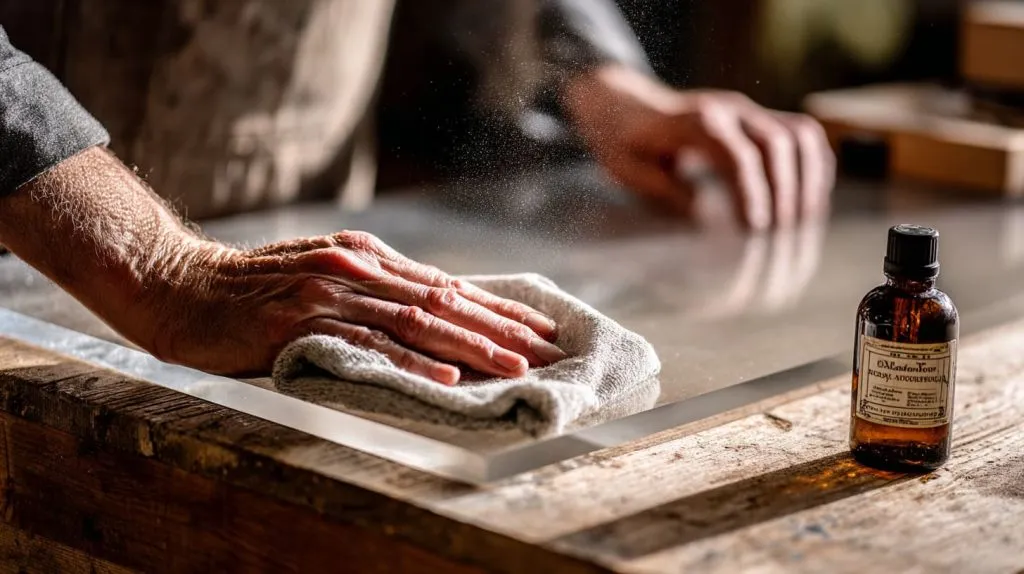
Many bonding problems start long before the glue leaves the tube. They start during surface preparation.
Preparing the acrylic surface
Acrylic attracts dust and fingerprints easily. If we glue on top of that, we trap problems under the adhesive.
Basic steps I follow:
- Remove the protective film only from the bonding area.
- Wipe the surface with a clean, lint-free cloth.
- Use an appropriate cleaner (often isopropyl alcohol) and let it dry.
- Avoid touching the area with bare hands afterward.
Cleaning oils and residues
Sometimes previous process steps leave:
- Polishing compound
- Cutting oil
- Marker ink
These must be removed. Even a thin layer can reduce adhesion. I usually test clean vs. unclean areas on a sample piece so the customer can see the difference.
Light sanding vs. polishing concerns
Some adhesives benefit from a very light abrasion on the acrylic surface. However, sanding can introduce:
- Fine scratches that catch the light
- Edges where cracks can start
So I only sand when:
- The surface will not be visible
- We use a fine grit and keep scratches in one direction
- The designer understands the visual effect
Preparing the wood surface
Wood has its own set of challenges.
Sealing porous wood
Raw wood may drink adhesive like a sponge. A thin seal coat (for example, a compatible primer or clear sealer) can:
- Reduce glue consumption
- Improve bond uniformity
- Limit moisture uptake at the bond line
I always check compatibility between sealer and adhesive. Some combinations do not bond well.
Dealing with raw vs. finished wood
We often see three situations:
| Wood condition | Bonding comment |
|---|---|
| Raw, sanded | Best for adhesion but needs sealing |
| Stained but uncoated | Variable; test is essential |
| Clear-coated / painted | Adhesive bonds to coating, not to the wood beneath |
If coating adhesion to wood is weak, the whole bond fails even if the glue itself is strong.
Dry fitting and alignment
Before any glue touches the surface, I like to do a “silent rehearsal”.
- Place the acrylic on the wood without adhesive.
- Check gaps, fit, and alignment.
- Confirm where clamps or weights will go.
This prevents last-minute adjustments with wet glue, which usually leads to smear marks and uneven pressure.
The detail that saves me the most headaches is simple: I never trust surface prep based only on appearance; I trust it only after I try to pull apart a small test bond.
Good preparation makes the gluing step slower on the first sample, but it makes every piece after that much easier and safer.
What is the correct gluing process step by step?
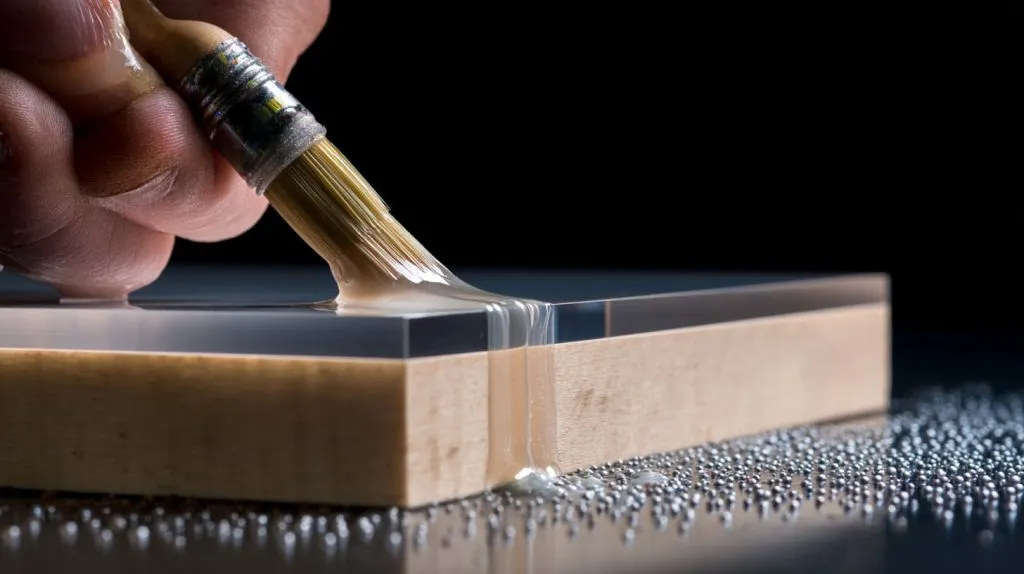
Once surfaces are ready and glue is chosen, the process becomes a calm sequence instead of a messy race against curing time.
A basic flow I use:
- Dry fit and mark positions.
- Protect surrounding areas with masking tape if needed.
- Apply adhesive in a controlled pattern.
- Place acrylic onto wood and adjust.
- Clamp or weight as planned.
- Leave undisturbed for full cure.
Applying the adhesive properly
Application pattern depends on the adhesive type:
- For thicker glues (epoxy, polyurethane), I prefer lines or beads.
- For thinner ones, I may use small dots to avoid squeeze-out.
Key points:
- Keep a consistent bead size.
- Stay away from edges to reduce visible squeeze-out.
- Do not overwork the adhesive once parts touch.
A simple pattern guide:
| Bond area size | Suggested pattern |
|---|---|
| Small pads | Dots at corners + center |
| Narrow strips | Single thin bead |
| Large panels | Grid or spaced lines |
Clamping and pressure control
Clamping is not about crushing. It is about even contact.
If we clamp too hard:
- Acrylic can bend and store stress.
- Wood can compress unevenly.
- Glue can be squeezed out almost completely.
If we clamp too softly:
- Gaps remain.
- Bond line is thick and weak.
I like to use:
- Flat boards and soft pads to spread pressure
- Moderate, controlled clamping force
- Weights for sensitive clear acrylic panels
Curing time and conditions
Every adhesive has its own cure schedule. There is usually a “handling time” and a longer “full cure” time.
Common mistakes:
- Moving the assembly as soon as it feels “solid”
- Packing items before full cure
- Curing in a cold area where reaction slows down
I prefer to keep a simple cure log for production:
| Adhesive type | Handling time | Full cure time | Notes |
|---|---|---|---|
| Epoxy | 30–60 min | 24 hours | Avoid cold storage |
| Acrylic | 10–20 min | 24 hours | Watch odor and venting |
| Silicone | 30–60 min skin | 24–48 hours | Sensitive to humidity |
| Polyurethane | 30–45 min | 24 hours | May expand slightly |
When timing is tight on a shipment, I always assume the glue needs the full cure time, not the optimistic “handling” time, because shipping stress is much harder than a gentle push in the workshop.
With a stable process in place, the next step is to recognize where things usually go wrong and how to avoid those traps.
What mistakes cause acrylic-to-wood bonds to fail?
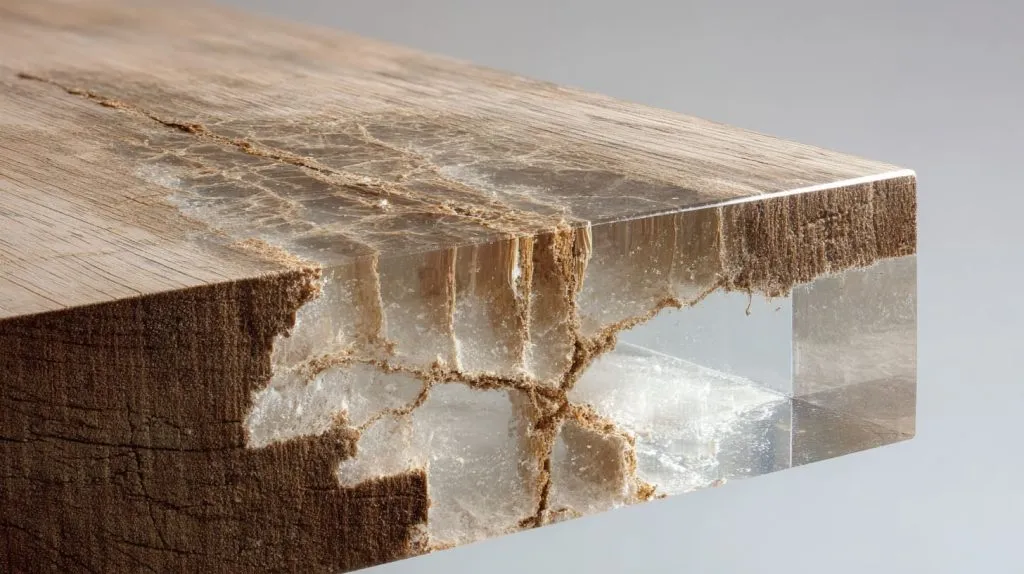
Most failures I see are not “mystery problems”. They are simple mistakes that repeated quietly until a field complaint forced everyone to notice them.
Using the wrong adhesive type
A strong glue can still be wrong.
Typical mismatch examples:
- Very rigid epoxy on a large acrylic panel over wood → cracks at edges
- Solvent cement used directly on wood → weak, unstable joint
- Construction adhesive with unknown plastic compatibility → bond looks fine at first, then softens
The problem is not only strength. It is also movement, clarity, and aging.
Over-clamping or uneven pressure
Too much clamping can turn a good glue into a bad joint.
Effects I see:
- Star-shaped stress marks in acrylic
- Slight “cupping” of the sheet that appears days later
- Local delamination where pressure was low
To avoid uneven pressure, I use:
- Caul boards (flat boards on top of acrylic)
- Soft pads to spread force
- More light clamps instead of a few strong ones
Skipping surface preparation
On busy days, surface prep looks like the easiest step to “shorten.” The bond usually punishes that shortcut.
Common shortcuts:
- Wiping with a dirty rag that spreads oil instead of removing it
- Using the same cloth for wood dust and acrylic cleaning
- Not checking for release agents or protective wax on wood finishes
Simple rule: if I would not trust the surface for paint, I do not trust it for glue either.
Ignoring wood movement
Designs sometimes treat wood as if it was aluminum. It is not.
Risky patterns:
- Gluing a large acrylic plate across the full width of a solid wood panel
- Fixing acrylic at all four corners with no movement allowance
- Using stiff adhesive in a wide, continuous bond line
Better patterns include:
- Breaking a large acrylic panel into smaller sections
- Using flexible adhesive pads instead of a solid line
- Floating the acrylic in a routed pocket with local glue spots
Whenever I see a solid wood panel in a design, I mentally fast-forward through a year of humidity changes and imagine where the stress will land; if the acrylic would be the one paying the price, I know we must change the bonding strategy.
Seeing these failure patterns early lets us redesign before thousands of units reach a store.
How strong is a glued acrylic-to-wood joint?
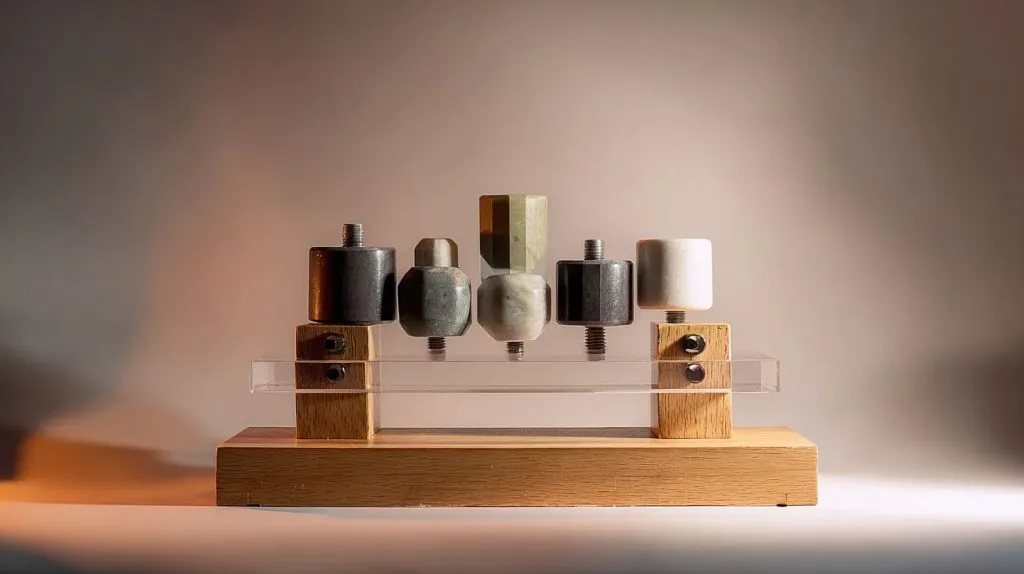
“Is it strong enough?” is the question I hear most often, but it is also the most incomplete question. The real question is: strong enough in what direction and for how long?
Shear vs. peel strength
Many adhesives handle shear loads well. That means the force runs parallel to the bond line, like a weight resting gently on an acrylic shelf.
Peel loads are different. They try to lift one edge, like someone pulling on the corner of a sign plate.
In real use:
- A thin bead of adhesive is strong in shear.
- That same bead can fail quickly in peel.
Design tricks to shift loads toward shear:
- Support acrylic from below rather than hanging from above
- Use larger bonding areas instead of small spots
- Avoid designs where customers will pull on edges to “test” strength
Bond durability over time
A joint can feel good on day one and still fail in a year.
Factors that hurt durability:
- UV exposure causing yellowing or embrittlement
- Repeated temperature cycling
- Chemical cleaners used by staff in stores
I sometimes suggest customers mark specific cleaning rules near the product. Strong solvents and harsh cleaners can weaken both the adhesive and the acrylic surface.
When mechanical fasteners are still needed
Glue is not a magic answer to every structural question.
I often recommend hybrid solutions:
- Screws from below through wood into acrylic (with oversized holes in acrylic to reduce stress)
- Hidden brackets inside wooden bases that support acrylic walls
- Aluminum profiles that hold acrylic panels while glue only seals and stabilizes
Comparison view:
| Approach | Pros | Cons |
|---|---|---|
| Glue only | Clean look, fewer parts | Limited safety margin for heavy loads |
| Fasteners only | Very secure, easy to inspect | Visible hardware, risk of cracking |
| Hybrid (glue + mech) | Strong, redundant, visually flexible | More process steps, some extra cost |
When a design involves people leaning, pulling, or stacking weight on acrylic parts, I treat adhesives as one safety layer, not the only one, because real users will always test the limits in ways we do not expect.
Once we accept that “strong enough” depends on direction and misuse, we can make more honest choices about where glue is safe and where it needs help.
Can acrylic be glued to painted or laminated wood?
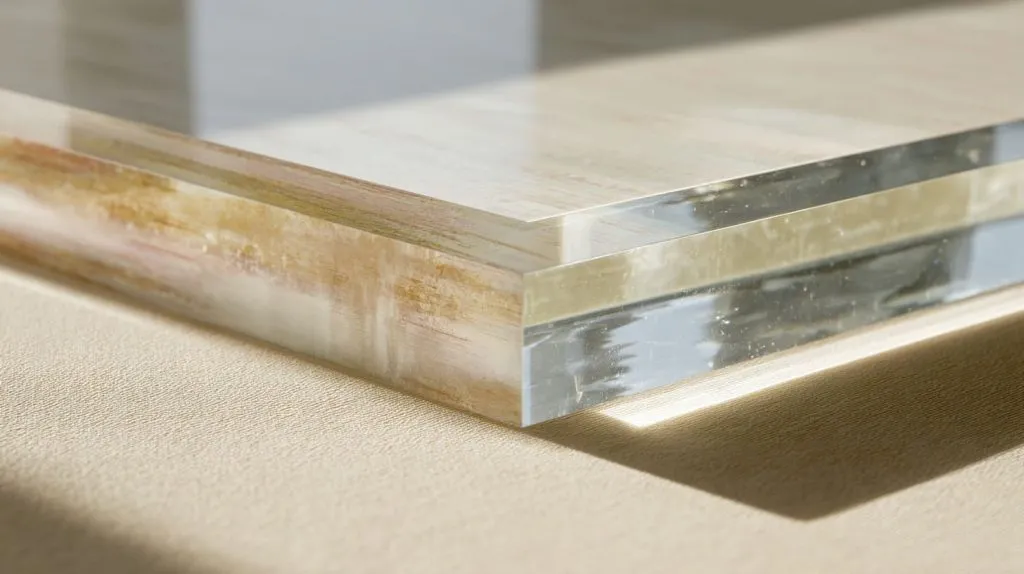
Many real projects do not use raw wood. They use painted boards, laminated MDF, or pre-finished panels from furniture suppliers. These surfaces change the bonding game.
Painted wood surfaces
When we bond acrylic to painted wood, we are really bonding to the paint layer, not the wood.
Risks include:
- Poor adhesion between paint and wood
- Paint that chips or peels under stress
- Chemical incompatibility between adhesive and paint
To manage this, I like to:
- Lightly abrade the paint where the bond will sit (if allowed)
- Clean carefully to remove dust and chalking
- Use a small destructive test panel to see if the failure happens in the glue, the paint, or the wood
If the paint peels off easily during testing, no adhesive choice will fix that problem. The finishing process must change first.
Veneered and laminated boards
MDF, plywood, and composite panels often come with:
- Paper laminates
- Plastic foils
- Thin wood veneers with clear coating
These layers may be smoother and more consistent but can also be low energy surfaces, which are harder for glue to grip.
I often see:
| Surface type | Typical behavior with adhesives |
|---|---|
| Melamine / foil | Difficult; needs special adhesives |
| Veneer + lacquer | Variable; testing is critical |
| HPL (laminate) | Usually better, but prep still needed |
The key point is that the visible surface may be more important than the core material.
Testing before full production
For these complex surfaces, testing is not optional. It is part of the design.
A simple test plan:
- Prepare small sample panels with the real finish.
- Glue acrylic tabs using the planned adhesive.
- Let them cure fully.
- Try to remove the acrylic by hand and with simple tools.
- Record how and where the failure happens.
If failure happens:
- In the wood core → structure may be too weak.
- In the paint or laminate → finish process needs review.
- In the glue layer → adhesive choice or prep must be revised.
Whenever a project involves painted or laminated boards from different suppliers, I insist on sample testing first, because I have learned that the most beautiful surface is often the most unpredictable one when it comes to adhesive behavior.
Good testing turns unknown risk into data we can work with.
How do factories handle acrylic-to-wood bonding in production?
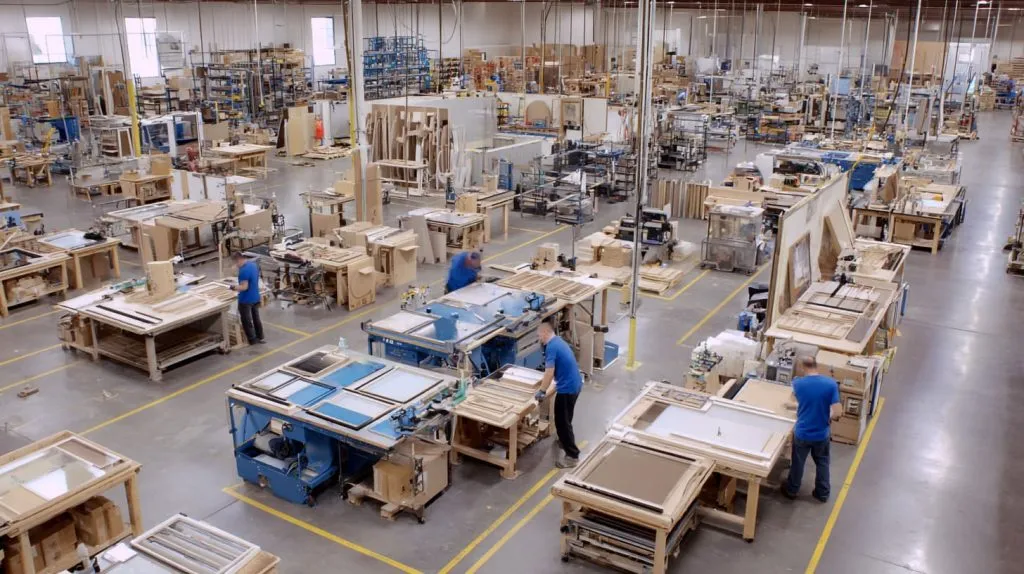
From the outside, a bonded display looks simple. Inside the factory, there is a lot of quiet control behind that clean joint.
Process control in mass manufacturing
For repeated orders, we build a small “recipe” for every bonded assembly:
- Required cleaning steps
- Adhesive type and batch
- Application pattern and amount
- Clamping method and time
- Cure time before handling and packing
We also set simple visual standards:
- Maximum allowed squeeze-out
- Acceptable bubbles in the bond line
- Position tolerances for acrylic parts
Standardization does not kill flexibility. It protects it. Once the base process is stable, we can adjust details for new versions without starting from zero.
Quality inspection standards
Inspection happens at several points:
- After cleaning (spot checks on surfaces)
- After bonding (position and squeeze-out)
- Before packing (random pull tests on sample pieces, if design allows destructive tests on retained samples)
Common checks:
| Check type | What we look for |
|---|---|
| Visual | Bubbles, fogging, misalignment |
| Dimensional | Edge overhangs, parallelism |
| Functional | Light manual loading, flexing |
Small pull or peel tests on sample coupons can tell us if something changed in:
- Adhesive batch
- Operator method
- Ambient conditions
Packaging and transport considerations
Even a perfect bond can be damaged by bad packing.
We try to:
- Support acrylic parts so they are not under bending stress in boxes
- Avoid stacking heavy items directly on bonded areas
- Use spacers and foam to stop vibration rubbing contact edges
We also think about how long products will sit in containers. Heat buildup can soften some adhesives or increase movement between acrylic and wood.
When we plan a bonding process for a real order, I think not only about how the parts look on our workshop table, but also about how they will survive three weeks in a hot container and another week in a crowded stockroom.
A good factory process turns glue from a risk into a quiet strength inside the product.
What alternatives exist besides glue?
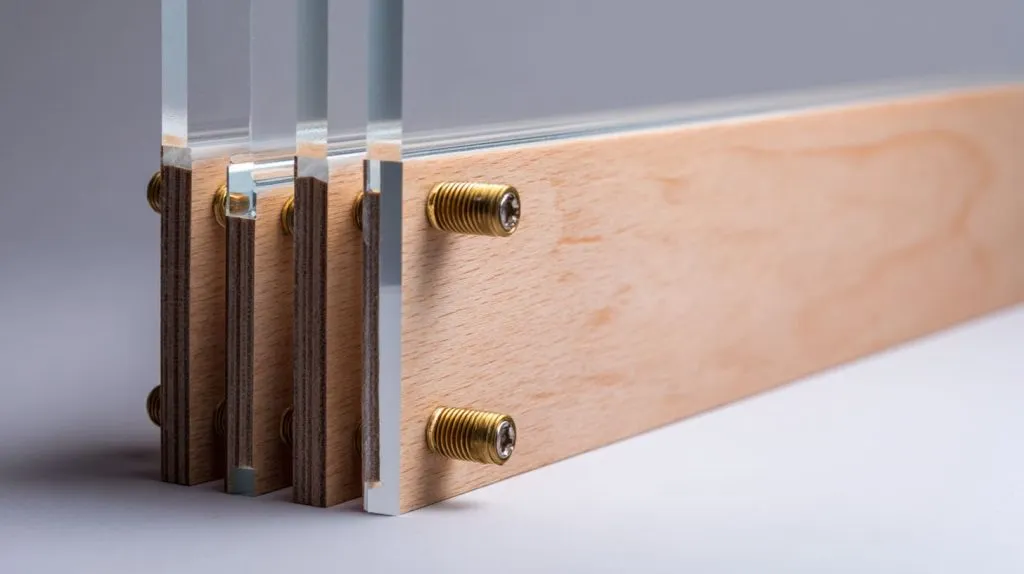
Sometimes, the best way to “glue” acrylic to wood is to not rely only on glue at all.
Mechanical fastening options
We can connect acrylic and wood with:
- Screws from the wood side into acrylic (with oversized holes in acrylic)
- Threaded inserts in the wood, with bolts through acrylic
- Small metal brackets hidden inside bases or behind panels
Pros:
- Easy to inspect and tighten if needed
- High safety margin for heavy loads
Cons:
- Risk of cracking acrylic if holes are too tight
- Visible hardware unless concealed by design
Slot-and-tab or interlocking designs
Design can reduce the job that glue needs to do.
Examples:
- Routing a shallow groove in the wood where the acrylic edge sits
- Using tongue-and-groove shapes that align parts mechanically
- Creating small tabs on acrylic that drop into pockets in the wood
These tricks:
- Improve alignment
- Increase effective bond area
- Reduce stress at the glue line
Combining adhesive and mechanical support
Often the most reliable solution is a hybrid:
- Mechanical parts handle heavy loads and movement
- Adhesive stabilizes, seals, and improves appearance
A simple comparison:
| Approach | Where I like to use it |
|---|---|
| Adhesive only | Light decorative panels, indoor use |
| Mechanical only | Heavy shelves, rough environments |
| Adhesive + mechanical | Premium displays, export projects |
Whenever a design involves unknown user behavior—children pulling, customers leaning, staff stacking—I lean toward a mixed solution, because I would rather spend a little more on structure than risk one big failure in a key store.
Glue is powerful, but design and hardware can share the work and reduce the risk.
Conclusion
When I look at that small pile of offcuts on my desk—acrylic, wood, old samples—I do not see just materials. I see the same pattern that has repeated in many projects with buyers from Canada, Europe, and other markets: a beautiful idea on paper that needs honest decisions about glue, design, and process to survive real life.
I wrote this the way I talk with engineers and purchasing managers in our factory meeting room. We start with simple questions:
- How will people touch this?
- Where will it live?
- What happens if it fails?
From there, everything else becomes clearer:
- Acrylic and wood move differently, so the glue must handle that fight.
- Not all strong adhesives are safe for mixed materials.
- Surface prep, clamping, and curing are as important as brand or datasheet.
- Painted and laminated boards can be the weak link even when the glue is excellent.
- In many cases, glue should share the job with design features and hardware, not work alone.
I take this approach because I have seen what happens when we skip these questions: cracked panels, foggy glue lines, and urgent emails from overseas asking, “Can we fix this without changing the design?” When we think more carefully at the start, we avoid those emails and protect both the brand and the relationship.
If you are working on a new acrylic-and-wood display, sign, or furniture part and you want it to look clean and survive real use, you do not have to guess alone. You can send drawings, photos, or even a rough sketch, and we can talk through glue choices, joint design, and factory process together.
At Feilong Acrylic, we spend a lot of time turning mixed-material ideas into stable, repeatable products. If you want to reduce the risk on your next project and still keep the design you love, feel free to reach out through flacrylic.com and we can walk through the details step by step, the same way we do for our long-term partners.