Skip to content
1. Introduction
1.1 Overview of Screen Printing at Home
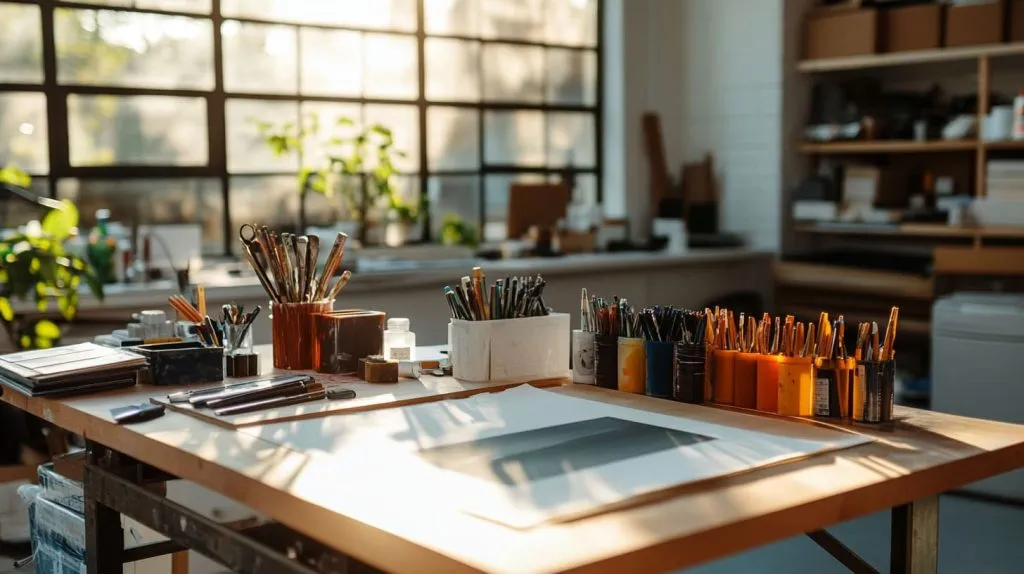
I remember the first time I set up a homemade screen printing station in my garage. I had no clue what I was doing, and ink ended up everywhere. But it felt amazing to see my designs come to life, even in that messy state. I realized screen printing offers a tactile thrill that digital methods just can’t replace.
1.2 Why Screen Printing Is Popular Among DIY Enthusiasts
People love getting hands-on. There’s something comforting about pulling a squeegee across a screen and watching paint spread into neat shapes. I’ve seen family members bond over this creative outlet, and I’ve also watched small businesses use it to personalize their brand visuals. It’s accessible, flexible, and surprisingly addictive.
My first attempts were far from perfect, but they lit a spark in me to keep exploring. Let’s delve into the basics next and understand why this craft has won so many hearts.
2. Understanding the Basics of Screen Printing
2.1 Definition and Core Principles
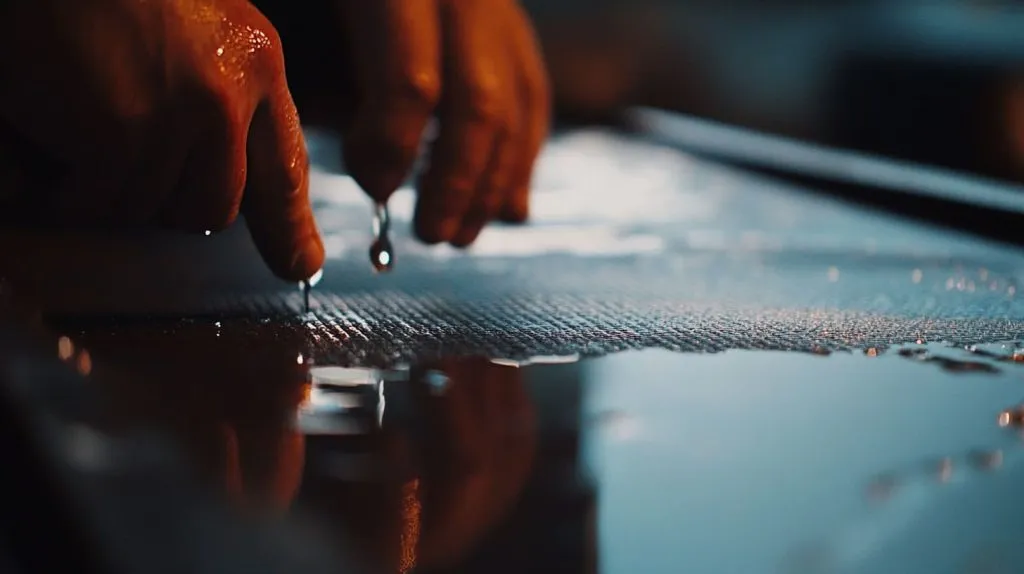
Screen printing, in its simplest form, uses a mesh screen to transfer ink onto various surfaces. It involves blocking out certain areas with a stencil so that only the open parts let ink pass through. I like to think of it as a controlled way of painting through tiny holes.
From a more critical point of view, one could ask: Why fuss with screens and inks when there are faster, digital methods out there? I get that question often. But the appeal lies in the control we have over every aspect—ink consistency, color layering, and that tactile bond with the work.
2.2 Common Uses and Applications
I’ve seen people print on T-shirts, tote bags, posters, and even certain types of acrylic displays. In fact, some acrylic displays lend themselves quite well to custom designs if you choose the right ink and curing process. This versatility makes screen printing a friend to many crafts and industries.
Some might argue that printing on unusual items is inefficient or complicated, yet I've discovered it’s often the unusual projects that spark the greatest creativity. When we question whether something is suitable for screen printing, we open doors to new experiments.
2.3 Advantages of Screen Printing Over Other Methods
One major advantage is durability. A well-done screen print can withstand lots of wear and tear. It also allows for vibrant colors that pop. And while digital methods are convenient, they can lack the texture and warmth that come from manually applied ink.
When people tell me they’re not sure if screen printing is worth the time, I remind them that investing in something tangible can be deeply fulfilling. It pushes us to break out of routine and try something truly hands-on.
I fell in love with these fundamentals the moment I got my hands on a squeegee. Now, let’s look at what tools we actually need to make this magic happen.
3. Tools and Materials Required
3.1 Essential Equipment (Screen, Squeegee, Ink)
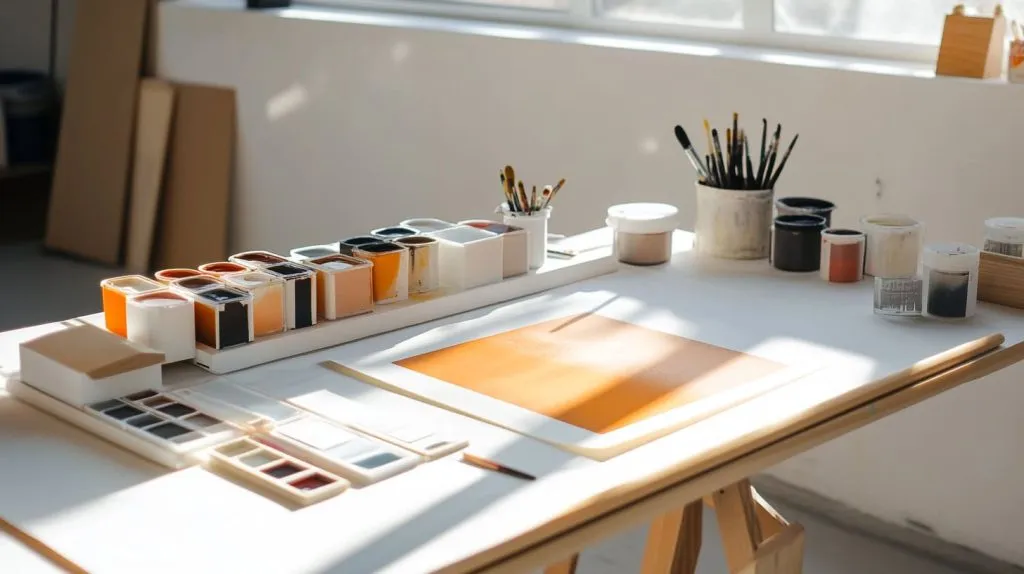
I usually start with a sturdy wooden or aluminum screen, a decent squeegee, and inks that match my project. If I’m printing on fabrics, I stick to textile-friendly inks. For rigid surfaces, I adjust accordingly. When I first started, I felt overwhelmed by the variety of options, so I kept it simple. That approach kept me from buying unnecessary gadgets.
Let’s compare at a glance:
| Item | Purpose | Notes |
|---|---|---|
| Screen | Holds the mesh for printing | Choose good quality for durability |
| Squeegee | Spreads ink across the screen | Firm rubber blade recommended |
| Ink | Provides the color transfer | Match ink type to your substrate |
3.2 Selecting the Right Screen Mesh
The mesh count is crucial. A lower mesh count means bigger openings, which lets more ink pass through—handy for bold designs. A higher mesh count yields finer detail. I once printed a design with tiny lettering, and my low mesh count made it look smudged. Lesson learned.
Some people use extremely high mesh counts for photographic detail. Others go low for bright, chunky shapes. We just have to weigh the pros and cons for each approach.
3.3 Inks and Their Types (Water-Based vs. Plastisol)
Water-based inks are easier to clean up and more eco-friendly. Plastisol inks, on the other hand, often provide brighter colors and simpler curing. I’ve used both types, and it usually comes down to the project. If someone wants a soft print on a T-shirt, I go with water-based. If they want a highly vivid, durable design, I lean toward plastisol.
Yet, some people worry about the chemicals in plastisol. That’s why it’s essential to understand ventilation and safe handling, which we’ll talk about later.
3.4 Optional Add-Ons (Drying Rack, Heat Gun, etc.)
You don’t need every single tool at first, but items like a drying rack or heat gun can save a ton of time. A heat gun speeds up the ink-curing process, especially if you’re printing at home. I also occasionally use small acrylic stands from Feilong Acrylic to organize my materials, which keeps everything neat and easy to grab.
When I got my first heat gun, it was a revelation. Suddenly, I could do more prints in less time. Now, let’s jump into the creative side of screen printing: designing the artwork.
4. Designing the Artwork
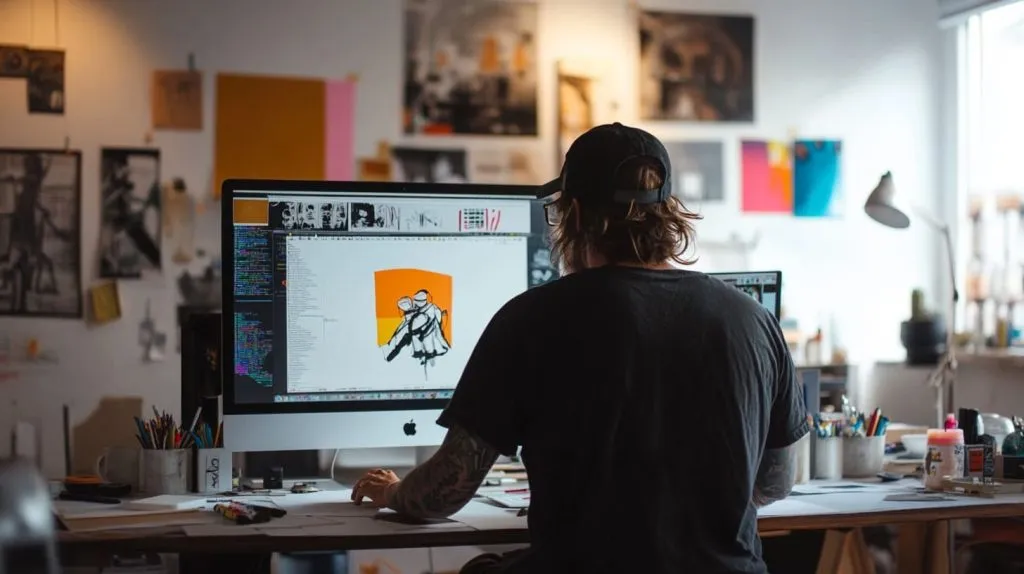
4.1 Choosing or Creating a Suitable Design
I love starting with a rough sketch or a digital file. If I’m making something for friends, I might hand-draw it, scan it, and then refine it on my computer. When my design feels personal, it’s far more rewarding to print.
Some might say that you should only screen print professional designs, but I wholeheartedly disagree. Even simple doodles can look fantastic if done with care.
4.2 Preparing Digital Files for Screen Printing
The key is to separate colors if you plan to layer them. I once forgot to separate colors properly, and my final print looked like a muddy rainbow. Now, I always use design software that lets me isolate each color channel.
People sometimes ask if basic software will work. In my opinion, as long as you can create distinct layers, you’ll be fine. The rest is about technique.
4.3 Scaling and Positioning Your Artwork
I like to measure my substrate first, then size my design accordingly. For T-shirts, positioning the design too high or too low can look awkward. For smaller items, like tote bags, centering becomes crucial.
A critical perspective says that precision can suck the spontaneity out of art. I argue that there’s a balance. We can aim for neatness without squashing our creative flair. And the reward? Crisp results every time.
That spark of creativity keeps me coming back. Next, let’s prep the screen so we can translate that design into reality.
5. Preparing the Screen
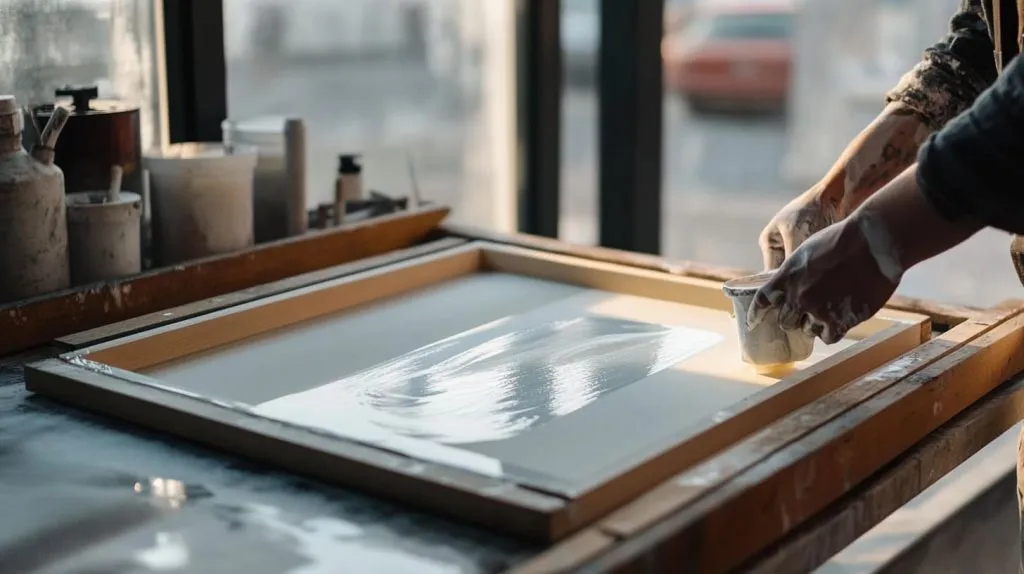
5.1 Coating the Screen with Emulsion
I first learned about emulsion when I ruined a perfectly good screen by overcoating it. Now, I apply it in a thin, even layer to avoid clumps. This step is vital because the emulsion will hold the design’s shape once exposed.
Critics might say it’s too tedious. But I find the process soothing—like I’m carefully laying the groundwork for something unique.
5.2 Exposing the Screen
Exposure is where the design and emulsion meet under a UV light. I remember improvising with a desk lamp for my first exposure attempt. Not the best approach, but it worked, and I could see the bright white shape of my design appear.
The magic of seeing the stencil emerge is half the fun. Some folks feel it’s too unpredictable, yet I see it as an exciting moment of reveal.
5.3 Washing Out the Emulsion
After exposure, I rinse the screen with water to wash away the uncured emulsion. This is when the final stencil truly shows up. I’ve had times when I rushed, only to wash away fine details. Patience is key, even if I’m itching to see the end result.
People sometimes skip this step too quickly, but it determines how sharp or fuzzy your design will look. Give it the attention it deserves.
I love how a freshly prepared screen feels like a blank canvas. Next, let’s set up a proper workspace and get ready for the main event.
6. Setting Up Your Workspace
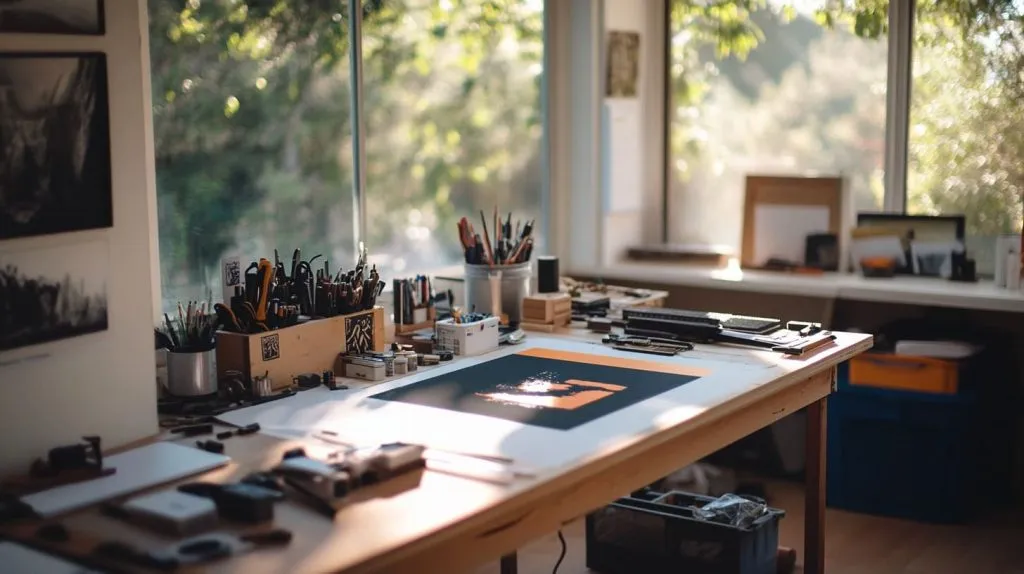
6.1 Choosing a Suitable Work Area
I prefer a well-lit, dust-free spot. My first workshop was a cramped corner, but I still made it work with some decent light and a foldable table. Having enough space to move around reduces mistakes and frustration.
Some people claim you need a fancy setup, but that isn’t always true. You just want something stable, clean, and comfortable.
6.2 Organizing Materials and Tools
I’m a neat freak, so I label my inks and store them in a simple rack. Knowing where your squeegee is when you need it can save you a world of headache. Sometimes, I’ll even use custom acrylic holders from Feilong Acrylic because they keep my tools upright and easy to grab.
I’ve worked in cluttered environments before, and it drove me crazy. It’s worth taking a few minutes to set everything up in logical order.
6.3 Ensuring Safety and Ventilation
Ink fumes are no joke. If I’m using strong chemicals, I crack a window or set up a small fan. Wearing gloves also keeps skin contact to a minimum. Safety might seem obvious, but in the excitement of printing, it’s easy to overlook.
There’s a view that says we should only use water-based inks at home. While that’s often a safer choice, I think it’s about balancing practicality and caution. Just respect the materials, and you’ll be fine.
Now that we have our workspace ready, let’s dive into the heart of the process: printing.
7. The Printing Process

7.1 Positioning the Substrate
I usually measure a few reference points on my T-shirt or paper to place the design correctly. Crooked prints can be charming when intentional, but they can also look like mistakes if not planned. I try to align everything before I lay down that first drop of ink.
Some might argue it’s too restrictive to use measurements. I see it as a way to achieve the look I actually want.
7.2 Applying Ink and Using the Squeegee
With the screen lowered, I pour a line of ink at the top and pull the squeegee toward me. I aim for even pressure. If I press too hard, I might flood the design. If I go too light, the print appears patchy. After many tries, I’ve learned to find that sweet spot.
I’ve heard people complain about the learning curve. But trust me, it’s worth every imperfect print. Each pass teaches you something new.
7.3 Multiple Passes and Layered Colors
For multi-colored designs, I wait for the first layer to dry and then position the next screen. Layering can be tricky, but it creates beautiful depth. I once made a poster with four colors, and the final piece felt so dynamic—it was like stepping into a mini art gallery in my own home.
Some worry about messing up alignment, but that’s part of the learning process. Don’t fear the occasional glitch. Sometimes that quirky overlap is what makes your print memorable.
If the printing process sounds thrilling, just wait until you see how the final touches bring the whole project together.
8. Post-Printing Care
8.1 Drying Methods and Considerations
I usually set prints aside on a drying rack or hang them on a clothesline. If I’m in a hurry, I’ll use a fan or heat gun, but I keep a watchful eye so I don’t scorch anything. The key is letting each layer dry fully.
People sometimes skip proper drying, which can cause smudging or cracks. Once you’ve invested hours into a print, it’s worth waiting a bit longer.
8.2 Curing the Print for Durability
For fabric prints, heat-setting is crucial. If I skip this step, my design washes away in a flash. I often use an iron set to the recommended temperature or a heat press if I’m doing a batch. This locks the ink into the fabric fibers.
Some folks question whether curing is really necessary. If you want your print to survive multiple washes, I say absolutely yes. It’s non-negotiable.
8.3 Cleaning and Maintaining Your Equipment
Right after printing, I rinse my screen and squeegee to prevent the ink from drying on them. A screen caked with old ink is a nightmare to clean. Quick rinses save you time and money on replacements.
I recall the day I forgot to wash my screen because I got too excited about a new design. Let’s just say I never made that mistake again.
I love how the cleanup process feels like a tidy conclusion to the printing adventure. Now, let’s tackle the inevitable hiccups and how to fix them.
9. Troubleshooting Common Issues
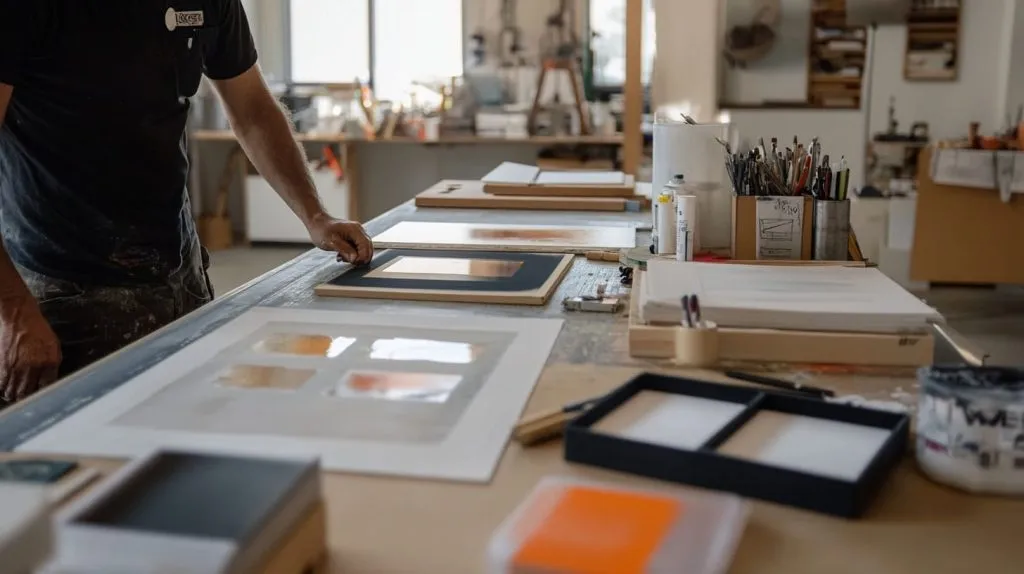
9.1 Fuzzy or Blurry Prints
This can come from too much pressure or a low mesh count. One time, I tried to print tiny text with a coarse screen, and it bled all over. High-detail designs need a finer mesh. Also, check your squeegee technique—smooth and steady wins the race.
9.2 Uneven Ink Coverage
Sometimes the design looks great on one side but fades on the other. This could be an issue with how you angle your squeegee or how you flood the screen with ink. I find that keeping consistent pressure across the whole swipe helps a lot.
Here’s a quick reference:
| Issue | Possible Cause | Potential Solution |
|---|---|---|
| Fuzzy edges | Screen mesh too low | Use higher mesh / reduce pressure |
| Ink too light | Inconsistent pressure | Practice even squeegee technique |
| Patchy spots | Screen not fully coated or blocked | Recoat or clean screen thoroughly |
9.3 Screen Clogging and Damage
If ink dries in the mesh, it can clog. This leads to holes in your design. When I’ve been lazy about cleaning, I’ve ended up with holes that messed up subsequent prints. Sometimes a gentle scrub with screen cleaner is all you need.
Some argue that we should discard a clogged screen, but I usually try cleaning it first. It can be salvaged, which saves money and reduces waste.
We’re nearing the end, but let’s wrap up with some parting thoughts and encouragement to keep experimenting.
10. Conclusion
10.1 Summary of Key Takeaways
Screen printing at home is about balancing creativity with technique. I’ve learned to pick the right mesh, use proper inks, and carefully align my designs. Each step—from preparing the screen to cleaning up—requires a bit of patience. But the payoff is well worth it.
10.2 Encouragement for Further Experimentation
I believe we should stay curious. If a print doesn’t come out perfectly, so what? Each hiccup sparks new ideas. Try layering more colors or switching to different substrates. I’ve even experimented with printing on small DIY projects for fun.
10.3 Final Thoughts on DIY Screen Printing
All in all, screen printing is a personal journey. It’s a chance to make something tangible with our own hands. Whether you’re printing a gift for a friend or testing a new brand logo, the process itself is deeply satisfying. I hope this guide helps you begin or refine your own adventure.