 Skip to content

When the first time I dealt with an acrylic display. I was a bit nervous. I thought it would crack under a heavy breath. That made me realize the importance of understanding how to handle and clean it correctly. I have tried many methods, and I've made my fair share of mistakes. Now, I want to share my experiences so you can avoid the pitfalls I fell into.
The Importance of Proper Acrylic Care
I once left a beautiful acrylic picture frame near an open window. A gust of wind blew some dust right onto it. I carelessly wiped it with a rough paper towel, and I left scratches all over. I felt terrible. That painful moment taught me how crucial it is to care for acrylic properly. This material is amazing. But it needs gentle handling. It’s not fragile, yet it deserves respect.
From a critical perspective, some might say acrylic is too sensitive to handle. That viewpoint makes sense if you've never handled acrylic with the right tools. In my experience, it’s not about acrylic being too delicate. It’s about us learning a new way to maintain it. If we accept that each material has a nature of its own, we can appreciate acrylic’s unique beauty and keep it looking new.
Common Misconceptions About Acrylic Glass Cleaning
I have noticed a common rumor floating around. People often think that any glass cleaner is good enough for acrylic. I used to think so, too. Then I ended up with a cloudy surface that looked dull. This caused me to dig deeper into the difference between cleaners meant for real glass and cleaners meant for acrylic.
It’s also easy to assume you can scrub acrylic as hard as you want. That can be risky. A tough scrub might introduce tiny scratches. Some folks say acrylic can handle a bit of roughness. But if you want your acrylic products to shine, I suggest a softer approach. Sometimes, we just need to question the advice we hear and do a bit of our own testing.
I know you might wonder if you can get the best cleaning tips from somewhere else, so I often research microfiber cloth recommendations online. Before we move on, let me offer one simple piece of advice: treat acrylic with patience and care.
I found a little trick that stops readers from drifting away: I’ll explain what acrylic is made of, then shift into the best cleaning practices. If that interests you, keep reading.
Understanding Acrylic Glass
I sometimes call acrylic “the shapeshifter.” It looks like glass, but it’s much more flexible. That flexibility is a blessing if you need something lightweight and clear. But it also presents challenges when it comes to maintenance.
Differences Between Acrylic and Traditional Glass
Let me list some noticeable differences in a table so it’s easy to see at a glance:
| Feature | Acrylic | Traditional Glass |
|---|---|---|
| Weight | Much lighter | Heavier |
| Impact Resistance | Higher | Lower |
| Transparency | Highly transparent (up to 92%) | About 90% but not as clear |
| Scratch Sensitivity | Easier to scratch | More scratch-resistant |
Some people claim acrylic is too easy to damage. I respect that opinion. At the same time, I see acrylic as a perfect option when weight and clarity are top priorities. Traditional glass might be sturdier in some respects, but it can shatter on impact. Acrylic gives us more safety, which is why I prefer it for display stands or signage.
Why Acrylic Scratches and Discolors Easily
One time, I placed an acrylic storage box under direct sunlight for several weeks. I noticed a faint yellowing at the edges. That experience taught me that acrylic can discolor if it’s exposed to harsh UV rays for too long. Also, if a dog or a cat runs by and scuffs the surface, I can almost hear the scratch marks forming.
From another angle, though, some may argue that acrylic is durable enough for daily use, so discoloration might not be a widespread issue. I agree that it’s not always a problem if you’re mindful of sun exposure. Like most materials, acrylic has its weak spots. But that doesn’t stop me from using it in my workspace.
I learned so much about basic properties of acrylic. This leads us right into how to keep these surfaces looking fresh. Are you still with me? Let’s check out the best cleaning solutions next.
Recommended Cleaning Solutions
I’ve tried nearly every cleaning liquid under the sun. Some worked wonders; others did more harm than good. I want to share four core solutions that I trust when handling acrylic.
Mild Soapy Water
I remember one incident when I used mild soapy water on my acrylic coffee table. I gently wiped it with warm water and a drop of dish soap. The soapy mix cleared fingerprints without leaving streaks. Sometimes, we overthink cleaning products. The simplest methods often work best. But from a skeptical viewpoint, you might say soapy water doesn’t always remove tough stains. That’s true if you let spills sit for too long. So I prefer to handle spills right away.
Commercial Acrylic Cleaners
I used to think all commercial cleaners were the same. Then I found a commercial acrylic solution specially formulated for plastic surfaces. My acrylic frames seemed to sparkle like they did when I first got them. Another view might suggest this is just marketing hype. But for me, using a product designed for acrylic gave me peace of mind. It’s not about brand loyalty. It’s about picking something guaranteed to be gentle on your items.
DIY Vinegar and Water Mix
My grandmother used to clean everything with vinegar. She was a big fan of homemade remedies. So I tried a simple mix of vinegar and water on a scratched acrylic photo holder. While it won’t magically erase deep scratches, it helped remove some stubborn smudges. Some say vinegar is too acidic. That’s a valid concern. But if you dilute it properly, it can work fine for mild grime.
Specialty Polishing Compounds
I remember searching for a compound to buff out minor scuffs on a small acrylic sign. I tried a specialty polishing cream. After a few gentle passes, it looked much better. One might point out that these compounds can be pricey and time-consuming to use. That’s true. But for those who want near-perfect results, I recommend giving them a shot.
It’s all good knowing what solutions to use, but we still need the right tools and methods. Next, I’ll reveal the perfect sidekicks for these solutions.
Cleaning Tools and Techniques
I grew up using sponges for just about every surface. But acrylic made me rethink my approach. Tools matter as much as the cleaning solution.
The Role of Microfiber Cloths
Microfiber cloths are like a soft hug for acrylic. They gently pick up dust without scratching. From a critical viewpoint, some may worry about leftover lint. I’ve experienced that too. A good quality microfiber usually doesn’t shed lint. If your cloth leaves fibers behind, try another brand or rinse it thoroughly.
Soft Sponges vs. Abrasive Pads
A friend once told me to use an abrasive pad for a tough smudge. That was a mistake. I ended up with fine scratches. Soft sponges are your best bet for gentle rubbing. Some might claim abrasive pads save time. However, I’ve found that the few seconds saved can lead to pricey damage in the long run.
Proper Wiping Motions to Avoid Scratches
I like to use circular motions, followed by a gentle horizontal wipe to ensure an even finish. Some folks argue that circular motions can highlight scratches if they occur. They have a point, but I notice fewer streaks with a light circular rub. It’s about technique and gentleness. You can always experiment to see what fits your style.
Tools and techniques set the stage, but timing and sequence matter too. In the next section, I’ll guide you step by step so you can feel confident the next time you clean.
Step-by-Step Cleaning Guide
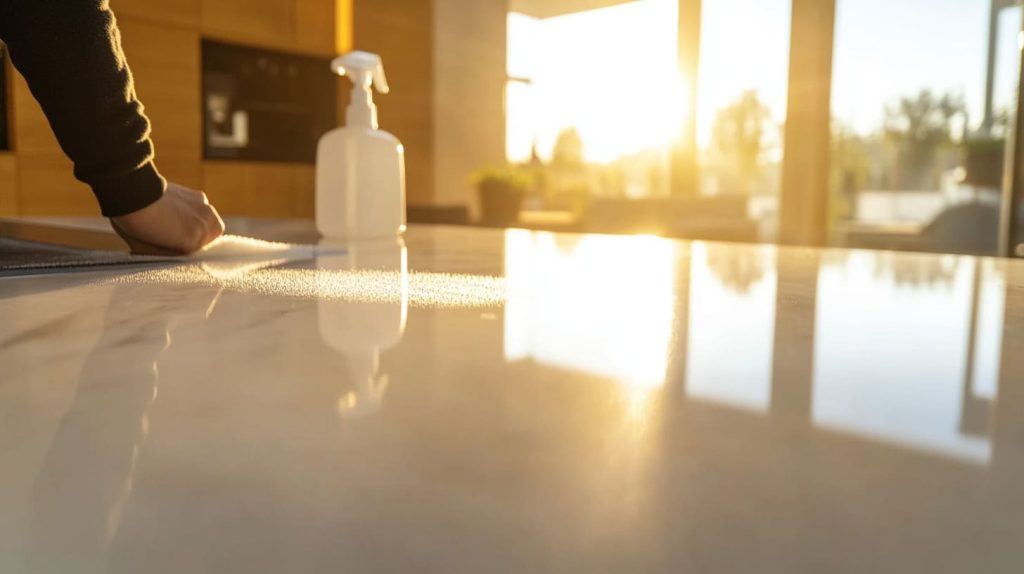
This guide helped me get rid of smudges on my favorite acrylic shelf. It’s a simple routine, but it gets results.
Preparing the Surface
First, remove any loose dust with a gentle swipe of your microfiber cloth. My father once taught me that removing surface particles before adding a cleaning agent prevents scratches. It sounds obvious, but it’s easy to skip. Critics might say it’s just an extra step. I believe it saves time in the long run.
Applying the Cleaning Solution
Spray or gently dab the solution onto the cloth—never directly onto the acrylic. I learned that direct spraying can cause liquid to seep into edges or corners. Some folks say direct spraying is fine. I prefer to play it safe. I’ve seen residue build up that’s hard to remove.
Rinsing and Drying
After you’ve wiped away dirt, I recommend a quick rinse with clean water. Then, use a fresh cloth to dry. I skipped the rinse once and ended up with soapy streaks. Others might say rinsing is optional. If you want a flawless finish, I find it best not to skip it.
Polishing for a Crystal-Clear Finish
If you want a next-level shine, use a mild polishing compound designed for acrylic. Apply in small circles, then buff gently. People might argue it’s unnecessary. But if you want that showroom sparkle, it’s worth it. I personally love seeing my acrylic furniture reflect the room around it.
Now you know the process. But there are still some pitfalls we need to address. Let’s discuss the dos and don’ts that have saved me countless headaches.
Do’s and Don’ts
Sometimes we forget the little rules that make all the difference. I learned these by trial and error.
Avoiding Abrasive Materials
I once used a regular bath towel to wipe my acrylic coffee table. That left a faint swirl of scratches. I quickly realized I needed either a microfiber cloth or a very soft sponge. Some might say a well-worn cotton shirt could do the trick. That’s probably true. But to reduce the chance of scratches, I stick with proven soft materials.
Steering Clear of Harsh Chemicals
I recall a friend of mine used a random countertop cleaner that contained ammonia. That cleaner left a cloudy haze on his acrylic fish tank. When he asked me for advice, I told him to avoid ammonia-based products at all costs. There’s a debate among some folks who say “it’s okay if you wipe it off quickly.” Maybe for them. But I’d prefer not to risk damaging expensive acrylic pieces.
Preventing Residue and Streaks
A big complaint is streaky acrylic. I’ve tried using old paper towels, which left fuzz and faint lines behind. If you stand at certain angles, you see them under the light. That’s why I like microfiber cloths and thorough drying. Some might think drying is too tedious. But in my view, it’s the final step that gives that crisp, clean look.
We have to remember these do’s and don’ts for the long haul. Maintenance is not just a one-time chore. Let me share what I do to keep acrylic items fresh in the long run.
Maintenance and Long-Term Care
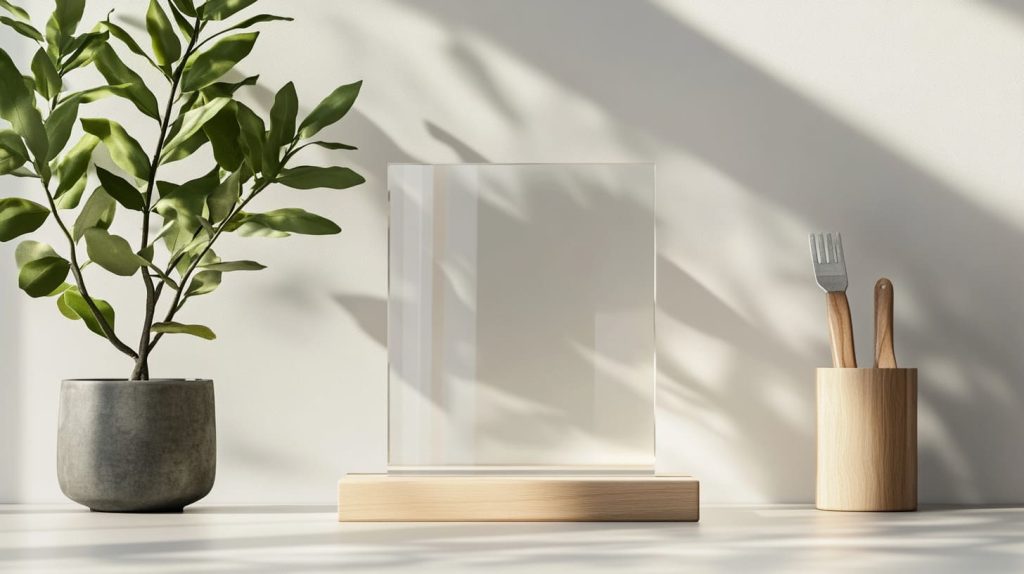
Acrylic items are meant to last, but only if we treat them well. I’ve made enough mistakes to know that good habits go a long way.
Regular Dusting and Light Wiping
I dust my acrylic shelf once or twice a week with a soft cloth. A simple pass keeps debris from building up. Some people claim weekly maintenance is too frequent. That’s fine if your area isn’t dusty. But I live near a busy street with heavy traffic dust. Regular dusting helps me avoid bigger cleaning sessions later.
Protective Coatings and Treatments
I tried a protective spray once. It created a thin layer that repelled dust. But I noticed I needed to reapply it every few weeks. A friend of mine said it was just an unnecessary step. I see it as an extra shield. We must be aware that not all protective coatings are created equal. Some can cause streaks or haze. Research thoroughly or test a small area first.
Storing or Displaying Acrylic Items
I once stored some acrylic frames in a hot attic. Over time, the heat and dust combination caused minor warping. Now I keep them in a cool, dry place if they’re not on display. That might feel like common sense, but I’ve seen people overlook it. Some might argue acrylic is durable enough for any environment. True, but heat and dust accelerate wear and tear.
Still, even with the best care, we face the occasional stain or scratch. Let’s dive into a few troubleshooting tips.
Troubleshooting Common Issues
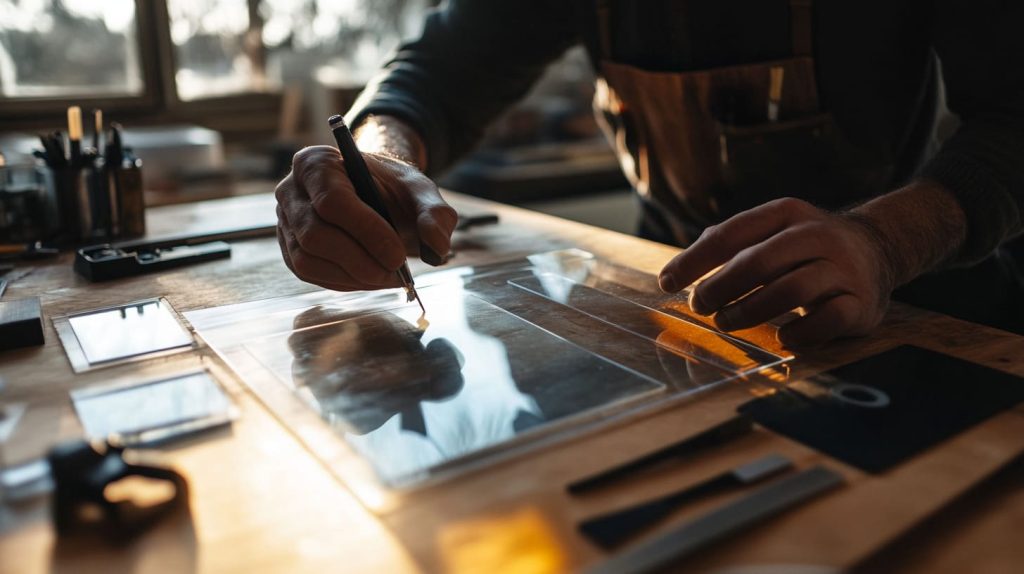
We’ve all had that moment when something goes wrong, and we don’t know how to fix it. Here’s what I do when mishaps occur.
Handling Stubborn Stains
If you have a tough stain that soapy water can’t remove, let a warm damp cloth sit on it for a few minutes. This helps loosen the stain before gently wiping. Some might say a magic eraser is fine. I’ve tried that, but I prefer caution. Magic erasers can be slightly abrasive. That’s why I rarely use them on acrylic.
Removing Minor Scratches
I have a small stash of polishing compounds and a soft buffing wheel for my drill. I apply the compound, then slowly buff the scratch. In my opinion, it’s a decent fix for minor marks. However, if you have a deep scratch, you may need professional help. Some folks say you can sand and buff out deeper scratches yourself. That’s true if you have experience, but I wouldn’t recommend it to a beginner. It’s easy to make things worse.
When to Seek Professional Help
I once tried to repair a large crack in an acrylic stand. My attempt only made the crack look more noticeable. After that, I decided that bigger damage calls for an expert. Some might say you can do it yourself with special adhesives. You can, but mistakes are hard to reverse. I’d suggest weighing the cost of professional repair against the value of the item. If it’s something you love, let a professional handle it.
We’ve tackled common problems. Now, let’s wrap things up in a tidy bow.
Conclusion
Recap of Best Practices
I have gone through many trials in caring for acrylic. The big lessons: use soft materials, avoid harsh chemicals, and be gentle. I learned that daily maintenance is simpler than fixing damage later. I enjoy seeing my acrylic items looking as pristine as the day I got them. I hope you feel more confident about cleaning and protecting your own acrylic items.
Encouraging Safe and Effective Cleaning Habits
I have shared stories and practical tips, and I hope my journey inspires you. Acrylic isn’t scary or fragile when we understand its quirks. So keep it simple, treat it gently, and it will reward you with lasting clarity. I want you to feel excited the next time you wipe down your acrylic display. After all, a clean and clear acrylic piece is a joy to behold.




