 Skip to content
Learn how to hang your canvas with minimal supplies so that the canvas can be as flat against the wall as possible to prevent warping.
All you really need are sawtooth hangers, D-rings, or adhesive strips—no heavy machinery, fancy tools, or advanced proficiency required.
Wipe the wall, choose your location, and use a level to ensure a straight line, especially if you are working with several pieces.
This is a great way to hang art if you want to keep the room tidy, giving the piece a chance to really shine.
Why Hang Acrylics Unframed?

Unframed acrylics on canvas add a contemporary, fresh touch to your home or office. Skip the matboard and frame and foreground those artworks! By using this strategy, you achieve an aesthetic that is both crisp and airy.
When hanging your acrylic, it’s worth going without a frame. This option makes it really easy for your art to coordinate with other design elements. It’s a look that sings in urban lofts and modern condos. Importantly, it opens up home offices, allowing them to feel buoyant and vivacious.
So before you choose how to hang your acrylics, it’s important to understand why so many people are leaving the frame behind.
The Modern Aesthetic Appeal
Beyond the artistic consideration, unframed acrylics hang directly against the wall, allowing the straight edge and smooth look of the face to be displayed. This style creates a very clean, modern aesthetic that showcases the colors and geometric lines of your artwork.
If you use an aluminum mount, you get a stable and sleek setup that fits in with other metal or glass decor. The space appears more expansive with unframed art. You do away with the bulky trim that personality frames leave behind.
An oversized 20×30-inch acrylic print looks incredibly dramatic and impactful. When hung using hidden adhesive strips or an aluminum mount, it really shines with radiant color and light, producing a stunning, seamless, immersive work of art. We love this style best in living rooms and entryways.
It’s an elegant solution for open-plan workspaces, producing crisp lines and fluid cadence.
Cost and Simplicity Benefits
Framing can get really expensive pretty quickly, particularly if you’re doing custom framing as well. When you hang acrylics unframed, you gain back quite a bit of both time and money.
Most folks use simple hardware like adhesive strips for smaller pieces — a method that 80% of Printmoz buyers pick. These strips tightly hold the art in place without having to drill holes or hammer in nails. Second, you keep your walls pristine and uncluttered.
For larger prints, aluminum mounts are a great option as they provide sturdy support and a flush-to-the-wall fit. Using this configuration eliminates the hassle of coordinating frame styles or colors. You’ll create a cleaner look on your walls.
Additionally, you’ll find your acrylics much easier to clean since there’s no frame lip to catch dirt and dust.
Letting the Artwork Shine
When you remove the frame, the focus becomes entirely on the artwork. The gloss and depth of acrylic prints is unmatched, revealing unparalleled color saturation and clarity. Plexiglass, or acrylic glass, as it’s known, protects perfectly for years, ensuring that your painting remains crisp and vibrant for decades to come.
Hanging unframed works beautifully if you’re after that clean, contemporary gallery look in your home or work space. The icing on the cake is a beautiful space in which art feels authentic and genuine, not all gussied up by additional framing or glazing.
Admittedly, one 16x20-inch acrylic canvas might dazzle an audience. Its brilliant color and stunning gloss give it that optimal show-stopping aesthetic.
Pre-Hanging Prep: Painting & Tools

Preparing a painting on canvas to hang without a frame requires just a few straightforward steps. I have strong thoughts on weight, scale, and the construction of my work. Good preparation not only protects the painting on the wall, but it also enhances the appearance of the work. Every stage determines how beautifully the piece will age, from start to finish.
From inspecting the stretcher bars to choosing the right mounting hardware, it’s all important. Prior to starting, as I’m preparing to paint, I lay out all my tools and products. This means that I can start working without a break once I get going.
Assess Canvas Weight and Size
The first thing I do is measure the canvas. What I do is look at how heavy or light it feels, because weight really dictates what kind of hardware I choose. For easier-to-hang canvases on lighter, more forgiving buoys, like a 12-by-16-inch canvas, you can make do with sawtooth hangers or adhesive strip hangers.
Larger or heavier pieces—such as 24 by 36 inch—require more heavy-duty D-rings and screws. I take a tape measure and measure the canvas, writing down the width as well as the height. Now, it’s super easy for me to reserve an excellent location on the wall.
This helps to create a perfectly gated painting to fit the space. Placing an oversized piece in a smaller area can throw off the entire aesthetic. To achieve visual balance and unobstructed sightlines, I always consider placement while planning my array.
Check Stretcher Bar Condition
Next, I verify the stretcher bars. Fissures or bowing spells trouble in the future. I lightly rake my hands along each row of bars as they go by to find soft spots. Each colored bar needs to be flush against the canvas.
So, if I notice any problems, I address them ASAP. I repair or replace loose corners and splinters before proceeding. Sturdy bars help you maintain a full and controlled stroke.
Gather Essential Hanging Tools
I like to pull all of my tools together and keep them organized in one place. I pulled a hammer, level, and tape measure from my tool bucket to set out for our prep work. A simple pencil line indicates where shims and hardware will be installed.
I always have a towel close by to protect the flooring or the table from paint splatter. Hooks, screws, or strips all fit in a small tray, so I’m not fumbling for them. To spread glue, I use a 4-inch wide plastic spatula.
When the glue is dry, I cut off the canvas sides with an X-Acto knife.
Select Appropriate Mounting Hardware
I try to complement the hardware to the canvas. Sawtooth hangers or eye-hooks are ideal for small pre-hung pieces, while D-rings and screws hold larger dimensions stable. If you want a fast, no-nail solution, I sometimes go with adhesive strips to get a clean and classy look.
In fact, I like to use Liquitex acrylic pouring medium or soft gel as glue. These alternatives are reliable and don’t suffer the issues that thinner white glues or gesso can sometimes cause. If I need a wood panel, I use 1/4 or 3/8 inch cabinet grade plywood, sealing the back and sides with sanding sealer.
I like to round the top edges a little for a feminine touch.
Consider Wall Type Impact
First thing I do is determine what type of wall I’m working on—drywall, plaster or concrete. With drywall, you cannot screw into it without an anchor or the screw will pull out. Plaster attaches better to deeper screws and should be installed at a reduced rate to avoid fracturing.
For concrete, I always go with masonry anchors and a hammer drill with a masonry bit. So, as you can see, every wall type needs a different approach. I always choose the right equipment for the task at hand to guarantee a good grip.
PVA glue by itself is too brittle. Which is why I buy the stabilized version from an art supply store. This drastically reduces the chances of warping or spoilage.
Step one, I place the Arches oil paper down and weight it for 20 minutes or so. Then, I trimmed it all the way across to fit snugly but flush. It’s worth taking this care at prep, as it will save you later when your painting isn’t hanging, caught on edge,s or possibly getting damaged.
Hanging Your Unframed Acrylic: Step-by-Step

Hanging an unframed canvas acrylic ensures you an unfussy, contemporary aesthetic. This method will cover the workup extensively and will make your artworks pop and look beautiful. Follow these steps to ensure your work is protected and appears crisp on any wall.
Stay one step ahead by investing in solid prep, the right materials, and a detailed plan, and you’re ensured solid reinforcement and a tidy, classy look. Each step is important too, from how and where you choose to hang it to how you determine if it’s level. Our ultimate guide to hanging an unframed acrylic takes you step by step, with advice suited to every type of wall, canvas size,e and decor style.
1. Choose the Perfect Spot
Choose a location that suits the mood and colors of your painting. Now, picture those beautiful colors bouncing off the wall. Bold reds and blues just pop off the walls with a white background, and a nice, light gray canvas just melts into soft, neutral spaces.
Keep out of hot windowsills; direct sun will eventually eat the paint. Aim to place your artwork where you or your visitors will see it more frequently. It’s perfect for walls above a couch, desk, or bed.
To provide the most comfortable viewing experience, have the center point of the piece between 56 and 60 inches off the floor. For the best placement, hang it eight to ten inches above a table or sofa.
2. Measure Wall Placement Carefully
Use a good, professional-grade tape measure to mark your wall. Work from the middle out—doing so helps to ensure that your painting remains centered, allowing for a prettier, more harmonious finish.
Always check what’s nearby: leave enough space from light switches, outlets, or shelves. If you’re hanging other canvases, measure the spaces between each one. Remember to measure the canvas size first, before designing your plan.
A small 8×10-inch piece will fit in tight spots, while a bigger 20×30-inch canvas will require additional space.
3. Mark Your Hanging Points
Use a pencil very lightly to indicate where your hooks or nails will need to go. Ensure the marks are both level and the same distance away from each edge of the canvas.
If you’re aiming for a professional appearance, make sure to align these marks accurately before taking the plunge with hardware.
4. Install Wall Hardware Securely
Consult the instructions for your wall anchors or hanging hooks. For drywall, the good old-fashioned brass or steel nail does the trick without chipping out the wall.
A good small hook or nail should do it for lighter pieces, whereas two-nail hooks should be used for larger, heavier canvases. Many people use adhesive strips—these typically display weight limits on the packaging, usually ranging from four to 16 lbs.
Make sure to test the hardware by pulling on it with some force.
5. Attach Hardware to Canvas Back
If you decide to use D-rings, make sure the screw is pretty short so it doesn’t poke through the canvas. Make sure the wire is positioned one-third of the way down from the top to ensure proper balance.
For larger pieces, place three or four hooks down the top. Make sure to periodically double-check that all of your screws and hooks are securely affixed.
6. Lift and Mount Painting
Grip the canvas simultaneously on both sides to ensure the top of the canvas is in line with your wall hanging hooks or adhesive strips. So be sure to hold on tightly, and your painting will be far more secure.
Gently lower the canvas onto the hardware, ensuring it grabs the tape and flattens nicely.
7. Ensure Artwork is Level
Place a level on top of the canvas to ensure that it’s straight. In case your piece ends up tilting, move it slightly on the hooks or make some adjustments with the hardware.
Step back and view from various locations in the space to ensure it hangs properly.
Popular Unframed Hanging Methods

When you look for ways to hang an acrylic painting on canvas without a frame, you get lots of choices. Each of these methods provides a unique aesthetic, as well as benefits that complement your environment, decor, and painting’s dimensions. People rave about them—the simplicity, the elegance.
These options let the art speak for itself. It’s true, almost 80% of us love unframed hanging just for that reason. Remember to make your selection carefully, depending on the weight of the painting. Think about how you want it to look on the wall and how impressed you are with a finish you’re ready to put more time into achieving.
Wire and D-Rings Technique
When you want the ability to have some give, but not too much, wire and D-rings are a good combination to employ. To start, attach one D-ring on either side of the back of the canvas. Place them down a third of the way from the top.
Connect a hanging wire through the rings. Make sure it’s tight, but don’t over-stretch the canvas. It provides a convenient way to hang the painting on picture hooks or nails. Then you can make small adjustments to the left or right to get it perfectly aligned. For heavier pieces, a thicker wire will help provide stability.
Sawtooth Hanger Pros and Cons
A sawtooth hanger is an easy solution for lightweight art, such as small canvases and foam core boards, under 3 pounds. It’s easy to install—simply tack or screw it to the top center of the canvas. There are three main types of foam boards: Sawtooth Foam Hanger, Kwik Hanger, and Adhesive Hangers.
Each of these fits a specific board or mounting requirement. A 3-in-1 hanging pack does it all, which is super convenient if you hang a lot of art. Sawtooth hangers are less visible, but they may restrict the allowable weight of the piece. If you want your art to float, there may be a small space at the top.
French Cleats for Heavy Pieces
French cleats are my number one choice for big or heavy canvases. You attach one half of the cleat to the wall and the other half to the back of the canvas. Since you flush slide them together, the supports not only live art completely flush to the wall, but the weight is distributed evenly across the wall by spread supports.
This method is the best option if you really want a clean look without any tilt or sag. It is very strong, and the painting is flush with the wall.
Adhesive Strips: When to Use
Adhesive strips, such as Command Strips, are perfect for ultra lightweight art and rental homes with the need for quick removal on demand. In general, these command strips stick best to smooth, clean walls. If you apply them to brick or heavy texture latex wall paint, they will not stick, so investigate the surface before applying them.
Just be sure to read the directions, press on the proper amount of time, and allow it to cure before hanging. This protects your wall and makes it easy to move the art around.
Keyhole Slots for Flush Mount
Keyhole slots provide a clean, edgy aesthetic. First, drill or cut slots into the stretcher bars or the backing board. Finally, display the canvas on screws that you’ve embedded into the wall itself.
It’s a little more effort, but the end result is tidy, and the art lies flat against the wall with no space between. This approach is best for medium-sized art pieces where you wouldn’t mind a shiny, professional appearance.
Binder clips or artist clipboards provide stylish, low-budget solutions to hanging art. Binder clips are handy for gripping nails or basic wall hooks. The clipboard adds rustic charm and lets you quickly replace outgoing work with new pieces.
Achieving a Flawless & Safe Display
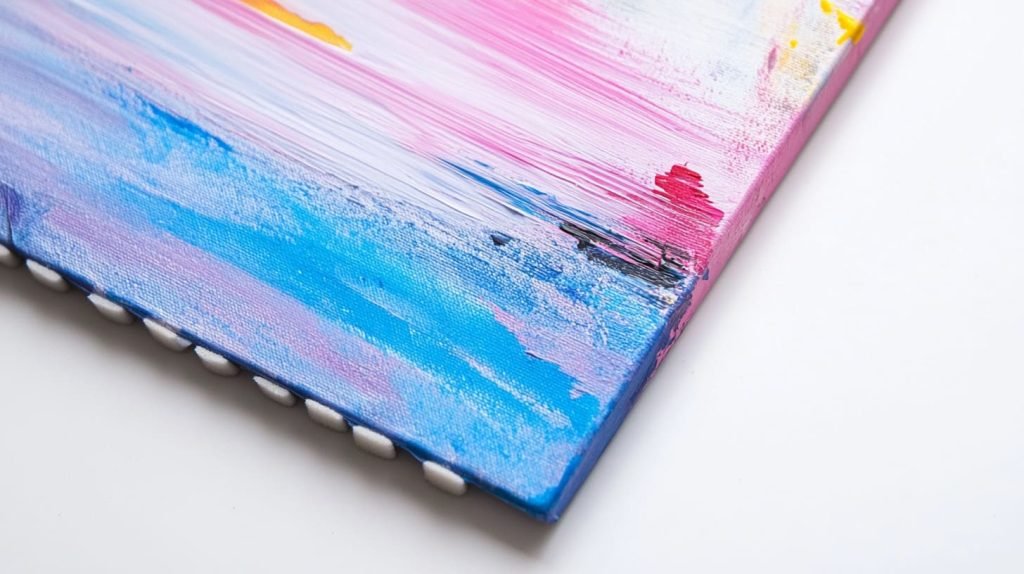
When displaying an acrylic painting on canvas unframed, balance concerns for both safety and bold, aesthetic drama. Protect what matters most, all while achieving a beautiful, flawless display and keeping it safe. After all, an excellent display will stick around a while, stand the test of time in your environment, and protect the artwork itself.
Due to the custom process and acrylic print materials, they can be expensive as well. Take the time to prepare your prints properly to ensure that you preserve the integrity of your investment. Usually, these prints come pre-drilled and come with the correct hardware from the manufacturer. This configuration makes your life easier while providing a more secure display.
At Picture Hang Solutions, we advocate using the right tools and taking the correct steps to hang art successfully. That way, your artwork continues to be protected and beautiful for decades.
Avoid These Common Mistakes
It’s a common mistake to either hang art way too high or too low. This decision ruins the entire aesthetic and prevents the audience's ability to enjoy the works. As a general rule, to achieve a great viewing experience, aim for the center of the work to be between 57 to 60 inches from the floor.
If you’re hanging several pieces, allow a minimum of 2 to 3 inches between each one. This will help produce a clean look on your display. This is dangerous, particularly with larger acrylics, which can be heavy. For large or weighty prints, like canvas, use wall anchors. They are to keep the piece from popping out of the wall.
Sheer strength matters too — our clips, for instance, support up to 25 pounds each, so the muscle is there.
Protect Walls and Artwork
Adhesive or backing strips protect both your wall and your piece of art. Place adhesive felt pads on the corners or back of your piece. They will act as a buffer to prevent the art from caressing or scratching the paint and drywall underneath.
Inspect the art and wall quarterly for any wear or damage. Examine the display for loose screws or finger marks, and take care of these simple fixes before they lead to unexpected emergencies.
Account for Room Conditions
While acrylic does resist moisture and rust, extreme shifts in temperature can still take their toll. Avoid placing fragile or valuable art above heaters, radiators, or anywhere the sun shines directly on it all day. Proper air circulation prevents warping, ensuring the work’s integrity.
Storing it in close proximity or direct contact with moist areas poses a higher danger to both the creation and the environment. For additional protection, apply a second coat of a protective finish.
Balance Function and Appearance
It should complement your space. Consideration one—A clean hanging job should seamlessly intertwine with the environment, not draw attention to itself. Hardware that matches your aesthetic and art is essential.
As artistic creators, welcoming guests into your space begins with the hardware you install. Meet our new wall buddies, who are now in wood and metal! Your approach needs to secure the art while adding beauty to your environment.
Enhancing the Remote and In-Person Experience is crucial, whether in a home or workplace.
Handle Tools Safely Always
Work safe by reading and following directions for each tool. Wear cut-resistant gloves and safety glasses as appropriate. Store dangerous or heavy tools out of reach, so they are unavailable to pets or children.
A clean work environment not only helps you prevent falls but also keeps the operation running seamlessly.
Conclusion
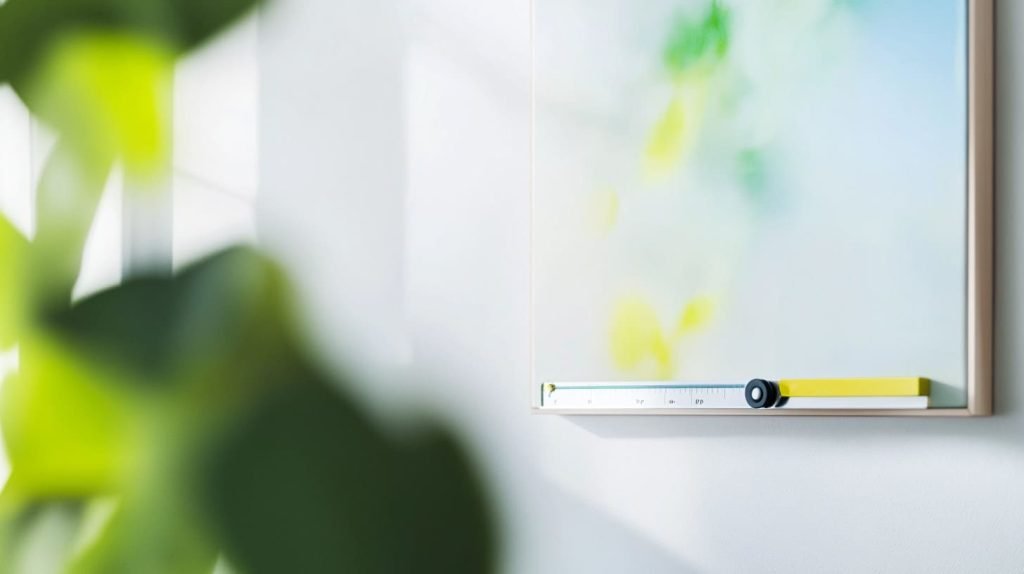
Use these acrylic painting on canvas hanging methods to leave the frame behind for a minimalist and contemporary look. This method emphasizes the rich colors and energetic forms of your painting. Sawtooth hangers, wire, or adhesive strips each provide you with a secure grip. A stud finder ensures you’re choosing the best place, and a level helps you hang your art evenly. Maybe that’s why, with such a simple task, simple tools like a hammer or screwdriver do the trick. Not only do you have more freedom to experiment with how your wall looks, but the process for changing things up is a breeze. No special skills or expensive equipment required. Follow these simple tips and watch your home come to life instantly. Have an unconventional method for hanging your artwork? Let us know how you do it, or if you’ve created a special setup! Let’s continue to inspire and support one another to keep the art game strong.




