Skip to content
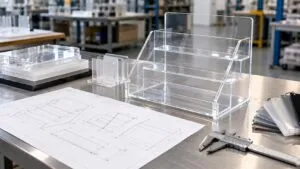
Most days in my factory start with the same small ritual. I open my inbox, pull up a fresh drawing, and somewhere near the corner I see a sharp angle on a clear panel with a short note: “material: plexiglass, bend here.” No comment about radius, no word about load, just a clean line that quietly expects everything to work.
In my world at Feilong Acrylic, bending plexiglass is everywhere. We bend it for cosmetic organizers, store displays, guards, light covers, and even furniture parts. On paper, it looks like a quiet operation between cutting and polishing. Heat, bend, done. In reality, bending is where many beautiful drawings turn into cracked edges, white stress lines, or warped bases that never sit flat.
I often see the same pattern. A designer assumes that plexiglass behaves like a friendly metal or a forgiving wood. They call out a tight radius, a heavy product on top, or a long lever arm, and they expect the sheet to obey. The sheet does not. It remembers every shortcut we take with heat, pressure, and cooling.
For this guide, I want to walk through how I really think about bending plexiglass: what the material is, which tools make sense, step-by-step methods, and the small precautions that decide whether a part survives the first year in a store. The way I look at a bend is simple: if I cannot explain the risk to the buyer in one clear sentence, we need to slow down and redesign.
Once you see how much judgment hides behind a “simple” bend, it becomes natural to step back and ask what plexiglass actually is and why it behaves the way it does under heat.
What Is Plexiglass and Why It Can Be Bent
What Plexiglass (Acrylic / PMMA) Really Is
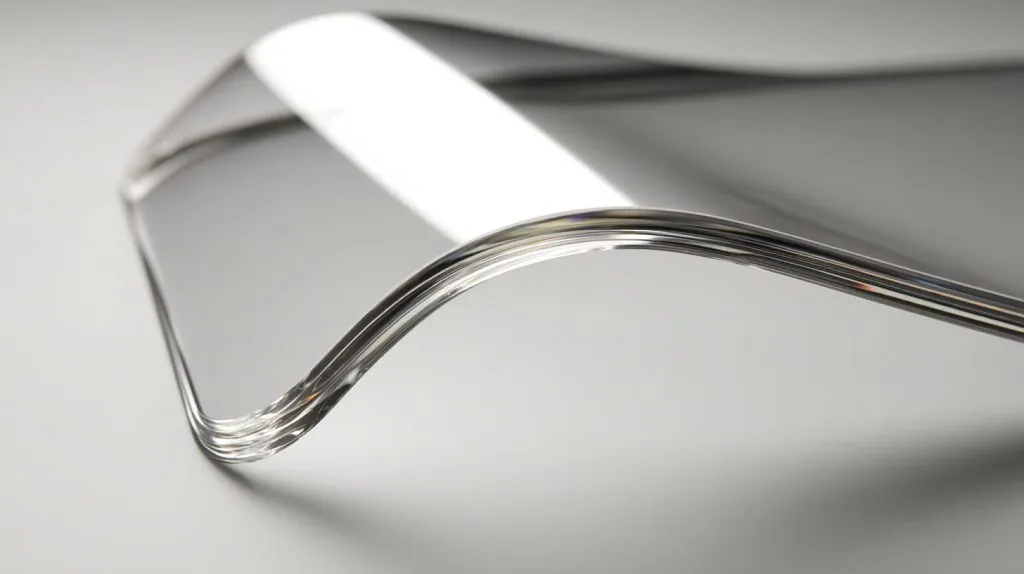
Plexiglass is a clear plastic. The chemical name is acrylic or PMMA. It is hard, light, and very clear. It does not bend like rubber. It does not dent like metal. It cracks when we do not respect its limits.
One key point many buyers miss is this: plexiglass is a thermoplastic. When we heat it to the right range, it softens and allows us to change its shape. When it cools, it holds the new form. If we heat it too much, it burns, bubbles, and turns cloudy. If we do not heat it enough, it cracks when we push.
There are two main types I deal with in the factory: cast acrylic and extruded acrylic. They look similar at first glance, but they behave differently when we bend them.
| Type | Pros for Bending | Cons for Bending | Typical Use in My Work |
|---|---|---|---|
| Cast acrylic | Better optical quality, less stress | More expensive, slightly less predictable | High-end displays, cosmetic organizers |
| Extruded acrylic | Cheaper, more uniform thickness | More internal stress, easier to craze or crack | Price-sensitive projects, simple bends |
On real jobs, I treat cast and extruded plexiglass almost like two different materials, because they fail in different ways when we push a bend too hard or too fast.
Why Plexiglass Needs Heat to Bend Safely
Inside a plexiglass sheet, the molecules are locked in place like people in tight seats on an airplane. If we try to bend the sheet cold, we force those “passengers” to move without space. The result is stress, whitening, and sudden cracks.
When we heat acrylic carefully, we give those molecules room to slide a little. The sheet softens along the bend line, and we can guide the material into a new angle without tearing it apart. The trick is to find the range where it is flexible but not sagging like a soft noodle.
I sometimes see designers write “cold bend” in project notes for very thin sheets. This can work for quick prototypes or gentle curves, but I assume the lifetime is reduced. Cold bending creates invisible stress that may not show up in week one, but shows up when the temperature changes or when someone bumps the part.
A good way to think about it is simple: if the part must stay clear, clean, and crack-free in front of paying customers, heat bending is not a luxury, it is basic protection.
Once the material itself makes sense, the next question is very practical: what tools do we really need on the table before we start heating a single bend line?
Tools and Equipment Needed Before Bending Plexiglass
Basic Tools for Small-Scale or DIY Bending
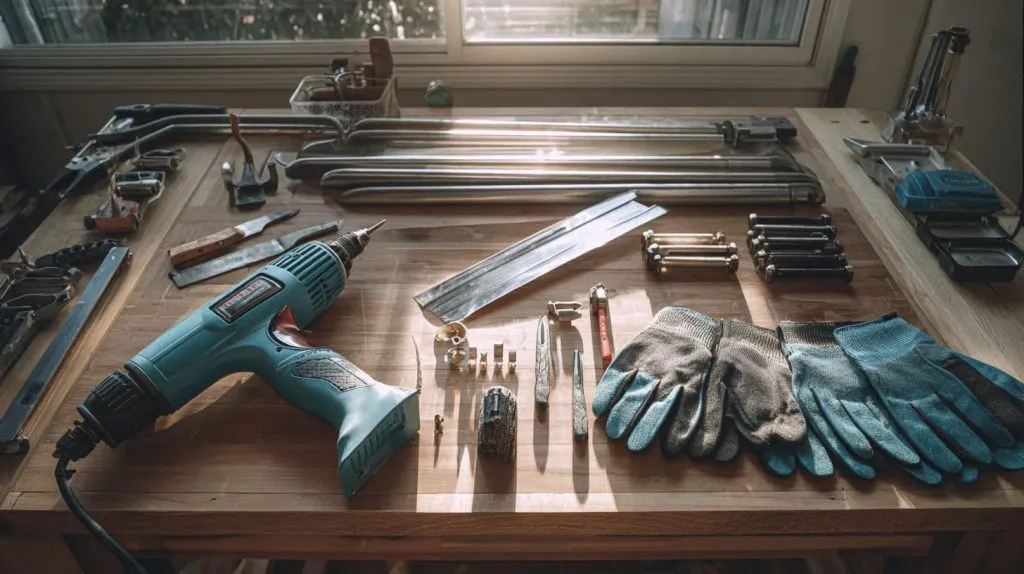
For simple bends, especially for prototypes or very small runs, the tool list is short. Many of my buyers and designer friends use setups like this on their own benches:
- Heat gun
- Clamps
- Straight edge or metal angle bar
- Heat-resistant gloves
- Protective film still on the sheet
A simple comparison helps frame what this basic kit can and cannot do:
| Tool / Item | Main Role | Limitations |
|---|---|---|
| Heat gun | Provides local heat along bend line | Easy to overheat small spots |
| Clamps | Hold sheet and guide during bending | Need flat, stable bench |
| Straight edge | Keeps bend line straight | Not precise for complex geometries |
| Gloves | Protect hands from heat | Do not protect against all hot surfaces |
Before I even plug in a heater, I ask myself what level of repeatability the buyer really needs, because that choice decides whether a simple heat gun is enough or we must move to a strip heater or something more precise.
Professional Tools for Clean and Repeatable Bends
In a factory like Feilong Acrylic, we use more specialized equipment when we need clean, repeatable bends for export orders:
- Strip heaters with controlled heating elements
- Adjustable bending jigs for specific angles
- Custom molds and fixtures for special shapes
- CNC-assisted heating and forming setups for tight tolerances
I like to think of it this way:
| Equipment | Best For | Typical Projects |
|---|---|---|
| Strip heater | Straight, repeatable bends | Price tags, small stands, brochure holders |
| Bending jig | Fixed angles at scale | Shelf fronts, display risers |
| Custom mold | Curved or complex shapes | Light covers, furniture edges, decorative pieces |
| CNC-assisted system | Tight tolerance and high volume | Export retail displays, branded organizer series |
In small workshop tests, a heat gun looks flexible and cheap. In real B2B work with hundreds or thousands of pieces, precision tools usually save more money than they cost, because they reduce rework and scrap.
Once the right tools are chosen and set up, the next logical question is how to actually bend the sheet without turning it into an expensive piece of waste.
Method 1: Bending Plexiglass with a Heat Gun (Step-by-Step)
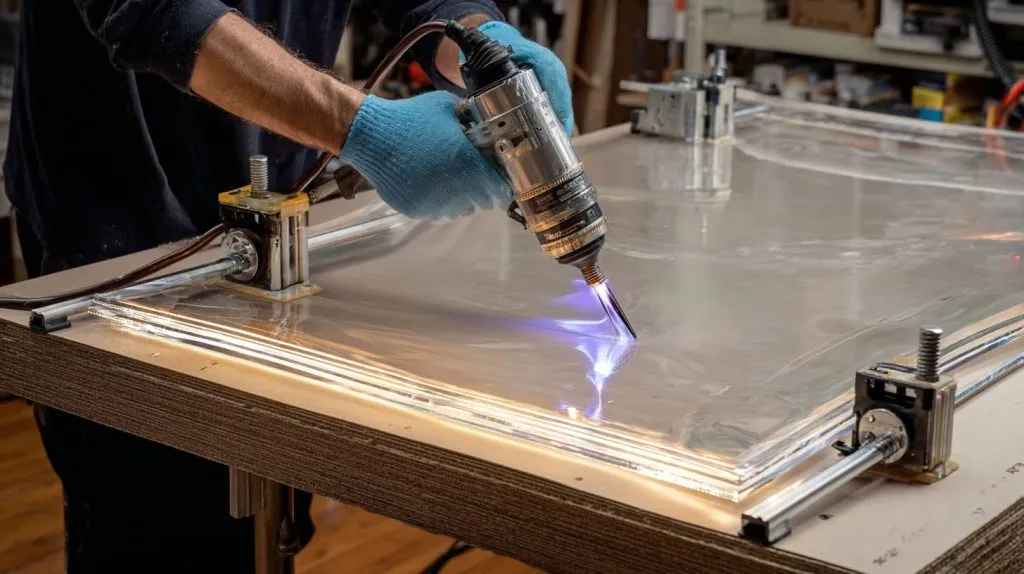
When a buyer tells me they will bend plexiglass themselves with a heat gun, I do not try to stop them, but I also tell them to expect a few failed samples before the first good part appears on the table.
Step 1: Mark the Bend Line
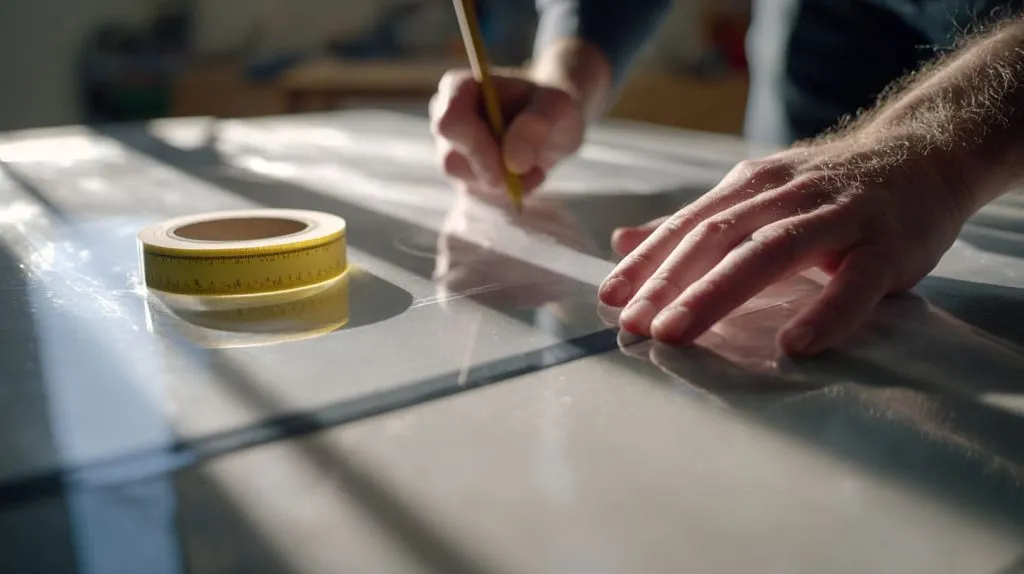
I always start by marking the bend line clearly on the protective film, not on the bare acrylic. Masking tape or a fine marker on the film works well. The line should match the drawing, not “somewhere close”.
- Use masking tape as a visual guide
- Keep the line straight and parallel to edges where needed
Attention:
- Never scratch the acrylic surface directly with sharp tools
- Inaccurate marking leads to uneven or twisted bends later
Step 2: Secure the Sheet on a Stable Surface
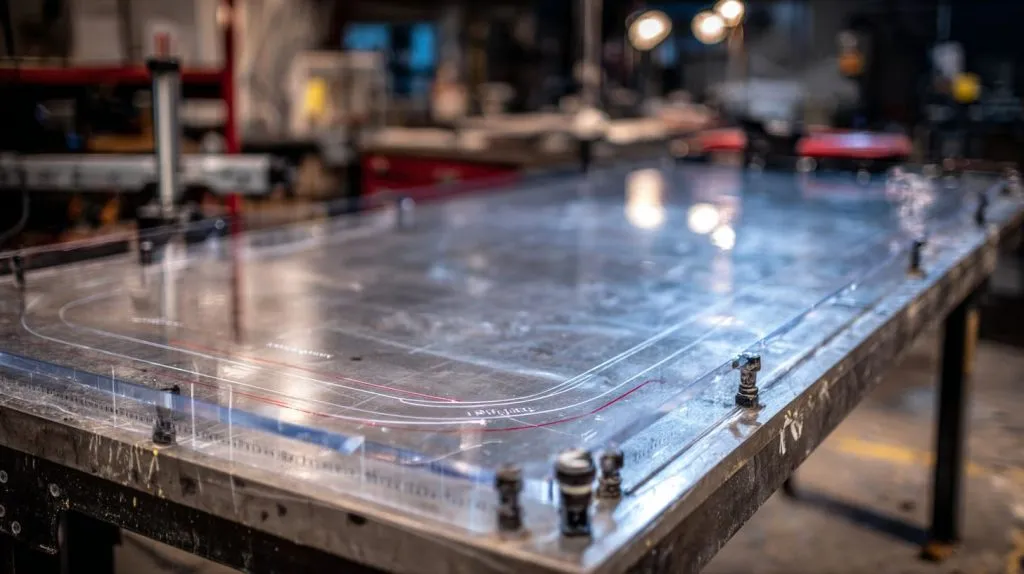
Next, I place the sheet on a flat, heat-resistant surface and clamp both sides of the bend line. The bend line usually sits right against the straight edge or metal angle that will guide the bend.
- Use at least two clamps for small pieces, more for long bends
- Check that the sheet cannot slide during heating
Attention:
- Any movement during heating will show up as a wavy or crooked bend
- Uneven clamping pressure creates twists that are hard to remove
Step 3: Heat the Bend Area Evenly
Then I start heating. I move the heat gun slowly back and forth along the bend line, keeping a steady distance. I do not rush this step. The goal is a wide, even soft zone, not a narrow, scorched stripe.
- Keep the nozzle moving all the time
- Heat both sides if the sheet is thicker
Attention:
- Overheating one small area causes bubbles, yellowing, or surface waves
- Spot heating creates internal stress that later shows up as cracks
Step 4: Bend Slowly to the Desired Angle
Once the acrylic starts to soften, I apply gentle pressure along the bend line, using the straight edge as a guide. I never “snap” it into place. I increase pressure slowly until the angle feels right.
- Use a simple angle gauge or template if the angle matters
- Support both sides so they bend together
Attention:
- Forcing the bend quickly leaves stress locked inside the material
- Bending without support can stretch one side and compress the other too much
Step 5: Hold the Shape Until Fully Cooled
After I reach the required angle, I keep the sheet fixed in that position until it cools and stiffens. This step often feels boring, but it is where many bends are lost.
- Keep the angle fixed with clamps, blocks, or your own steady hands
- Wait long enough for the full thickness to cool, not just the surface
Attention:
- Releasing too early causes spring-back and a smaller angle than planned
- Cooling with water or strong airflow can trap stress and cause micro-cracks
A simple summary table for heat gun bending helps many of my clients see the trade-offs:
| Aspect | Advantage | Risk / Limitation |
|---|---|---|
| Cost | Low | Time-consuming for many parts |
| Flexibility | Works on many sizes | Accuracy depends heavily on operator skill |
| Quality | Good for prototypes and tests | Hard to keep angle and radius consistent |
Whenever someone tells me they will rely on a heat gun for a production run, I suggest they treat the first few pieces as experiments, not as shippable parts, so they can find the right distance, temperature, and timing.
For buyers who need cleaner lines and repeatable angles on long runs, the next logical step is to look at strip heaters and how they change the bending process.
Method 2: Bending Plexiglass Using a Strip Heater (Step-by-Step)
Strip heaters are one of my favorite tools for straight bends. They look simple from the outside, but they give a level of control that is very hard to match with a handheld heat gun.
Step 1: Set Heater Temperature and Position
First, I adjust the strip heater to the right temperature range for the sheet thickness and type. Then I place the plexiglass so that the bend line sits exactly above the heating element.
- Check the distance between the element and the sheet surface
- Use guides or stops so the bend line is always in the same place
Attention:
- Misalignment creates deeper softening in some zones, which leads to uneven bends
- Too low temperature forces longer heating times and increases risk of surface marks
Step 2: Heat Until Material Softens Uniformly
Then I let the sheet sit above the strip heater until the bend area becomes flexible. I test the softening by gently lifting one edge. I look for smooth bending, not jerky movement.
- Watch the time for each thickness and note it down
- Heat the same way for every piece in a batch
Attention:
- Overheating leads to surface waves and visible deformation around the bend line
- Underheating makes the bend feel “rubbery” and causes cracks when we push to the final angle
Step 3: Transfer to Bending Jig and Form Angle
Once the material is ready, I move it quickly to the bending jig or straight edge and form the angle. The transfer must be controlled but not rushed.
- Use a jig set to the exact angle if repeatability matters
- Apply pressure along the whole bend line
Attention:
- Trying to “fix” the angle later by reheating often creates over-bent or damaged parts
- Local pressure with fingertips can leave uneven segments in the bend
Step 4: Cool Naturally While Fixed
The last step is the same lesson again: cooling. I leave the part in the jig until it is fully cool. For thicker sheets, this takes longer than people expect.
- Set a minimum cooling time and follow it for the full batch
- Do not move the piece even if it “feels” solid at the surface
Attention:
- Forced cooling with fans or cold air builds internal tension that may show up weeks later
- Removing the part too soon often gives you a bend angle that drifts over time
I like to compare heat gun and strip heater bending this way:
| Feature | Heat Gun | Strip Heater |
|---|---|---|
| Setup cost | Low | Medium |
| Speed per part | Medium | Fast once set up |
| Angle accuracy | Operator-dependent | High with jigs |
| Best use | Prototypes, small quantities | Production runs, straight display bends |
On factory orders, I start to trust a strip heater only after I see several test parts line up with the same angle and radius, because consistency is the only thing that really counts when we ship hundreds of pieces to a client.
When a project grows beyond straight bends and starts to ask for large curves or formed panels, I usually pull oven bending into the conversation.
Method 3: Oven Bending Plexiglass (For Large or Curved Shapes)
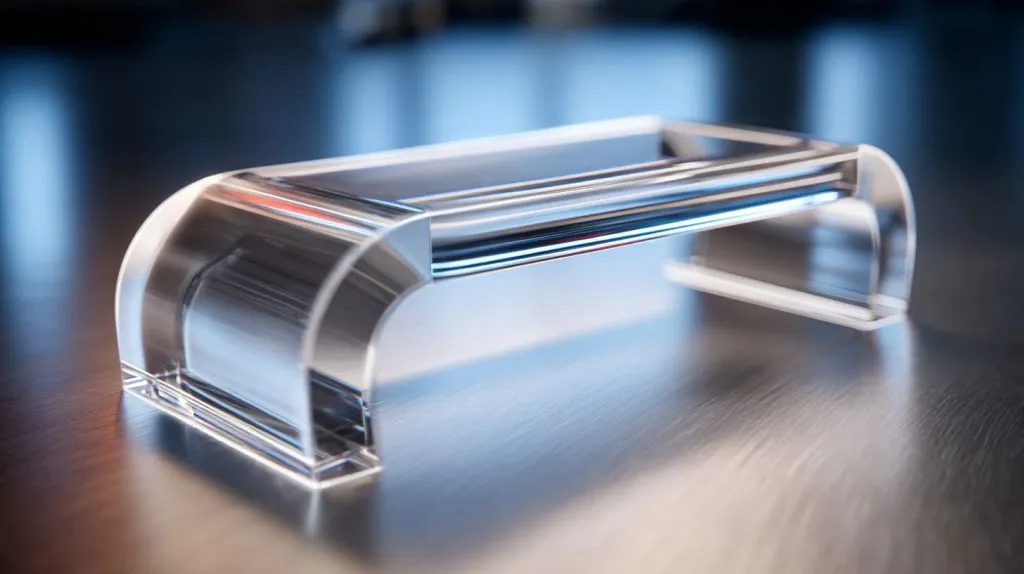
Oven bending looks more complex at first, but it is often the most realistic way to handle big parts, full curves, or gentle shapes that must look smooth from every angle.
Step 1: Preheat Oven to Correct Temperature
I start by preheating the oven to a stable temperature, usually in the range of 130–150°C (265–300°F), depending on thickness and material type. I do not load parts until the oven is stable.
- Use a reliable thermometer, not just the built-in display
- Make sure there is enough room around the part for air to move
Attention:
- Too high temperature causes blistering, bubbles, and yellowing
- Household ovens often have hot spots that can ruin one side of the part
Step 2: Place Acrylic on Mold or Form
Next, I place the plexiglass on a mold or form that matches the final shape. The support should cover a large area, not just a thin edge.
- Use smooth, clean molds to avoid marks
- Support the full surface if the sheet is large
Attention:
- Unsupported zones sag under their own weight and become thinner
- Rough or dirty molds leave visible patterns on the acrylic
Step 3: Shape and Hold During Cooling
Once the sheet softens, gravity and the mold start to do the work. For some shapes, I add gentle pressure or weights. For others, the mold alone is enough. Then I leave everything in place until the part is cool.
- Check the curve from multiple angles before cooling is complete
- Use consistent weight or clamps for batch work
Attention:
- Moving the part while it is half-soft leads to waves and flat spots
- Over-bending during the soft phase is hard to fix without reheating the entire part
For oven bending, my main concern is not just the temperature shown on the controller, but how evenly that heat actually reaches the whole sheet, because uneven heating is the fastest way to get optical distortion in large, clear panels.
A simple comparison helps decide when oven bending is worth the effort:
| Aspect | Oven Bending | Strip Heater / Heat Gun |
|---|---|---|
| Shape type | Large curves, complex forms | Straight lines, small localized bends |
| Part size | Medium to large sheets | Small to medium |
| Optical result | Smooth curves if done correctly | Sharp bends, visible line of bending |
| Setup effort | Higher (molds, temperature control) | Lower |
Once you understand the three main bending methods, the next challenge is not “can we bend it” but “which method should we use for this specific drawing and budget”.
How to Choose the Right Bending Method
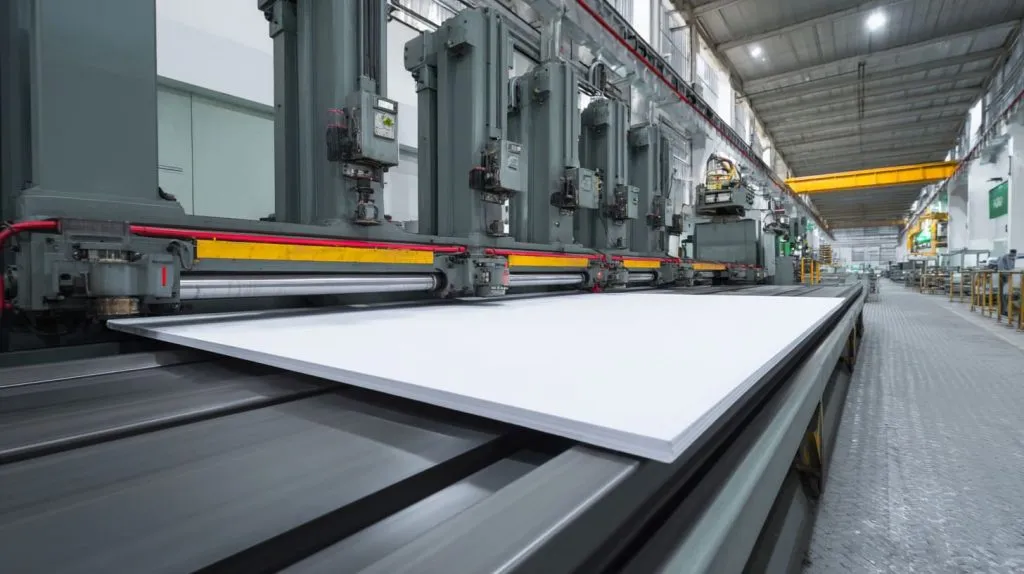
Comparing Heat Gun, Strip Heater, and Oven
Choosing a bending method is mostly about compromise. No method is perfect. Each one trades cost, accuracy, speed, and risk.
Here is how I often frame it when I talk with designers:
| Method | Accuracy | Repeatability | Typical Quantity | Main Risk |
|---|---|---|---|---|
| Heat gun | Low–Medium | Low | 1–20 pieces | Operator error, uneven heating |
| Strip heater | Medium–High | High with jigs | 20–1000+ pieces | Wrong temperature, misalignment |
| Oven | Medium–High | High with good molds | 10–500+ pieces | Warping, sagging, uneven temperature |
Heat guns are flexible but demand skill. Strip heaters are strong for straight, repeatable bends. Ovens are best when the shape itself is curved or large.
Which Method Fits Which Project Type
Project type often decides the method more clearly than any theory. I ask simple questions:
- How many pieces are needed?
- How visible is the bent area in the final product?
- How much variation can the buyer accept?
A simple mapping often helps my clients:
| Project Type | Preferred Method | Reason |
|---|---|---|
| One-off prototype | Heat gun | Fast setup, low equipment cost |
| Price tag holder series | Strip heater + jigs | Straight bends, many identical parts |
| Retail light cover with curve | Oven + mold | Smooth curve, visible to customers |
| Furniture edge detail | Oven or strip heater | Depends on radius and design |
| Custom organizer with many bends | Strip heater in stages | Control over each bend line |
When a customer asks me which method is “best”, I do not start from the tool I like most; I start from the ugliest possible failure they cannot afford, like a warped front edge in a luxury store, and then I work backwards to the safest method for that risk.
Once the method is chosen, the question becomes more precise: what thickness can we bend, and what bend radius is still safe for long-term use?
Recommended Thickness and Bend Radius Guidelines
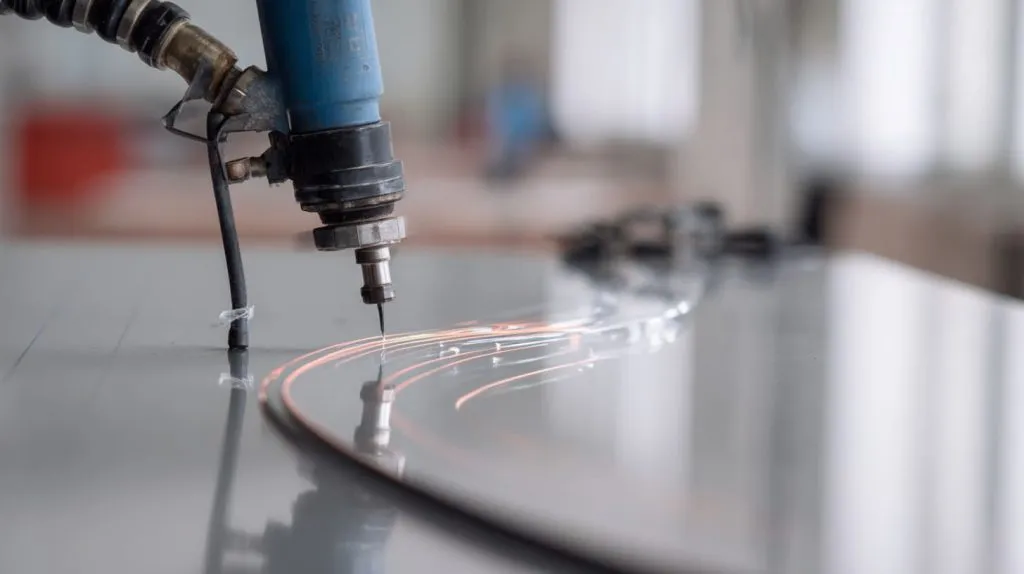
Thickness vs Minimum Bend Radius
Plexiglass does not like tight bends, especially when it is thick. Every time we push the radius too small, we ask the inner side of the bend to compress and the outer side to stretch more than it wants.
As a starting point, I often work with a simple guideline like this:
| Acrylic Thickness | Recommended Minimum Bend Radius |
|---|---|
| 2 mm | ≥ 10 mm |
| 3 mm | ≥ 15 mm |
| 5 mm | ≥ 25 mm |
These numbers are not strict laws, but they are good warning signs. When a drawing shows a tighter radius, I expect to see reduced lifetime, higher scrap rates, or both.
If a designer pushes for a smaller radius than my table allows, I assume we are trading long-term durability for a sharper visual effect, and I tell them that clearly so the decision is conscious, not accidental.
Why Ignoring Radius Rules Causes Failure
When we bend too sharply, stress concentrates along a narrow line. The outer surface stretches and becomes thinner. The inner surface compresses and tries to buckle.
Here is what I often see on failed parts:
| Visible Symptom | Likely Cause | Typical Situation |
|---|---|---|
| White “frosted” bend line | Radius too small, fast bending | Tight bends on extruded acrylic |
| Fine cracks after some time | High internal stress from bend | Heavy load on bent shelf or lip |
| Sudden break at bend | Cold bending or poor heating | DIY bends without consistent heat |
The hard part is that many of these failures do not show up on day one. They appear when the part is in service, under load, under sunlight, or after small impacts.
Once radius and thickness are set, the next big challenge is to avoid the classic bending problems that keep coming back: cracks, bubbles, and spring-back.
Common Problems During Plexiglass Bending and How to Avoid Them
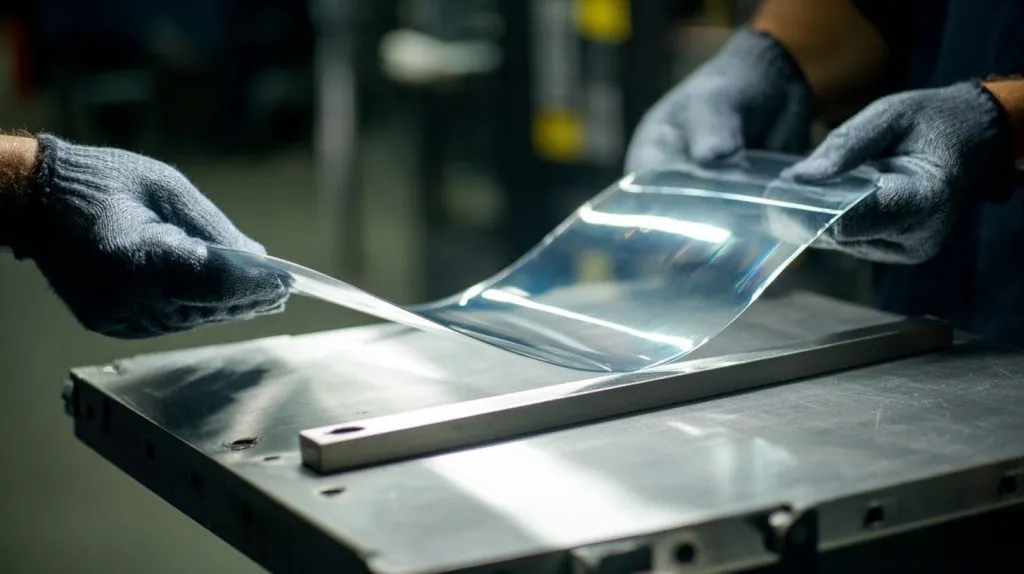
When a buyer sends me pictures of failed parts, the same three problems appear again and again: cracks or whitening at the bend, bubbles or burn marks, and angles that do not stay where they were set.
When a bent part returns with white stress marks or fine cracks, I usually find that someone tried to save time by heating too fast or cooling too quickly, and the material simply refused to cooperate.
Cracks and Whitening
Cracks and whitening are signs that the acrylic was forced more than it could handle, often with poor heating or bending too sharply.
Causes I see often:
- Bending cold or at too low a temperature
- Forcing the bend quickly to meet an angle
- Using extruded acrylic with a very tight radius
Prevention methods:
- Heat the bend zone longer and more uniformly
- Use a larger radius if the project allows
- Prefer cast acrylic for critical, tight bends
Bubbles and Burn Marks
Bubbles, yellowing, or dark marks tell a different story: too much heat, usually in a small area.
Typical causes:
- Holding the heat gun too close
- Leaving the sheet over a strip heater or in an oven for too long
- Hot spots inside an oven or uncalibrated heater
Ways to avoid this:
- Keep hot air moving constantly when using a heat gun
- Watch the surface closely and reduce temperature at the first signs of distortion
- Check oven temperature with an independent thermometer
A simple problem–cause–prevention table helps many teams:
| Problem | Main Cause | Key Prevention Step |
|---|---|---|
| White bend line | Underheating, tight radius | More even heat, larger radius |
| Hairline cracks | High internal stress | Slower bending, better cooling |
| Bubbles / yellow | Overheating | Lower temperature, move heat source |
| Warp or twist | Uneven heating or clamping | Symmetric setup, use jigs and supports |
Spring-Back After Cooling
Spring-back happens when the material “remembers” its original flat shape and pulls back after we release it. This is normal to a point, but it becomes a real problem when angles must be precise.
Why it happens:
- Bend angle set while material is not fully softened
- Part released before full cooling
- Thickness and radius combination too aggressive
How experienced shops deal with it:
- Slightly over-bending so the final angle settles where needed
- Keeping parts fixed in jigs until fully cooled
- Adjusting process based on early test pieces
When a team bends many parts in one day, the pressure to move faster is always there. I can often tell from the failure pattern which shift decided that five minutes of cooling was “good enough” for a part that needed fifteen.
Once the most common problems are under control, the small details after bending—cooling and finishing—decide whether a project will feel “factory-made” or “home-made” in the buyer’s hands.
Post-Bending Cooling and Finishing Steps
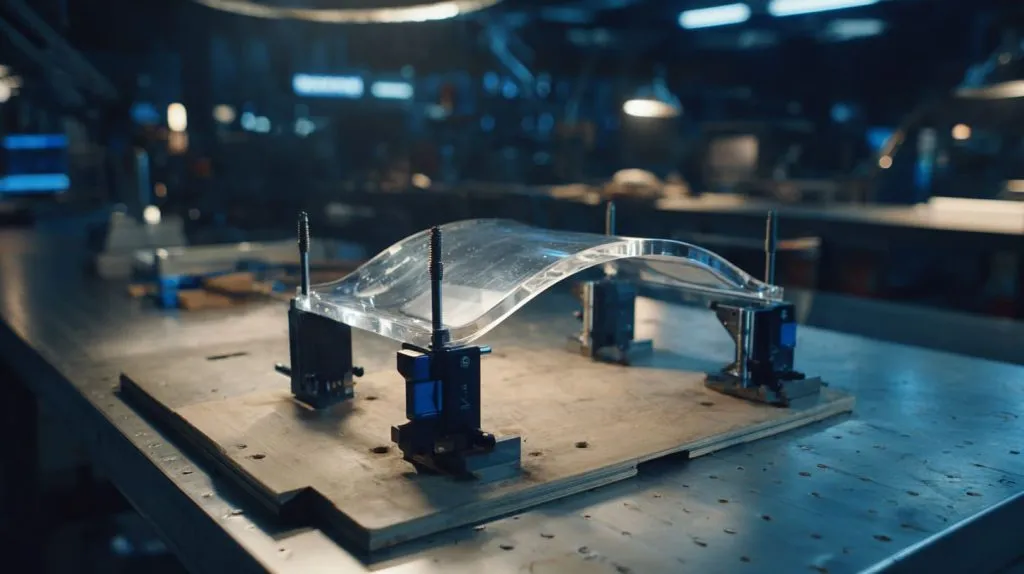
Proper Cooling Practices
Cooling is boring to watch but very important. The material needs time to relax into its new shape. If we touch, move, or stress it during this phase, we fix small deformations into the final part.
Good cooling practice:
- Let the part cool naturally in air
- Keep it fixed in a jig, mold, or between straight edges
- Allow extra time for thicker sections
Things to avoid:
- Cold water or wet cloth on hot acrylic
- Strong fans aimed directly at the bend
- Moving the part as soon as the surface feels cool
In daily factory work, I treat cooling time the same way I treat glue curing time: if someone is in a rush here, I know we are paying later with returns or rework.
Edge and Surface Finishing After Bending
After bending, many parts still need finishing. Edges may be rough from cutting. Surfaces might have light marks or haze.
Common finishing methods we use at Feilong Acrylic:
- Flame polishing for clear, glossy edges
- Sanding and buffing for fine control
- Light deburring for hidden edges
Comparison of finishing options:
| Method | Result | Best For | Caution |
|---|---|---|---|
| Flame polishing | High gloss, very clear edge | Visible edges in displays | Needs skill, can add stress if overdone |
| Sanding + buffing | Smooth, controlled finish | Functional parts, non-show surfaces | Takes more time, dust management needed |
| Deburring only | Safe but not cosmetic edge | Internal parts, hidden edges | Not suitable for visible showroom pieces |
Sometimes, I suggest that buyers skip high-gloss finishing on purely functional edges and spend that budget instead on better bending control, because a clean angle matters more than a mirror-like edge in many industrial settings.
After we have a good bend and clean finish, the last big question is where the line sits between “DIY is okay” and “this really should go to a factory”.
When DIY Bending Is Not the Right Choice
Not every bend needs a factory. But not every bend should live on a small bench with a heat gun either. Knowing where to draw that line is one of the most useful skills for a buyer or designer like Jacky.
Signs the Project Needs Factory-Level Bending
Some signs tell me very clearly that a project should go through controlled factory bending:
- The part has multiple bends close to each other
- The bent area carries weight, like a product shelf or support
- The visual line of the bend is in front of customers
- The quantity is large and scrap rate matters a lot
- The project has tight angle or dimension tolerances
I often ask buyers to send me photos of where the part will live. If the plexiglass is part of a premium cosmetic display, at eye level, under strong light, the cost of one warped bend is much higher than the cost difference between DIY and factory bending.
Whenever I see more than two bends on a small part, especially if it is part of a structural or visual element, I already lean toward factory bending, because tiny angle errors add up across the piece faster than many people expect.
Why Custom Acrylic Factories Get Better Results
A dedicated acrylic factory like Feilong Acrylic has three big advantages when it comes to bending:
Process control
We use calibrated heaters, jigs, molds, and test pieces to tune the process before we touch the real order.People with practice
Our workers bend parts every day. They can see a problem in the color, reflection, or feel of the material before a crack even appears.Systematic quality checks
We do sampling, visual checks, and physical tests. That might sound heavy, but for export work it is basic survival.
In many B2B cases, the real cost is not the acrylic sheet or the bending time. The real cost is a delayed shipment, a rejected batch, or a store opening that cannot go ahead because a display looks wrong. Factory-level bending is one of the tools I use to protect my clients from those hidden costs.
Once that line between DIY and factory work is clear, it becomes easier to think about bending plexiglass as a set of choices, not a gamble with heat and luck.
Conclusion
When I decide how to bend plexiglass for a client, I am not asking what is technically possible; I am asking what will still look safe, clean, and professional after years of real use in a store, workshop, or home.
I wrote this guide because I see the same situation again and again. A designer draws a beautiful concept. A buyer wants to keep costs under control. Somewhere between those two, the bending step gets treated as a small detail. Then the project runs into stress lines, warped fronts, and timing pressure right before a launch.
My view is simple:
- Material matters. Cast and extruded plexiglass behave differently, so I do not treat them the same when I plan bends.
- Method matters. Heat gun, strip heater, and oven each solve a different type of problem, and I choose them based on risk, not habit.
- Details matter. Marking, clamping, heating, cooling, and finishing are boring words, but they decide whether a bend is honest or fragile.
I think this way because I have seen what happens when we ignore these points. Cracks do not care about marketing plans. White stress lines do not care about launch dates. Bubbles do not care how many emails were sent to push a project faster.
If you are working on a project that involves bent plexiglass—maybe a cosmetic organizer, a store display, or a furniture detail—and you are not fully sure about radius, method, or process, you do not have to guess alone. You can send me your drawing, a photo of the real environment, and a few notes about quantity and budget.
At Feilong Acrylic, my team and I spend our days turning these drawings into real, bent acrylic parts that survive dust, cleaning, light, and customers’ hands. We do it by asking the small questions early, not by fixing big problems late.
If you want a second pair of eyes on your design, or you need custom bent acrylic parts with controlled quality and export-ready finishing, you can reach me through flacrylic.com. Sometimes one careful conversation about bending saves an entire project from becoming an expensive lesson.