 Skip to content

I never thought I’d still learn new lessons about laser cutting acrylic after more than a decade working with China manufacturers. But every time I see a buyer struggle with melt marks, uneven edges, or parts that don’t fit, I remember: laser cutting is not a push‑button process. It feels simple — it’s just a laser, right? — but there’s a lot hiding behind that shiny edge.
This guide is for designers like me — people who spend hours balancing drawings, tolerances, suppliers, and real parts in hand. I’ll walk through 15 tips and tricks I’ve tested in workshops and factories that save time, cut scrap, and help you get parts that look and fit the way you want.
Tip 1: Choose the Right Type of Acrylic Sheet

When I started, I used whatever sheet I could get quickly. That cost me more in rework than the material itself. Not all acrylic is the same. There are two big types you will see:
Cast acrylic vs extruded acrylic
- Cast acrylic comes from pouring liquid between sheets — it’s harder and engraves white.
- Extruded acrylic is pushed through a die — it is cheaper and gets very clear edges.
Both cut well, but they behave differently under heat. :contentReference[oaicite:1]{index=1}
How material choice affects edge clarity and melting
| Property | Cast Acrylic | Extruded Acrylic |
|---|---|---|
| Edge finish | Crisp, sometimes slightly matte | Clear & flame‑polished |
| Engraving quality | Sharp white contrast | Softer, less detailed |
| Melting behavior | Higher melting point | Melts easier, smoother edge |
The sheet you choose changes how much power and speed you run on the laser.
When extruded acrylic still makes sense for cost‑driven projects
In high‑volume jobs where the finish doesn’t have to be decorative, extruded acrylic saves money. Just be ready to dial settings more carefully so it doesn’t over‑melt.
In actual projects, I often weigh cost vs finish. Sometimes clear flame‑polished edges matter more than engraving quality.
Let’s move on to how thickness adds another layer of complexity.
Tip 2: Match Acrylic Thickness to Laser Power
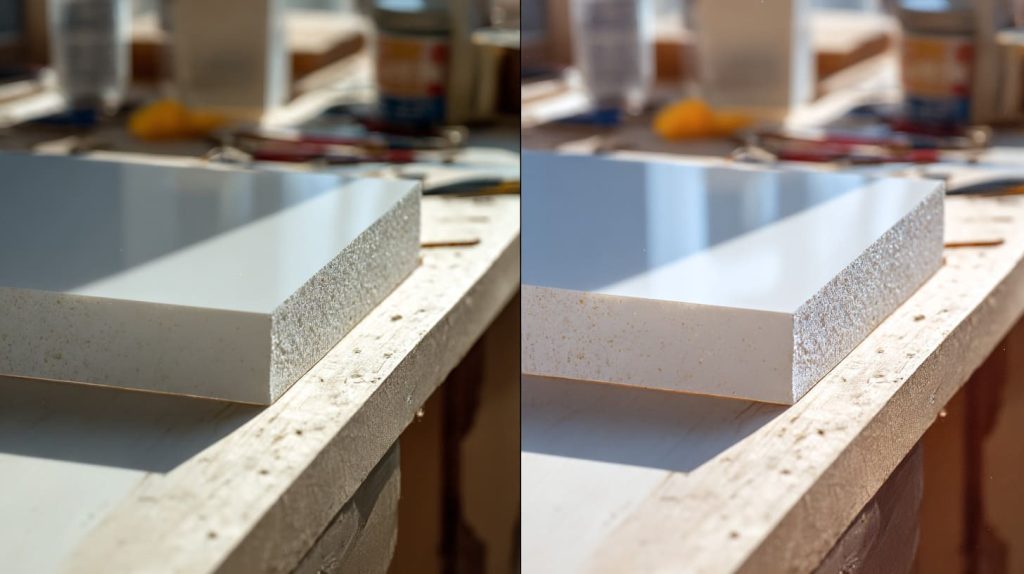
Getting power right isn’t just about “high vs low.” It’s about how thickness and wattage work together.
Common thickness ranges and required wattage
Here’s a quick starting point I use:
- 1.5mm acrylic: medium power, high speed
- 3mm acrylic: mid‑range power, balanced speed
- 6mm acrylic and up: higher power, slower speeds
These aren’t hard rules — they depend on your machine and airflow too.
What happens when power is too low or too high
- Too low power = incomplete cuts. You have to run another pass.
- Too high power = melted edges, more cleanup.
Practical thickness limits for clean cuts
I treat 6mm as a mental milestone. Past this, I assume slower speed and multiple test cuts. I’ve burned days trying to cut thicker sheets with the wrong laser settings — it adds up fast.
Now let’s talk about film — it sounds simple but surprises many.
Tip 3: Keep Protective Film On (Most of the Time)
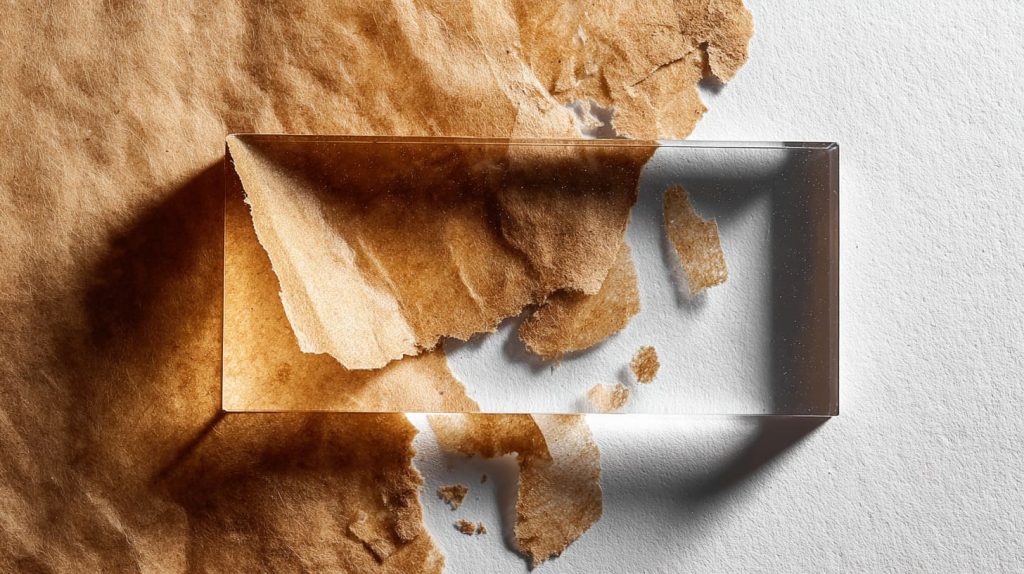
There’s always confusion about protective film. My first instinct used to be “rip it all off!” Boy, was that wrong.
Why paper masking helps reduce scorch marks
Leaving the film on can protect the surface from soot and reduce yellowing while cutting. The laser cuts both film and acrylic at the same time. This often gives a cleaner top surface on finished parts. :contentReference[oaicite:2]{index=2}
When plastic film causes melting problems
If the film melts and sticks to edges, it’s usually because the settings aren’t right. In that case, remove only the top film before cutting and leave the bottom for surface protection.
Best practices used in factories
We usually leave both sides on for simple cuts, then test removing the top film if the project needs ultra‑clean faces. It’s a small step that avoids sanding later.
I’ve seen designers scratch parts because they removed film too early — don’t underestimate this step.
Tip 4: Optimize Cutting Speed Before Power
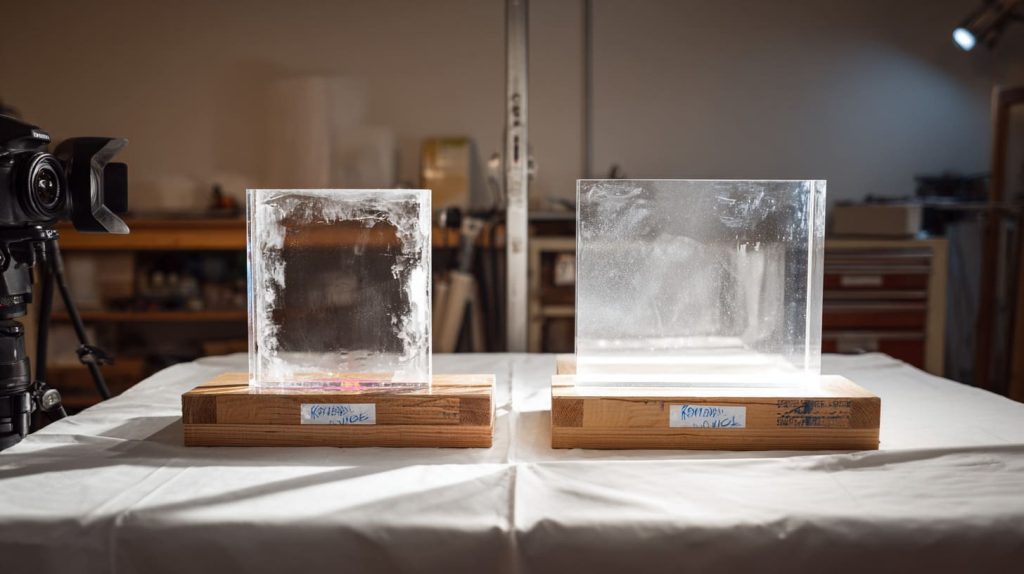
People obsess about power percentages. I obsess about speed first. Speed changes cut quality faster than power does.
Why speed adjustments matter more than raw power
Speed controls how long the laser sits on a spot. Too slow = melt, too fast = no cut.
Signs your speed is too fast or too slow
- Fast: incomplete cuts, rough bottom edges.
- Slow: melted beads, droops on exit points.
Typical speed ranges by thickness
I don’t follow fixed numbers here. I group thickness by behavior, not by theory. This mental table helps me decide my first move before touching power settings:
| Acrylic thickness | How I treat cutting speed |
|---|---|
| 1.5–3 mm | I push speed higher to avoid edge melt |
| 3–6 mm | I slow down slightly and watch the edge |
| Over 6 mm | I slow a lot and expect test passes |
What matters most is this: if speed feels wrong, power adjustments will never fully fix the cut.
Once speed feels under control, I shift my attention to focus — and that’s where many cuts quietly fail.
Tip 5: Use Proper Focus and Z‑Height Settings
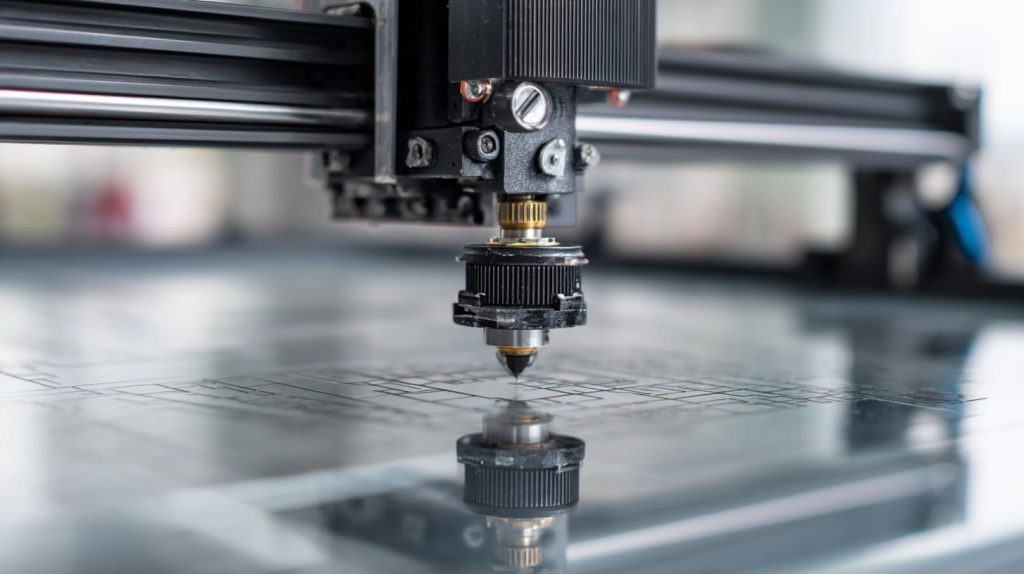
You’d think focus is automatic. It’s not. I find focus errors to be one of the most overlooked issues.
Single focus vs dynamic focus
If your machine supports dynamic focus, use it for mixed thickness jobs. If not, set focus exactly for your material thickness.
Where to focus for thick acrylic
For thicker sheets, I bring focal point slightly into the material rather than on top. This flattens the cut angle.
Common focus mistakes beginners make
Beginners often rely on machine presets. Always verify with test cuts — presets are starting points, not rules.
A wrong focus wastes time and eats material fast.
Tip 6: Ensure Strong and Clean Air Assist
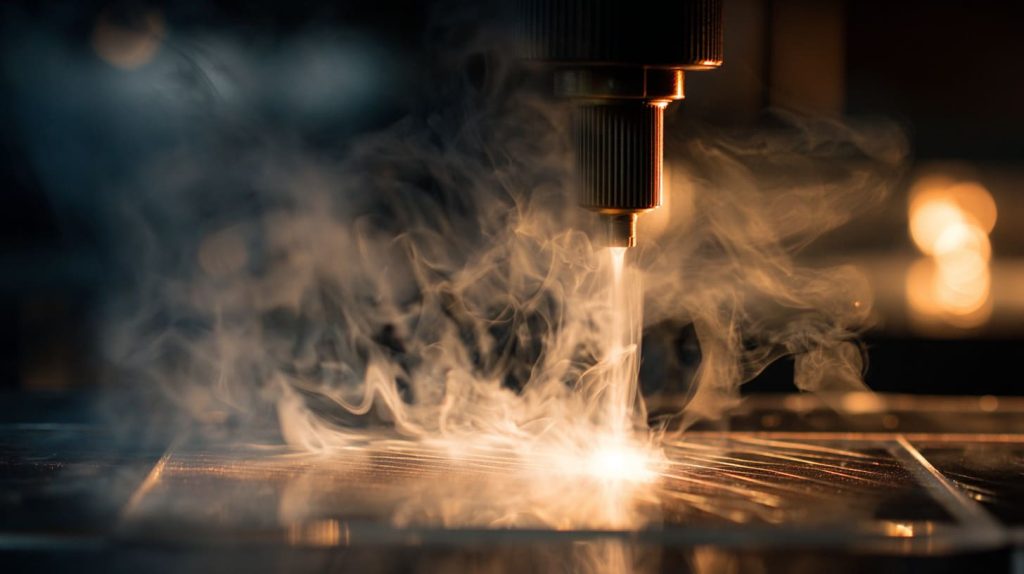
Air assist is like breath on a candle — it keeps heat under control.
How air assist improves edge quality
Air blows smoke and vapor away from the cut, giving you clearer edges.
Preventing flame‑ups and burn marks
Without steady air flow, you get tiny flames and scorched marks. I once lost a job because a small flame charred a white sign panel — embarrassing and costly.
Air pressure recommendations
Too much pressure cools the cut too fast and gives a milky edge. Too little and you get soot. I usually start medium and adjust test samples.
Every operator soon learns that air assist mistakes show up on finished parts.
Tip 7: Control Heat Buildup During Long Cuts

Long continuous cuts can build heat and distort the acrylic.
Heat accumulation and edge re‑weld issues
Heat makes edges warp or re‑weld where the laser path overlaps.
Pausing strategies and cut sequencing
I break long cuts into segments with tiny pauses — even a second helps cool the sheet locally.
Factory‑level cooling habits
We use fans and airflow direction to move smoke and heat away. What works in small hobby setups doesn’t always scale without airflow control.
This was a hard lesson learned when I had multiple parts warp mid‑job.
Tip 8: Prepare Clean Vector Files

Bad files make good machines look bad.
Line thickness and duplicate path problems
Duplicate paths cause double cuts. Lines that aren’t pure vectors frustrate the laser software.
Common issues in DXF, AI, and SVG files
Sometimes export software drops tiny nodes. That tiny glitch can ruin an edge.
Why designers and factories often blame each other
I’ve seen files that look fine on screen but have 100 tiny points in a corner — invisible until cut.
Clean up files. Always.
Let me share why corners matter next.
Tip 9: Avoid Tight Inside Corners

Sharp corners are beautiful in CAD but can crack in reality.
Why sharp internal corners crack easily
Laser heat concentrates at corners, making cracking more likely.
Using fillets and micro‑radii
Add small radii to relieve stress and get cleaner results.
Design‑for‑manufacturing mindset
I always check corners first when reviewing designs. It’s a simple change with big payoff.
You’ll thank me when parts come back perfect.
Tip 10: Test on Scrap Before Full Production

I cannot overstate this: test cuts save money.
Why acrylic behaves differently batch to batch
Even sheets from the same supplier cut differently from run to run.
What parameters to record during testing
I write down power, speed, air, and focus settings for every material type.
Cost‑saving logic for B2B orders
Failures on final orders cost more than scrap cuts ever will.
After testing, everything feels easier.
Tip 11: Manage Edge Finish Expectations
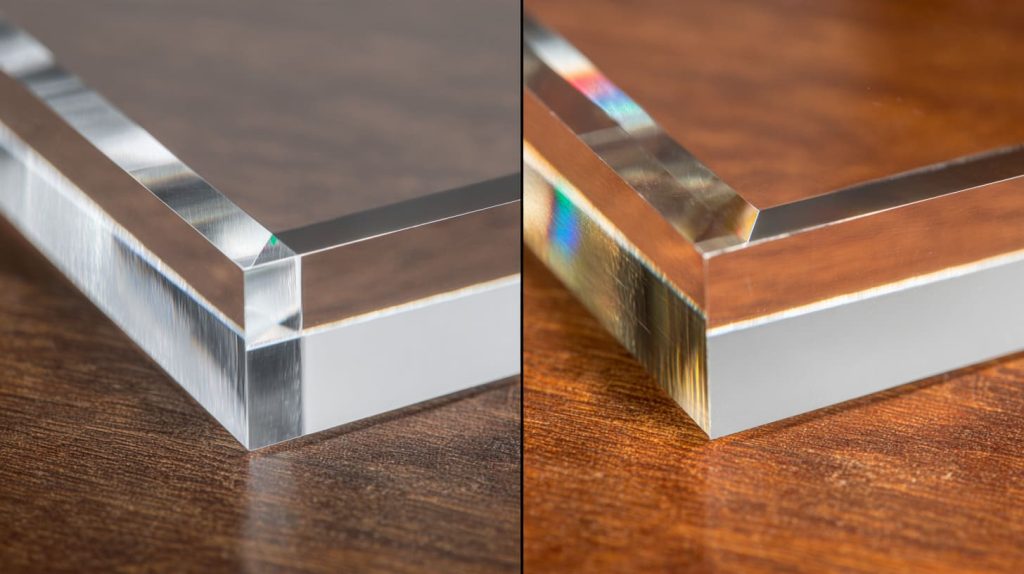
Edge quality = customer satisfaction.
Flame‑polished vs laser‑polished edges
Some edges look better straight off the laser. Some need flame polishing.
For showpiece items, I plan extra time for finishing.
Communicating edge quality clearly with suppliers
Don’t assume everyone knows your finish needs. Tell them exactly what you want.
Expectations matter.
Tip 12: Prevent Smoke Staining and Yellowing

Smoke marks are not just ugly — they confuse tolerance and fit.
Causes of smoke residue on clear acrylic
Poor air flow and low exhaust make smoke stick to the workpiece.
Table cleanliness and airflow direction
Keep the bed clean. Move air away from parts, not just around them.
Simple habits that improve optical clarity
Wiping edges and rotating the sheet while cutting can help.
Many overlook this until it’s too late.
Tip 13: Use Tabs and Bridges for Small Parts
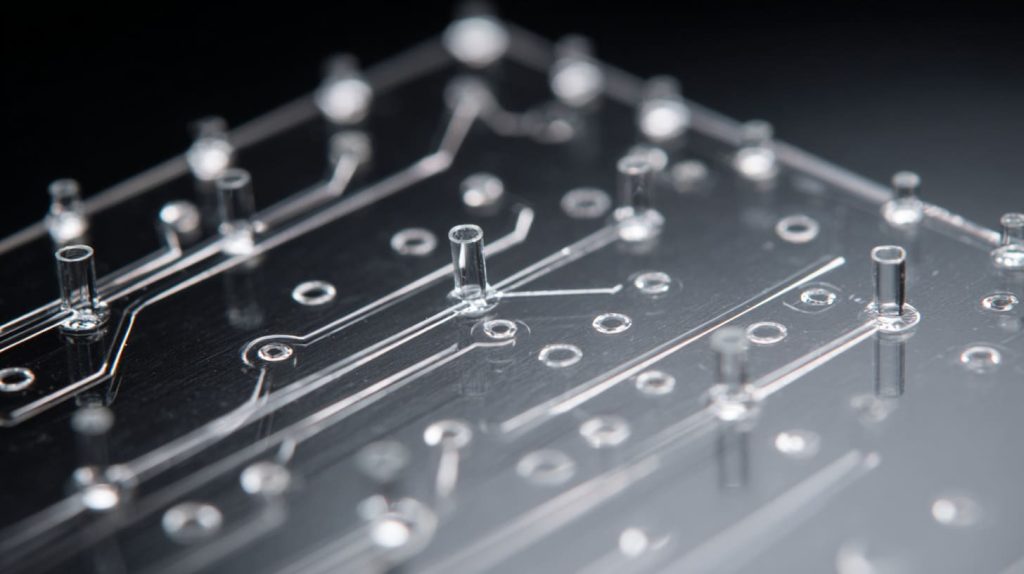
Tiny parts like to fly away.
Why small parts shift during cutting
They lose contact with the bed and get blown by air.
Tab placement strategies
Small tabs hold parts in place until you’re ready to remove them.
Reducing scrap loss in bulk runs
It’s a simple trick that stops lost pieces and waste.
I use this on every job with small details.
Tip 14: Store and Handle Acrylic Correctly

Even before the laser, acrylic care matters.
Static dust and surface scratches
Dust loves static — and static loves acrylic.
Storage orientation and environment
Flat, clean, and dry keeps sheets true.
What factories do differently from workshops
We use racks, covers, and strict handling rules. It sounds mild, but it prevents defects.
Bad handling shows up on finished parts.
Tip 15: Design With Assembly and Use in Mind
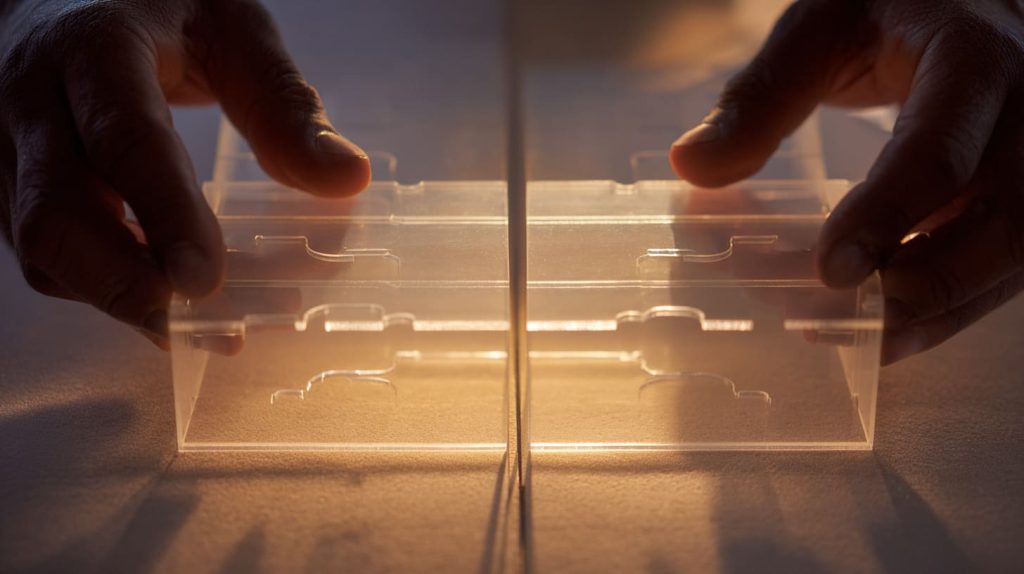
I’ve seen beautiful parts fail because they didn’t fit.
Slot fits, tolerances, and kerf compensation
Laser kerf changes fit. Account for it in your drawings.
Acrylic’s thermal expansion reality
Keep joints forgiving when parts heat up.
Lessons learned from failed real‑world products
One job had parts bind because I forgot thermal expansion. A few mm made all the difference.
Design is more than cutting.
Conclusion
Laser cutting acrylic is as much about judgment as it is about lasers. I wrote this guide from years of watching beautiful designs turn into flawed parts because someone skipped a basic step. I believe every great part starts with the right material choice, thoughtful settings, and clear communication. If you use these tips, you’ll cut cleaner parts, avoid common mistakes, and save time and money.
Let’s keep building better parts. If you ever want to talk about a tricky laser cut job or get a second opinion on settings, reach out — I’m happy to help.




