 Skip to content
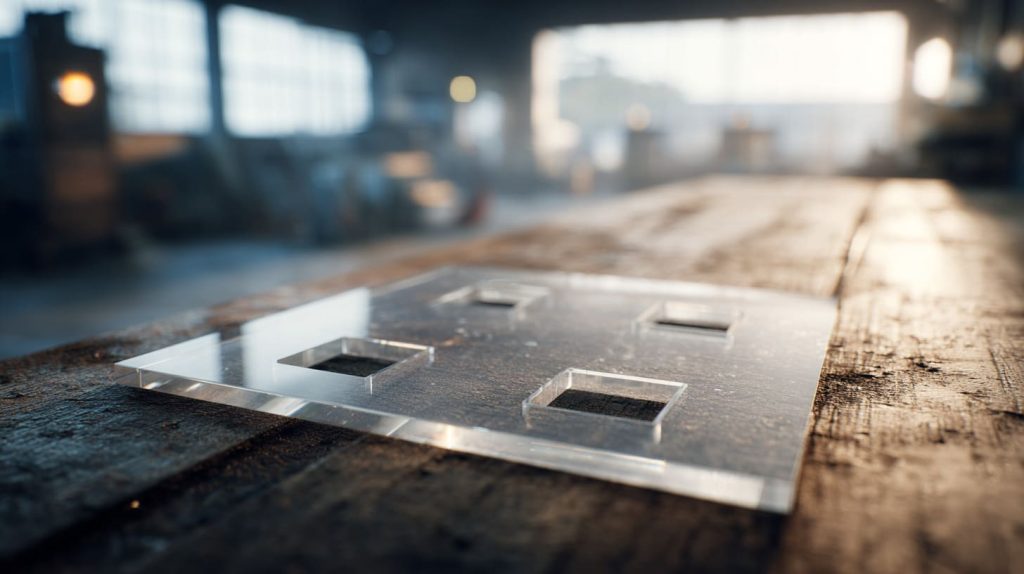
A buyer once sent me a photo that made me laugh and sigh at the same time.
It was a clear plastic panel on a workbench. Four “almost-square” holes were cut in it. Each one looked a little different. One corner was chewed. One edge was wavy. One hole was slightly rotated, like it had a bad attitude. The message was short:
“Vincent, it’s just a square hole. Why is it so hard?”
If you work like Jacky in Canada, you already know the real pain is not the hole. It’s the chain reaction:
- the hole decides if a switch sits flat
- the hole decides if a screen bezel looks cheap
- the hole decides if the next assembly step is smooth or full of swearing
And what people call “cost” is usually not just the quote. It is time, scrap, rework, edge finish, and the risk of a customer noticing the gap.
Here’s my personal rule: when I see “square hole” on a drawing, I do not think about cutting first—I think about what will happen if we miss the tolerance by 0.3 mm.
That one thought changes everything.
Now let’s start from the lowest-cost-looking option: DIY.
DIY Methods for Cutting Square Holes in Plastic

DIY is the method people choose when they want speed, control, and a feeling of “I can handle this.” I respect that. I’ve done it. Many prototypes begin this way.
But DIY has a strange trap: it feels cheap until you count your time and your mistakes.
One time, I watched a client team do DIY cutouts for a small acrylic sample run. They did not want to “waste money” on CNC for a prototype. Two hours later, the team was still filing corners. Someone said, half-joking, “We should have just paid you.”
That moment is common.
My judgment here is simple: if the hole needs to look clean under bright light, DIY becomes a gamble, not a method.
What DIY Tools Are Commonly Used
Most DIY square holes are done with some mix of these:
- Utility knife + straight edge (score and snap, then refine)
- Handheld saw (coping saw, hacksaw, or small pull saw)
- Chisels (for corners, sometimes used like a tiny guillotine)
- Step drill (for starting holes and removing bulk)
- Files and sandpaper (the “make it look acceptable” stage)
DIY makes sense when:
- you need one prototype
- the hole is not visible
- you can accept handmade variation
- the plastic is thin and forgiving
Cost Breakdown of DIY Techniques
DIY cost is not only tools. It’s also the human being holding them.
Here’s a simple table I use when I talk to buyers who say “DIY is free.”
| DIY Cost Item | What People Assume | What Actually Happens |
|---|---|---|
| Tools | “I already have them.” | You buy better blades, extra files, clamps, jigs. |
| Time | “It’s a quick cut.” | Measuring + marking + cutting + fixing edges takes longer than expected. |
| Scrap | “We’ll be careful.” | One slip becomes a cracked corner or oversized hole. |
| Finish | “We can polish it.” | Polishing corners and inside edges is slow and uneven. |
| Repeatability | “We just copy the first.” | Every hand cut drifts a little. Drift compounds. |
And there is a cost nobody writes down: confidence loss. When the first prototype looks messy, teams start doubting the design. They may change parts that were never the problem.
Quality, Precision & Limitations of DIY
DIY square holes struggle for two reasons:
Corners are unforgiving.
Plastic likes to crack at sharp inside corners, especially acrylic. If you push too hard, you can create a stress point that shows later as a hairline crack.Human hands do not create perfect geometry for long.
A ruler line is straight. A hand cut drifts. Even a tiny drift looks obvious on a clear panel.
DIY does work better on:
- softer plastics (some grades of ABS, PP)
- thicker sheets where you can “work” the edge
- designs where the hole is hidden behind a gasket or bezel
But if you are trying to ship a product that looks premium, DIY often becomes a stepping stone, not a final method.
That brings us to the option that many engineers trust more: CNC.
CNC Machining: Process & Cost Factors

CNC feels “professional” because it is controlled, repeatable, and measurable. It can also get expensive quickly if you do not design for it.
I see CNC used a lot for:
- thicker plastic panels
- parts that need holes + pockets + counterbores
- functional fit where you cannot accept drift
Here’s how I judge CNC in real work: if the hole must align with other parts in assembly, I’d rather pay for CNC once than pay for rework forever.
What CNC Machining Involves for Plastic
CNC cutting is basically a controlled milling process:
- the tool spins
- the machine moves the tool along a path
- material is removed in layers
For plastic, the “simple” version is a flat sheet on a bed, cut with an end mill. But plastic behaves differently than metal:
- it can melt if the feed rate is wrong
- it can chip if the tool is dull
- it can bend if fixturing is weak
Cost Components for CNC
Many buyers think CNC cost is “machine time.” That is only part of it.
Here is the real cost map:
| CNC Cost Driver | What It Means | Why It Matters |
|---|---|---|
| Setup | fixturing, clamps, locating pins | Poor setup = drift, chatter, bad edges |
| Programming | CAM toolpath + verification | A small design change can restart this |
| Tooling | end mills wear and chip | Tool wear affects edge quality and size |
| Cycle time | time per part | Adds up fast in batch production |
| Secondary finishing | deburr, polish, flame | If the edge must look glossy, budget time |
A small warning I give procurement teams: CNC shops charge for uncertainty. If the drawing is unclear, tolerances are missing, or the plastic type is unknown, the quote goes up because risk goes up.
Advantages & Limitations of CNC for Square Holes
Advantages:
- handles thick plastics well
- good tolerance control
- repeatability is strong
- can do complex features beyond just a hole
Limitations:
- inside corners will have a radius, because the tool is round
(You can reduce the radius with smaller tools, but cost increases.) - edge finish can be matte or “machined,” not naturally glossy
- wrong feeds/speeds can melt acrylic and leave ugly burrs
The corner problem, explained simply
If your design needs a true sharp inside corner, CNC alone cannot create it perfectly. You have three common options:
- add corner relief (dog-bone or T-bone style)
- accept a radius and adjust the mating part
- machine + hand-finish corners (costly, but possible)
If your product uses square switches, square bezels, or snap-fit inserts, you must consider this early. Otherwise, the first sample will arrive, and you’ll hear the dreaded line:
“Why doesn’t it fit?”
Now let’s talk about the method that surprises many buyers when they see the edge quality: laser.
Laser Cutting: Process & Cost Factors
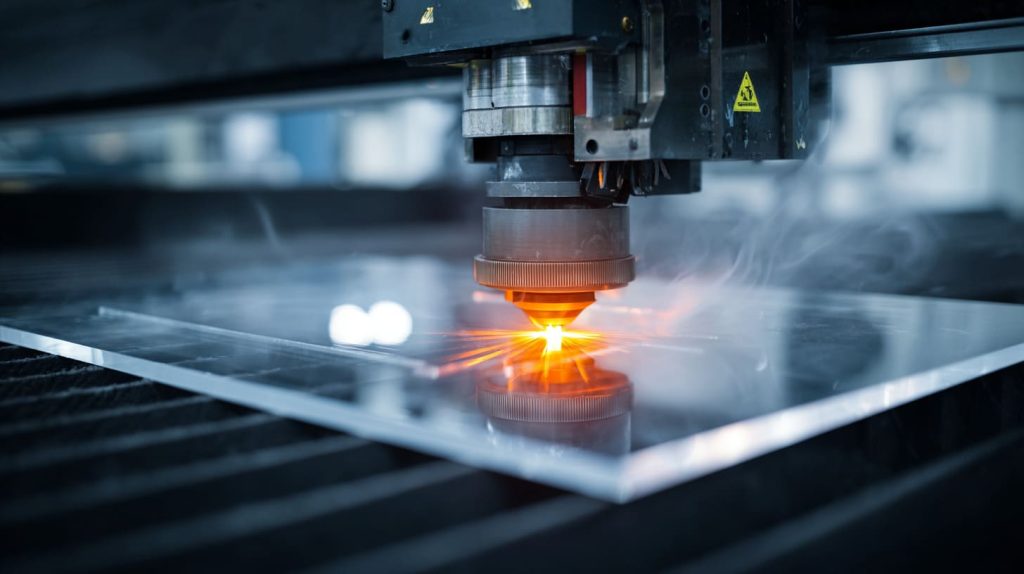
Laser cutting is the option that can make acrylic look “finished” right off the machine. When it is done well, it looks almost too clean. People assume it must be expensive. Sometimes it is. Sometimes it is not.
I’ve had clients tell me: “If we use laser, we can skip polishing.” And that is often true.
My personal take: when the product is clear acrylic and the edge will be seen, laser is usually the fastest path to a premium look—unless thickness or heat marks get in the way.
How Laser Cutting Works on Plastic
Laser cutting is non-contact:
- the beam heats the plastic
- it melts or vaporizes along a path
- the cut drops out
For acrylic, this can create a smooth, glossy edge that feels like it was polished. For some other plastics, you may get:
- melting
- discoloration
- smoke marks
- sticky edges
So material choice matters a lot.
Cost Components for Laser Cutting
Laser cost often looks simpler than CNC. But it still has drivers:
| Laser Cost Driver | What It Means | Real Impact |
|---|---|---|
| Setup | sheet layout + nesting | Better nesting reduces waste |
| Cutting time | speed depends on thickness | Thick acrylic slows the job |
| Consumables | optics, nozzle, filters | Shops price this into quotes |
| Ventilation | smoke extraction | Some plastics need strict control |
| Cleaning | removing residue and film | Adds labor if parts must look perfect |
One more thing: laser is fast for 2D work, but if the shop has a busy queue, lead time can become the hidden cost.
Quality & Precision for Square Holes
Laser strengths:
- very clean edges on acrylic
- high repeatability for 2D shapes
- no tool pressure, so less vibration and fewer cracks from force
Laser risks:
- heat-affected zone on some plastics
- thicker sheets may show taper or edge marks depending on settings
- fumes can stain protective film if ventilation is poor
The truth about “perfect squares”
Laser can produce sharp corners visually, but the beam has a kerf width. If your tolerance is tight, you still need:
- kerf compensation
- stable sheet flatness
- consistent focus
For Jacky-style procurement decisions, I often say: laser is not “magic,” it is just predictable when the process is controlled.
Now that we’ve walked through each method, let’s put them side by side like a real buyer would.
Head-to-Head: DIY vs CNC vs Laser
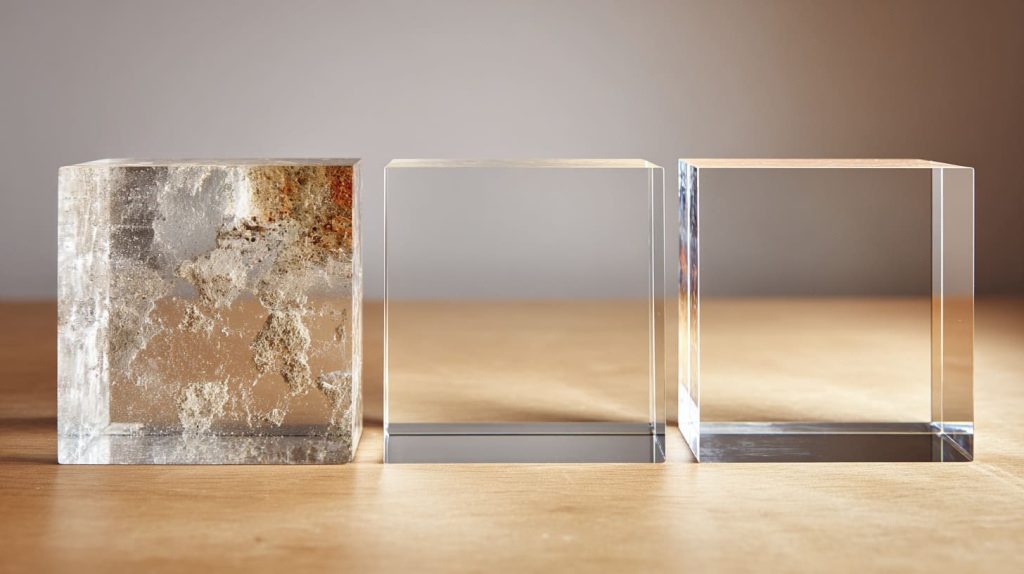
When teams compare these methods, they often ask: “Which one is best?”
I answer with a question back: Best for what?
Best for cost per part? Best for edge finish? Best for speed? Best for sleep at night?
Here’s how I decide in practice: I choose the method that reduces the chance of a painful surprise at assembly, even if the unit cost looks slightly higher.
Material Suitability Comparison
Not all plastics behave the same. Acrylic is beautiful, but it is also sensitive.
| Method | Best For | Struggles With |
|---|---|---|
| DIY | thin sheets, hidden holes, rough prototypes | clear visible edges, tight tolerances |
| CNC | thick plastic, pockets, controlled tolerance | sharp inside corners without extra work |
| Laser | acrylic sheets, visible edges, high repeatability | some plastics that melt, thick sheets beyond comfort zone |
Acrylic note: laser often gives the nicest edge, but CNC is safer when thickness is high or when heat marks are not acceptable.
Precision & Edge Quality Comparison
| Method | Precision | Edge Look | Repeatability |
|---|---|---|---|
| DIY | low to medium | depends on skill | low |
| CNC | medium to high | machined, can be refined | high |
| Laser | high for 2D | glossy on acrylic | very high |
A blunt truth: DIY looks like DIY.
That’s not an insult. It is just what the human hand produces.
Speed & Throughput
- Laser is usually fastest for flat cutouts, especially in batches.
- CNC is slower per part, but it can do more features in one setup.
- DIY feels fast until you count filing time and redo time.
A small story: I once saw a team plan “one afternoon” for DIY cutouts. It turned into three evenings. The work was not hard. It was just endless. That is the DIY tax.
Now let’s talk about the part buyers always ask me for: cost models.
Cost Estimation Models
This is where people want a clean number. I understand. Purchasing needs numbers. Engineering needs proof.
But cost is not one number. It’s a range, and the range depends on:
- thickness
- tolerance
- edge finish requirement
- quantity
- scrap tolerance
My honest decision rule: if you can’t clearly describe the edge finish you want, any cost estimate is just a guess wearing a suit.
Unit Cost Example Scenarios
Below are example patterns I see often. These are not universal prices. They are cost behaviors.
Scenario A: One-off prototype (1–3 pcs)
- DIY looks cheapest
- CNC or laser may look “overkill”
- but the risk is: you waste a day and still get an ugly part
Scenario B: Small batch (20–100 pcs)
- laser often wins on acrylic if edge must look premium
- CNC wins when thickness is high or features are complex
- DIY usually collapses under time pressure
Scenario C: Medium run (200–1000 pcs)
- setup costs spread out
- repeatability becomes king
- scrap rate becomes a major cost driver
Here’s a simple “behavior table” I use when explaining this to buyers:
| Quantity | DIY Behavior | CNC Behavior | Laser Behavior |
|---|---|---|---|
| 1–3 pcs | cheap but risky | stable but setup-heavy | clean but setup-dependent |
| 20–100 pcs | time explodes | good balance | often very efficient |
| 200+ pcs | not realistic | very stable | very stable for 2D |
Break-Even Points Between Methods
Break-even is not only about quantity. It’s also about the “pain cost.”
- If a DIY error means you ruin a rare sheet, break-even arrives fast.
- If a CNC setup takes long, break-even arrives later.
- If laser removes polishing steps, break-even arrives earlier.
A practical way to think:
- DIY breaks even only when your time is “free” and quality is flexible
- CNC breaks even when tolerances and thickness matter
- Laser breaks even when edge finish and throughput matter
Hidden Costs & Risk Factors
This is the part that makes experienced buyers nod.
Hidden costs include:
- scrap from micro-cracks that appear later
- protective film damage during handling
- tool chatter marks from weak fixturing (CNC)
- smoke residue from poor ventilation (laser)
- rework time that no one adds to the BOM
Here is the ugly truth: the biggest cost is often the cost of “fixing” a choice after production starts.
So how do you choose cleanly, without overthinking? Let’s make it practical for Jacky-style decisions.
Choosing the Right Method (For Jacky & Decision Makers)
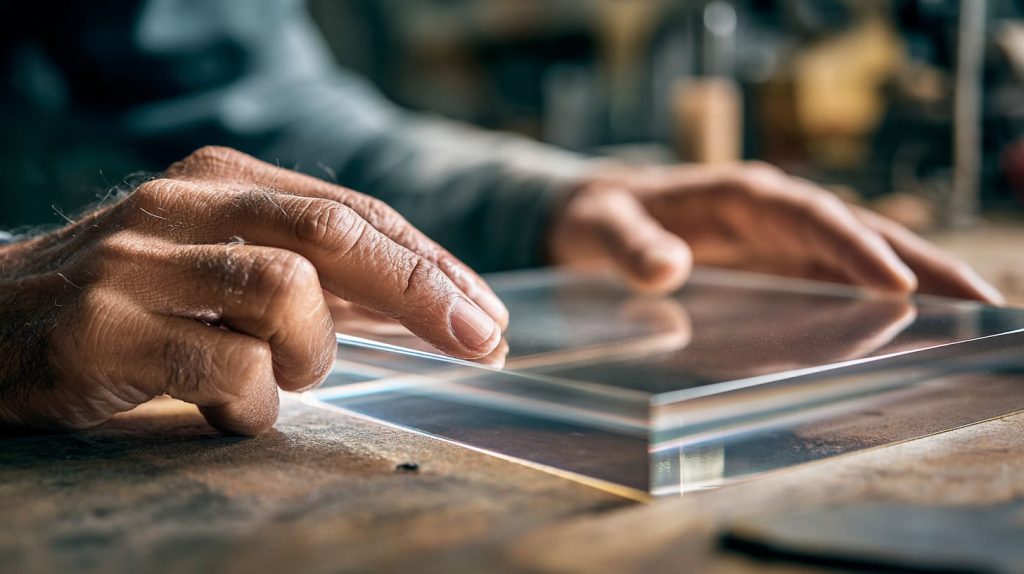
When I talk to product and mold designers, I notice something: they already understand cost. They just need a way to make the decision defensible inside a company.
You need to explain it to:
- engineering
- procurement
- sometimes marketing
and all of them care about different things.
Here’s how I personally judge the “right” method: I pick the method that matches how the customer will inspect the part—by hand, by eye, or by assembly fit.
Project Requirements Checklist
Before choosing, I like to force clear answers to these questions:
- Thickness: Is it 2 mm, 5 mm, 10 mm?
- Tolerance: Does it need to be snug-fit or is it cosmetic?
- Edge finish: Will customers see the edge in bright light?
- Volume: 1 sample or 500 pieces?
- Assembly reality: Does a mating part require sharp corners?
A small checklist table you can copy into your internal notes:
| Requirement | If YES, Lean Toward | Why |
|---|---|---|
| Visible edge quality matters | Laser | Clean acrylic edge can skip polishing |
| Thick plastic (or deep features) | CNC | Better control, less heat risk |
| One-off rough prototype | DIY | Fast learning, low commitment |
| Tight corner fit | CNC + corner relief / hybrid | Tool radius problem must be handled |
| High repeat volume | Laser or CNC | Repeatability saves money |
Decision Matrix (Cost vs Quality vs Time)
Here’s a simple matrix I use in meetings:
| Method | Cost Per Part | Quality | Speed | Best Use |
|---|---|---|---|---|
| DIY | low (looks low) | low–medium | slow in reality | rough prototypes |
| CNC | medium–high | high | medium | thick, functional parts |
| Laser | medium | high (acrylic) | high | visible acrylic panels |
If your team argues, I often suggest a test: cut one part with the “cheap” method, then ask someone unrelated to the project which looks better. Marketing people are brutally honest. So are customers.
When Hybrid Approaches Make Sense
Hybrid is not fancy. It is practical.
Common hybrid patterns:
- Laser cut the profile for speed and clean edge
then CNC for pockets and tight-fit features - CNC cut the hole
then hand-finish only the corners if needed (small quantities)
Hybrid is especially useful when:
- you want laser’s edge beauty
- but need CNC’s dimensional control in specific areas
One more story: I once had a client insist on CNC for everything “because CNC is precise.” The first parts arrived with a corner radius that prevented a square switch from seating. We ended up adding corner relief features and re-cutting. If we had discussed that corner detail early, the cost would have been lower and the timeline calmer.
Now let’s close this out with what I believe, and why I believe it.
Conclusion
Cutting a square hole in plastic sounds like a tiny task. But in real product work, it acts like a stress test. It exposes how a team thinks about risk, finish, and repeatability.
DIY, CNC, and laser are not “good” or “bad.” They are tools with personalities.
- DIY is flexible and fast to start, but it punishes you if you need consistency.
- CNC gives control and thickness capability, but it carries setup cost and corner radius limits.
- Laser gives beautiful edges on acrylic and strong throughput, but heat and material type can bite you.
Why do I think about it this way? Because I’ve seen the same pattern too many times: teams try to save money on the cutting step, then spend more money fixing the result. I don’t like waste. I don’t like late-night “why doesn’t it fit” messages. And I don’t like seeing a good design look cheap because a hole edge is rough.
If you want, you can send me these four details:
- plastic type (acrylic, PETG, ABS, etc.)
- thickness
- quantity
- what the hole is used for (switch, cable, window, insert)
And I’ll tell you, in plain words, which method I would choose and where I would expect problems to show up.
If you are sourcing custom acrylic parts and you want the result to look consistent across batches, you can also reach me through Feilong Acrylic at flacrylic.com. I’m happy to help you avoid the kind of “small hole, big headache” that ruins a timeline.




