 Skip to content
Introduction
- I define what I mean by “tube” and “bottle” when talking about acrylic paints.
- I explain why packaging format matters a lot for beginners: it affects ease of use, cost, how precise you can be, how much you waste, and how fast you learn.
- I give a quick look at what I’ll cover: key factors, pros & cons, and a guide so you can decide which fits you best.
1. Understanding the Formats
What is an Acrylic Tube?
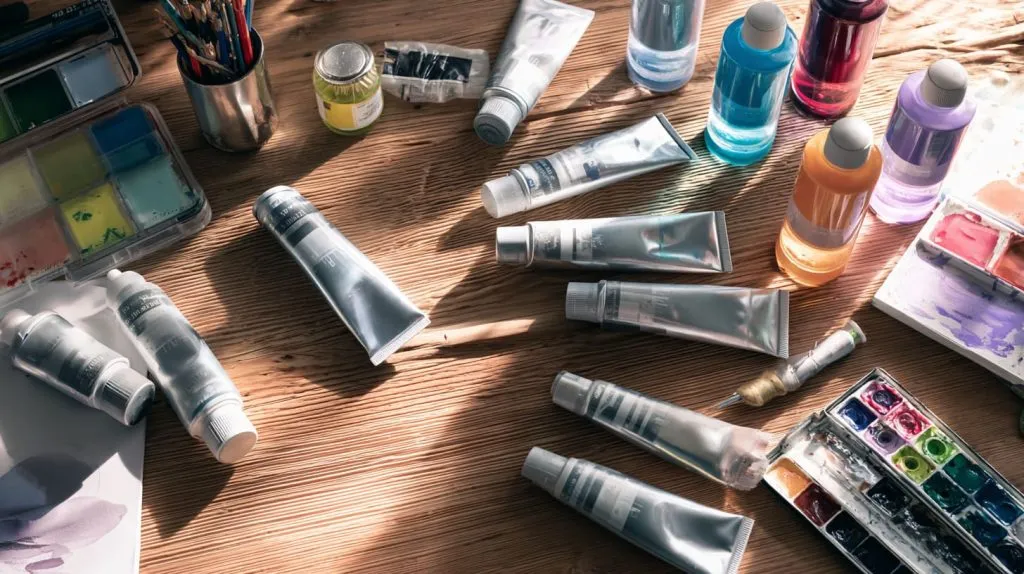
I once squeezed a 60 ml tube in a dim studio light. I saw thick paste coming out, heavy body style. Here are what defines tubes:
- Made of aluminum or laminated plastic that resists air and light. Keeps paint fresh.
- Typical sizes for beginners might be 12 ml, 22 ml, maybe up to 60 or 80 ml. More for studio art.
- Consistency is thick: retains brush or knife marks. Heavy‑body. Good for texture work.
What is an Acrylic Bottle?
Then I tried bottle paints in a workshop. Everything felt smoother, more fluid. Here’s how bottles differ:
- Types include flip‑cap, pump, soft‑body, fluid / high‑flow. Materials often plastic (such as PET or HDPE).
- Sizes vary: small craft‑size bottles (like 60‑120 ml), or large ones for bulk / flat surfaces or getting lots of coverage.
- The flow is looser. Easier to pour, easier to spread. Less “ridge” from strokes.
When I compare these two in my own work, the contrast is loud. It makes the next section (key factors) really practical. Let’s get into that.
2. Key Comparison Criteria for Beginners
2.1 Paint / Product Consistency & Texture
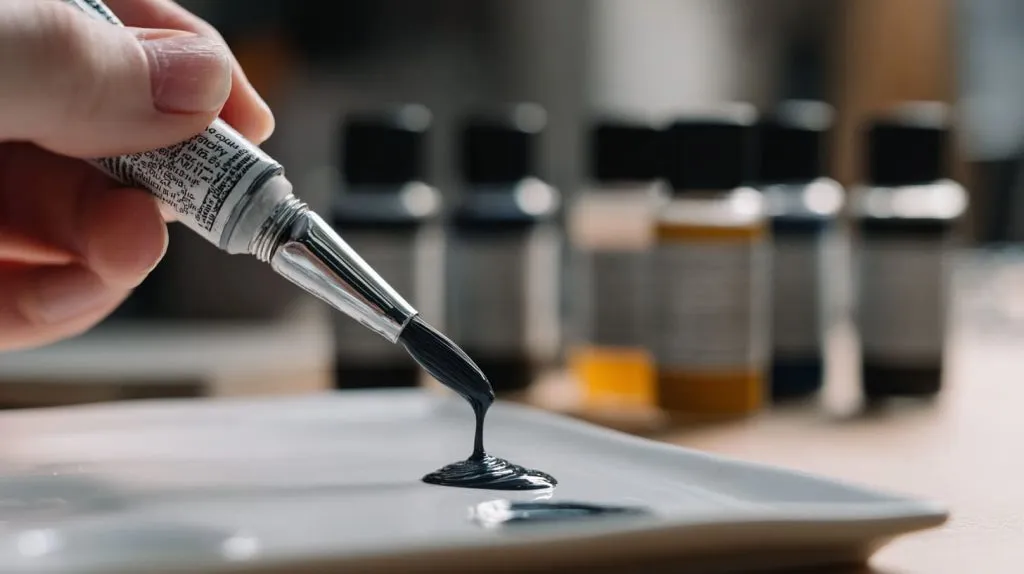
- Thick tubes hold peaks; strokes are visible. Bottles flow more; strokes smooth out.
- If you want impasto or texture, tubes win. If you want coating large areas, shading, fluid washes, bottle or high‑flow is better.
- Example: I tried painting a textured wood panel. With tube paint, I could carve lines; bottle paint kind of flattened them.
2.2 Control, Precision & Portioning
- Tube: you can squeeze small pea‑size blobs, roll up to get last bits. Offers control over how much you use.
- Bottle: easy to over‑dispense. If the cap is large, paint can gush. For detail work, fine caps matter.
- Mess factor: bottles often end up with paint around the cap lip or under bottle base; tubes less so (if you manage the crimp and cap).
2.3 Pigment Load / Color Saturation vs Coverage
- Tubes often have more pigment per ml, richer color, stronger hides. You may need fewer layers for opacity.
- Bottles (especially soft or craft grades) may be more diluted. Good for large fills but might need more layers for strong color.
- If you mix colors a lot, tubes teach discipline: less paint, more thinking about color mixing.
2.4 Waste, Storage & Shelf Life
| Format | Risk of waste | Exposure to air / drying out | Shelf life (sealed) |
|---|---|---|---|
| Tube | Low if you roll up / squeeze out well | Less, because tube walls protect paint | Longer (often several years) |
| Bottle | Higher (paint stuck in neck, cap, bottom) | More, especially if cap not closed well | Shorter, especially with large bottle once opened |
- Caps, lids, seals matter.
- Store upright. Clean spouts.
2.5 Cost / Value / Accessibility
- Price per ml is usually lower for bottles when buying large volumes.
- Tubes cost more per ml but you buy less, so initial outlay is smaller.
- For beginners with low budget: small tubes let you try many colors without buying big bottles.
2.6 Portability, Convenience & Safety
- Tubes are easier to travel with. Less chance of leaking. Better for plein‑air, workshops.
- Bottles heavier (especially big ones), can leak if tipped.
- For kids or group settings: bottles with safe caps / pumps are safer. Tubes also have small caps, risk of losing them.
If you follow these points, you begin thinking like a painter: what you need, not what the packaging promises. Next: where each format really shines depending on use case.
3. Typical Beginner Use‑Cases: Which Format Fits Best?
3.1 Hobbyists / Students / Art Classes
- Students often need to try lots of colors, textures, styles. Bottles are forgiving, lower cost per ml, good for basecoats, large areas.
- But I always tell my student friends: get a small set of tubes too. Even just for highlights or texture practice.
3.2 Crafts, DIY, Home Projects
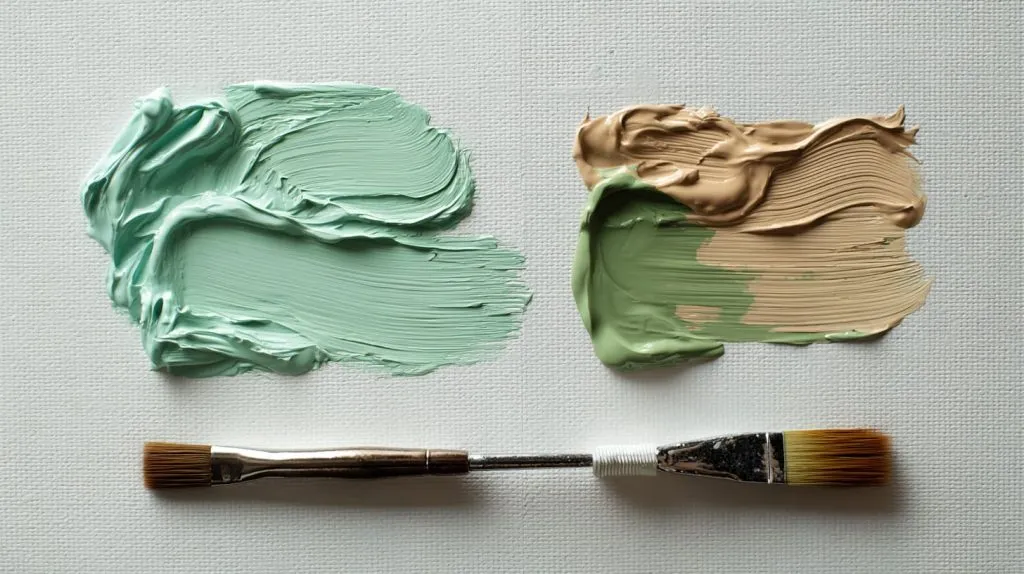
- Wallpaper, furniture touch‑ups, home decor: large flat surfaces. Bottle paints give smoother cover in fewer passes.
- If you want decorative texture (like raised details, decorative trim), tubes give more body.
3.3 Kids / Children / Workshops with Multiple Users
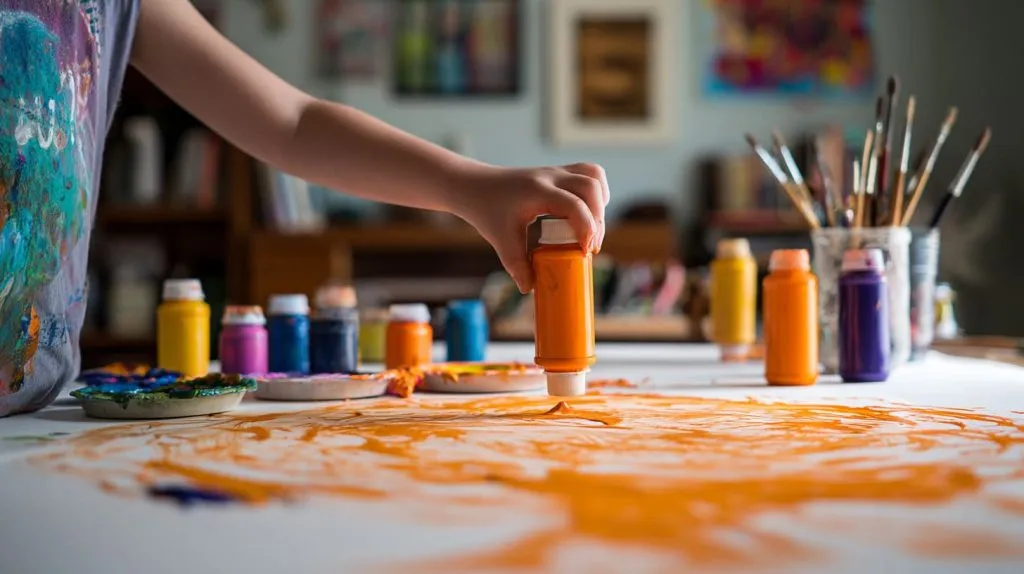
- Safety, mess control, cost are king. Bottles win for easy squeeze, flow, fewer tools needed.
- Tubes may intimidate kids; the squeeze is harder; risk of too much paint or mixing mess.
3.4 Specialty Projects: Texture, Impasto, Detailed Work
- Projects like palette‑knife painting, heavy texture, art where brushstrokes matter: tube heavy‑body gives you that.
- For fluid art, pour art, backgrounds, washes: bottles or fluid acrylics suit better.
Even when you see a format that seems “better” for your use, I’ve learned that mixing both often gives the best experience. Let me show what experts think.
4. Industry & Expert Opinions & Observations
4.1 What Manufacturers / Brands Say
- Brands often label heavy‑body tubes as for impasto, texture, “artist quality.” They market bottles / soft‑body / fluid for craft, washes, large coverage.
- Some brands offer hybrids or mid‑viscosity in bottles too.
4.2 User / Community Feedback
- Beginners often report: bottle paints are forgiving, easier to spread; tubes harder to thin for detail.
- Some happy surprises: tubes teach control; you learn to use just enough paint.
- Complaints: bottles dripping, messy caps, paint drying around nozzle. Tubes: squeezing out the last paint is tedious.
4.3 Case Studies / Examples
- Example 1: A small mural painted by an art class using bottle soft‑body acrylics vs same mural with tubes. Bottles covered fast, but detail work with tubes gave depth.
- Example 2: Craft DIY project (decorative stand): using fluid bottle paints for base, tube heavy paint for texture on edges. Mixture gave best effect.
I’ve shared what others think and what I observed. Now, how do you, as a beginner, make smart moves?
5. Practical Tips for First‑Time Buyers / Learners
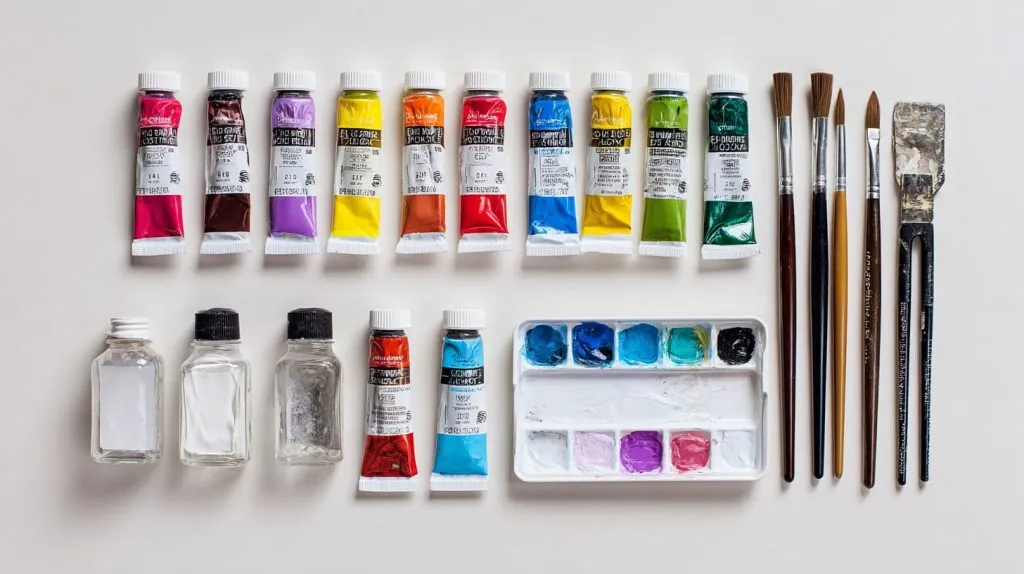
5.1 Building a Starter Kit (mixed formats)
- I recommend a small tube set (say primary colors + white + black) plus one or two bottles of fluid / soft body.
- Get basic tools: palette, palette‑knife, a few brushes of varied sizes.
5.2 How to Store & Handle to Avoid Waste
- Always close caps tightly. Wipe nozzle / tube tip after use.
- Keep tubes rolled from the bottom up so paint moves toward opening.
- For bottles: store upright; clean around spouts; avoid exposing to direct sun or heat.
5.3 How to Transition from One Format to Another
- If coming from bottles to tubes, practice thinning tube paint with medium/water to match fluid feel.
- If going from tubes to bottles: learn to adjust, don’t expect same body. Use bottles for base layers. Keep a tube for detail.
5.4 Label Reading & Quality Checks
- Look for terms: “heavy‑body,” “soft‑body,” “fluid,” “student vs artist quality.”
- Check pigment info, lightfastness indicators.
- Check opacity / tint strength (sometimes marked).
Conclusion
- Both tubes and bottles have strengths and weaknesses. Tubes give control, texture, precision. Bottles give flow, coverage, better cost per volume.
- Key decision questions: What kind of art do you want to make? Do you prioritize detail or speed? How often will you use large surfaces? What’s your budget? What level of mess / portability can you live with?
- My recommendation: begin with a mixed setup. Try both formats in small scale. Learn by doing.
- Most important: don’t get stuck thinking only one format is “right.” Your style, your projects will guide you. Enjoy the paint, enjoy the process.




