Skip to content

A clear acrylic tube can fool people.
It sits on the table and looks “finished” already. Smooth wall. Clean shine. Straight line. It almost feels like it cannot fail. And that is exactly why I keep seeing the same mistakes repeat, even with smart buyers like you, Jacky.
I get why it happens. In photos and catalogs, a tube is just a transparent cylinder. No moving parts. No stress points. No “engineering drama.” But in real production, that tube becomes a structure. It takes load. It takes impact. It takes heat. It meets cleaners, adhesives, screws, foam, cartons, and forklifts.
Here is the uncomfortable truth: a clear acrylic tube usually fails at the edges of the design, not in the middle of the material.
The way I think about it is simple. The tube is not “a tube.” It is a system:
- a wall thickness choice
- an end finishing method
- an assembly method
- an environment
- a shipping plan
One small decision can push the tube from “premium” to “cracked and returned.”
My goal in this article is practical. I want to show you 7 design mistakes buyers keep repeating, and how I avoid them when I am working with B2B projects like:
- cosmetic displays
- retail structures
- protective covers
- furniture components
This is not theory. This is the type of stuff that shows up in my WhatsApp at midnight: a photo, a crack, and the message, “Vincent, why did this happen?”
The real answer is usually not “bad acrylic.” It is design assumptions that never got tested.
And the first assumption almost always starts with thickness.
Mistake #1: Choosing the Wrong Wall Thickness

This is where I see buyers lose money in the quietest way. The drawing looks clean, and the tube looks strong, and everyone says yes. Then it arrives, it flexes, and it starts to crack where nobody expected.
The tube did not “randomly fail.” It followed stress.
One thing I have learned the hard way: a tube that looks stiff in your hand can still behave like a spring once it is mounted. That small flex keeps working the acrylic until it gives up.
Why Thin Tubes Look Fine on Paper but Fail in Reality
Acrylic is rigid, but it is not forgiving. It does not like bending and twisting the way some plastics do.
Here are the common failure paths I see:
- Misunderstanding load-bearing capacity
Buyers assume “tube shape” equals strength. But wall thickness controls stiffness more than shape does. - Deflection under vertical compression or horizontal bending
Even a small bend can become a crack after repeated handling. - Stress concentration at mounting points
Holes, screws, clamps, and sharp supports turn “uniform stress” into “one hot spot.”
When the tube is part of a display stand, it often becomes a column. When it is part of a protective cover, it becomes a beam. Different job, different thickness.
Here is a simple table I use to explain the thinking to buyers:
| Tube Use Case | What the Tube Really Faces | Common Failure Spot | What Buyers Often Miss |
|---|---|---|---|
| Cosmetic display riser | Daily handling + small side bumps | Near base / mounting | The tube is not static |
| Retail protective cover | Cleaning + vibration | edges and corners | Chemical + stress combo |
| Furniture spacer / leg detail | compression + floor impact | bottom edge | uneven load paths |
| Lighting diffuser cover | heat + installation force | screw areas | heat expansion |
The part that surprises people is this: your “normal handling” can be more damaging than a single big hit. Small stress, repeated many times, is brutal.
How to Calculate Proper Thickness
I do not pretend every buyer needs a full engineering model. But I do push for a basic reality check.
When I help buyers choose thickness, I always ask:
- How long is the tube span?
Longer span means more bend risk. - Will there be inserts or internal parts?
Inserts can add support, but they can also create hard pressure points. - Where is the force coming from?
Side force is usually worse than vertical force. - Will it face impact, or only static load?
A store display gets bumped. Always. - How will it ship?
Stacking pressure and carton compression can damage thin walls before the customer even opens the box.
Here is a practical checklist I use in production meetings:
| Question | Why It Matters | My Quick Signal |
|---|---|---|
| Is the tube longer than 300mm? | longer tubes flex more | increase thickness or add support |
| Will it be clamped or screwed? | point load causes cracks | add sleeves / spread load |
| Will it be cleaned with alcohol? | chemical + stress cracking risk | avoid thin walls + choose safer finish |
| Will cartons be stacked? | stacking adds compression | thicker wall or stronger packaging |
If you want one simple rule: thin walls are okay only when the tube is “decorative,” not structural. The moment it becomes structural, thin becomes risky.
Factory Insight
I once had a buyer send a tube design for a high-end retail riser. The tube was tall, and the wall was thin because he wanted a “glass-like” look. The sample looked beautiful.
Then assembly started.
The tube had to be pressed into a base with a tight fit. During assembly, the worker used normal hand pressure. A tiny crack formed at the bottom edge. It was almost invisible. But after shipping vibration, that crack opened like a zipper.
What made me frustrated was this: the buyer did not do anything “wrong” in his mind. He simply did not treat assembly as stress.
Here is a rough thickness guide I often share for display-related tubes (it is not a standard, just a practical starting point):
| Application Type | Low Risk (decorative) | Medium Risk | High Risk (structural / clamp / screw) |
|---|---|---|---|
| Small display accents | 2mm–3mm | 3mm–4mm | 4mm–6mm |
| Tubes used as risers | 3mm–4mm | 4mm–6mm | 6mm+ |
| Tubes with mounting features | 3mm–4mm | 5mm–6mm | 6mm–8mm+ |
What I personally decide on first is not thickness alone, but how the tube will be treated by people who do not read the drawing—installers, packers, store staff, and customers.
Now let’s talk about the next silent killer: chemicals.
A tube can survive stress, but stress plus the wrong cleaner is a different story.
Mistake #2: Ignoring Stress Cracking from Chemical Exposure
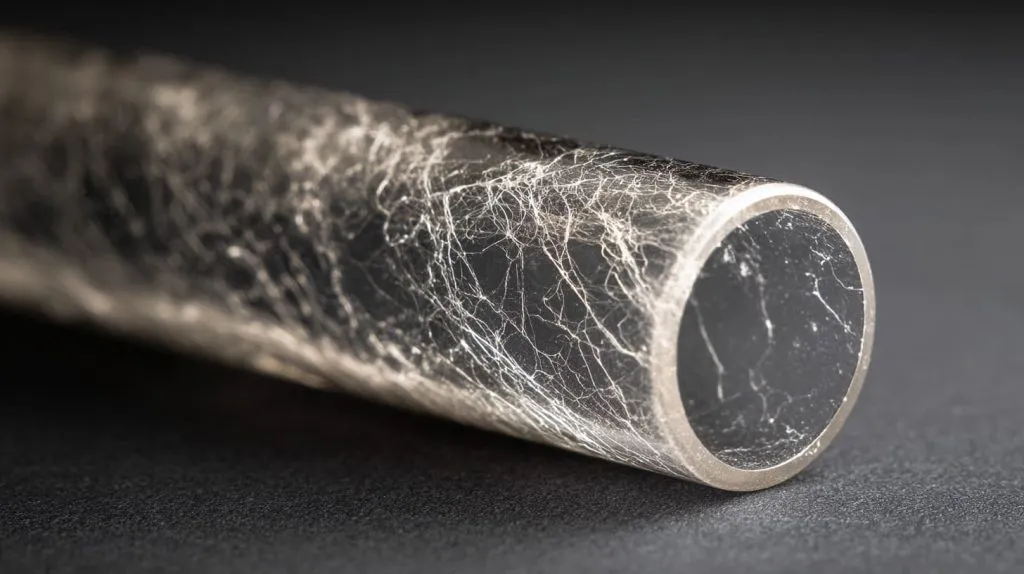
If wall thickness is the obvious mistake, chemical stress cracking is the sneaky one. Because the tube can look perfect for weeks, then fail “suddenly.”
But it is not sudden. It is slow damage.
Acrylic does not like certain chemicals, especially when the part is already under stress from assembly, clamps, or tight fits.
One of my strongest opinions: if your product will be cleaned by humans, assume they will use the strongest cleaner they can find.
What Causes Environmental Stress Cracking (ESC)
The usual triggers in B2B display environments are boring, common things:
- Alcohol cleaners
Very common in retail and beauty counters. - Adhesives and solvents
Sometimes used during installation or repairs. - Cosmetic liquids and oils
Makeup removers, perfumes, oils. They drip. They sit. They creep.
Here is how it often plays out:
- A tube is under a small stress (tight fit, screw, clamp).
- Cleaner or solvent touches the surface.
- Micro-cracks form, often near edges or stress points.
- Those cracks grow with normal use.
And because the tube is clear, these cracks look ugly fast. They create that “frosty spider web” effect that makes a premium product feel cheap.
High-Risk Applications
This mistake shows up a lot in:
- Beauty displays
Strong cleaning routines + chemical products. - Laboratory covers
Wipes, solvents, frequent handling. - Retail environments with frequent cleaning
Staff clean fast, not gently.
Here is a simple risk table I use for buyer communication:
| Environment | Typical Chemicals | Handling Level | Risk Level |
|---|---|---|---|
| Cosmetic counter | alcohol, perfume, oils | high | very high |
| Electronics retail display | alcohol wipes | medium | high |
| Home decor use | mild cleaners | low | low |
| Lab / workshop | solvents, cleaners | high | very high |
The part most people miss is this: even “safe” cleaners become dangerous when the tube is stressed.
Prevention Strategies
I usually solve this in three layers:
- Material grade selection
Not all acrylic behaves the same under stress and chemicals. - Surface finishing choices
Some finishes hide micro defects better, and some processes reduce stress. - Protective coatings or design barriers
Sometimes the best solution is to prevent direct contact.
Here is a practical way I explain it:
| Prevention Method | What It Helps | Trade-Off |
|---|---|---|
| Better acrylic grade | reduces cracking risk | higher cost |
| Reduce stress design (looser fits) | lowers ESC trigger | may affect aesthetics |
| Protective coating / barrier | blocks chemicals | adds process steps |
| Clear user cleaning guidance | reduces misuse | hard to enforce |
The judgment I use here is simple: if the tube lives in a “wipe-down” environment, I treat chemical resistance like a core requirement, not a nice bonus.
And once chemicals are on the table, sunlight is usually next.
Because many displays sit near windows. Or go outdoor for events. Or travel.
Mistake #3: Overlooking UV and Long-Term Yellowing

Acrylic has a good reputation for staying clear. And yes, it can hold clarity better than many plastics.
But I still see tubes yellow, haze, or look “tired” after months. It is not always UV alone. Sometimes it is UV plus heat plus stress.
A simple thought I share with buyers: if you would not leave your product on a car dashboard, do not assume it will survive a sunny window.
Acrylic vs Polycarbonate in UV Resistance
Acrylic (PMMA) is naturally UV stable compared to some plastics. Polycarbonate has strong impact strength but often needs UV protection to avoid yellowing and surface issues.
So why do acrylic tubes still discolor?
Because:
- they sit in direct sun for hours
- they trap heat inside
- they get cleaned with harsh chemicals that affect surface clarity
It is not one cause. It is a mix.
Here is how I help buyers decide between acrylic and polycarbonate for tubes:
| Requirement | Acrylic Tube | Polycarbonate Tube |
|---|---|---|
| Clarity / shine | excellent | good |
| Impact resistance | medium | high |
| UV stability | good | needs UV grade for best |
| Scratch resistance | better | more scratch-prone |
| Cost | often lower | often higher |
I do not tell buyers “one is better.” I tell them to pick based on the failure they fear most.
When Tubes Discolor
The two common triggers:
- Direct sunlight exposure
Stores with big windows, outdoor pop-up displays, greenhouse-like environments. - Heat accumulation inside tubes
Lighting applications, enclosed covers, or tubes near heat sources.
Heat matters because acrylic expands, and heat can also speed up chemical reactions and surface aging.
Smart Design Adjustments
When I know UV or heat is part of the life of the product, I look for:
- UV-grade materials
Ask the supplier what grade is used. Do not assume. - Thickness and heat ventilation strategies
Thicker does not always mean cooler. Airflow matters. - Application-based material choice
Sometimes polycarbonate makes sense if impact is the bigger risk.
Here is a quick “use case logic” table:
| Use Case | Main Risk | My Usual Move |
|---|---|---|
| Indoor retail, window nearby | UV + cleaning | UV-grade acrylic + safer finishing |
| Outdoor event display | UV + impact | consider UV-grade PC or protected acrylic |
| Lighting diffuser tube | heat | add ventilation + avoid tight mounts |
| Decorative indoor item | scratches | acrylic wins |
The way I judge this is by asking: “Where will it sit at 2pm on a sunny day?” Buyers rarely model that moment, but it often decides the product’s real look after six months.
Now, even if UV is controlled, a tube can still fail from something as basic as a rough cut.
And that one is painful, because it is so avoidable.
Mistake #4: Poor End Finishing and Edge Treatment
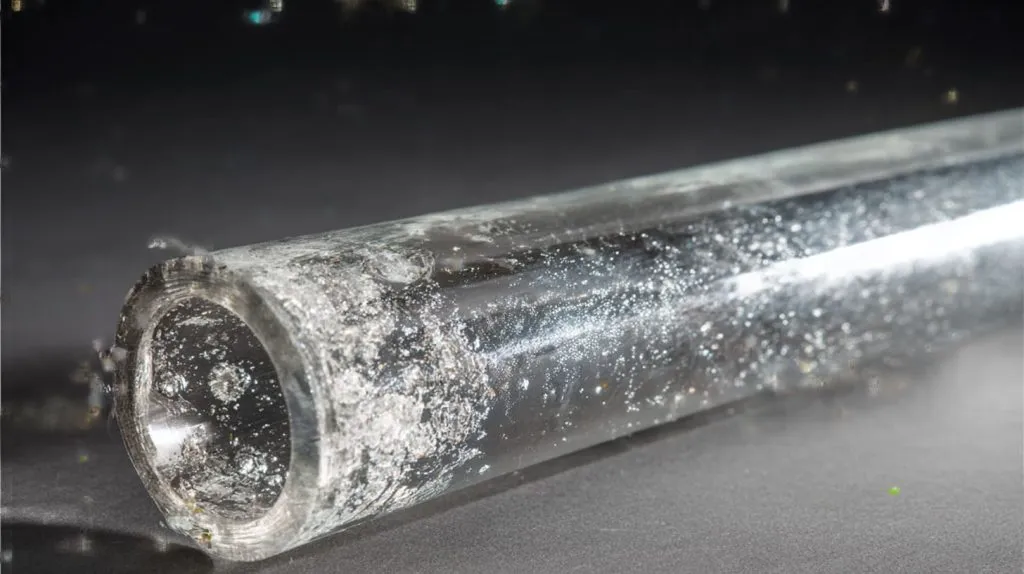
Acrylic does not forgive rough edges.
A tube end can look “okay” at a quick glance. But inside the edge, there may be micro cracks from cutting. Those micro cracks are like little pre-made failure paths.
If a tube fails during assembly, it often starts at the end.
I have a rule in my head: if the end finish looks cheap, the product will behave cheap under stress.
Why Rough Edges Lead to Cracks
Two big causes:
- Micro-fractures from improper cutting
Dull tools, wrong feed rate, too much heat, poor support. - Flame polishing risks
Flame can make the edge shiny, but it can also add heat stress if not controlled.
A shiny edge does not mean a healthy edge.
I once saw a tube that looked perfect, but the end was flame polished too aggressively. The surface looked like glass. But during assembly, the end cracked cleanly. It was like snapping a cracker.
Aesthetic vs Structural Trade-Off
Here is where buyers need to pick what matters most.
Some finishing methods are pretty. Some are strong. Some are both, but cost more.
| Finish Method | Looks | Structural Risk | Notes |
|---|---|---|---|
| Basic saw cut | rough | high | cheap but risky |
| Mechanical polishing | good | medium | depends on process control |
| Diamond cutting | excellent | low | clean edge, stable |
| Flame polishing | very shiny | medium-high | can add stress if rushed |
A tube end is usually a contact point. It touches bases, caps, or fixtures. That means the end finish is not just cosmetic. It is functional.
Best Practices for High-End B2B Displays
For high-end display products, I usually push for:
- controlled cutting with sharp tools
- stable polishing process
- edge inspection under good light
- sample approval focused on edge quality, not only surface shine
Here is a simple QC checkpoint list I often use:
| Check Item | What I Look For | Why It Matters |
|---|---|---|
| End edge clarity | no haze band | haze can signal heat stress |
| Micro chips | none near edge | chips grow into cracks |
| End squareness | flat and even | uneven ends create point loads |
| Touch feel | smooth, no sharp | sharp edges chip in shipping |
My personal judgment here is based on one small detail: if I can feel a tiny “bite” with my fingernail at the edge, I do not trust that tube for a tight assembly.
Now, even with perfect edges, tubes still fail when buyers design bonding like it is “glue and done.”
Bonding is not decoration. Bonding is mechanics.
Mistake #5: Incorrect Bonding and Assembly Design
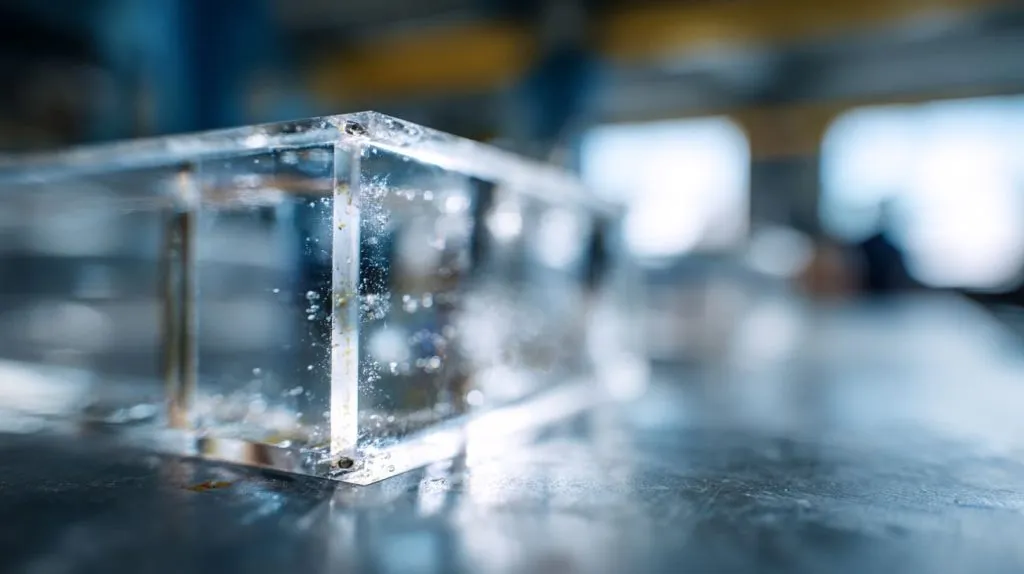
Bonding failures are messy. They create complaints that feel personal. Because the customer sees a seam, or a bubble, or a white line, and they think the whole product is low quality.
And sometimes, they are right.
Acrylic bonding can be strong and clean, but only when the design respects what bonding really is: a controlled process, not a magic trick.
Here is the painful truth: if you design a tube like it will “self-align” during bonding, you are betting your quality on luck.
Common Bonding Failures
I see the same three again and again:
- Solvent welding mistakes
Too much solvent, wrong application, or poor joint prep can cause crazing and whitening. - Uneven adhesive distribution
Leads to weak spots, bubbles, or ugly seams. - Over-tight mechanical fasteners
Screws can crush acrylic and start cracks, especially near holes.
The buyer often focuses on bond strength. But I also focus on bond appearance. For clear products, appearance is part of function.
Designing for Assembly
This is where design can save production, or ruin it.
Key ideas that matter:
- Tolerance gaps
Too tight means stress. Too loose means misalignment and ugly seams. - Slot-fit vs press-fit
Press-fit looks clean but can create stress. Slot-fit gives relief. - Expansion allowance
Acrylic moves with temperature. The joint must allow that movement.
Here is a table I use in DFM talks:
| Design Choice | Why Buyers Like It | Why It Fails | Safer Alternative |
|---|---|---|---|
| Tight press-fit | looks seamless | high stress + cracks | light clearance + locating features |
| Screws near edge | easy assembly | edge cracking | add sleeves + move holes inward |
| Direct solvent join | fast | whitening, crazing | controlled joint + proper prep |
| No alignment features | cheaper tooling | crooked assembly | add tabs, steps, or stops |
Factory Collaboration Tips
If I can convince a buyer to do only two things, it is these:
- Prototype the joint, not just the tube.
- Simulate the assembly steps.
Because many failures are caused by the assembly worker doing a normal human thing: pushing, twisting, squeezing.
One way I decide if the design is safe is by imagining this scene: a tired worker assembling 300 pieces near the end of a shift. If the design needs “gentle hands,” it is not production-friendly.
Next, we have the invisible force that makes even “perfect” assemblies warp: temperature.
Mistake #6: Neglecting Thermal Expansion and Temperature Swings
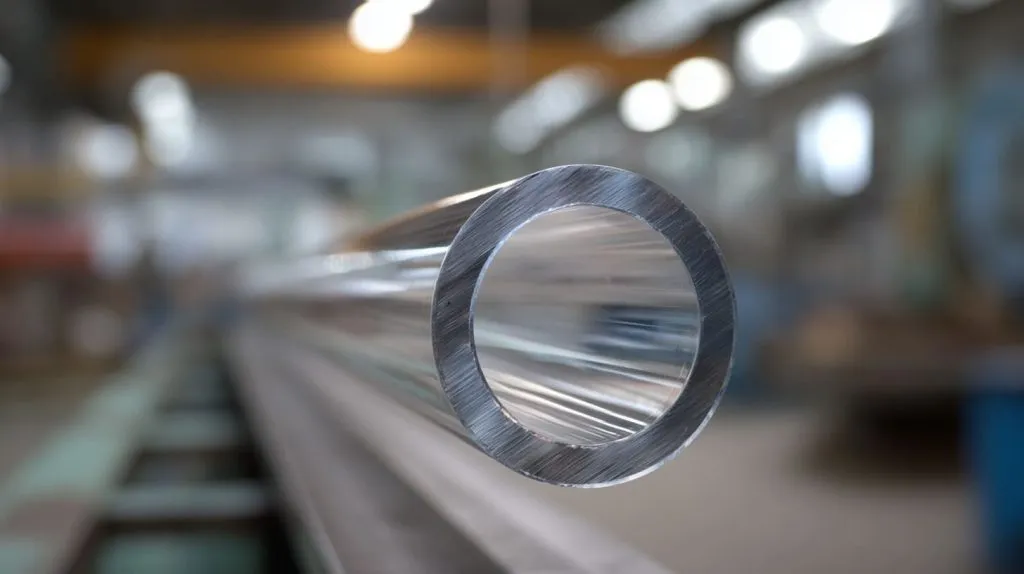
Acrylic expands. That is normal. But buyers often design tubes like they will behave like glass or metal. Then the tube gets warm, it grows, and suddenly it is stuck, bowed, or cracked.
Temperature is not only outdoor weather. Indoor HVAC, lighting heat, and shipping containers can all create swings.
A quiet thought I always keep: if a tube is locked inside a rigid frame, it will fight the frame when it warms up.
How Acrylic Expands
You do not need to memorize numbers to respect expansion. You just need to accept that acrylic moves more than metal.
This matters when tubes are:
- mounted into aluminum frames
- clamped at both ends
- designed with tight caps
Failure Scenarios
Here are the common patterns I see:
- Warping inside aluminum frames
The tube wants to expand, the frame says no. - Cracking at screw holes
The tube expands, the screw holds tight, the stress concentrates. - Long tubes bowing under heat
A tube can curve slightly, and that curve can become visible and ugly.
Here is a quick “failure map” table:
| Mounting Style | Heat Behavior | Typical Failure |
|---|---|---|
| Clamped both ends | expansion trapped | end cracks |
| Screwed through hole | point constraint | cracks around hole |
| Tight cap fit | pressure builds | crazing near cap |
| Floating mount | expansion allowed | much safer |
Design Corrections
The best fixes are not fancy. They are respectful.
- Floating mounts
Let the tube move slightly. - Slotted screw holes
Allow expansion without cracking. - Expansion clearance calculations
Simple gap planning based on tube length and temperature range.
I judge thermal risk by looking at one thing: does the design allow the tube to breathe, or does it lock it like a prisoner? Locked parts always find a way to complain.
Now, even with perfect expansion design, you can still lose the whole project in shipping.
Because shipping is the biggest “uncontrolled test” your tube will ever face.
Mistake #7: Designing Without Considering Shipping and Handling
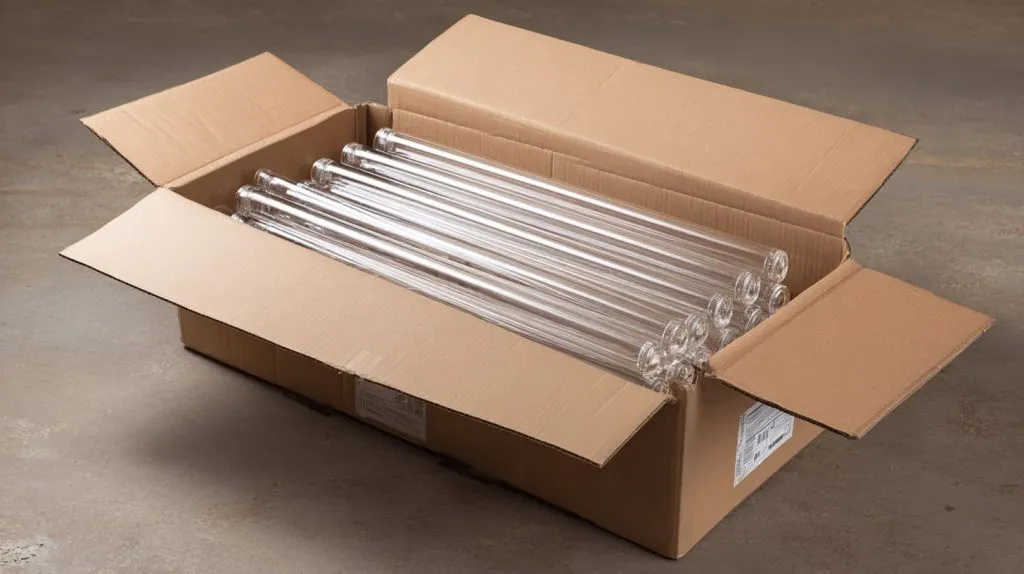
If you only test a tube on your desk, you are testing it in a fantasy world.
Shipping is loud. It shakes. It stacks. It drops. And it does not care about your beautiful drawings.
The most brutal lesson I learned early: the tube that survives production can still arrive broken because packaging was treated like an afterthought.
Transport Is a Real Stress Test
Three common damage types:
- Vibration damage
Micro rubbing, small impacts, and movement inside cartons. - Tube deformation during stacking
Long tubes can get pressured and slowly bend. - Packaging compression issues
Carton squeeze can crush thin walls, especially at ends.
Shipping damage often looks like “random cracks.” But most of the time, it has a clear cause: movement plus pressure.
Protective Packaging Strategies
The fix is not always “more foam.” Foam can also create pressure points.
I usually think in layers:
- Individual wrapping
Prevent surface scratches and rubbing. - Carton reinforcement
Stop crushing and bending. - Bulk shipping structural supports
Keep tubes from becoming load-bearing inside the box.
Here is a packaging logic table I share with buyers:
| Tube Type | Biggest Shipping Risk | Packaging Focus |
|---|---|---|
| Thin wall, long | bending | rigid supports + no empty space |
| Thick wall, short | impact | corner protection + separators |
| Polished ends | chipping | end caps + soft buffers |
| High-gloss surface | scratches | individual sleeves + clean separators |
Reducing Return Risks
The fastest way to reduce returns is boring:
- Drop testing standards
Even a simple drop test reveals weak points. - Sample shipment validation
Ship a sample exactly like mass goods. - Buyer-factory packaging coordination
Agree on packing steps, not only the carton size.
The decision I make here is based on cost pain: I would rather spend a little more on packaging than spend weeks arguing about who caused a crack. Returns are expensive in money, time, and trust.
Now we have covered the seven mistakes. The important part is not memorizing them. It is changing how we judge “simple” parts.
Conclusion

Clear acrylic tubes do not fail because acrylic is weak. They fail because people treat them like they are simple.
I wrote this article because I have seen the same pattern too many times: a buyer wants a premium look, but the design is built on assumptions. Then the tube meets the real world—assembly hands, alcohol wipes, sunlight, heat, rough edges, tight screws, and shipping shocks—and the assumptions break first.
Here is what I keep in my head when I review a tube design:
- Thickness is not a style choice. It is a stress choice.
- Chemicals are not “user behavior.” They are part of the environment.
- UV and heat are slow enemies. They change clarity and fit.
- Edges and ends are where cracks start, not where you expect.
- Bonding is a process. It needs alignment and tolerance respect.
- Expansion must be allowed, or it becomes stress.
- Shipping is the final exam, and it is always harder than the mock test.
Why do I judge it this way? Because I have paid the price when I did not. I have seen tubes crack during assembly because the fit was too tight. I have seen “perfect” tubes craze after a month because the store used alcohol wipes every day. I have seen cartons crush a thin wall and turn a premium product into scrap before it even reached Canada.
If you are designing or buying clear acrylic tubes right now, here is what I want you to do next:
- Send your tube drawing with the real use case: load, mounting, cleaning, sunlight, and shipping plan.
- Ask your supplier to review it as a system, not as a single part.
- Build one sample and ship it like mass production. Do not baby it.
If you want, you can share your tube size and application with me, and I will tell you where I think the first failure risk is hiding. That one simple check can save you weeks of back-and-forth, and it can protect your brand from the kind of “silent cheap feeling” that buyers never forget.