 Skip to content
By Feilong Acrylic — Deliver high-quality, custom solutions with fast lead times that are suitable for personalized or bulk orders.
In workshops where the air smells faintly of acrylic dust and freshly cut plastic, there’s often a moment when someone pauses, holds a clear sheet to the light, and asks, “Can we bend this?” That question usually comes right after the design stage—when a flat drawing on paper suddenly needs to become something curved, shaped, and real.
Plexiglass — also called acrylic or PMMA — looks delicate, almost like glass. But it’s far more cooperative when you know how to treat it. Heat it right, and it curves with surprising grace. Miss the technique, and it cracks, bubbles, or distorts in ways you didn’t expect.
Over the years, working with custom display makers, furniture designers, and engineers, I’ve handled plexiglass in just about every way it can be handled. And bending it—whether for a smooth shelf corner or a sharp, repeatable U-shape—has always felt like part craftsmanship, part problem-solving.
This guide gathers everything I’ve learned and shared with clients about how to bend plexiglass properly. Whether you're prototyping in a small studio or planning a production run, there’s something in here for you.
1. Understanding the Material: Plexiglass Basics
Acrylic is plastic. But not just any plastic. It’s polymethyl methacrylate (PMMA). That’s a mouthful, so think of it as clear plastic that behaves beautifully when heated.
What plexiglass / acrylic is (PMMA thermoplastic)
Acrylic sits in a family of plastics called thermoplastics. That means with heat, it gets soft. With cool, it gets hard again. This is the secret behind bending it.
How heating changes plexiglass properties (thermoforming)
When heated, the molecules in plexiglass start to relax. They stop resisting movement. That’s when it becomes bendable. Too little heat and it snaps. Too much heat and it bubbles or sags.
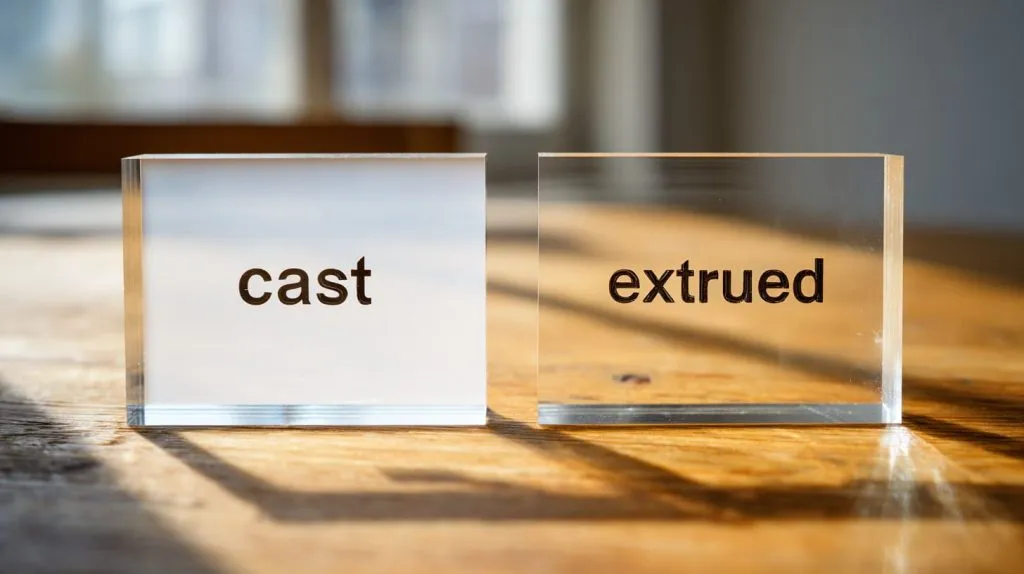
Differences between cast vs extruded acrylic for bending
Here’s a simple table:
| Type | Bend Quality | Stress Risk | Best Use |
|---|---|---|---|
| Cast Acrylic | Better, smoother | Lower | High-end displays |
| Extruded Acrylic | Works well | Higher | Quick bends, low budget |
I learned this the hard way. In one order, I used extruded sheets for deep curves. They looked fine at first, but under display lights, tiny stress cracks formed. That taught me: choose materials smartly before you even touch a heat source.
Now that we know what plexiglass is, let’s look at the ideas behind bending it.
Curious about how these principles play out in real workflows? Let’s go deeper.
2. Principles of Curving Acrylic / Plexiglass
Before you heat anything, there are three things I always think about:
Thermoforming vs simple bending
Thermoforming means reshaping with controlled heat. Simple bending is just a subset of that. With thermoforming, you can wrap shapes around molds or make smooth curves. With simple bending, sometimes you just want a clean 90° angle.
Minimum bend radius and material stress considerations
Every sheet has a minimum bend radius. If you force it past that point, it cracks. Imagine trying to fold a piece of paper too sharply. Same idea.
As a rule of thumb:
- Thicker sheets → larger radius
- Thinner sheets → smaller radius
Stress is real. You can see it in tiny white lines if you bend too cold.
Safety considerations (fumes, overheating, ventilation)
This part matters. Heat acrylic and you get fumes. Not dangerous if you have good ventilation, but not something you want inhaled all day.
Here’s a quick checklist:
- Fan or open workshop space
- Gloves and eye protection
- Heat sources monitored at all times
I once worked a full day with poor ventilation. By the end, my throat was scratchy. Never again.
Now we know the basics. Next, let’s prepare like a pro.
3. Preparation Before Curving
I always say: better prep, better bend. When I start a project, this is my checklist.
Measuring and marking bend lines
I use a simple marker and a metal ruler. Plexiglass marks easily. Just be light so the marks wipe off later.
Choosing the right thickness and checking material limits
If you want a tight curve, go thinner. If you want strength, go thicker. Sometimes I compromise with strategic reinforcing later.
Tools and equipment overview (heat gun, strip heater, oven, form/jig)
| Tool | Best For | Notes |
|---|---|---|
| Heat Gun | Small, quick bends | Handheld, flexible |
| Strip Heater | Consistent straight bends | Great for lines |
| Oven | Large or smooth curves | Even heating |
| Form/Jig | Complex curves | Repeatable shapes |
I once had a client who needed curves that looked like waves. Not straight lines. Not simple arcs. We ended up using custom wooden forms and the results were stunning.
Speaking of tools, let’s talk about the most common ways people bend acrylic.
4. Common Methods for Curving Plexiglass
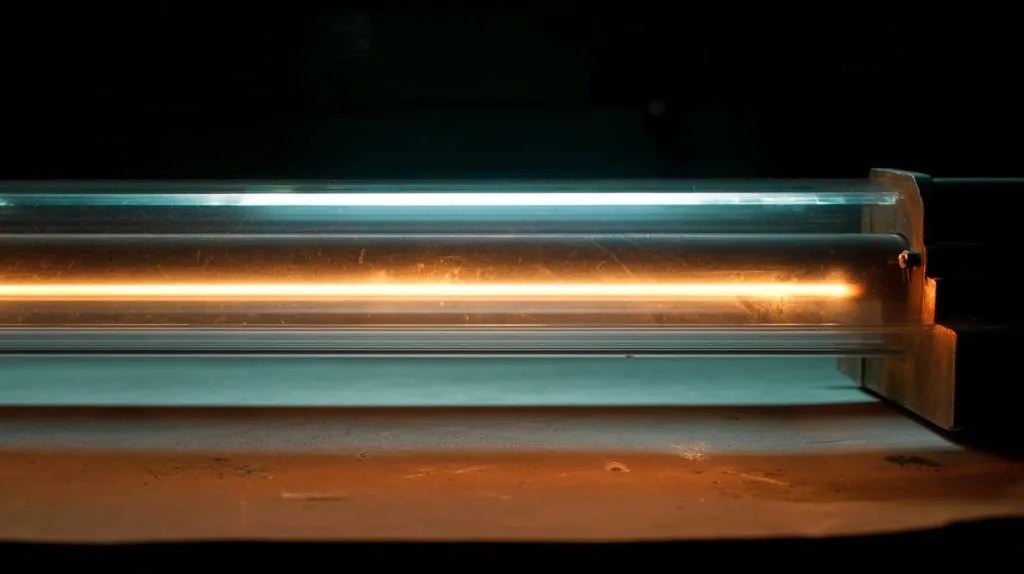
There is no single “right way.” There are choices. And your job is to choose the best one for your goal.
Heat Gun Bending Method
Great for small work. You heat the line until it glows soft. Then bend.
Strip Heater / Line Bender Method
This gives you a straight heated line and consistent bend. Perfect for frames or boxes with curves.
Oven (Convection) Bending Technique
This is my go-to when I want smooth, even curves. The whole sheet gets warm before forming.
Form or Jig Assisted Bending
A jig holds the shape. You heat over it. Once cool, you’ve got repeatable curves.
Specialized Industrial Methods (infrared heaters, hot plates)
In big factories, we use infrared or dedicated heating elements. These give heat fast and even.
So many ways to bend acrylic. Don’t stop reading yet — because how you do it matters just as much as what you do.
5. Step‑by‑Step: Heat Gun Bending Process
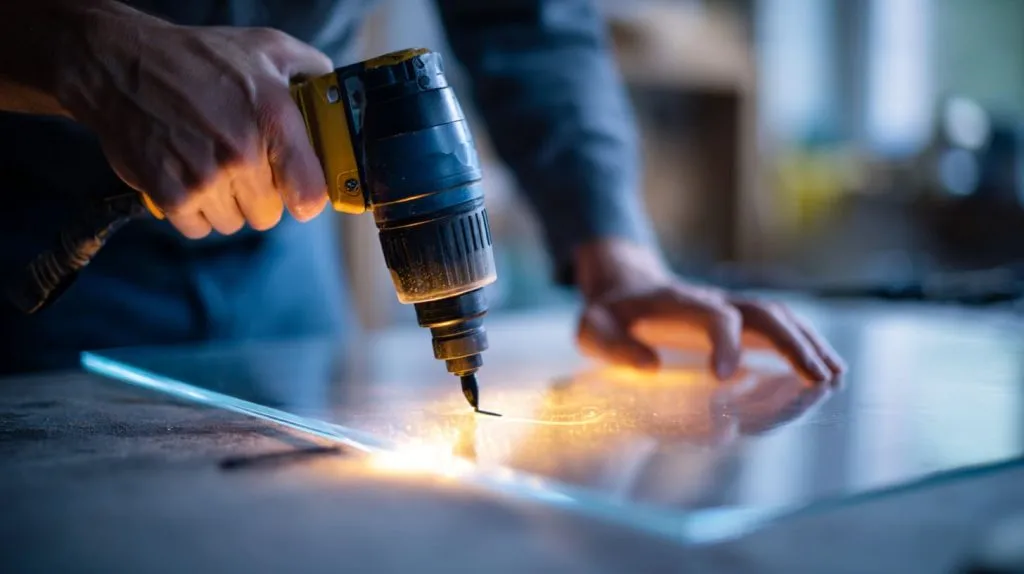
This is one of the first methods I taught new team members.
Safety first: PPE and workspace setup
Gloves, glasses, open windows. I never skip this.
Heating at a consistent distance and even movement
Hold the heat gun about 2–3 inches away. Move it slowly.
Testing pliability and making the bend
When the line looks slightly glossy, it’s ready. Use a jig or your hands (with gloves).
Cooling and locking in the shape
Let it cool down before you touch it. Cold air or room temperature works fine.
Once I bent a piece too fast, and it snapped. Now I always remind my team: patience makes better bends.
6. Step‑by‑Step: Strip Heater / Line Bender Bending
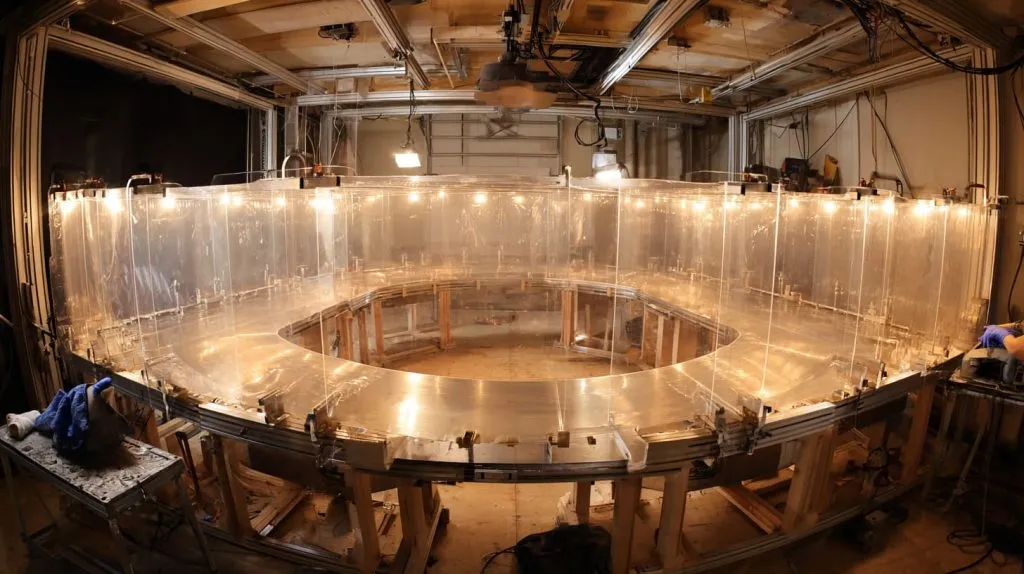
With this method, consistency is king.
Setting up the strip heater for precision bends
Adjust the heater width to match the sheet thickness.
Controlling temperature and timing
This is about rhythm. Not too fast. Not too slow.
Using jigs for consistent angles
A jig is like training wheels. Helps you hit the same angle over and over.
7. Oven Method for Large or Complex Curves
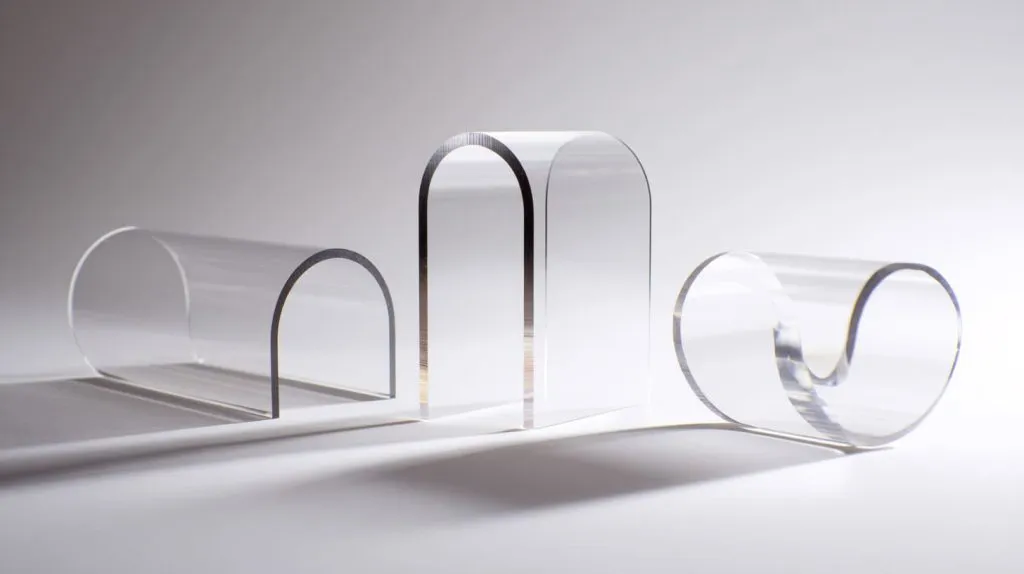
Big curves? This is where ovens shine.
Preheating and oven setup (150–160 °C range)
Heat evenly. Patience here pays off.
Mold/form positioning during heating
Place your forms inside before heating. Once warm, slide the sheet over.
Cooling period and release
Let it cool completely before removing. Rushing leads to warps.
Now, let’s talk about the types of curves you might need.
8. Achieving Different Types of Curves
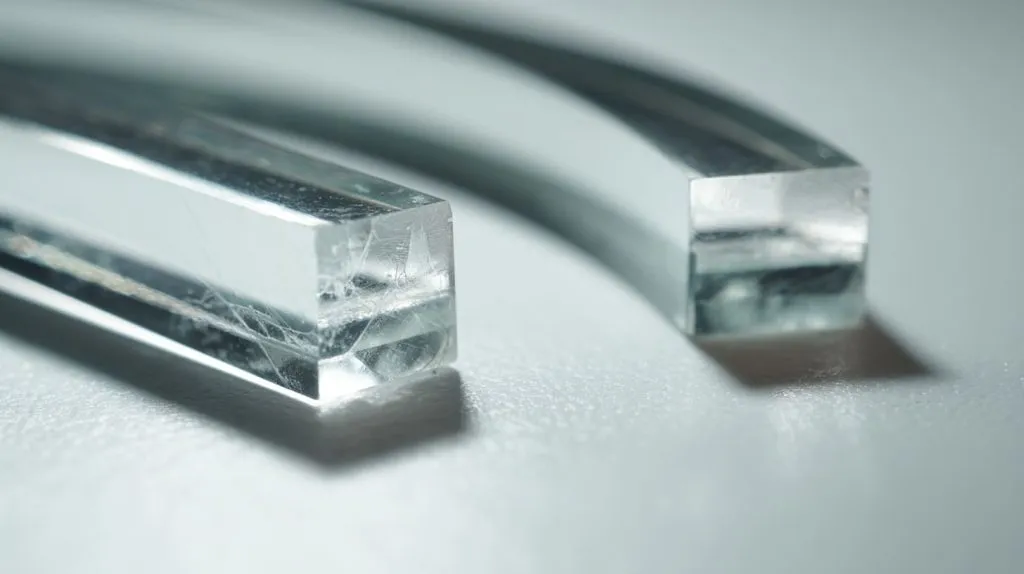
Not all curves are the same.
Simple single bends
This is like bending a corner. Easy once you’ve practiced.
Compound and multi‑axis curves
These twist in more than one direction. These need forms.
Tubular / cylindrical bending techniques
Think round tubes or arcs. Often made with a jig and oven.
You’ll notice the method changes depending on the curve. That’s a key insight I always share with clients.
9. Tips for Better Results & Avoiding Problems
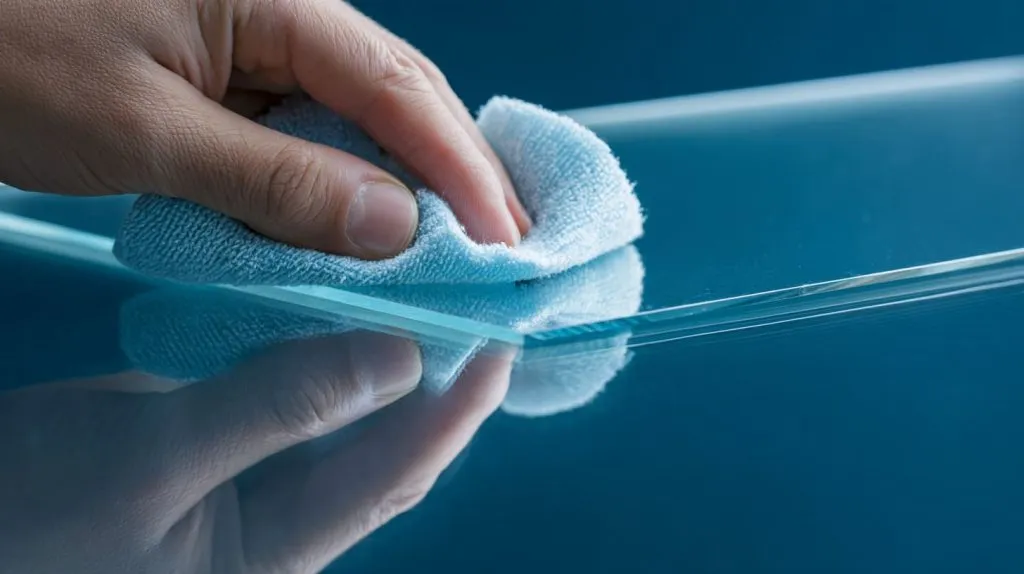
Even simple bends have pitfalls.
Even heating vs hotspots
Hotspots burn. Even heat bends.
Avoiding surface marks and crazing
Don’t let the heat sit too long in one place.
Recommended minimum radius relative to thickness
| Thickness | Min Radius |
|---|---|
| 3 mm | 15 mm |
| 6 mm | 30 mm |
| 10 mm | 50 mm |
What to do when plexiglass cracks or warps
Sand lightly, polish edges, or use gentle reheating.
These small lessons save hours later.
10. Finishing After Bending
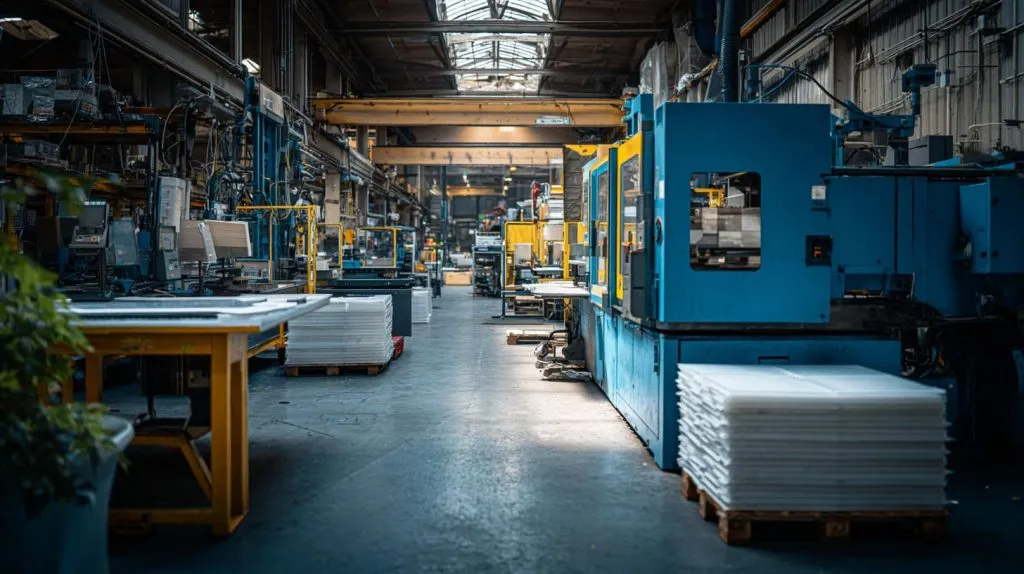
After the bend comes the polish.
Trimming and filing rough edges
Use a fine file or sandpaper.
Polishing curved edges
Wet sand, then buff with polish.
Bonding and joining curved pieces if needed
Acrylic glue works well when surfaces meet cleanly.
By now you should feel more confident to bend and finish your work.
But what if you need precision or repeatability?
11. Professional & Production‑Grade Techniques
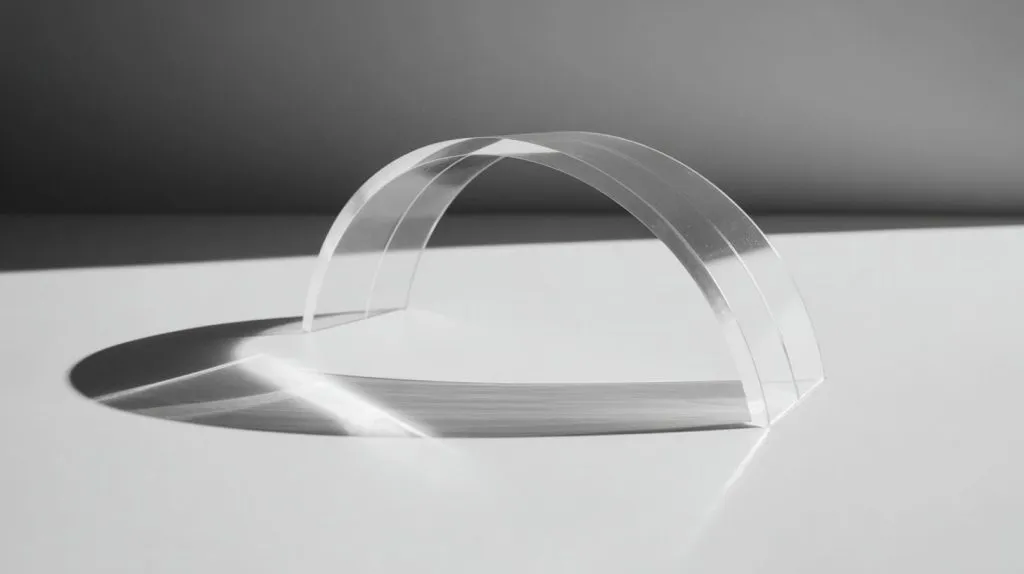
In factories like ours at Feilong Acrylic, we use pro tools daily.
Using dedicated thermoforming equipment
These give precise, even heat every time.
CNC formed molds for repeatable curves
Molds mean faster production, consistent results.
Outsourcing vs in‑house bending
Sometimes clients ask: should we do this ourselves or send to pros? If it’s one piece, try it yourself. If it’s 100 pieces, a factory makes sense.
Conclusion

We’ve walked through the heart of curving plexiglass. From what it is, to how heat changes it, to real methods you can use today.
If you are just starting, pick a method and practice. If you are scaling production, think about forms and repeatability.
Either way, you now know the path. And trust me — once you master this, you’ll see endless possibilities in design and displays.
Want to take this further? Visit us at flacrylic.com. I’m always happy to help.




