Skip to content
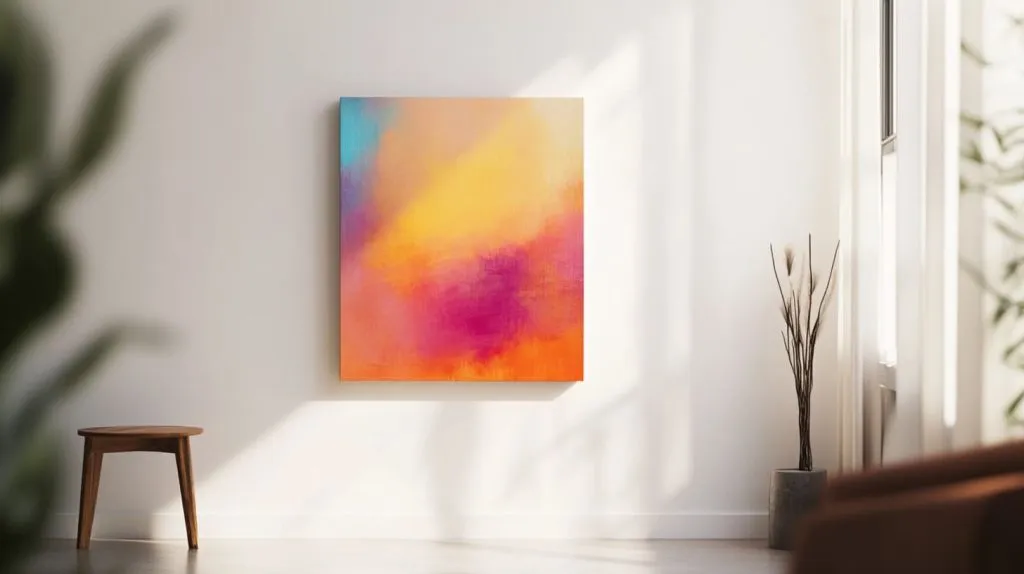
Last fall I helped my sister move into a tiny studio in Montréal. We both loved a bright canvas she had painted in college, but every frame we tried felt bulky. I took a breath, ditched the frame, and hung the board bare. The wall lit up. In that moment I learned what a frameless canvas board can do for a room.
What a frameless canvas board is & why people love the look
A frameless canvas board is a stretched or glued canvas with finished edges that shows no wooden or metal border. People choose the look for three simple reasons:
- Weight. It feels light in the hand and on the eye.
- Cost. No frame means lower material and labor fees.
- Style. The art, not the border, grabs attention.
Benefits vs. drawbacks of skipping a frame (cost, weight, style)
| Factor | Plus Side | Down Side |
|---|---|---|
| Cost | No frame to buy | You still need safe hardware |
| Weight | Easy for one person to lift | Light boards warp if stored wrong |
| Style | Modern, clean edges show the paint wrap | Edges may scuff in busy hallways |
A warm coffee aroma still filled that studio when I asked myself what hanging method would keep our new frameless friend safe. That led me to test every hook and tape I could get my hands on.
Choosing the Right Hanging Method
Assess canvas weight & size
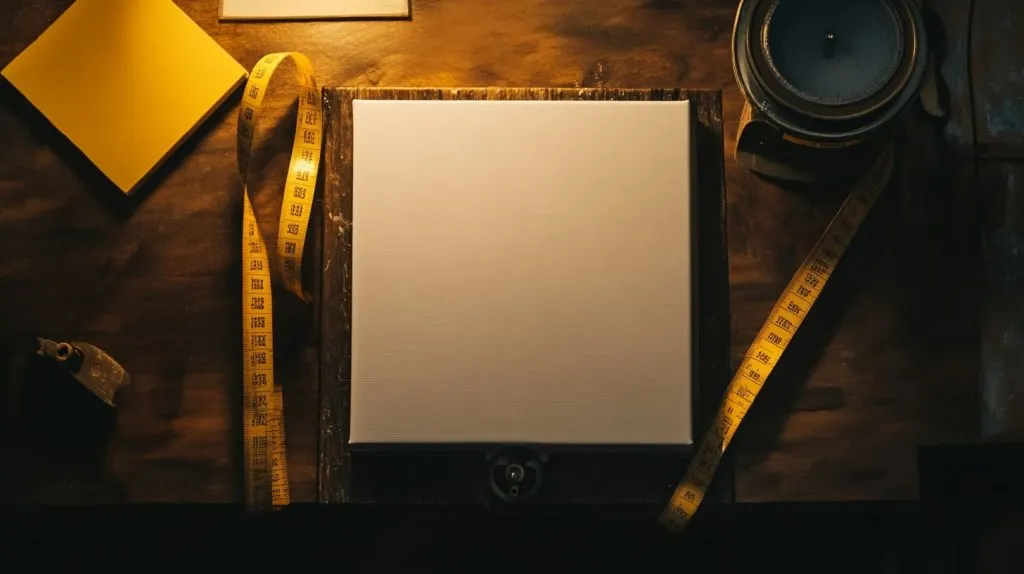
First I place the board on a scale. Anything under 2 kg counts as light. I write the number down because guessing always leads to crooked art. Size matters too. A long panoramic piece catches more drafts and needs firmer support.
Match the method to wall type (drywall, plaster, brick, concrete)
| Wall Type | Light Board | Heavy Board |
|---|---|---|
| Drywall | Small nails, Command Strips | Toggle bolts, French cleat |
| Plaster | Adhesive hooks | Screw and anchor |
| Brick / Concrete | Masonry screws | French cleat with anchors |
Damage-free vs. permanent hardware options
Damage-free works for rentals. Permanent fixes stay put through seasons of humidity swings. I decide by asking, “Will I move this art within a year?” If yes, I reach for removable strips; if not, I drill.
A light tap on the wall told me we had hollow drywall to work with—time to pick real hardware.
Popular Hardware Solutions
Sawtooth hangers
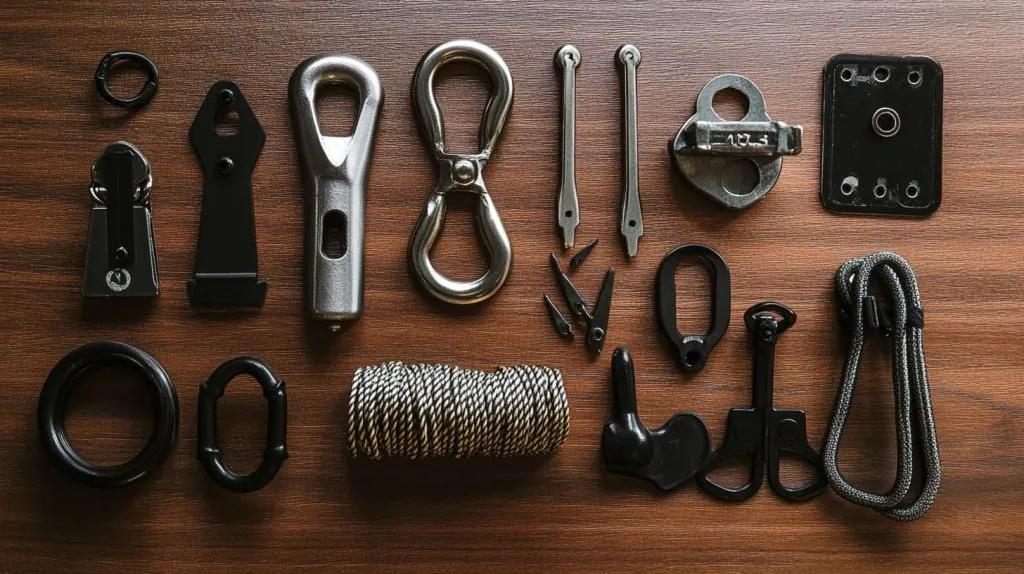
I prefer sawtooth hangers for canvases under 60 cm wide. The teeth let me nudge the board until it sits level. Remember to center the hanger or the piece will lean.
D-rings + picture wire
D-rings promise flexibility. I screw one ring on each side rail, loop wire, and pull it snug. For a 4 kg painting that wire must be rated at least 10 kg to keep a safety margin.
Offset or canvas clips
Offset clips grip the frame edge without biting into the art. They shine when the board is thicker than the stretcher bar.
French cleats for heavy or large pieces
A French cleat is a two-part wedge. One half screws to the wall, the other to the canvas. They lock together like a shelf bracket and hold serious weight.
Eye screws + paracord
When walls are brick, I sink eye screws into mortar joints and string paracord. The look is raw, almost industrial. It works well in lofts.
Those options solve most rooms, yet many friends fear tools. They ask for tape—let’s talk adhesive.
Adhesive & Damage-Free Approaches
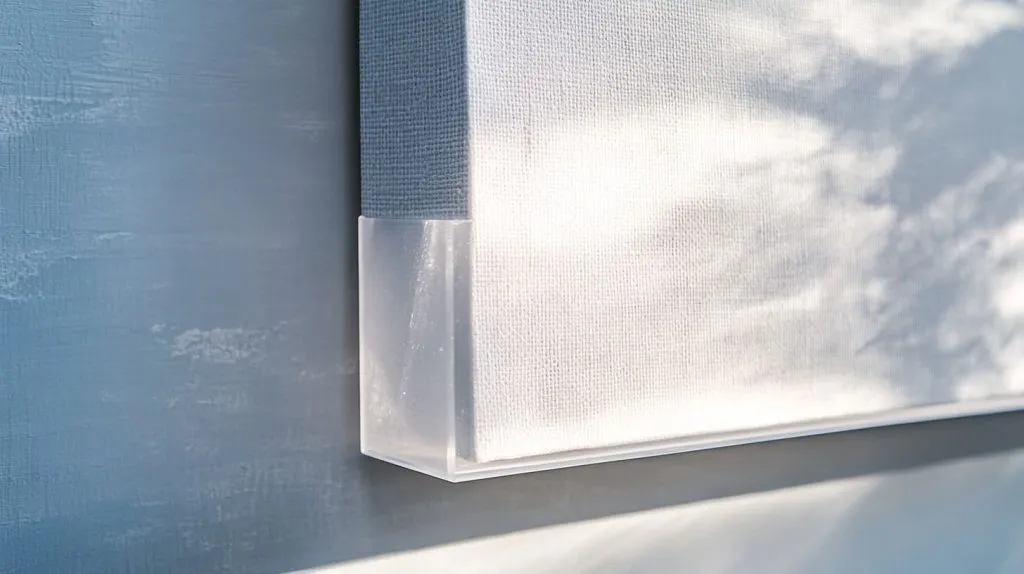
Command™ picture-hanging strips (Velcro style)
I press two strips together until they click, stick one side to the canvas, one to the wall, then wait an hour. Strips rated for 7.2 kg can fail on textured paint, so I smooth the surface first.
Heavy-duty double-sided mounting tape
Outdoor mounting tape grips brick and concrete where nails bounce off. I slice the tape into four equal pads and place them near each corner.
3M Claw & similar drywall anchors for renters
The Claw slides into drywall without drilling. Tiny metal teeth bite behind the gypsum. It removes clean with a twist, leaving a pinhole.
A neighbour once teased me for trusting tape, saying, “Glue on art? Never!” I smiled and opened the toolbox of DIY tricks.
Creative DIY Alternatives
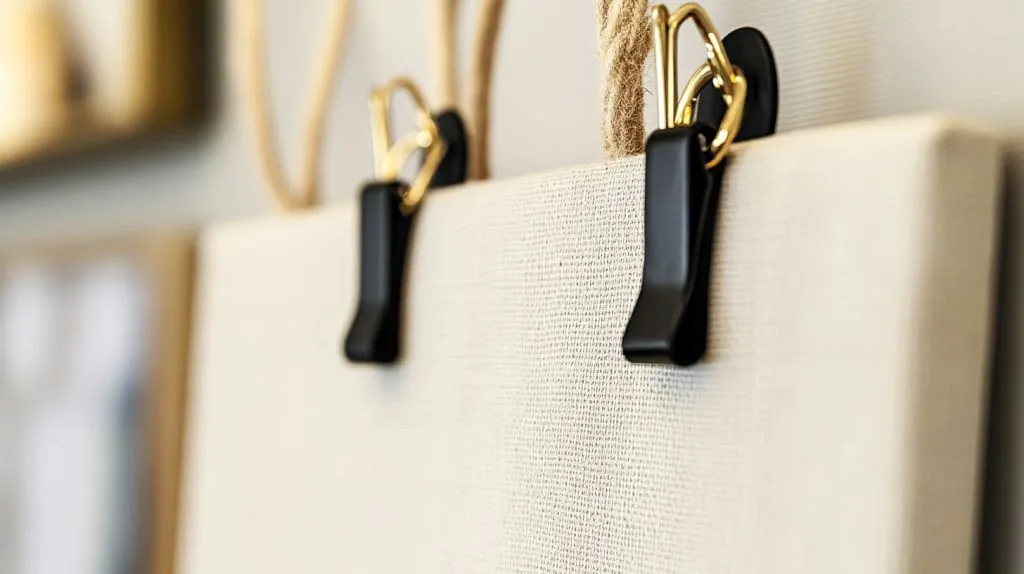
Binder clips + nails or pushpins
Binder clips grip the canvas edge. Two small nails through clip handles turn any cork board into a gallery.
Decorative rope or leather strap suspension
I thread a leather strap through two eyelets on the top rail. Knot, toss over a peg, done. The strap becomes part of the design—great for rustic cafés.
Magnetic strip or pegboard systems
A slim steel strip glued behind the canvas pairs with magnets sunk in the wall. No visible hardware. Pegboards let me swap out art in seconds, a perk for pop-up stores.
Those hacks invite play, yet I never skip prep. Clean gear leads to clean lines.
Preparing the Canvas & Wall
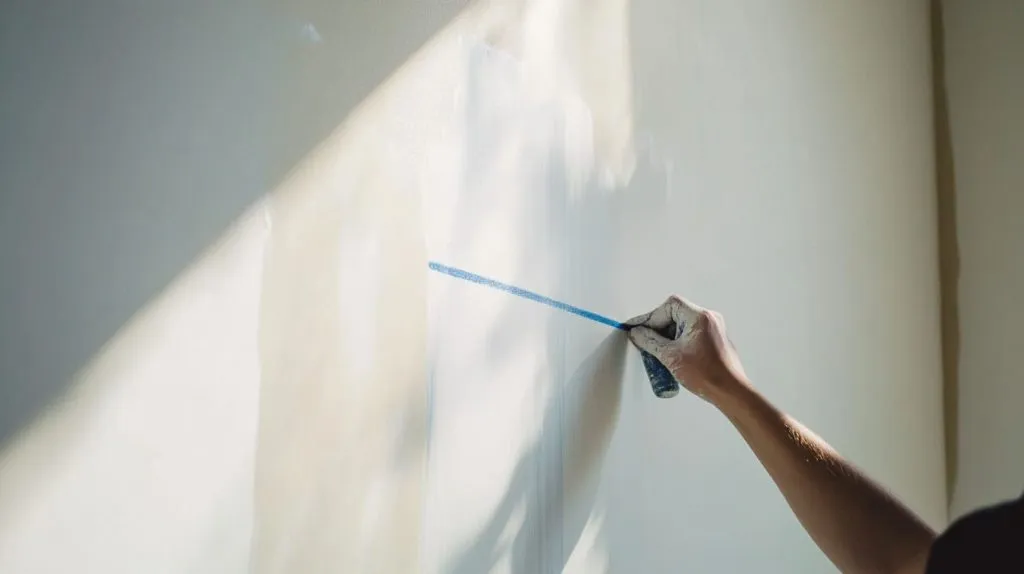
Clean and measure the wall; mark level lines
Dust blunts adhesive. I wipe the wall with a damp cloth, dry it, and snap a chalk line so the art sits straight.
Reinforce thin boards with backing tape or small battens
For a fragile 3 mm board I stick fiber tape along the back or glue a 10 mm wood batten. That stops bowing.
Seal or paint canvas edges for a finished look
I brush clear acrylic sealer on raw edges. Paint splatter adds flair if the art style allows.
My tape measure clicked shut. Time to hang.
Step-by-Step Hanging Guide
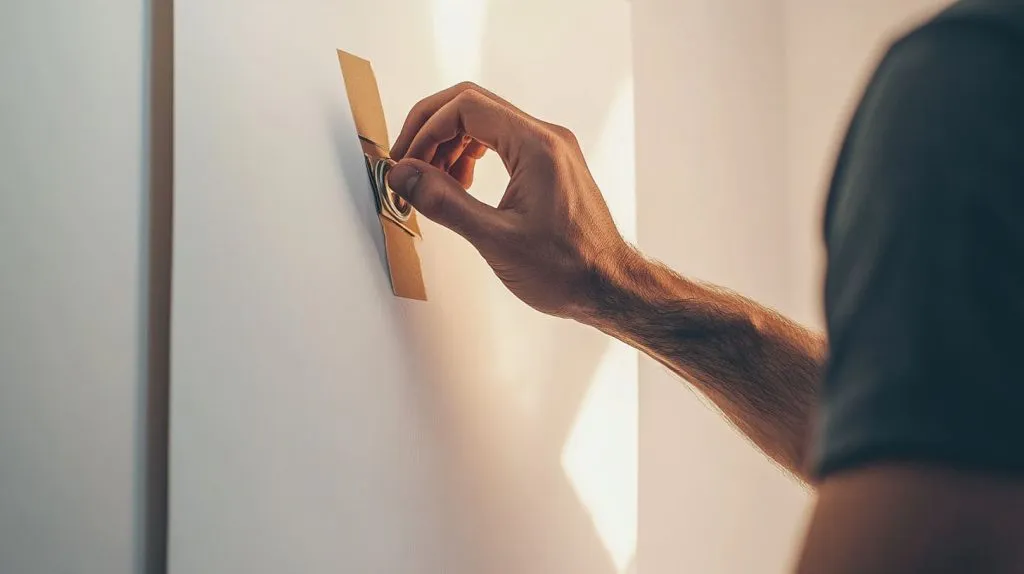
Install chosen hardware/adhesive on canvas
- Attach sawtooth, D-rings, or adhesive pads.
- Press firmly for 30 seconds.
- For glue products, wait the cure time on the box.
Transfer measurements to wall & place anchors/strips
I mark the top center of the board on masking tape at eye level, then install anchors 5 cm below to hide them.
Press, level, and cure time—final adjustment
Once the piece is on the wall, I step back. A small bubble level confirms the line. Adjust within the first minute if needed.
That first minute feels like holding my breath. When the board stays put, I exhale and plan the next wall.
Arranging Multiple Canvas Boards
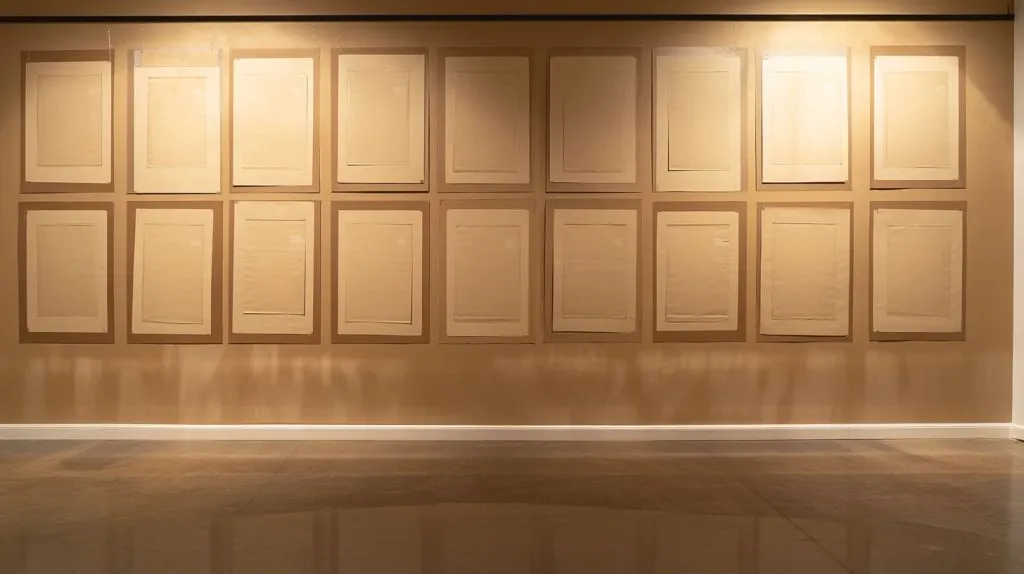
Plan a gallery-wall grid or organic cluster
Grid: equal rows and columns.
Cluster: flowing shapes around a center.
Ideal spacing & visual balance rules
| Canvas Size | Gap Between Pieces |
|---|---|
| Under 30 cm | 5 cm |
| 30–60 cm | 7 cm |
| Over 60 cm | 10 cm |
Use paper templates or laser level for quick layout
I trace each board on kraft paper, cut, and tape the shapes to the wall. A laser line keeps the bottoms aligned.
My niece once helped lay templates; she called it “art Tetris.” We laughed, then grabbed the duster.
Maintenance & Longevity Tips
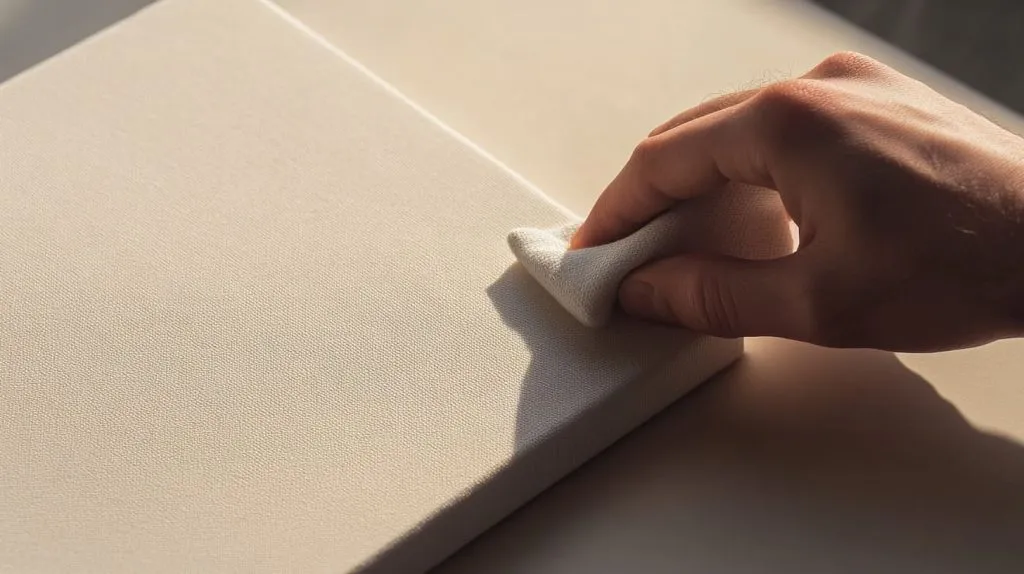
Prevent warping, sagging, or adhesive failure
I keep humidity between 40–60 %. A dehumidifier saves summer canvases from sagging.
Periodic alignment & dust-removal routine
Every three months I press each corner and check the level. A microfiber cloth lifts dust without scratching paint.
Repairing small holes or adhesive residue on walls
| Issue | Quick Fix |
|---|---|
| Nail hole | Fill with lightweight putty |
| Tape mark | Warm with hairdryer, peel slowly |
| Dust ring | Dab with mild soap solution |
Once a board fell at 2 AM. The culprit was worn Velcro. Since then, I schedule checks like oil changes.
Conclusion
Hanging a canvas without a frame is less about tools and more about respect for the art and the wall. Pick hardware that fits weight and surface, prep with care, and give the board room to breathe. Your reward is a clean, modern look that costs little and speaks volumes.