 Skip to content
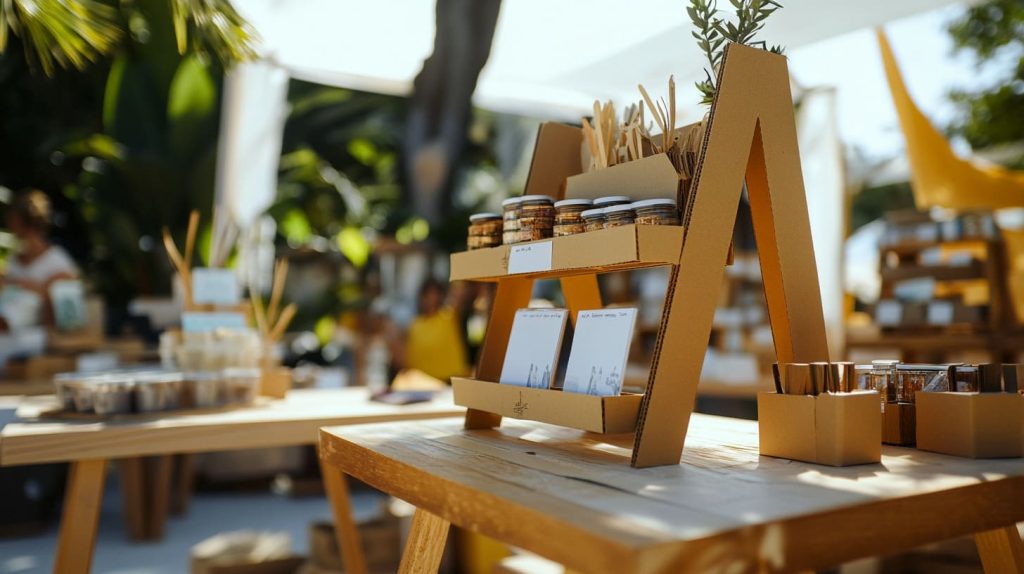
Last spring I was rushing to set up a booth at a pop-up market in Vancouver. My acrylic risers were still on a truck somewhere between Shenzhen and the Pacific, so I grabbed a stack of shipping cartons and a utility knife. By noon I had a serviceable display—and a crowd asking how I folded it so fast. That scramble showed me how far a plain cardboard sheet can go when time, money, or freight let you down.
The rise of DIY cardboard display solutions
Search “cardboard display box” today and you’ll find makers, teachers, and even big brands posting build guides. Pandemic lockdowns nudged people to craft at home; rising booth fees pushed sellers to shave costs wherever they could. Tutorials on sites like Instructables get thousands of views each month—proof that the DIY wave isn’t slowing. :contentReference[oaicite:0]{index=0}
Why choose cardboard over other materials?
Cardboard is cheap, light, and everywhere. I can prototype a shape in minutes, tweak angles, then decide whether to invest in wood, metal, or our signature acrylic. Even for short-run retail pop-ups, a clean corrugated box outperforms splinter-prone plywood and weighs a fraction of MDF.
Quick overview of the build process
- Plan the size and weight of what you’ll display.
- Cut & score panels from a single sheet.
- Fold & glue the body, adding ribs where needed.
- Finish with paint, wrap, or a clear window.
- Test load-bearing spots before showtime.
Ready to unpack the perks? Keep reading; the benefits might surprise you.
Benefits of Cardboard Display Boxes

Last December I helped Jacky—our Canadian mold-designer pal—launch a limited-edition figurine line. We spent more on air freight than on the cardboard stands that carried the toys. That alone sold him on paper-based displays.
Cost-effectiveness and material availability
- Zero procurement headaches: any printer, packaging shop, or recycling bin yields supply.
- Low tooling costs: dielines replace steel molds, so first articles cost cents, not dollars.
- Batch flexibility: print 50 for a test run or 5,000 for a nationwide rollout.
Lightweight yet sturdy for short-term use
Corrugated fluting traps air, acting like mini I-beams. A double-wall sheet holds five kilos without bending—plenty for cosmetics or gadgets on a weekend fair table. :contentReference[oaicite:1]{index=1}
Eco-friendliness and recyclability
Unlike foam board, cardboard slides into the blue bin. FSC-certified sheets add provenance, pleasing eco-minded buyers and event organizers alike.
Endless customization possibilities for branding
Digital printers let you splash full-bleed graphics; a craft knife turns flat art into pop-out shapes. Need tiers, waterfalls, or die-cut windows? Easy—and cheap compared to acrylic CNC re-runs.
| Benefit | Typical Scenario | Lifespan |
|---|---|---|
| Cost under \$2 | Farmer’s-market soap rack | 1–4 weeks |
| Weight < 500 g | Trade-show sample tray | 3–5 show days |
| Fully recyclable | Mall kiosk promo | Single campaign |
Of course, perks don’t matter if you lack the right gear—let’s stock the workbench next.
Materials & Tools Needed
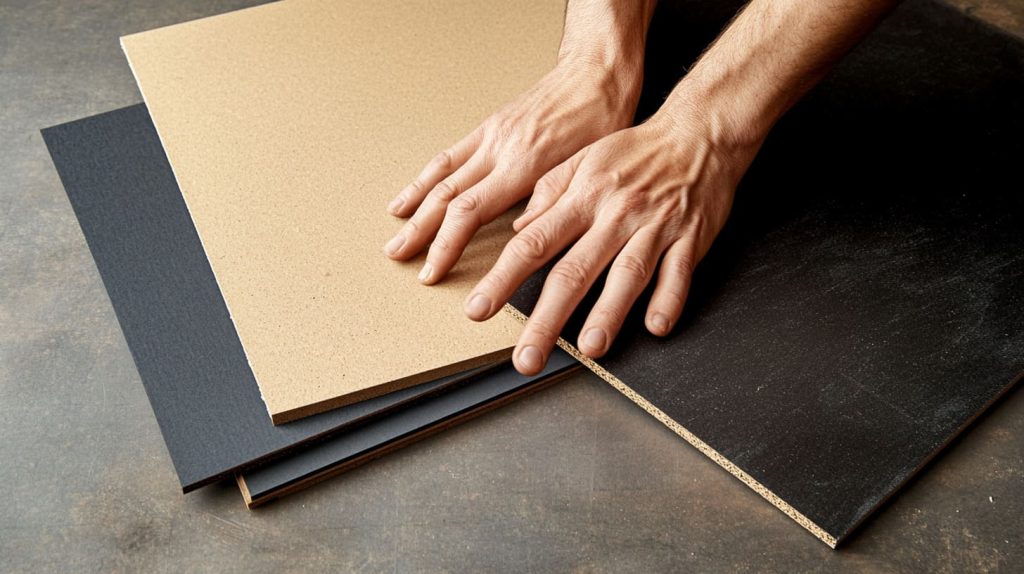
I keep a “pop-up kit” under my desk. When a client calls at 4 p.m. asking for a mock-up by morning, this box saves me.
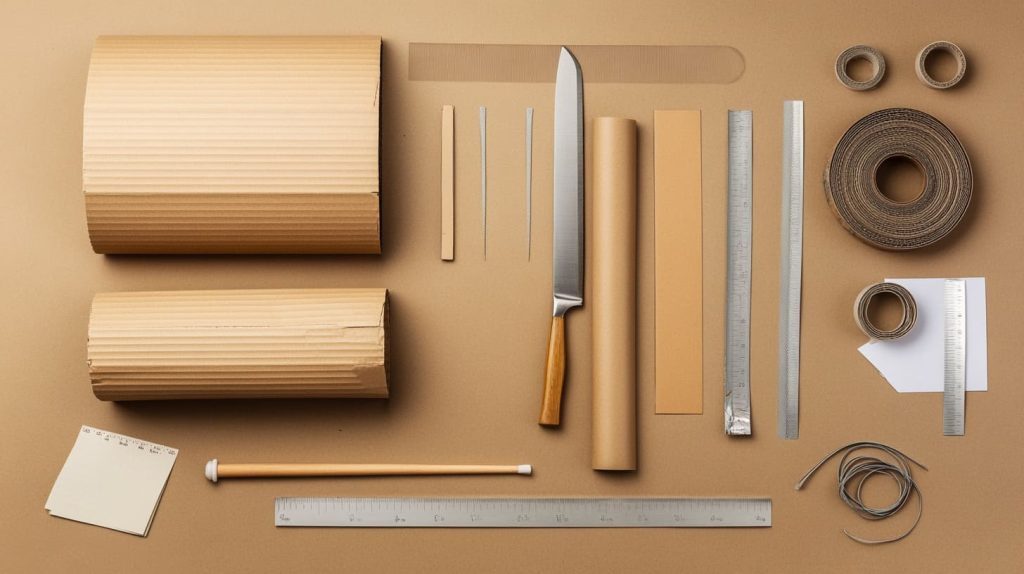
| Item | Why I Use It | Notes |
|---|---|---|
| 3-ply corrugated sheet | Strong yet foldable | 3 mm flute tops my list |
| PVA glue | Dries clear, low odor | Hot glue for rush jobs |
| Kraft tape | Reinforces edges | Matte finish blends in |
| Steel ruler | Guides straight cuts | Minimum 60 cm length |
| Craft knife | Clean edges | Snap-off blades keep sharp |
| Cutting mat | Saves the desk | A3 size works for most |
Core materials: corrugated sheets, glue, tape
Quality sheet stock matters. Flimsy single-wall boxes sag; spend the extra dollar on double-wall if your product tops two kilos.
Cutting & measuring tools: craft knife, steel ruler, square, mat
Fresh blades prevent ragged fibers. A machinist’s square keeps angles honest—critical when multiple tiers must sit flush.
Optional finishing supplies: paints, wraps, laminates, clear film
A quick coat of white primer hides shipping logos. Vinyl wraps elevate the look to boutique quality; acetate windows whisper “premium” without adding much weight.
Safety gear and workspace setup
Don’t skip the basics: a stable table, good light, and finger guards. I learned the hard way after nicking a knuckle at 2 a.m.—blood on kraft paper never comes out.
A sharp knife in hand begs for a blueprint—let’s map the cuts before we slice.
Planning & Measuring

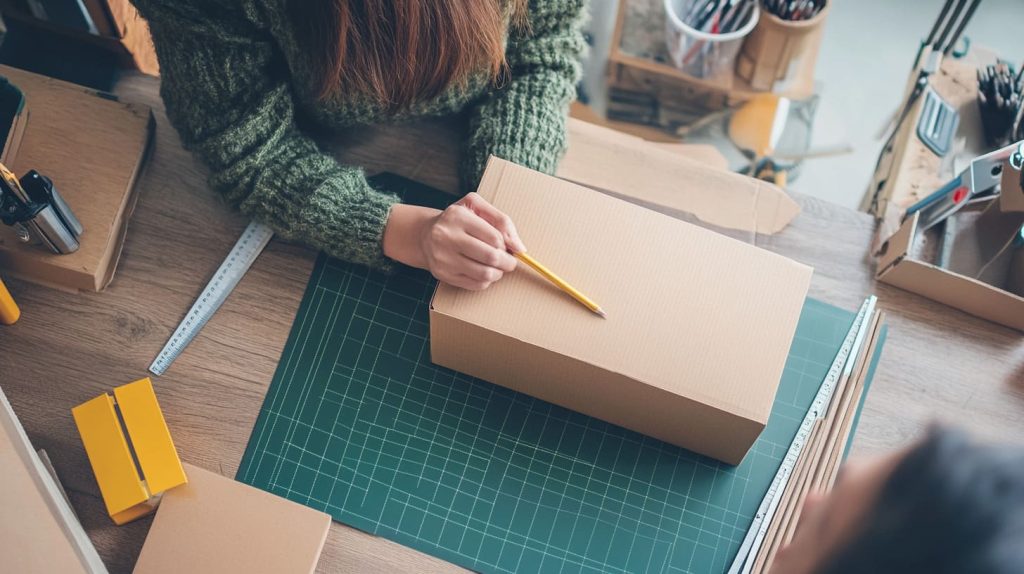
When Jacky specs an acrylic case, he sends solidworks files. For cardboard, I sketch on the back of a cereal box first—speed trumps CAD at this stage.
Defining display purpose, size, and weight capacity
Ask: What sits inside? How high should customers look? A phone-holder sits at 15°, a wine bottle needs 5 cm rail guards.
Sketching dimensions and choosing box style (sleeve, tuck-top, tiered)
Sleeves slide over a plain tray for unboxing drama; tuck-tops fold flat for shipping; tiered backs lift small items into sightlines. Design blogs stress matching form to function before graphics. :contentReference[oaicite:2]{index=2}
Creating a cutting template or printable stencil
Online dieline libraries save time. Print at 100%, spray-mount to the board, cut along solid lines, score dotted. Your future self will thank you during the assembly rush.
Blueprints ready? Time to kiss the cutting mat.
Cutting & Scoring Techniques

My first attempt looked like a chewed pizza box. The fix? Respect the score line.
Straight-edge cutting for clean lines
Pin the ruler with two fingers; pull the blade toward you in shallow passes. One deep hack tears the flute.
Scoring methods for crisp folds without cracking
Lightly drag a blunt butter knife along the fold line. The top liner bends; the flute compresses. Result: razor-sharp edges minus the white stress marks seen on rushed builds. DIY channels echo this tip. :contentReference[oaicite:3]{index=3}
Material-saving layouts and nesting parts
Rotate small panels into gaps between large ones. This “tetris” approach can trim waste by up to 20 %, handy when premium white board costs \$3 a sheet.
Cuts clean? Let’s fold this puzzle into a box before the glue dries.
Assembling the Box Body
Glue smells like childhood art class to me—nostalgia meets production.
Folding panels and reinforcing corners
Fold flaps inward so raw edges disappear. Press each corner for ten seconds; a square carpenter’s block keeps 90° true.
Gluing vs. taping: methods, curing times, aesthetics
- Glue: invisibly strong, 30-minute set, needs clamps.
- Hot glue: instant hold, bulkier seams, watch heat warping.
- Kraft tape: fast, flat, printable if you need graphics across edges.
Installing internal supports or tiered shelves
Cut L-shaped ribs from off-cuts, glue under each shelf. For heavy samples (think glass jars), I stack two ribs in an X for extra load.
A shell without armor won’t survive transport—let’s toughen it next.
Reinforcing for Durability
A rainy Toronto sidewalk once turned my display into mush. Lesson learned: cardboard needs armor.
Double-wall and ribbing techniques
Laminate a second sheet behind weight-bearing walls. Alternating flute directions increases crush strength.
Edge banding with paper tape or kraft strips
Banding hides corrugation and stops peeling. It also frames graphics like a picture mat—tiny detail, big polish.
Moisture-proofing and surface hardening options
Brush on a thin layer of water-based polyurethane or shellac. It adds minutes, saves hours of re-work if the venue mops the floor mid-show.
Now that it’s tough, let’s make it pretty—finishing touches ahead.
Finishing & Decoration
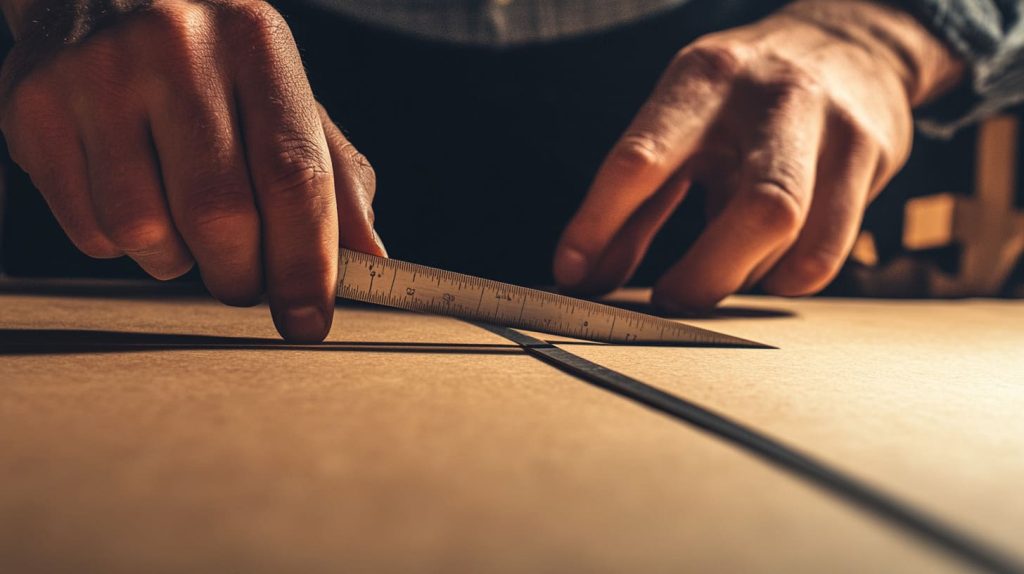
An unpainted box works, but a finished one sells.
Priming and painting for a retail-ready surface
White gesso seals fibers; acrylic paint pops color. Light coats prevent warps.
Wrapping with branded graphics, vinyl, or gift paper
Large-format printers churn out self-adhesive wraps. Peel-stick-squeegee—job done, and the box looks factory-made.
Adding windows, cut-outs, or clear acetate inserts
Die-cut logos double as vents for scented candles. Glue acetate behind the aperture for a dust-free view.
Looks good in daylight; let’s add flair that glows after dark.
Functional Add-ons
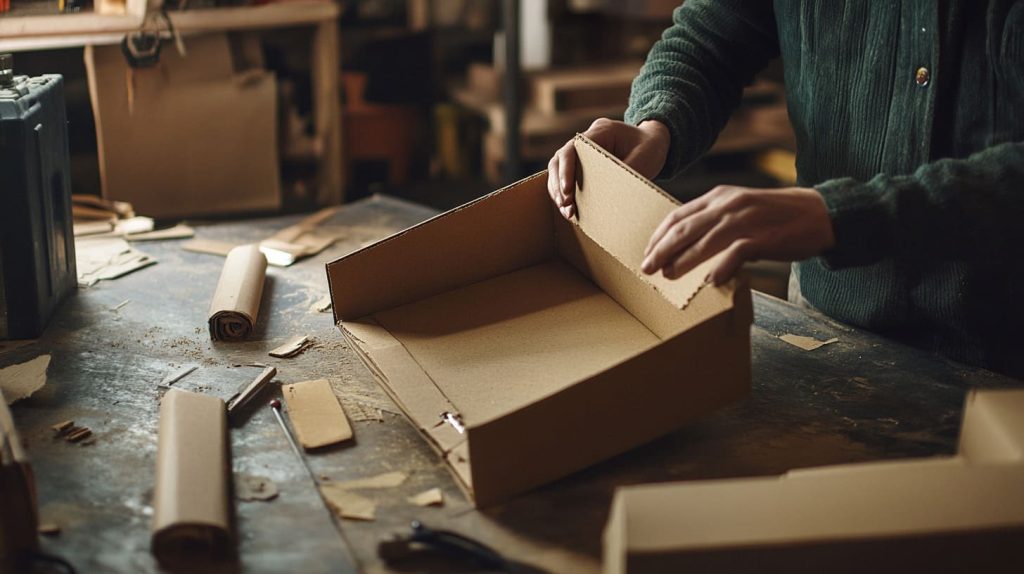
I once wired fairy lights around lipstick tiers; the booth next door dimmed by comparison.
Integrating LED lighting for visual impact
Battery-powered strips tuck under shelf lips. Keep wiring behind a removable panel for battery swaps.
Designing removable lids, doors, or drawers
Velcro tabs or rare-earth magnets offer tool-free access—a detail busy vendors cherish.
Adding handles, feet, or wall-mount brackets
Punch oval hand-holds for travel. Rubber feet lift the box off damp tables; a hidden keyhole slot turns it into a wall display after the show.
Of course, fancy extras can flop if the basics go wrong—let’s troubleshoot.
Common Mistakes & Troubleshooting
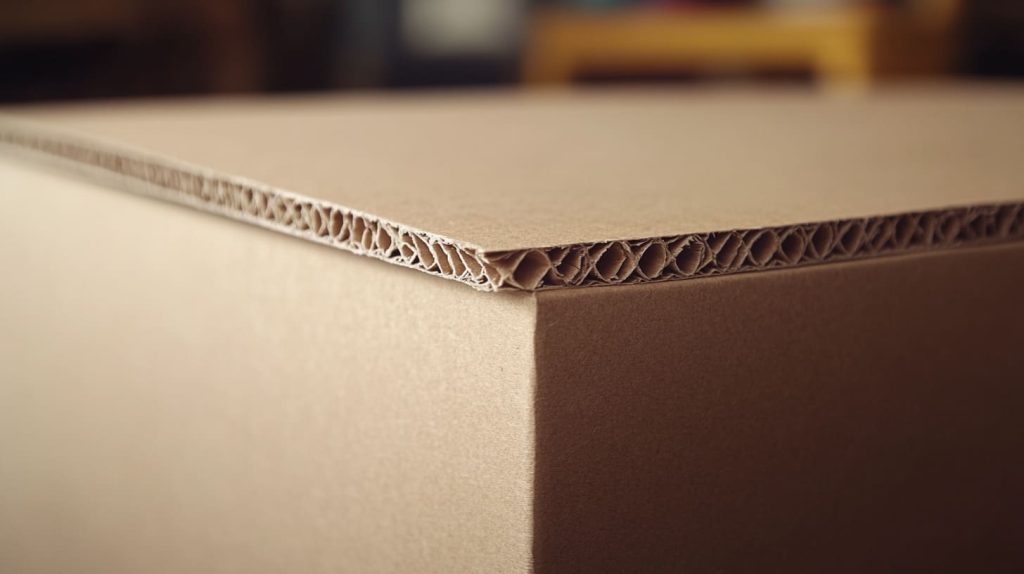
| Mistake | Symptom | Quick Fix |
|---|---|---|
| Warping | Waves after paint | Mist water both sides, press flat overnight |
| Sagging shelf | Middle dips | Add vertical rib or double-wall insert |
| Gaps at joints | Light leaks | Fill with hot glue, cover with tape |
Preventing warping, sagging, and crushed edges
Store sheets flat; respect weight limits. A shelf rated for 3 kg fails at 4 kg—simple math we all ignore once.
Fixing uneven cuts, gaps, or misaligned panels
Sand ragged edges with 220-grit paper. Realign panels using temporary masking-tape hinges before final glue.
Quick field repairs with hot-glue and reinforcements
Keep a travel glue gun and scrap strips. Ten seconds solves most show-floor calamities.
Getting safer and greener is the next logical step—let’s address it.
Eco-Friendly & Safety Considerations
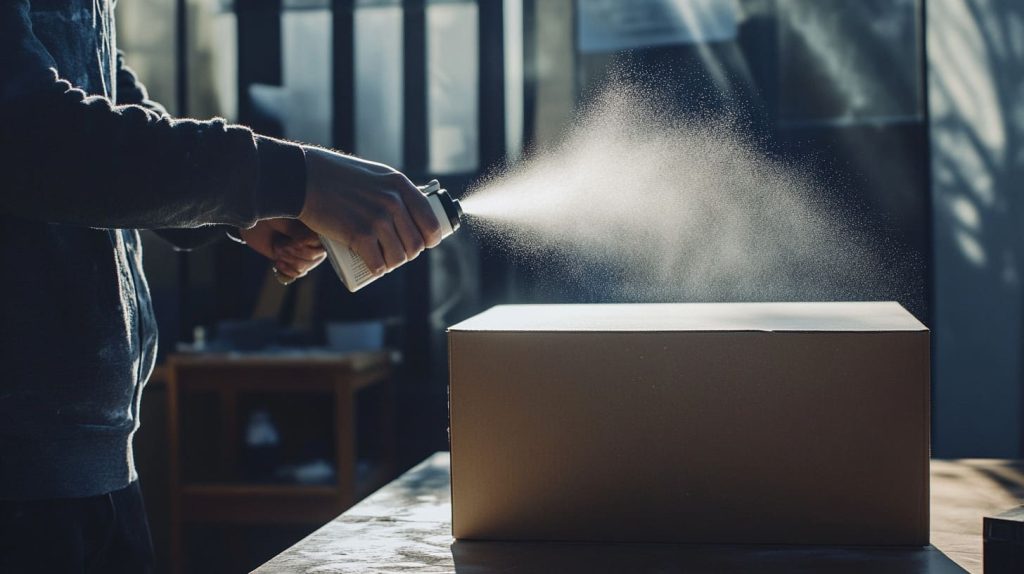
Cardboard earns eco points, yet details matter.
Selecting recycled or FSC-certified cardboard
Ask suppliers for chain-of-custody certificates. Some trade shows now require them.
Using non-toxic adhesives, paints, and finishes
Water-based glue and VOC-free paint keep indoor air clean—especially important in small kiosks.
End-of-life recycling, composting, or upcycling ideas
Flatten the box into the recycling bin or compost the untreated parts. I’ve even turned retired stands into cat forts—clients send me photos.
Budget still on your mind? Let’s crunch numbers before you grab the knife.
Cost & Sourcing Breakdown

| Component | Unit Cost (USD) | Source Suggestion | Notes |
|---|---|---|---|
| Double-wall sheet (A1) | \$1.20 | Local print shop off-cuts | Bulk price drops 20 % |
| PVA glue (250 ml) | \$2.50 | Craft store | Enough for 10 boxes |
| Kraft tape (50 m) | \$3.00 | Packaging supplier | One roll per 30 boxes |
| Vinyl wrap (per box) | \$0.80 | Online printer | Optional branding |
| LEDs + battery | \$1.60 | Electronics market | Adds major wow factor |
Estimating material cost per unit vs. batch
A single demo box may cost \$6 in parts, but batches of 100 dip below \$3 each—less than the café latte you skipped.
Where to buy quality cardboard in bulk or sheets
Check print shops for scrap, packaging suppliers for virgin board, or reclaim shipping cartons (avoid food-stained ones). Professional blogs note local sourcing cuts lead time. :contentReference[oaicite:4]{index=4}
When DIY saves money—and when pro fabrication wins
Short runs and tight deadlines favor DIY. Large retail rollouts need die-cut accuracy and litho-lam graphics—let the converter handle those.
Numbers look good—how are makers actually using these boxes in the wild?
Real-World Applications & Case Studies
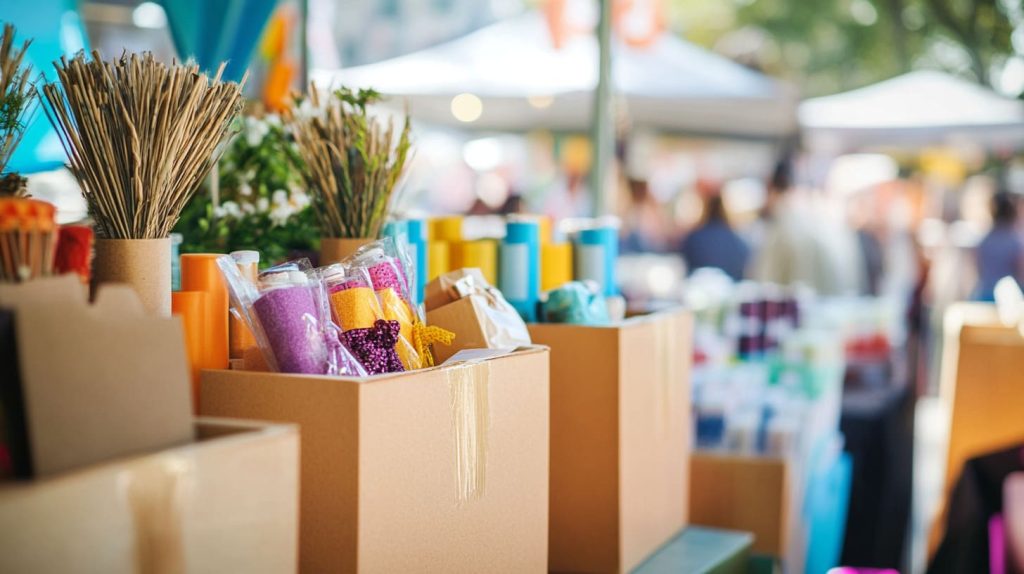
Craft-fair product stands and pop-up stalls
My soap-maker client sold out twice after switching from flat tablecloths to tiered cardboard risers—visibility drove impulse buys.
Retail point-of-purchase (POP) displays for promotions
Temporary holiday displays often last eight weeks. Cardboard meets that window without locking capital into fixtures.
Temporary exhibition props, prototypes, and photo shoots
Photographers love matte-white boxes as infinity-style plinths. After the shoot, they fold flat—studio space is money.
We’ve toured the cardboard universe; time to land the plane.
Conclusion
I started this guide with a frantic booth build and finished with a stack of tips you can test tonight. Cardboard rewards quick thinkers: plan, cut, fold, reinforce, and decorate. Prototype small, stress-test early, and scale when you’re confident. If you craft a standout box—or discover a hack I missed—send a photo my way at Feilong Acrylic. Let’s keep learning together.




