 Skip to content

The email was short and precise. No mood board. No long explanation. Just a single line under a photo attachment: “The object looks right, but the case feels louder than it should.” I knew immediately what the problem was, even before opening the image. In museums and galleries, the display never has the right to speak first. The moment it does, something has already gone wrong.
For more than a decade, my work has revolved around making custom acrylic displays, boxes, stands, and structural parts that end up in public spaces where people slow down and look closely. Museums and art galleries operate under a different set of pressures than retail. They are not trying to catch attention fast. They are trying to hold attention quietly.
The real goals usually look like this:
- Tell a story without visual noise
- Protect objects that cannot be replaced
- Guide visitors without visible barriers
- Keep everything stable for months, sometimes years
Here is a simple way I explain the difference to buyers who come from retail backgrounds.
| Topic | Retail Display Reality | Museum / Gallery Reality |
|---|---|---|
| Main goal | Attention + conversion | Respect + preservation |
| Handling | Staff touches daily | Visitors get close, but should not touch |
| Risk | Scratches look “cheap” | Scratches look “unprofessional” and become a complaint |
| Lighting | Bright and direct | Controlled, sometimes dramatic |
| Time horizon | Weeks to a season | Months to years |
One opinon I make very early is this: when an object is irreplaceable, the display must be treated like a protective system, not a clear container. That single decision shapes everything that follows—material choice, thickness, joints, edge work, and even how the case is packed for shipping.
Once that mindset is clear, the next question usually follows on its own: if museums are this demanding, why do so many of them still choose acrylic?
Why Museums and Art Galleries Choose Custom Acrylic Displays
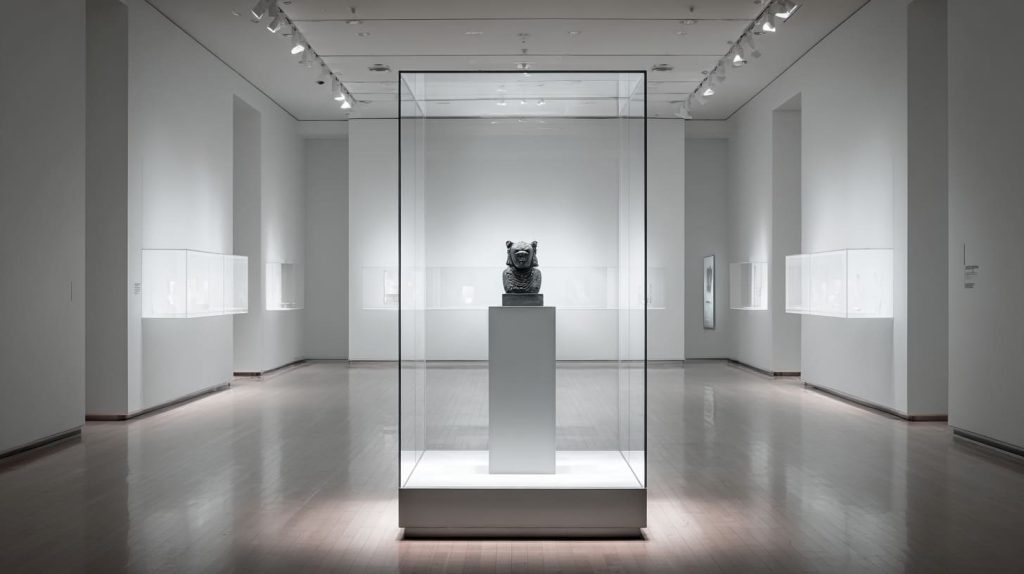
Acrylic gets selected for the same reason good museum labels are selected. It should help without shouting.
Museums and galleries often choose custom acrylic displays because they offer:
- Visual clarity with less visual weight
- Lighter structure than glass for large pieces
- Better safety in public spaces with unpredictable visitor behavior
- Freedom in form for complex shapes and clean joins
That said, acrylic is not “always better.” It is a tool. A sharp tool. If you use it wrong, it shows every mistake.
A detail I watch like a hawk is this: the more “invisible” a display tries to be, the more any small flaw becomes visible. A tiny edge wave, a seam line, a glare hotspot—these things get louder in a gallery than in a shop.
Acrylic vs Glass in Exhibition Environments
People ask me “acrylic or glass?” like it is a simple material choice. In real projects, it is a behavior choice. It depends on the object, the room, the visitor distance, and the cleaning routine.
Here is a practical comparison I often share.
| Factor | Acrylic | Glass |
|---|---|---|
| Weight | Lighter, easier to handle | Heavier, needs stronger support |
| Impact safety | More impact resistant | Can shatter and create hazards |
| Scratch risk | Higher if mishandled | Lower, but not scratch-proof |
| Optical options | Many grades and finishes | Fewer options, but stable clarity |
| Reflection control | Can be optimized | Often needs coatings or angle tricks |
| Fabrication | Easy to machine and bond | Harder to custom-shape |
Reflection control is where people get surprised. Acrylic can be excellent, but it depends on grade, surface, and how it is lit. A perfect acrylic case under bad lighting can look worse than glass under good lighting.
Maintenance is another area where judgment matters. If a museum has a strict “soft cloth only” policy, acrylic works smoothly. If the cleaning team uses strong chemicals and rough cloths, acrylic will suffer.
If we agree acrylic is often the right tool, then the next question becomes practical: what types of acrylic displays are actually used in museums?
Key Types of Custom Acrylic Displays Used in Museums
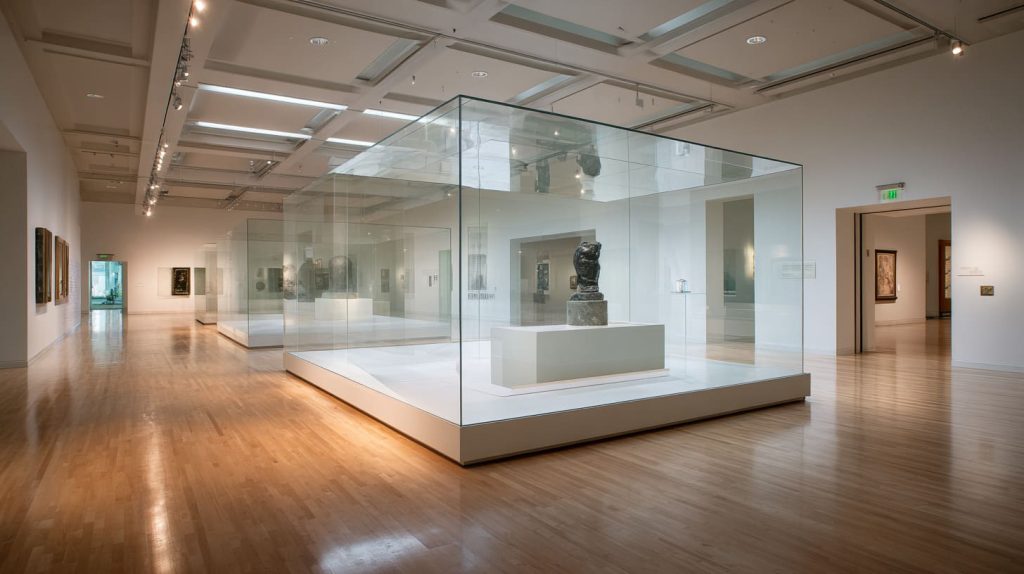
Museum displays are not one category. They are a family. Each type solves a different problem: touch protection, dust control, viewing angle, or installation limits.
The most common custom acrylic display types I see in museum and gallery requests:
- Acrylic display cases for artifacts and collectibles
- Acrylic plinths and pedestals for sculptures
- Wall-mounted acrylic display boxes for constrained spaces
- Tabletop and freestanding enclosures for rotating exhibits
A decision I make fast is this: if a display will be moved often (temporary shows), I design for handling first, not beauty first—because a beautiful case that chips during setup becomes ugly in one day.
Choosing the Right Display Type for Different Artifacts
Different objects behave differently in the real world.
Small artifacts and historical objects
These often need a sealed-feel case: dust protection, touch protection, and stable viewing.
Common needs:
- Tight fit to reduce visual “empty space”
- Stable base so the object does not slide
- Discreet access method for staff
Sculptures and 3D art pieces
These are about sightlines and weight distribution.
Common needs:
- Clear viewing from multiple angles
- Strong pedestal structure (sometimes internal reinforcement)
- Hidden fasteners so the pedestal looks “clean”
Documents, manuscripts, and photographs
These are sensitive to light and sometimes humidity changes.
Common needs:
- UV protection strategy
- Low-glare viewing surface
- Enough airflow planning to avoid a “sealed trap” when not required
Acrylic lets us build all these forms with clean lines, but the form alone is not enough. Next comes the part that separates “nice” from “museum-grade”: design details.
Design Considerations for Museum-Grade Acrylic Displays
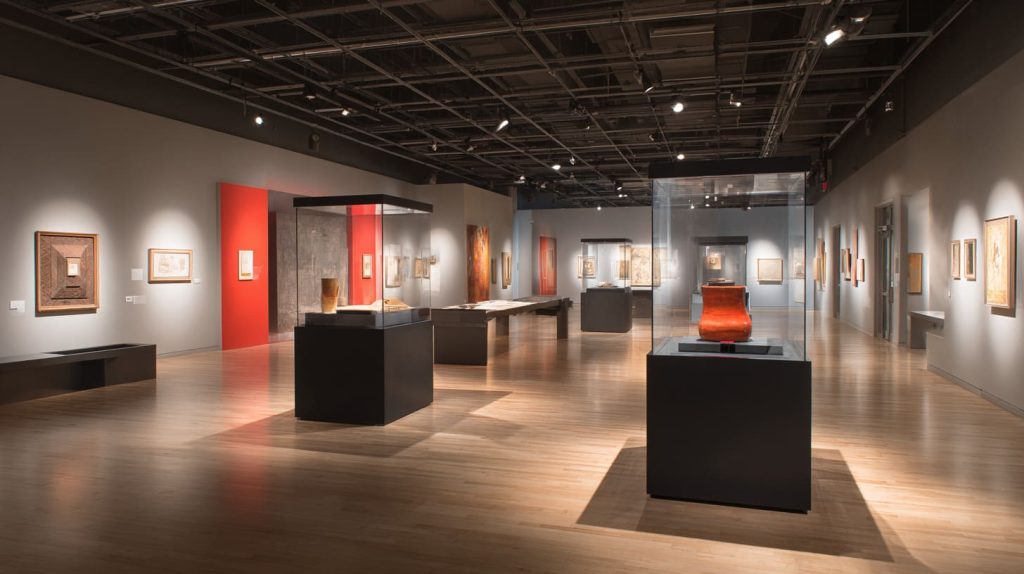
Museum-grade design is not about adding features. It is about removing distractions while keeping protection real.
The design goals I aim for:
- Minimalist aesthetics that do not fight the artwork
- Seamless joints and polished edges that look intentional
- Invisible fasteners or clean hardware placement
- Custom dimensions that respect the object’s shape and story
Here is a simple truth: the cleaner the display looks, the harder it is to manufacture well.
What makes me reject a drawing early is this: if a case has long unsupported spans and the buyer wants “perfect flat panels,” I push back, because acrylic will show stress, bowing, or optical distortion if we ignore physics.
Balancing Visibility and Protection
Protection has layers. Some are physical. Some are psychological.
Dust and touch protection
Visitors love to get close. Hands drift. Phones tap. Even if rules say “do not touch,” people touch.
So I often design protection like this:
- Physical barrier (the case)
- Distance control (base height, standoff space)
- Access control (hidden locks, staff-only openings)
Visitor proximity control
Sometimes the display’s job is to create a boundary without looking like a barrier.
Tools that work:
- Slightly raised bases
- Clear side panels with a subtle return edge
- A “visual frame” that guides the body to stop
Structural stability for long-term exhibitions
If a case sits for a year, tiny issues grow:
- A panel that flexes becomes a dust gap
- A poor bond line becomes visible
- A base that is not level becomes a daily annoyance
Acrylic design is where beauty and risk meet. Now we need to talk about the material itself, because “acrylic” is not one single quality.
Material and Manufacturing Standards for Museum Displays
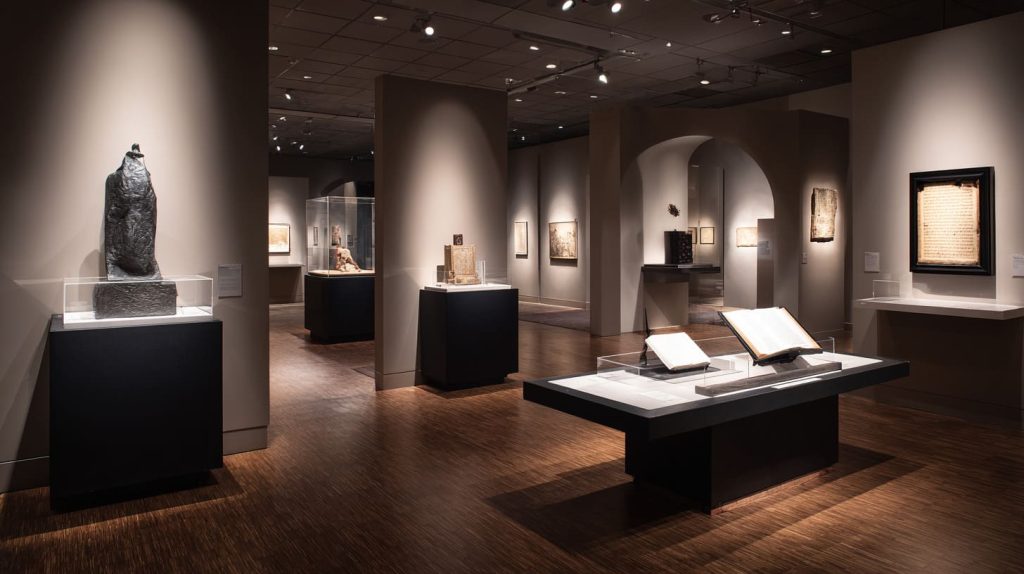
I’ve seen buyers write “acrylic” on a spec sheet the same way people write “steel” or “wood.” That is not enough for museum work. Acrylic quality and processing decisions show up later in clarity, stress marks, and long-term appearance.
Key standards I care about:
- Cast acrylic vs extruded acrylic
- Thickness selection based on size and load
- UV-resistant and anti-yellowing options
The judgment I lean on is this: when the viewing distance is close and lighting is controlled, I avoid “good enough” material, because the exhibit will expose every internal stress line and every wave.
Cast acrylic vs extruded acrylic
In simple terms:
- Cast acrylic is often better for optical quality and machining stability.
- Extruded acrylic can be fine for some jobs, but it tends to be less forgiving in high-end display work.
Here is a quick guide I use when talking with buyers.
| Item | Cast Acrylic | Extruded Acrylic |
|---|---|---|
| Optical stability | Higher | Can vary |
| Machining behavior | More consistent | Can melt or gum easier |
| Bonding results | Often cleaner | Can show stress easier |
| Cost | Higher | Lower |
| Best use | Museum-grade clarity | Budget projects, simple forms |
Thickness selection based on size and load
Thickness is not just strength. It affects:
- Flatness
- Vibration behavior
- Visual distortion at edges
- Long-term bow risk
A practical thickness starting point (not a final rule):
| Case Span (Longest Side) | Typical Starting Thickness | Notes |
|---|---|---|
| ≤ 300 mm | 3–5 mm | Good for small artifacts |
| 300–600 mm | 5–8 mm | Common museum tabletop range |
| 600–1000 mm | 8–12 mm | Watch bowing and handling |
| ≥ 1000 mm | 12 mm+ | Often needs structural planning |
I always remind buyers: a thicker panel can also create stronger edge reflections, so thickness must match the lighting plan.
Now that the base material is set, the surface quality becomes the next battlefield—because museums do not forgive glare, scratches, or cheap-looking edges.
Surface Finishing and Optical Quality

If acrylic is the “glass,” finishing is the “lens.” It shapes what visitors feel, even if they cannot explain it.
The surface and edge notes that matter most in museum work:
- High-polish edges that look like intentional jewelry, not raw plastic
- Low-glare choices depending on viewing angles and lighting
- Scratch resistance strategy through handling rules and protective films
A line I use internally is this: the best case is the one the visitor forgets, and finishing is what decides that.
High polish is not only “nice.” It is functional:
- It reduces the look of micro-chips
- It makes seams look cleaner
- It avoids a cloudy edge that catches light
But high polish also has a trade-off: it can act like a light pipe. In some galleries, edges glow. That can be beautiful or distracting. We choose based on the lighting plan.
Anti-reflective and low-glare treatments
Low-glare is not always a coating. Sometimes it is:
- A slight angle change
- A different lighting position
- A matte outer surface with a clear inner surface
Here is a simple decision table I use:
| Visitor Experience Goal | Typical Approach | Risk |
|---|---|---|
| “Pure clarity” | Clear surface, lighting control | Reflection hotspots |
| “Calm viewing” | Low-glare surface or angle | Slight softness of image |
| “No distraction” | Combine lighting + surface choice | Higher cost and planning |
Scratch resistance and surface durability
Acrylic scratches. That is a fact. The real question is: can the project control the causes?
Scratch causes I see most:
- Wrong cloth during cleaning
- Dust wiping like sandpaper
- Shipping friction
- Setup team rushing
So I plan durability like a system:
- Protective film kept until final install
- Clear handling notes
- Packaging designed to prevent panel rubbing
Finishing leads directly into preservation, because giving visitors a clean view is one goal, but keeping the object safe for years is another goal.
Conservation and Preservation Requirements
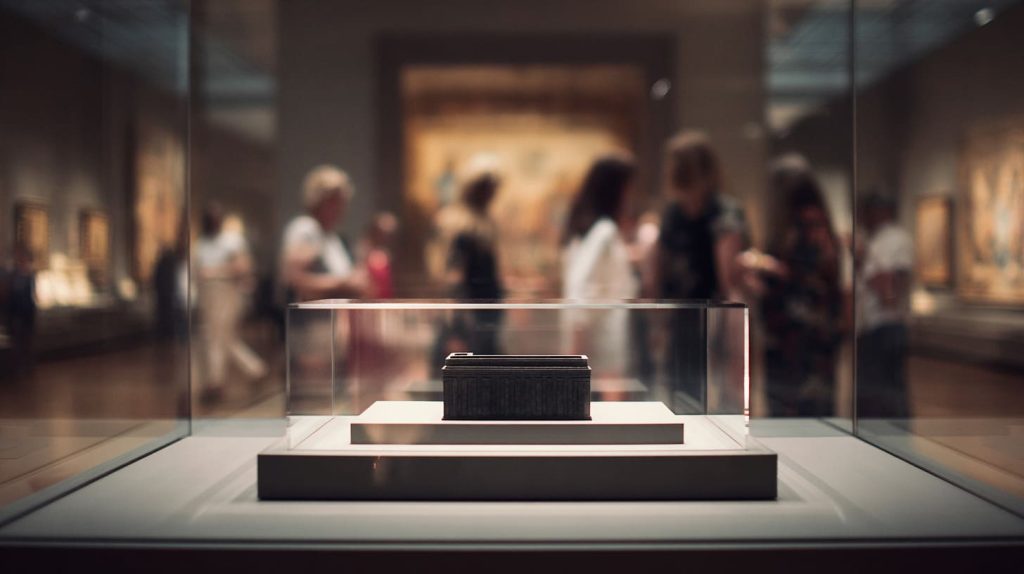
Museums do not only display objects. They keep them alive.
Preservation needs often include:
- UV filtering for sensitive items
- Environmental considerations like humidity and airflow
- Compatibility with lighting and climate systems
A decision I take personally is this: if the exhibit includes paper, textiles, or pigments that fade, I treat UV planning as non-negotiable, even if the buyer thinks it is “just a clear case.”
Importance of UV filtering for sensitive artifacts
UV damage is silent. It does not happen in one dramatic moment. It happens slowly, and then one day someone notices the color is “tired.”
Artifacts that often need extra attention:
- Old documents and manuscripts
- Textile pieces
- Printed photographs
- Painted surfaces with delicate pigments
UV filtering can come from:
- Acrylic material selection
- Lighting choice
- Window exposure control
The display case is one layer of defense, not the only one.
Environmental control considerations (humidity, airflow)
Sometimes people assume “sealed case = better protection.” Not always.
A sealed environment can create problems:
- Trapped moisture
- Micro-condensation under temperature shifts
- Dust entering through a tiny gap and then staying inside
So we choose based on the exhibit plan:
- Fully enclosed when needed
- Controlled airflow design when needed
- Easy staff access for monitoring
Compatibility with lighting and climate systems
Lighting creates heat. Heat changes materials. It also changes how visitors see the work.
I often ask:
- Where are the spotlights?
- How close is the light to the case?
- Does the case create a hotspot on one side?
When preservation requirements are clear, the next question becomes practical again: how does acrylic behave over time, and how do we plan maintenance like adults instead of hoping for luck?
Acrylic Displays for Long-Term Exhibitions
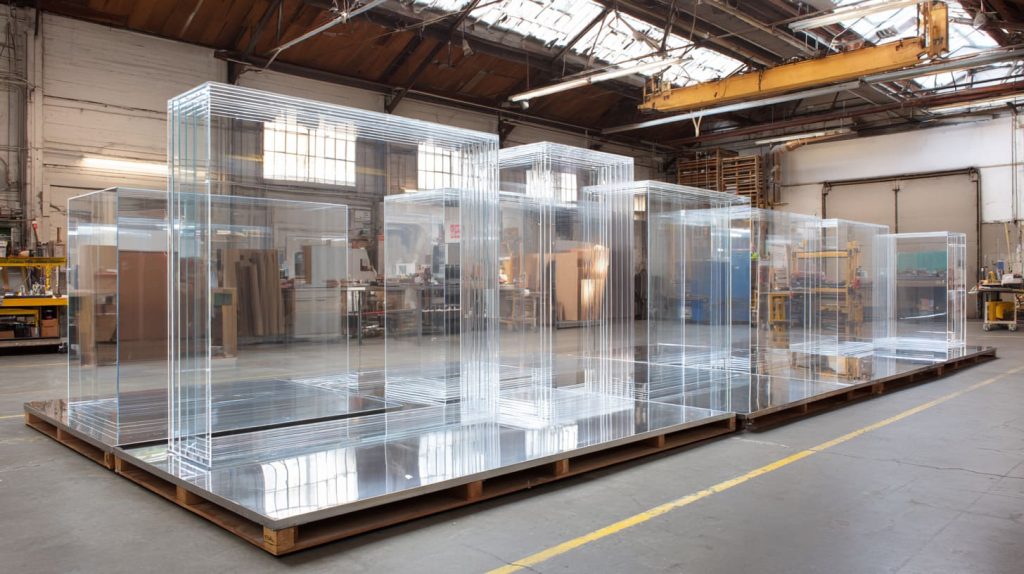
Long-term exhibitions are where “small decisions” become “big consequences.”
Acrylic aging and long-term performance depends on:
- Material grade and UV exposure
- Cleaning habits
- Stress points in design
- Shipping and installation damage that shows later
What makes me pause is this: if the exhibit will run for years, I design access and cleaning strategy first, because a case that cannot be maintained safely will look worse every month.
Aging behavior of acrylic materials
Acrylic can stay clear for a long time, but problems appear when:
- The wrong acrylic grade is used under strong UV
- Panels carry stress from poor bonding or tight assembly
- Cleaning routines are too aggressive
So I try to “de-risk” by:
- Avoiding stress-heavy bonding geometry
- Planning support points to reduce bowing
- Choosing finishes that suit the real cleaning routine
Maintenance planning over multi-year displays
Maintenance is not romantic, but it decides the visitor experience.
A note I often include for buyers:
| Maintenance Item | What I Recommend | Why It Matters |
|---|---|---|
| Cleaning cloth | Soft microfiber only | Avoid micro-scratches |
| Cleaning method | Blow dust first, then wipe | Dust wiping scratches |
| Chemical use | Mild cleaner, no harsh solvents | Prevent haze and cracking |
| Handling | Two-person lift for large cases | Avoid corner stress damage |
Once long-term stability is planned, museums and galleries often ask for customization—because every institution wants a consistent “house style,” and every exhibit has its own story.
Customization Options for Museums and Galleries

Customization is where displays stop being “cases” and start being part of the exhibition language.
Common customization options:
- Clear, frosted, tinted acrylic finishes
- Subtle logo engraving or institutional marks
- Modular designs for rotating exhibitions
A truth I tell buyers is this: the best customization is the one visitors don’t notice, but staff appreciates every day. That usually means better access, better modularity, and fewer visible fasteners—not louder branding.
Clear, frosted, and tinted acrylic finishes
Each finish has a job:
- Clear: maximum visibility, but reflection risk
- Frosted: hides hardware and fingerprints, but reduces sharp clarity
- Tinted: can support mood, but must not change artifact perception
A quick decision guide:
| Finish | Best Use | Risk |
|---|---|---|
| Clear | Fine art viewing, premium look | Glare and fingerprints |
| Frosted | Back panels, base covers | Softens visibility |
| Tinted | Themed exhibits, modern style | Color shift complaints |
Logo engraving or subtle branding
Museums often want branding, but tasteful. I prefer:
- Small engraving on base
- Discreet plaque integration
- No big logos on viewing panels
Because branding should never compete with the artifact.
Modular designs for rotating exhibitions
Modularity is a real cost saver:
- Reusable bases
- Replaceable panels
- Adjustable internal supports
This is especially useful when exhibits rotate quickly. Which leads into a very practical split: temporary vs permanent exhibitions. The display strategy should not be the same.
Supporting Temporary vs Permanent Exhibitions

Temporary shows behave like travel. Permanent shows behave like furniture. If you mix those mindsets, something breaks.
For temporary exhibitions:
- Reusability matters
- Setup speed matters
- Packaging and transport matter
For permanent exhibitions:
- Long-term clarity matters
- Structural stability matters
- Maintenance planning matters
A decision I make with buyers is this: if a display will travel, I accept a slightly “less invisible” design to gain durability, because perfection that fails during transport is not perfection.
Reusability and adaptability
Reusability is not only about saving money. It reduces future lead time stress.
Ways to build for reuse:
- Standard base footprints
- Replaceable acrylic covers
- Adjustable internal mounts
Storage and transport considerations
Acrylic is strong, but it hates careless friction.
Storage best practices:
- Keep protective film until final use
- Use separators between panels
- Avoid stacking without rigid support
Once we talk about reuse, the next step becomes unavoidable: installation and logistics. Great displays can die in shipping if logistics is treated like an afterthought.
Installation and Logistics Considerations

International shipping is where many “perfect designs” start their first argument with reality. Acrylic does not like vibration rub. It does not like corner hits. It does not like pressure points.
Key logistics topics:
- Shipping custom acrylic displays internationally
- On-site installation and handling best practices
- Packaging to prevent scratches and stress damage
My practical rule is this: if the packaging cannot survive a bad day at a warehouse, the display will arrive with a problem—and the museum will blame the display, not the warehouse.
Shipping custom acrylic displays internationally
I plan shipping in layers:
- Surface protection (film + soft wrap)
- Edge and corner protection (foam blocks)
- No movement inside the crate (make it tight)
- Strong outer structure (plywood crate for large items)
Here’s a packaging logic table I use:
| Risk | Typical Cause | Packaging Solution |
|---|---|---|
| Surface scratches | Panel rubbing | Spacers + no contact zones |
| Corner chips | Drops and impacts | Corner guards + rigid frame |
| Stress cracks | Pressure points | Even support + no tight straps |
| Haze marks | Dirty wrap materials | Clean wrapping + dust control |
On-site installation and handling best practices
Handling rules that save projects:
- Two-person lift for large cases
- Never place acrylic on concrete without padding
- Keep film until final positioning
- Use gloves if fingerprints are a concern
If logistics is done right, most projects go smoothly. But I still see the same mistakes repeating across museums—often because specs are written like retail specs. Let’s talk about those traps.
Common Mistakes Museums Make When Specifying Acrylic Displays

Mistakes are usually not stupid. They are normal assumptions that come from other industries.
The most common issues I see:
- Underestimating thickness requirements
- Ignoring lighting and reflection behavior
- Choosing retail-grade acrylic instead of exhibition-grade material
A sentence I say out loud in meetings is this: the cheapest-looking museum display is not the one made from cheap material—it is the one made from good material with bad assumptions.
Mistake 1: Underestimating thickness
Thin acrylic can look “sleek,” but it bows, vibrates, and shows distortion. Museums notice.
Mistake 2: Ignoring lighting
Acrylic is like a mirror when light hits it wrong. If lighting is planned late, the case becomes the problem.
Mistake 3: Retail-grade material choice
Retail displays can tolerate minor waves and fast production. Museums cannot. The visitor stands close, and the lighting is designed to show details.
A simple prevention checklist:
| Spec Item | What to Clarify | Why It Prevents Problems |
|---|---|---|
| Viewing distance | 0.3 m or 2 m? | Clarity expectations change |
| Lighting type | Spot / wash / window light | Reflection risk planning |
| Cleaning routine | Weekly? daily? chemicals? | Scratch and haze prevention |
| Exhibit duration | 1 month or 3 years | Aging and maintenance needs |
After mistakes, the natural question is explained by Jacky’s world: how do you work with a supplier so these risks are handled before production, not after installation?
How to Work with a Custom Acrylic Display Manufacturer

When I work with experienced buyers like Jacky, the best projects start with clear intent, not long documents. I don’t need fifty pages. I need the right five facts.
What helps most:
- Communicating design intent and object requirements
- Providing drawings, mockups, or reference photos
- Running a sample or prototype process when risk is high
The line I live by is this: if the buyer cannot explain what “success” looks like in the gallery lighting, the factory will guess—and guessing is expensive.
Communicating design intent and object requirements
I usually ask for:
- Object dimensions and weight
- Visitor distance and access control needs
- Lighting plan (even a simple description)
- Installation environment (humidity, cleaning habits)
- Exhibit duration
A clean “spec sheet” format:
| Item | Example | Notes |
|---|---|---|
| Object size | 180 × 120 × 90 mm | Include base if any |
| Object weight | 1.2 kg | Helps base stability |
| Viewing distance | 0.5–1 m | Drives clarity needs |
| Cleaning | Weekly, mild cleaner | Drives surface strategy |
| Exhibit duration | 12 months | Drives aging strategy |
Providing drawings, mockups, or reference photos
Useful inputs:
- 2D drawing with key dimensions
- Simple 3D file if available
- Reference photos of the gallery space
- Examples of displays the museum likes (and dislikes)
Sampling, prototyping, and approval process
When the project is sensitive, I push for:
- Material sample approval (before cutting)
- Small mockup for reflections and lighting
- Final prototype sign-off before mass production
What Experienced Buyers Look for in a Supplier
This is where procurement gets real. Buyers rarely choose only on price. They choose on risk control.
- Manufacturing experience with museum-grade requirements
- Quality control standards and certifications
- Ability to handle small batches and complex customization
- Clear communication on what can go wrong
A supplier question list I respect:
| Buyer Question | What a Good Answer Sounds Like |
|---|---|
| “How do you prevent scratches?” | Process + packaging explanation, not promises |
| “Can you control reflection?” | Ask about lighting and viewing angle first |
| “Can you do tight tolerances?” | Show tolerance range and inspection method |
| “What happens if something arrives damaged?” | Clear replacement plan and packaging proof |
And now we reach the part museums actually care about most: not the acrylic, not the bonding, not the packaging—but the final visitor experience and trust.
Conclusion
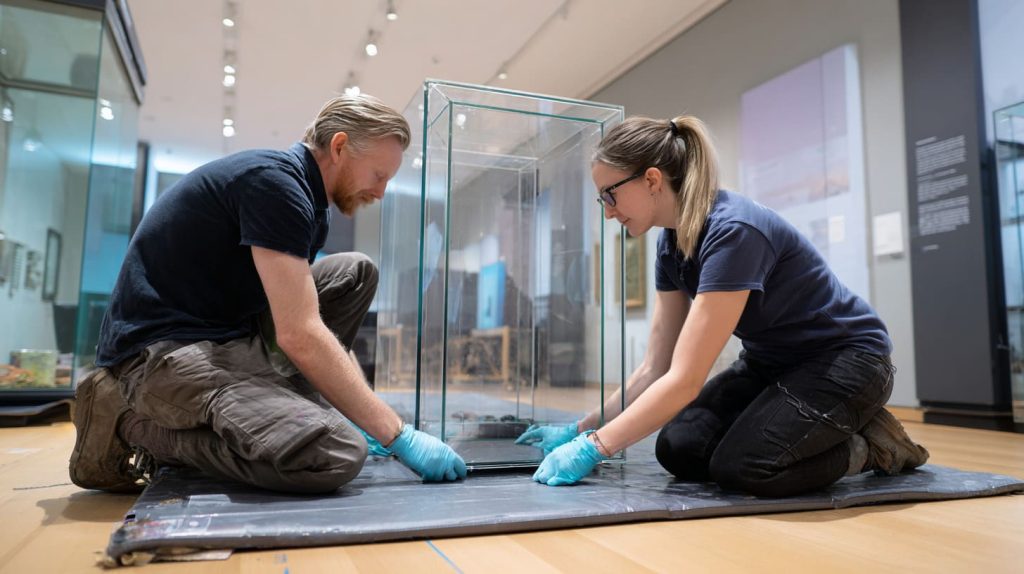
Custom acrylic displays are not just containers. In museums and galleries, they are quiet partners in the story. When they work, visitors lean in and focus on the artifact. When they fail, visitors stare at glare, fingerprints, and seams instead.
I’ve come to this viewpoint for one simple reason: I’ve seen how small display choices create big outcomes. A thin panel that bows under light. A seam that looks fine in a factory but shows up under gallery spots. A “clear” acrylic grade that looks perfect on day one, then turns into a maintenance headache after months of cleaning.
I do this work the way I do because I care about the moment the visitor stops. That moment is fragile. It depends on trust. It depends on calm. And the display case is often the difference between “I see the art” and “I see the case.”
If you are planning a museum or gallery display project and you want it to feel clean, stable, and respectful, send me your object size, viewing distance, lighting notes, and exhibit duration. I’ll help you pressure-test the design before it becomes an expensive surprise. You can reach us through flacrylic.com.




