 Skip to content
UV printing on acrylic got popular for a simple reason: buyers want fast, clean, and custom without opening a big tooling budget.
And still, I hear the same question from smart people like Jacky:
“Is it just ink on plastic?”
I get why that question shows up. Acrylic looks smooth and “finished.” So it feels like printing should be easy. But UV printing is not just “paint on top.” It is a controlled mix of inkjet droplets + instant curing + surface behavior. If you understand those three things, you stop guessing. You start choosing.
In this article, I will explain:
- what UV printing really is
- how the process runs step by step
- what affects quality and durability
- what I watch for in real production, so you avoid ugly surprises later
Before we go into machines and chemistry, let’s slow down and name the thing we are talking about.
If you have ever received a “nice sample” that later scratched, faded, or peeled, the next section will feel very familiar.
What Is UV Printing on Acrylic?
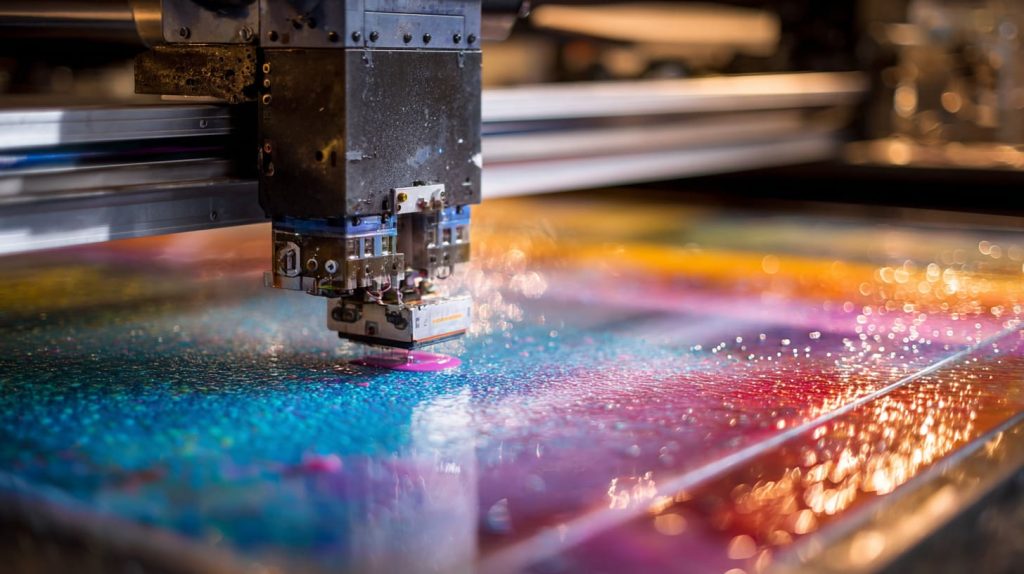
UV printing is a digital printing method. The printer sprays UV-curable ink onto acrylic, and then UV light cures the ink almost right away. That’s the “magic.” But it is not magic. It is physics, timing, and good control.
What Does “UV” Mean in Printing?
“UV” is short for ultraviolet. In UV printing, UV light triggers a curing reaction in the ink. So instead of waiting for ink to dry by evaporation, the ink hardens by curing.
Here is the simplest way I explain it to buyers:
| Item | Traditional solvent ink | UV-curable ink |
|---|---|---|
| How it “dries” | Solvent evaporates | UV light cures it |
| Waiting time | Minutes to hours | Seconds |
| Smell / VOC | Often noticeable | Usually lower |
| Risk on acrylic | Can attack surface | Lower chemical attack |
| Best for | Some flexible media | Rigid boards like acrylic |
And yes, UV printing can still fail. Not because UV is “bad.” Mostly because people treat it like paper printing. Acrylic does not behave like paper.
Why Is Acrylic a Popular Substrate?
Acrylic (PMMA) is popular because it makes printed color look sharp and bright. It also makes the product look premium without extra structure.
Acrylic has:
- High clarity (great for signs and display panels)
- Smooth surface (great for clean edges and fine detail)
- Rigid flatness (great for flatbed UV printers)
- Visual depth when you reverse print and view through the sheet
But here is the critical part: acrylic is also a surface-sensitive material.
It holds static. It attracts dust. And its surface energy can change with cleaning and handling. That matters more than most buyers expect.
Now that we know what UV printing is, let’s walk through what actually happens from file to finished acrylic.
How Does the UV Printing Process Actually Work?
When I explain this process in a factory, I keep it very practical: the file tells the printer what to do, the surface decides if ink behaves, and the UV lamp locks the result.
Step 1: Artwork Preparation and RIP Processing
A UV printer does not “understand” your design file the way your eyes do. It needs a translation step called RIP (Raster Image Processing). RIP turns the design into printing instructions: dot patterns, passes, and ink layers.
Here are the common file problems I see:
| File issue | What you see in the sample | Why it happens | What I do |
|---|---|---|---|
| Low-res PNG | Soft edges, fuzzy text | Not enough pixels | Ask for vector or high-res |
| Wrong color mode | Colors shift | Bad CMYK profile | Align profile in RIP |
| No white layer planning | Color looks weak on clear acrylic | No opacity base | Build CMYK + white layers |
| Tiny lines | Lines break or disappear | Ink dot limit | Adjust thickness or pass count |
Vector vs. raster:
- Vector (AI, EPS, PDF vector) is best for logos and sharp edges.
- Raster (JPG, PNG) can work, but only when resolution is high and edges are clean.
Layer separation for clear acrylic:
Clear acrylic often needs a white layer. Otherwise your colors look “transparent” and weak. For second-surface printing, the layer order matters even more (we’ll get there later).
Step 2: Surface Preparation of Acrylic
This is where many “good printers” lose the game.
Acrylic attracts dust like a magnet. It also collects oil from hands. Even a clean-looking sheet can have a thin film. That film can break adhesion.
Here is a simple prep checklist I follow:
- Remove dust with air blow + lint-free wipe
- Clean oils with proper cleaner (no harsh solvent guessing)
- Control static (ionizing air, anti-static tools)
- Avoid touching the print area after cleaning
I always tell buyers this:
If you skip prep, you are not saving time. You are just moving the cost into rework.
Step 3: Inkjet Deposition
Most UV flatbed printers use piezoelectric print heads. That means the head pushes ink droplets out by vibration. It is controlled and repeatable, but also sensitive.
UV printing is built from tiny drops, layered pass by pass.
Key things happening here:
- droplet size and placement affect sharpness
- number of passes affects saturation
- white ink layering affects opacity and “pop”
- varnish can add texture or gloss protection
For clear acrylic signs, one big decision is white base layer.
Here is how it changes the look:
| Printing style | White layer? | Result |
|---|---|---|
| Direct print on clear acrylic | No | Light, transparent colors |
| Direct print with white base | Yes | Bright, solid colors |
| Reverse print (behind acrylic) | Usually yes | Deep, premium, protected |
Step 4: Instant UV Curing
Right after ink is sprayed, UV light cures it.
There are different UV lamp systems:
- UV LED (cooler, efficient, stable)
- Mercury lamp (strong, but more heat and maintenance)
The curing is a chemical reaction. The ink changes from liquid to solid quickly. This is why UV printing feels “fast.”
But curing is also a quality lever.
If curing is wrong:
- ink stays soft → scratches easily
- ink becomes brittle → can crack or chip under stress
- adhesion can drop if the surface interaction is poor
So yes, curing is fast. But it still needs control.
Now we have the full process. But you might still be wondering: why does the ink stick at all? Acrylic is smooth. Let’s talk about that next.
What Makes UV Ink Stick to Acrylic?
This part is where I see the biggest misunderstanding. People think curing automatically means adhesion. It does not.
Curing makes ink hard. Adhesion is about how ink connects to the acrylic surface.
Chemical Bonding vs. Mechanical Adhesion
In real production, adhesion is usually a mix of two things:
- Mechanical adhesion: ink flows into micro texture and holds by “grip.”
- Chemical interaction: ink wets the surface well and forms a stronger interface.
Acrylic is smooth, so mechanical grip is limited. That means wetting behavior matters.
Here is a simple way to think about it:
| Surface condition | Wetting behavior | Adhesion risk |
|---|---|---|
| Clean, stable surface | Ink spreads evenly | Lower |
| Dusty surface | Ink bridges over particles | Higher |
| Oily surface | Ink pulls back, fisheyes | Very high |
| High static | Dust returns instantly | Medium to high |
If you ever saw “fisheyes” in printing, that is often a surface contamination problem, not a printer problem.
The Role of Primer (When Needed)
Primer is not “always required.” But sometimes it is the difference between a stable job and a disaster later.
I consider primer when:
- the product will be handled a lot (retail displays, menu boards)
- the environment is harsh (humidity, temperature swings)
- the acrylic surface is tricky (certain additives, recycled acrylic, unknown supplier)
- the buyer demands stronger adhesion tests
How I check adhesion:
- cross-hatch test (grid cut + tape pull)
- scratch test with controlled force
- edge peel check on sharp corners
- cleaning resistance check (mild cleaner)
Here is a quick “should we use primer?” decision table:
| Condition | Primer suggestion |
|---|---|
| Indoor sign, light handling | Usually not needed |
| Indoor sign, heavy wiping/cleaning | Consider primer or reverse print |
| Outdoor exposure | Often recommended + protective design |
| High-end retail display with frequent touch | Strongly consider |
| Unknown acrylic source | Consider, or test first |
I like primer when it solves a clear risk. I do not like primer when it is used as a blind habit. Habits hide problems.
And speaking of hiding problems… printing on the back of acrylic can hide scratches in a very good way. Let’s talk about reverse printing.
Can You Print on the Back of Clear Acrylic?
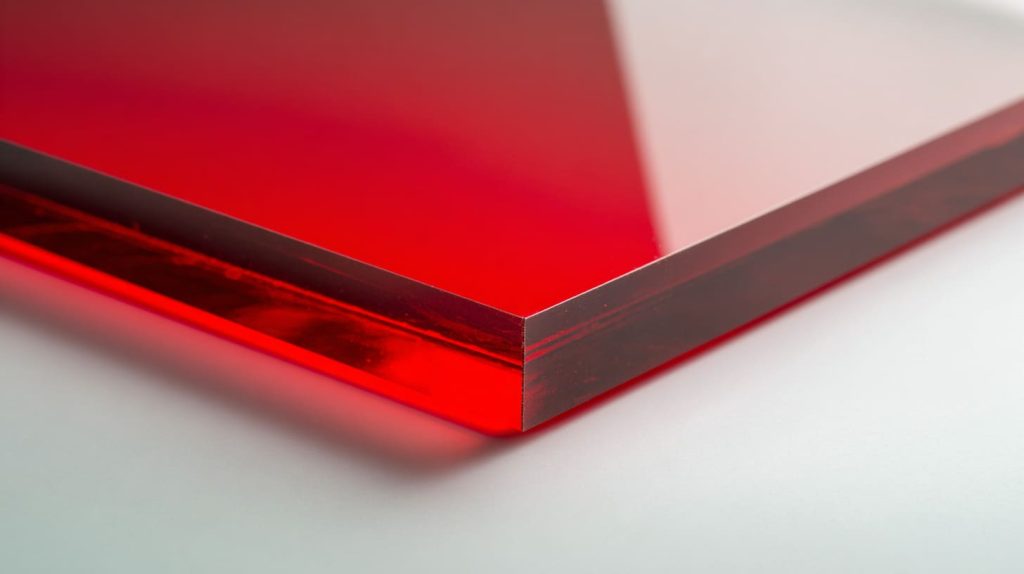
Yes. And for many acrylic signs, it is the difference between “looks good today” and “still looks good after a year of cleaning.”
Reverse Printing Technique
Reverse printing is also called second-surface printing.
You print on the back side of clear acrylic, then you flip it and view the image through the acrylic front.
Two key steps:
- set artwork to mirror image
- plan layer order (because you view it from the opposite side)
A common layer stack for reverse printing is:
- Color layer (CMYK)
- White backing layer (for brightness)
- Optional extra white or block layer (for opacity)
- Optional black/spot layers (for special effects)
If you get the order wrong, the colors can look strange or dull.
Advantages of Second-Surface Printing
This is why I like second-surface printing for premium applications:
- Scratch resistance: the ink is protected behind acrylic
- Better cleaning: front surface is just acrylic, easy to wipe
- Visual depth: the acrylic thickness creates a “floating” look
- Longer beauty life: the print is not exposed to daily abuse
Here is a quick comparison:
| Feature | Front printing | Back printing (second-surface) |
|---|---|---|
| Scratch risk | Higher | Lower |
| Cleaning | Must be gentle | Easier |
| Premium depth | Medium | High |
| Cost | Often lower | Slightly higher (planning + handling) |
| Best for | Short-term promos | Brand signage, retail, permanent displays |
Common use cases I see:
- store signs that get wiped daily
- branded panels on display stands
- cosmetic counter displays with constant fingerprints
Once buyers understand reverse printing, the next question usually shows up fast: “What machine do you use for this?” So let’s talk equipment.
What Equipment Is Used in UV Printing on Acrylic?
I like to be honest here: the printer matters, but process control often matters more. A strong printer with weak discipline still produces unstable results.
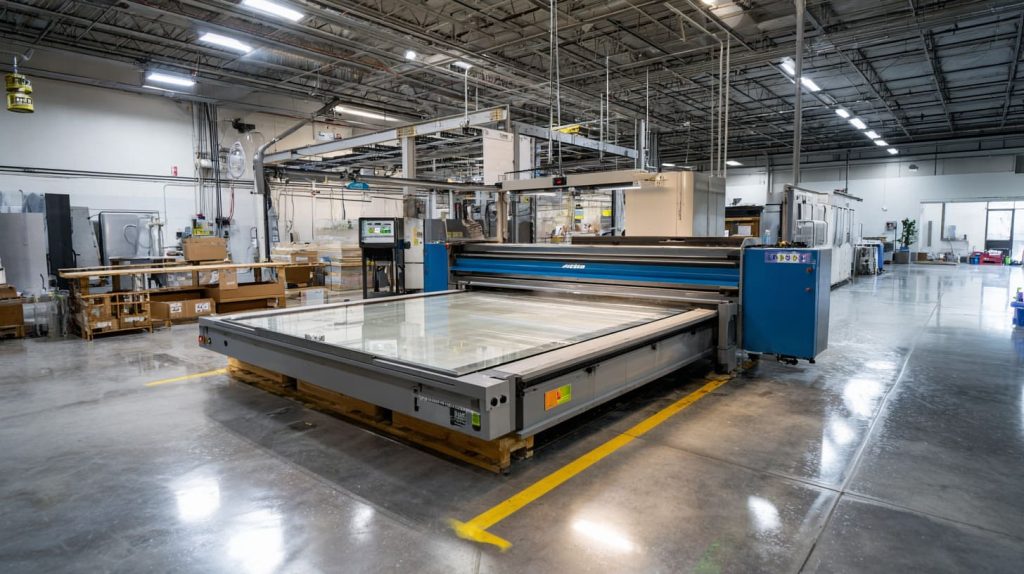
Flatbed UV Printers
Flatbed UV printers are the standard for acrylic sheets. They hold the material flat and print directly on it.
Key things buyers should know:
- the bed size limits maximum print size
- vacuum hold-down helps keep sheets stable
- pass modes affect speed vs. quality
- registration matters for double-side work
Here is a simple spec table buyers often ask for:
| Spec | Why it matters for acrylic |
|---|---|
| Bed size | Determines max panel size |
| Vacuum strength | Prevents shifting and banding |
| Pass modes | Controls quality vs speed |
| White ink channel | Needed for clear acrylic printing |
| Varnish channel | Adds gloss, texture, protection |
UV LED Systems
UV LED curing is common now. It has benefits:
- less heat (acrylic is heat sensitive)
- stable output
- lower energy use
- longer lamp life
Heat control is real. Acrylic can warp if the system runs too hot, especially on thin sheets.
Ink Types and Configurations
Most setups are:
- CMYK for color
- White for opacity on clear acrylic
- optional Varnish for gloss/matte and texture
Varnish can be useful, but I treat it like seasoning. Too much and it becomes a problem.
| Ink channel | What it does | Common risk |
|---|---|---|
| CMYK | Color | Color shift if profiles are off |
| White | Opacity base | Settling/clogging if not managed |
| Varnish | Gloss / matte / texture | Uneven texture if settings are wrong |
Machines and inks give you tools. But quality is decided by a handful of technical factors that show up in every job. Let’s break those down next.
What Are the Key Technical Factors That Affect Quality?
When a buyer tells me, “This print looks cheap,” I don’t argue. I ask what they mean. Cheap can mean soft edges, weak color, dust dots, or easy scratching.
Most of that comes down to three areas: sharpness, layering, and durability.
Resolution (DPI) and Image Sharpness
Higher DPI can mean sharper detail, but DPI alone does not guarantee beauty.
What matters is:
- file quality
- print head condition
- pass settings
- viewing distance
I like to match settings to how people will view the product.
| Viewing distance | Good focus | Practical approach |
|---|---|---|
| 20–50 cm (handheld, countertop) | Fine details matter | Higher quality mode |
| 1–3 m (wall sign) | Medium detail | Balanced mode |
| 5 m+ (large signage) | Big shapes matter | Speed may be fine |
Also, small text on acrylic can be tricky. Acrylic reflection can hide weak edges. That is why I often advise:
- keep small text thicker
- avoid ultra-thin strokes
- use bold fonts for tiny content
Ink Thickness and Layering
Ink thickness changes how “solid” color looks. It also changes texture.
More ink:
- increases density
- can hide micro scratches
- can create raised feel
- can increase curing stress if too heavy
Less ink:
- looks cleaner
- can look weak on clear acrylic
- may show banding more easily
Here is a practical guide I use:
| Goal | Layer strategy |
|---|---|
| Bright color on clear acrylic | CMYK + white base |
| Premium depth | Reverse print + white backing |
| Matte look | Add matte varnish or film |
| Texture effect | Controlled varnish layers |
Adhesion and Durability
Durability depends on:
- surface prep
- curing control
- ink system
- whether print is exposed or protected
Indoor vs outdoor is a big split.
| Environment | Main threats | What I consider |
|---|---|---|
| Indoor office/store | cleaning, scratches, handling | reverse print, primer, varnish |
| Near window sunlight | UV exposure | UV stable ink + design protection |
| Outdoor | sun + rain + temperature swing | special ink, primer, protection, sometimes not UV print at all |
I don’t like pretending one method is perfect for every environment. That is how projects fail later.
Once you know what controls quality, you can see why UV printing wins in many modern custom jobs. Let’s talk benefits—but in a real, grounded way.
What Are the Advantages of UV Printing on Acrylic?
UV printing is popular because it fits how buyers work today: fast design changes, short runs, and many SKUs.
No Plates or Screens Required
This is huge for custom orders.
You don’t need to make screens. You don’t need plates. You don’t need to pay setup cost that hurts small batches.
That means:
- easier sampling
- easier revisions
- easier version control for branding
For buyers like Jacky, this matters because purchasing is not just cost. It is also time and coordination.
Fast Turnaround
UV curing is instant. So production moves fast once files and prep are right.
That said, I still warn buyers:
fast curing does not remove the need for good handling.
Acrylic can scratch in packing and shipping. So speed without protection is still risky.
High Detail and Gradient Capability
UV printing handles:
- photo images
- gradients
- multi-color branding
- small variable changes (like names or SKUs)
Screen printing can do clean solids. But UV printing can do complexity without new tooling each time.
But every strength has a cost. If you want to choose like a pro, you also need to see the weak points without panic. Let’s talk challenges next.
What Are the Limitations or Challenges?
I have seen buyers fall into two traps:
1) they think UV printing is perfect
2) they think UV printing is fragile and unreliable
Both are wrong. UV printing is reliable when you respect the material and process.
Surface Sensitivity
Acrylic scratches easily. That is just reality. And UV printing often makes scratches more visible because the surface is glossy.
Main risks:
- scratches before printing
- dust during printing
- static pulling dust back after cleaning
This is why handling rules matter:
- protective film stays on as long as possible
- clean room habits help a lot
- gloves help, but only if they are clean
Cost Factors
- machine cost
- white ink cost
- maintenance and nozzle care
- slower speed for high-quality modes
For small batch and custom, it is still cost-effective. For large stable volume, the math changes.
Here is a simple cost perspective:
| Cost area | UV printing | Screen printing |
|---|---|---|
| Setup | Low | Higher (screens) |
| Per-unit at low qty | Often lower | Often higher |
| Per-unit at high qty | Can be higher | Often lower |
| Change cost | Low | High |
| Artwork complexity | Easy | Can increase cost |
Large Volume Considerations
When volume is very high and artwork stays stable, screen printing can win on unit cost. It also can produce very durable ink layers with the right system.
So I never say “UV is always cheaper.”
I say: UV is often smarter when you need flexibility.
And that leads us to the question buyers always ask right after: “So what is the real difference between UV and screen printing?” Let’s compare them clearly.
UV Printing vs. Screen Printing on Acrylic: What’s the Real Difference?
I like this comparison because it removes emotion. It forces the decision into facts: setup, volume, and design stability.
Setup Cost Comparison
Screen printing needs a screen (and often multiple screens for multiple colors). That means time, cost, and commitment.
UV printing needs file prep and RIP setup. That is usually faster and cheaper.
| Setup item | UV printing | Screen printing |
|---|---|---|
| Tooling | None | Screens needed |
| Setup time | Faster | Slower |
| Best for revisions | Excellent | Painful |
| Best for stable repeats | Good | Excellent |
Best Use Scenarios
I use a simple rule of thumb:
- UV printing: short runs, many variations, frequent changes
- Screen printing: large runs, stable artwork, strong unit cost target
But I always add a second rule:
If the sign will be wiped every day, reverse printing or protection matters more than the printing method.
Color Flexibility
UV printing is strong at gradients and photos. Screen printing is strong at solid spot colors and consistent repeat runs.
| Feature | UV printing | Screen printing |
|---|---|---|
| Gradients | Great | Harder |
| Photo prints | Great | Not ideal |
| Solid spot color | Good | Excellent |
| Matching Pantone | Possible, but needs control | Often easier |
Now we’ve compared methods. But buyers still worry about one thing more than anything: durability. If the print scratches or fades, nothing else matters. So let’s go there.
How Durable Is UV Printing on Acrylic?
Durability is not one number. It depends on exposure, cleaning habits, and whether the ink is protected.
I have seen UV prints that look perfect after years. I have also seen UV prints that fail quickly. The difference is usually not luck. It is design and process.
Scratch Resistance
If the print is on the surface, it can scratch. That is the truth.
So I use this decision approach:
| Product situation | My durability choice |
|---|---|
| People touch it often | Reverse print or add protection |
| It sits behind glass | Front print may be fine |
| It ships long distance | Strong packing + film control |
| It is a display tool | Reverse print if budget allows |
If you want a premium long-life look, second-surface printing is one of the best moves.
Outdoor Performance
Outdoor is harder. Sunlight and weather do not forgive weak assumptions.
Outdoor risks include:
- UV exposure fading colors
- temperature swings stressing cured ink
- water and dirt impacting edges
- cleaning with harsh chemicals
For outdoor needs, I usually recommend:
- confirm ink system rating
- consider primer
- consider extra protective layers
- design the sign so edges are protected
- test before mass production
I also say this clearly:
If your application is truly harsh outdoor, sometimes UV printing is not the best method.
A buyer should hear that early, not after complaints start.
Cleaning and Maintenance
Cleaning destroys many “fine samples.”
Here is a simple cleaning guide I share:
| Cleaning method | Safe? | Why |
|---|---|---|
| Soft microfiber + water | Usually safe | Low abrasion |
| Mild soap | Often safe | Gentle on surface |
| Alcohol wipes | Depends | Can stress some inks over time |
| Strong solvent | Not recommended | Can damage ink and acrylic |
| Rough paper towels | Risky | Causes micro scratches |
Acrylic itself scratches easily. So even if the print survives, the surface can still look tired. That’s another reason second-surface printing feels “new” longer.
So where does all this leave you as a buyer or designer? Let’s bring it together in a clear, calm way.
Conclusion
UV printing on acrylic works because the printer places tiny ink droplets with precision, and UV light cures them almost right away. That speed is real, and it is why UV printing fits modern custom displays and signage so well.
But the result is not decided by the printer alone. In real production, the winners are:
- clean files and smart layer planning (especially CMYK + white)
- good surface prep and static control
- correct curing settings
- the right structure choice (front print vs. second-surface print)
- realistic thinking about handling, cleaning, and environment
If you are choosing UV printing for a project, I would not start with “Is UV good?”
I would start with:
- How many pieces do I need?
- Will the artwork change often?
- Will people touch it every day?
- Is it indoor, near sunlight, or outdoor?
- Do I need reverse printing for protection and depth?
If you want, you can send me your acrylic thickness, size, quantity, and artwork style (solid colors, gradient, photo). I can help you pick the right print structure and avoid the common traps that create rework later.




