 Skip to content

I remember the first time I ever fiddled with acrylic sheets in my garage. I was excited and nervous, like a kid with a new chemistry set. I wanted to join two acrylic panels, but the standard adhesives didn’t work as well as I had hoped. That’s when I asked myself: “Can I actually rivet acrylic?” Little did I know, riveting acrylic has its own nuances that can be both liberating and nerve-racking.
Overview of the Topic
When I talk about riveting acrylic, I’m thinking about a mechanical way to join acrylic panels. Rivets are small, reliable, and strong. But you might ask, “Is it safe for acrylic? Will it crack?” In my experience, proper methods can bring wonderful results. Riveting can become a trusted solution if I understand the properties of acrylic and choose the right approach.
Why Riveting Acrylic Matters
Riveting might matter because it simplifies assembly in certain projects. If you’re like me and constantly experimenting, rivets offer a consistent, repeatable way to fasten acrylic pieces. There’s also a nostalgic feeling when I use mechanical fasteners—it feels hands-on and durable.
About Feilong Acrylic
Feilong Acrylic is a trusted partner that customizes acrylic items of all shapes and sizes. They focus on B2B orders and have a solid background in laser and CNC machining. I appreciate how Feilong Acrylic supports unique designs while maintaining high production standards. They stick with their slogan: “Deliver high-quality, custom solutions with fast lead times that are suitable for personalized or bulk orders.” Sometimes, when I need specialized expertise on complex joints, they are my go-to.
I’ll share a quick story before I move on. I once tried to rivet a large display stand. Everything seemed fine—until I realized some of my rivet holes were off by a millimeter. Feilong Acrylic’s design team stepped in and showed me a more precise drilling method. That small oversight saved me from future headaches.
(Stick around. Let’s dive into the deeper layers of acrylic’s world.)
Understanding Acrylic Properties
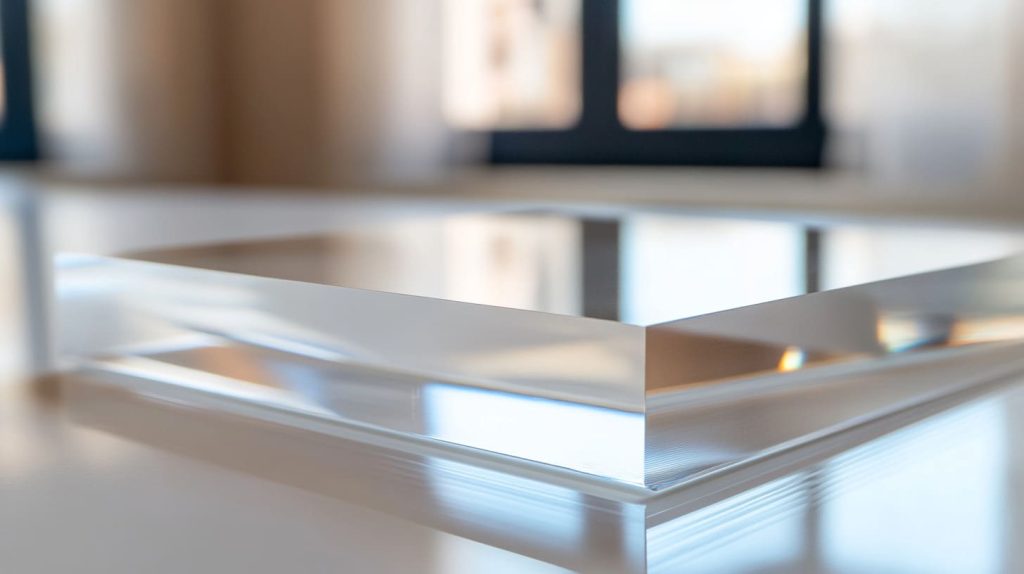
One day, I sat down and marveled at how acrylic can look so clear yet feel so rigid. This balance between elegance and strength intrigued me. However, I also learned that the clarity can fool you into believing it’s invincible. It’s not. Acrylic has specific vulnerabilities, and we’ll need to look at both sides.
Composition and Characteristics of Acrylic
Acrylic, or polymethyl methacrylate (PMMA), is a transparent thermoplastic that stands up to impact reasonably well. But it’s not steel. It can scratch and crack if mishandled. I always compare its behavior to a strong but somewhat sensitive friend: sturdy in most situations, but likely to react under stress.
From a critical standpoint, we must also consider environmental aspects. Acrylic can handle mild temperature variations, but extreme heat can make it brittle. Multiple designs, from decorative boxes to store displays, push acrylic to its limit, so we must respect its inherent properties.
Acrylic’s Strengths and Vulnerabilities
I often weigh the pros and cons before I choose acrylic. On the plus side, I can polish it to look crystal clear, and it’s surprisingly lightweight. On the downside, drilling too fast or too close to edges can lead to stress fractures.
A deeper look reminds me that acrylic’s greatest strength is its visual appeal. But we can’t ignore the potential for micro-cracks, especially when applying mechanical fasteners. I stand by the belief that acrylic is unique in its balance of aesthetics and functionality, so I find it worth the extra effort.
(Now, let’s turn our attention to the riveting process itself and see if it’s a deal-breaker or a dream come true.)
Riveting Acrylic: Feasibility and Considerations
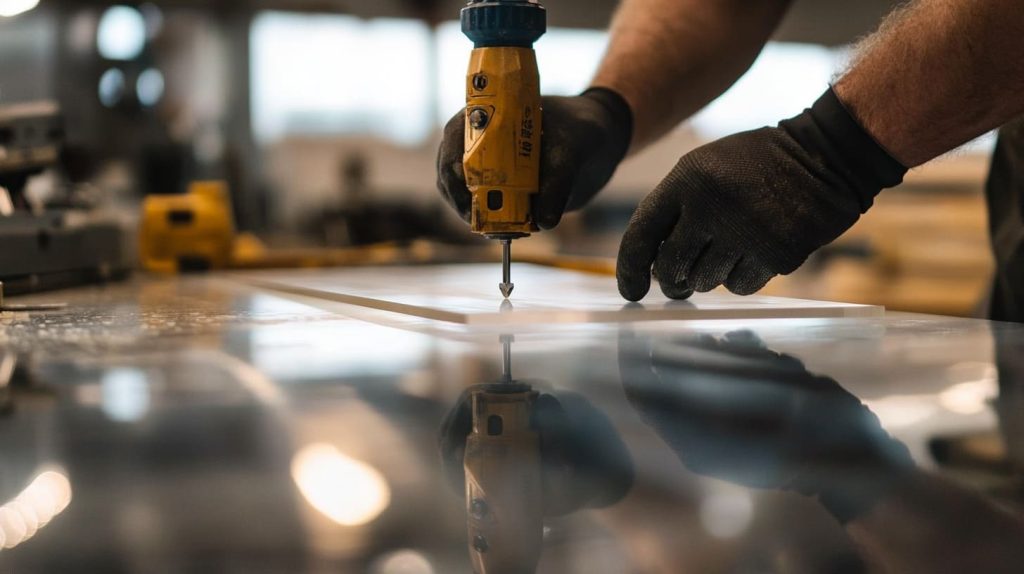
I clearly remember my first attempt at riveting acrylic. I used a standard rivet gun, held my breath, and squeezed. The result was mostly good, except for one tiny crack near the edge. That taught me that feasibility depends on technique, rivet type, and drilling accuracy.
Why Some People Choose Riveting
Some folks choose riveting because it’s straightforward, and it rarely requires specialized bonding agents. There’s a sense of control—like putting a nail in a wall instead of gluing a poster. On an industrial scale, riveting offers quick assembly and consistent joins across multiple panels.
Yet from a critical angle, I also wonder if the simplicity hides potential problems. If we rely on riveting too much, we might miss the finesse of solvent bonding or adhesives. So I encourage everyone to consider all angles before deciding on riveting.
Potential Risks (Cracking, Stress Fractures)
I’m not here to sugarcoat. Cracking and stress fractures are real possibilities. Tiny mistakes in drilling or rivet size can undermine the entire project. There’s also the potential for tension buildup if the rivet is too tight. Over time, repeated temperature fluctuations can amplify stress points.
I’ve found that practicing on scrap acrylic pieces can reduce the chance of messing up a costly final project. It’s like warming up before a big game—you want your techniques sharpened and your nerves calmed.
(Next, let’s look at the different types of rivets people use. If you’re like me, you’ll enjoy how each type shapes the final outcome.)
Types of Rivets for Acrylic
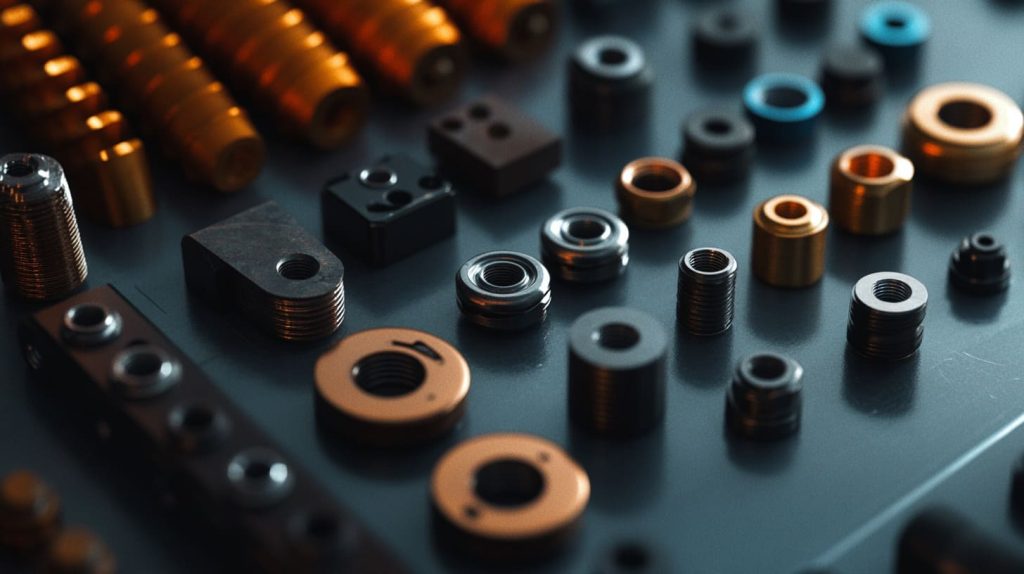
I remember a discussion I had with a friend who worked in aerospace. He told me how rivets in airplanes are meticulously chosen for material compatibility. That made me think about how choosing rivets for acrylic must also be done with care. Each type carries pros and cons.
| Rivet Type | Material | Common Use Case | Pros | Cons |
|---|---|---|---|---|
| Plastic Rivets | Nylon | Lightweight projects, display frames | Doesn’t corrode, easy on acrylic | Limited strength, not for heavy loads |
| Metal Rivets with Washers | Aluminum | Medium-weight fixtures, signage projects | Higher strength, added washer support | Possible risk of cracking if overtight |
| Specialty Rivets for Plastics | Various | Custom or niche needs | Tailored for acrylic, reduce stress | Can be pricier, may need special tools |
Plastic Rivets
I see plastic rivets as the gentle option. They’re less abrasive on acrylic surfaces, which reduces the risk of stress fractures. Yet, we should be prepared for lower strength. I once used these for a lightweight cosmetic organizer, and they worked like a charm.
From a critical viewpoint, plastic rivets might feel too flimsy for large-scale or heavy projects. But for signage or decorative pieces, they offer an easy-to-install approach.
Metal Rivets with Washers
Metal rivets with washers can add a layer of security. The washer helps distribute pressure. If I’m assembling something that needs more support—like a store display—I often rely on these. But there’s a fine line between enough torque and too much. It pays to proceed carefully.
I like to remind others: washers are life-savers for acrylic. They help minimize direct stress. That extra step can mean the difference between a secure, long-lasting fixture and a cracked headache.
Specialty Rivets for Plastics
Specialty rivets might cost a bit more, but they’re designed specifically for plastic. Some come with beveled edges or specific coating to reduce friction. I find them especially handy in professional settings where the margin for error is small.
Before switching sections, I’ll share a quick personal anecdote. Once, I tried to save a few bucks by not using specialty rivets on a custom speaker enclosure. Let’s just say I spent double the time fixing cracks that might have been avoided. Lesson learned!
(Now, how do we get acrylic and rivets ready for the big moment? Let’s see what preparation steps can save us a world of trouble.)
Preparation Before Riveting
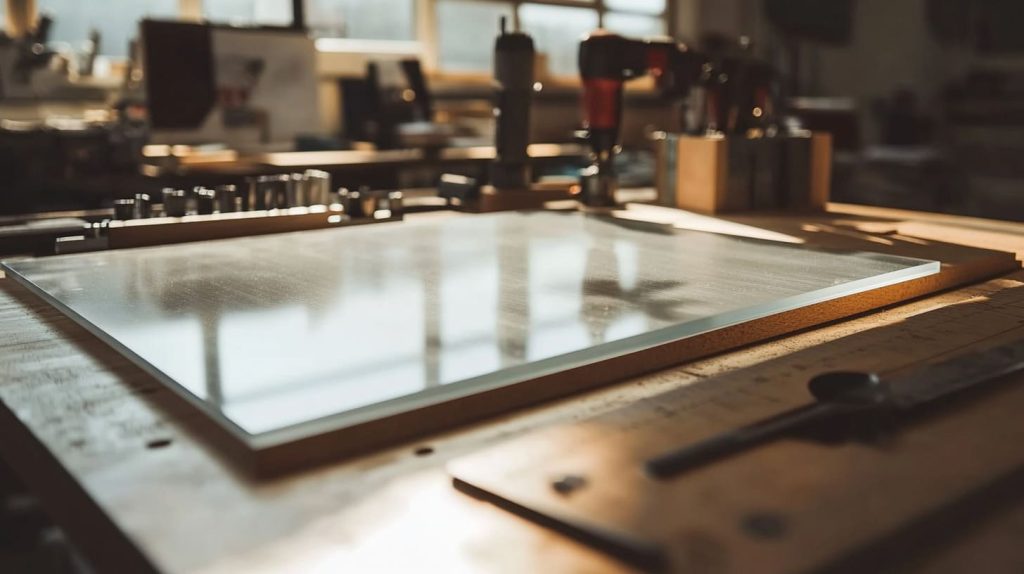
I like to think of preparation as the calm before the storm. Everything I do here sets the stage for a successful rivet. My experience has shown that if I rush this stage, I pay for it later, either in cracks or misaligned holes.
Selecting the Right Thickness of Acrylic
It’s important to match the acrylic thickness to the rivet’s grip range. I find that 3mm or 4mm acrylic is common for small-to-medium displays. But if I go thicker—like 8mm or beyond—rivet selection becomes more critical.
Analyzing from multiple angles, thicker acrylic offers more structural strength but also introduces greater tension when compressed by a rivet. So I always measure precisely and don’t guess.
Drilling and Hole Placement Guidelines
I recall a tricky moment when I drilled too close to the acrylic edge, trying to maximize the visible area of a display. Big mistake. Now, I ensure holes are at least 1.5 times the diameter of the drill bit away from the edges.
For hole size, I typically go slightly bigger than the rivet’s outer diameter. This small gap can prevent stress concentration. A slow and steady drilling speed, paired with a sharp acrylic drill bit, can minimize cracks and keep the hole clean.
Protective Measures to Avoid Cracks
One method that saved me is using backing support under the acrylic while drilling. I also place protective masking tape on the surface. It stabilizes the piece and reduces chipping. For high-end projects, I even use a coolant or water spray to keep the acrylic from heating up.
I find that these small steps, though they take extra time, preserve the acrylic’s integrity. No one wants to see a painful crack forming just when you’re about to celebrate your finished piece.
(With preparation covered, I’m ready to dive into the actual riveting process.)
Step-by-Step Riveting Process
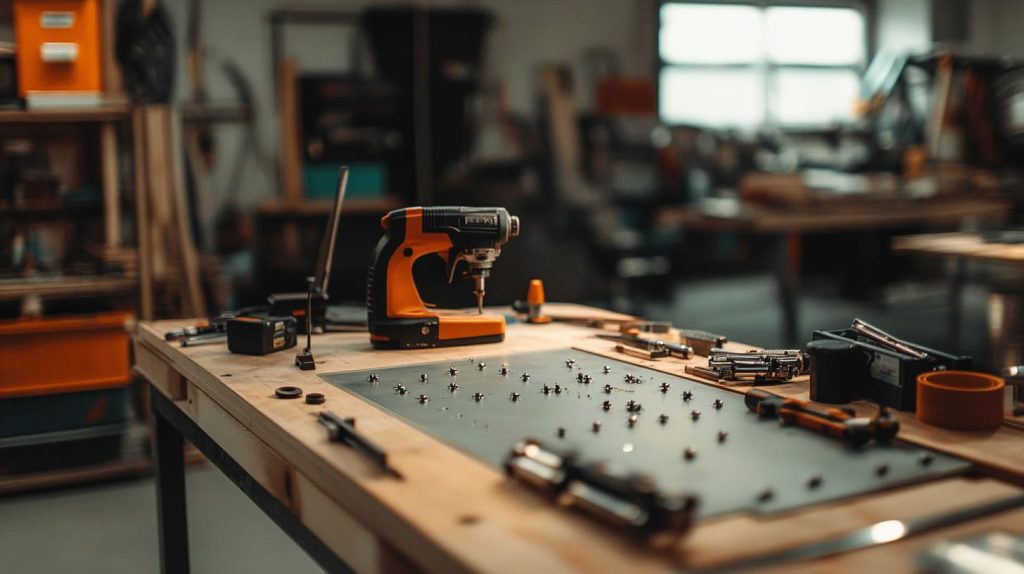
When I think about the riveting process, I imagine the precision of a well-choreographed dance. Each step builds on the previous one. Here’s how I usually do it.
Tools and Materials Required
- Rivet gun (handheld or pneumatic)
- Appropriate rivets (plastic, metal, or specialty)
- Drill bits designed for acrylic
- Measuring tape and pencil
- Masking tape
- Protective eyewear and gloves
I keep these items within reach so I can maintain momentum. Sometimes I’ll also keep a reference guide, like professional acrylic finishing on hand, for unexpected questions that might pop up.
Drilling Technique
I secure my acrylic sheet on a flat surface. Then, I mark the drilling points with a pencil. I use masking tape to protect the surface. I drill slowly, exerting light pressure. It’s almost like a meditative process—steady hands, quiet breathing, consistent speed.
A critical detail is clearing the debris. I lift the drill out gently and let any plastic chips fall away. If the hole looks rough, a quick cleanup with a deburring tool can help. This ensures the rivet fits snugly without stress.
Fastening Procedure
After drilling, I insert the rivet post through the acrylic holes. With plastic rivets, I can sometimes push them in by hand. For metal or specialty rivets, a rivet gun does the job. A gentle squeeze compresses the rivet and expands the shaft.
I keep an eye on alignment. If pieces shift during compression, I pause, readjust, and continue. I want uniform tension across all rivets. That attention to detail helps avoid warped edges or hidden stress cracks.
Finishing and Inspection
Once all rivets are in, I inspect them. I look for signs of over-compression, like hairline fractures. If I spot any, I replace that rivet and refine my technique. I also wipe down the acrylic, removing dust or fingerprints.
That final moment feels like a victory lap. The acrylic panel stands assembled, rivets in place. It’s satisfying when you see the smooth finish with no cracks. That sense of accomplishment never gets old.
(At times, I weigh other bonding methods. Let’s compare riveting to some popular alternatives.)
Comparing Riveting to Alternative Joining Methods

I sometimes think of this as a menu of joining methods. Each method offers unique flavors—like rivets have that mechanical tang, while adhesives bring a more seamless vibe. Let’s dig deeper.
Solvent Bonding
Solvent bonding fuses acrylic at a molecular level. I appreciate the near-invisible bond. But it’s sensitive. Any dust or uneven surfaces can ruin the bond’s clarity. I find it best for smaller pieces where aesthetics rule.
However, a critical reflection tells me that solvent fumes can be dangerous if not handled properly. Plus, the bond requires curing time. So if I’m in a rush, rivets are more straightforward.
Adhesive Bonding
Adhesive bonding involves glues designed for acrylic or plastics. It can be strong, but you need an even application. I once used an adhesive that left visible streaks. Now, I place more emphasis on proper application techniques or clamp usage.
From a broader perspective, adhesives can distribute stress over a larger area than rivets. That’s a plus. But if you ever want to disassemble or modify the piece, you’re pretty much stuck. Rivets, on the other hand, can be drilled out.
Mechanical Fasteners (Screws, Bolts)
Screws and bolts are more flexible for disassembly. But they might require threaded inserts or nuts, and they can protrude. If you want a flush, elegant look, rivets or adhesives might be better.
I typically consider the project’s scale and the desired look. For heavy-duty applications, screws and bolts with washers add serious strength. Yet, if aesthetics matters, I usually go with something more subtle.
(Next, I’ll share best practices that helped me avoid nightmares and wasted time.)
Practical Tips and Best Practices
Over the years, I’ve compiled a mental checklist of do’s and don’ts. These tips have saved me from many oh-no moments, like leaving hairline cracks that grew larger over time.
Maintaining Clarity and Aesthetics
- Clean Your Workspace: Dust or metal shavings can scratch acrylic.
- Use Masking Tape: Protects from accidental scuffs.
- Buff Light Scratches: For minor scuffs, a gentle buff can restore clarity.
I value aesthetics, so I keep a microfiber cloth handy to wipe away smudges. It’s a small gesture that makes the final product look professional.
Stress Relief and Thermal Expansion Considerations
Acrylic can expand in warm environments, so I leave a little space at each rivet hole. It’s not about being loose; it’s about preventing tension from building up when temperatures shift.
From a critical perspective, ignoring thermal expansion is risky. Over time, repeated expansion and contraction can form cracks. So if I’m working on an outdoor project, I pay special attention to hole sizing and rivet spacing.
Common Mistakes to Avoid
- Rushing Drilling: Fast drilling can overheat and melt acrylic edges.
- Using Wrong Rivet Size: Leads to weak connections or cracks from excess pressure.
- Skipping Washer: For metal rivets, washers help spread load.
I also made the mistake of ignoring manufacturer guidelines once. Trust me, you don’t want to find out halfway through a project that your rivets are the wrong diameter. Always verify specs.
(Now, let’s explore some real-world applications—where theory meets reality.)
Case Examples and Real-World Uses

I love hearing about real-world examples. They spark my imagination and give me a clear sense of what’s possible. I’ll share a few that highlight how riveting can be used effectively.
Store Displays and Signage Applications
I’ve seen store displays made from acrylic riveted together for extra stability. It’s especially common in high-traffic areas where customers bump into stands. The mechanical nature of riveting withstands daily wear and tear better than some adhesives.
Still, from another point of view, signage might need a polished look. If rivets are too visible, designers might pick adhesives instead. So I weigh the importance of style versus durability.
Custom Acrylic Projects in Different Industries
At times, I’ve encountered acrylic in unconventional projects, like aquariums or specialized enclosures. People rivet acrylic panels to frames for added support. However, in water-related uses, sealing becomes crucial. So riveting might pair with silicone or other sealing methods.
Looking deeper, I find it fascinating how different industries adapt acrylic to their needs. From medical devices to decorative furniture pieces, the versatility is endless.
Feilong Acrylic’s Manufacturing Insights
I respect how Feilong Acrylic handles custom orders. If I need something beyond my skill level—maybe a large protective box with pivoting doors—they can pivot to the right method, be it riveting or bonding. They have advanced machinery that cuts precise shapes, and their experience ensures consistent outcomes.
I once took a complex idea for a rotating display stand to them. They recommended thicker acrylic with carefully placed rivets. The final product turned out sturdy and visually appealing. That’s the benefit of working with a knowledgeable factory.
(My thoughts have come full circle. Let’s conclude by recapping major points.)
Conclusion

Riveting Acrylic: Key Takeaways
I learned that riveting acrylic is not only possible but practical when done correctly. From drilling with care to selecting the right rivet type, each step can make or break the outcome. It’s a straightforward option when you need reliable joints and faster assembly times.
How Feilong Acrylic Can Help
Feilong Acrylic brings years of expertise to the table. They’ve helped me solve intricate acrylic projects with precision and clarity. Their dedication to custom solutions aligns with my needs when I want something truly unique. I’m confident they can assist anyone wanting to explore riveting in acrylic applications.




