Skip to content

I still remember the first time I tried painting plastic. I was huddled in my garage, feeling both excited and nervous. The acrylic paint looked so promising in the store, but I had no clue how to make it last on plastic. Looking back, that early experiment inspired me to explore better ways to blend creativity with practicality. I want to share what I’ve learned.
What to Expect from This Guide
In this guide, I will walk you through a simple, step-by-step approach to painting plastic with acrylic paint. I will highlight common pitfalls, reveal useful preparation tricks, and explore the best sealing techniques. This journey will open new doors for you, whether you design products or purchase them for your company.
But before we move on, let me share a quick observation from my experience: sometimes, even a small tip—like the right primer or a slight change in brush type—can transform your entire painting project. Let’s keep going.
Relevance for Designers and Purchasing Specialists
Product designers and purchasing experts often need reliable ways to make plastic products look more appealing. Maybe you want to test color samples before committing to large batches. Maybe you want to ensure that a custom prototype has a professional finish. Whatever your reason, understanding acrylic paint on plastic can save you time and money.
I know you’re wondering what makes acrylic paint so special for plastic. Let’s jump into that next and see how a deeper look can stir up fresh ideas for your projects.
(Ready for a deeper dive? Here’s where things get more interesting.)
What Is Acrylic Paint and Why Use It on Plastic
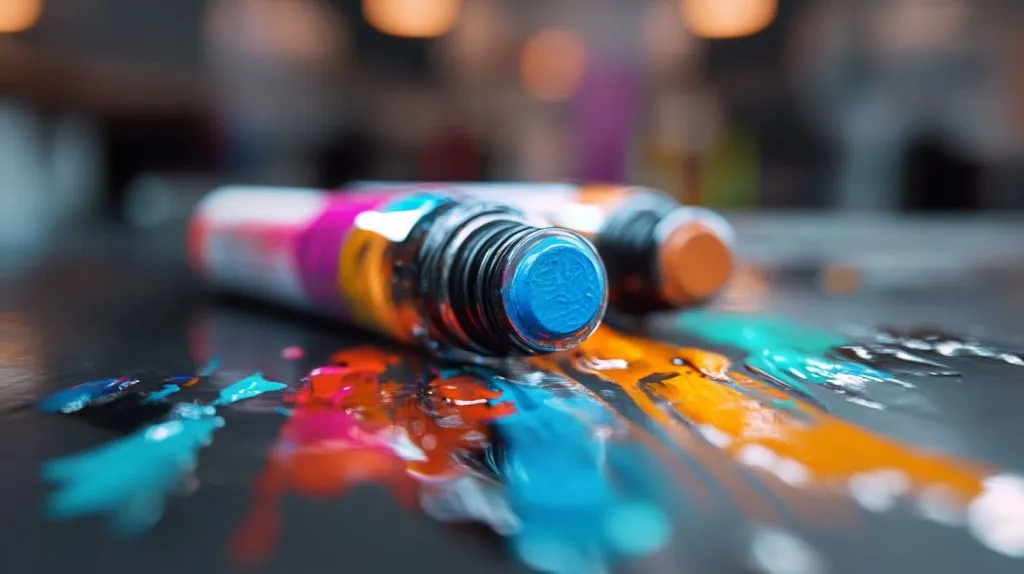
Over the years, I’ve tried all sorts of paints. I’ve tested oil-based, water-based, and everything in between. Acrylic paint, however, stands out for its versatility and user-friendly nature. It dries fast, adheres well (with the right prep), and comes in countless shades. Let’s explore more, so we can better judge if it’s the right match for your project.
Key Characteristics of Acrylic Paint
I find that acrylic paint behaves in a balanced way. It’s not too runny, but it can be thinned with water. It’s not too thick, yet you can layer it to add texture. Some argue that it lacks the richness of oils, but for plastic applications, its quick drying time is often a bonus.
Consider these points when picking acrylic paint:
- Drying Time: Usually minutes to an hour, depending on thickness.
- Consistency: Can be adjusted to be more fluid or thicker.
- Clean-Up: Easy with soap and water if done immediately.
At this point, you might wonder how these characteristics translate to painting on plastic. Let’s step back and look at why acrylic paint is actually well-suited for this often-challenging material.
Advantages of Using Acrylic on Plastic
I’ve discovered that acrylic paint has a knack for bonding well with plastic when you use the right primer or prep method. It’s also less toxic compared to many other paint types. Plus, the drying process is efficient, which means less downtime during production or prototyping.
Still, it’s not all sunshine. If the surface isn’t clean or is too slick, the paint won’t stick, no matter how great the brand. That is why preparing the surface becomes your secret weapon. I’ll explain that next.
(It’s amazing how many issues can be fixed with just a little preparation, so let’s tackle that in detail.)
Preparing the Plastic Surface
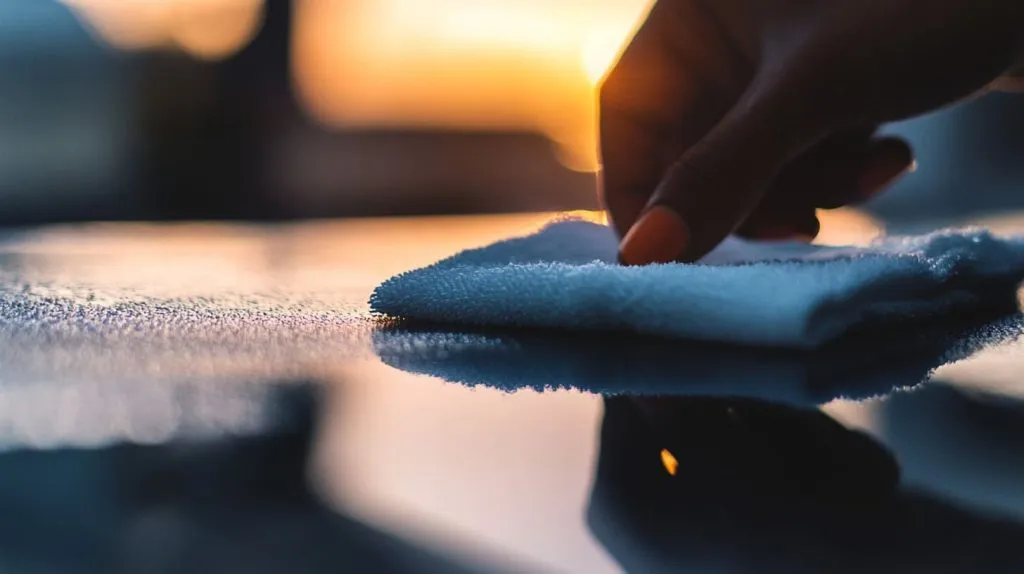
I learned the hard way that preparation is everything. I once skipped the sanding step on a display prototype because I was short on time. The paint started flaking off the next day, leaving me feeling more than a bit foolish. Let’s make sure you don’t make that same mistake.
Cleaning and De-Greasing
Plastic often carries oils and residues, either from manufacturing or just from everyday handling. These invisible films create a barrier between your paint and the surface.
Here is a quick reference table I created to guide my own process:
| Cleaning Step | Method | Tip |
|---|---|---|
| Initial Dust Wipe | Soft cloth or gentle air blower | Remove loose dust and debris first. |
| Mild Cleanser | Diluted dish soap or isopropyl wipes | Avoid harsh chemicals that can melt plastic. |
| Final Rinse | Warm water, air dry thoroughly | Ensure no soap or cleanser residue remains. |
By following a simple cleaning routine, I’ve seen a big difference in paint adhesion. Don’t underestimate how even a tiny bit of oil can undermine your entire project.
Sanding and Priming Techniques
Sanding plastic lightly creates micro-scratches that help paint adhere better. Go for a fine-grit sandpaper, often between 220 and 400 grit, to avoid deep scratches. Once you’ve sanded, a primer designed for plastics can add another layer of adhesion.
In my view, taking the time to sand and prime is like giving your paint an invitation to stick around for the long haul. Just remember to clean off sanding dust before applying primer to avoid trapping any debris under the paint.
(You might be thinking about tools now, right? Great—because we’re headed there next.)
Choosing the Right Paint and Tools

I once watched a friend struggle with cheap brushes that shed bristles all over her freshly primed plastic. That mess looked awful, and she had to start over. This next part aims to help you avoid similar setbacks.
Types of Acrylic Paint for Plastic
There are acrylic paints labeled specifically for plastic, but standard acrylics can also work if paired with the right primer. The secret is to pick a formula that emphasizes strong adhesion. I like to read the manufacturer’s instructions carefully to confirm compatibility with plastics.
Sometimes, the label might not scream “plastic,” but it can still work just fine if the instructions mention multi-surface use. In any case, test a small patch first.
Brushes, Rollers, or Spray Guns
I’ve tried them all. Brushes are great for detailing, but they may leave brush strokes if you’re not careful. Rollers can apply paint evenly over larger surfaces, but you might miss tight corners. Spray guns deliver a smooth, professional finish, especially for bigger plastic parts.
Here’s a quick comparison table to help you decide:
| Tool | Best For | Watch Out For |
|---|---|---|
| Brushes | Detail work | Bristle shedding, brush marks |
| Rollers | Medium to large areas | Incomplete coverage on edges |
| Spray Guns | Large surfaces, even finish | Overspray, requires proper setup |
(Knowing your tools sets you up for a smooth process. Let’s see how to put it all together now.)
Step-by-Step Painting Process
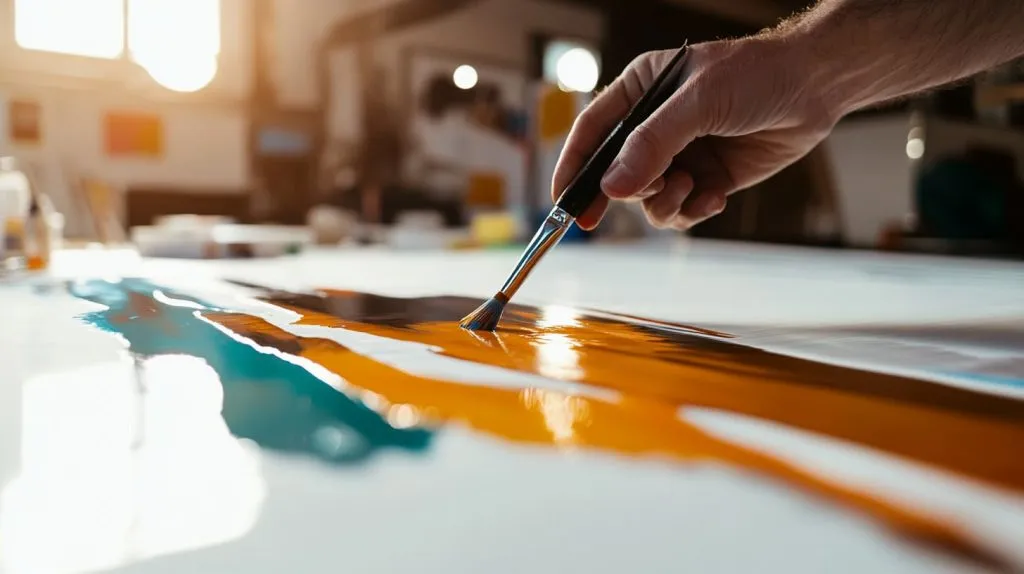
Painting plastic can be surprisingly easy if you break it down. Let me share a process I’ve refined after multiple tries—and a few stumbles.
Applying the First Coat
Start with a thin, even coat. I like to move my brush or spray gun in consistent strokes, slightly overlapping each pass. This first coat is all about establishing a base. If you see small gaps, don’t worry too much. You’ll catch them later.
In my early days, I’d load up on paint, thinking it would be faster. I ended up with drips and uneven surfaces. It’s better to go light and do more coats.
Allowing Proper Drying Time
Patience has never been my strong suit, but acrylic paint needs proper time to set. Let the coat dry until it’s no longer tacky to the touch. If you rush, you’ll smudge or trap moisture, causing all sorts of problems later.
Adding Additional Coats and Finishing Layers
Repeat the same thin application technique for each coat until you get your desired color and coverage. For a protective finish, consider adding a clear coat later. This extra step helps your paint last longer and keep that fresh look.
(You might be wondering how to lock in your results for the long haul, so let’s talk about sealing next.)
Sealing and Protecting the Painted Surface
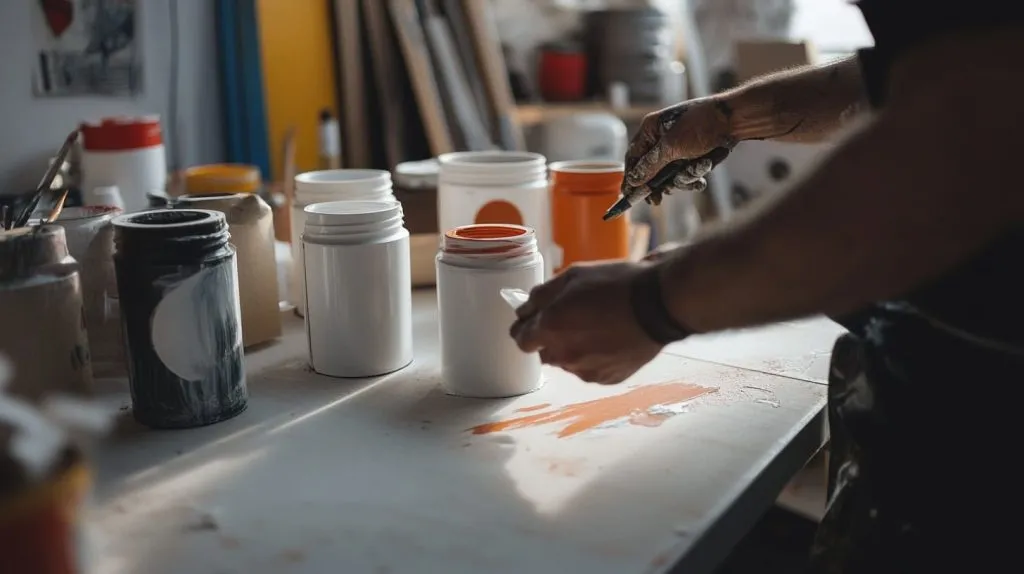
I’ve had paintings on plastic that lasted years without fading, largely thanks to a good sealant. A proper seal keeps your masterpiece safe from scratches, fading, and moisture damage.
Selecting the Right Sealant or Varnish
Not all sealants are created equal. Look for a product labeled as compatible with acrylic paint. Polyurethane sprays often work, as do specialized acrylic varnishes. Apply in thin coats, let each layer dry fully, and resist the urge to touch the surface until it’s fully cured.
Even a perfect paint job needs that final armor. I learned that the hard way when a scuff ruined a project I thought was “finished.” Now I never skip sealing.
Longevity and Maintenance Tips
Try to keep painted plastics away from direct sunlight if possible. UV rays can gradually fade colors over time. Light cleaning with a damp cloth is usually enough to remove dust or fingerprints. Harsh chemicals can degrade the sealant, so gentle is the way to go.
(Now that you’ve got a good handle on sealing, let’s see what hiccups you might still face and how to dodge them.)
Common Mistakes and How to Avoid Them
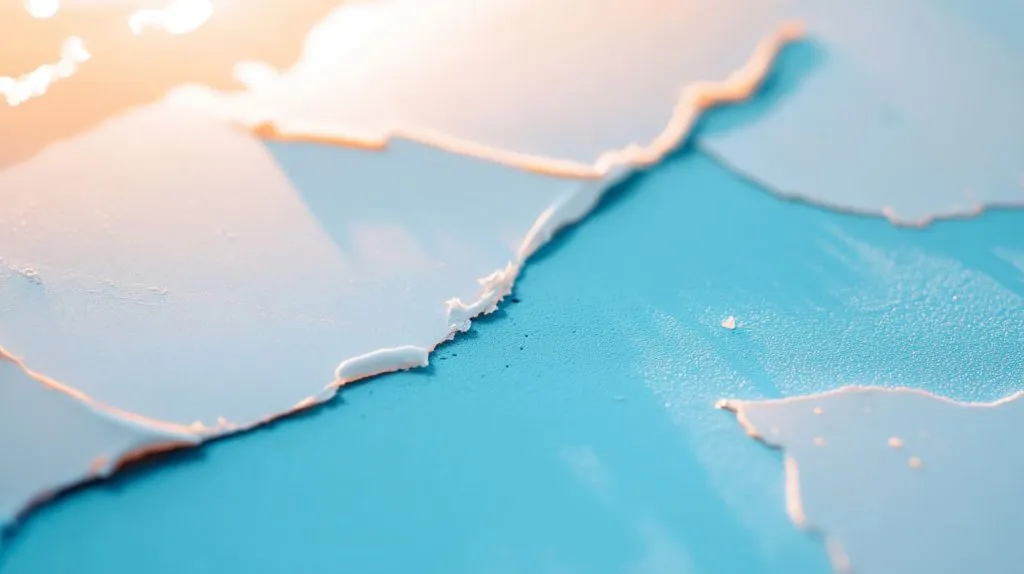
I’ve made more mistakes than I care to admit. But each slip-up has sharpened my approach. Let’s look at the big ones and learn how to avoid them.
Insufficient Surface Preparation
Skipping sanding or ignoring a quick wipe-down is a recipe for disaster. If the paint doesn’t have a clean surface to grip, it will peel or flake, often within days. Set aside enough time to prepare your plastic properly.
Incorrect Primer or Sealant Usage
I once used a primer meant for metal on a plastic container. The paint seemed fine at first but peeled off in huge chunks a week later. Double-check product labels and don’t take shortcuts here.
Not Following Recommended Drying Times
It’s tempting to rush, especially if you’re juggling deadlines. I’ve learned that waiting the recommended time (and then a bit more) can prevent a host of issues like smudging or tackiness.
(Being aware of these pitfalls is half the battle. Let’s now explore some specialized knowledge from Feilong Acrylic that might make your life even easier.)
Feilong Acrylic’s Insights for Painting Acrylic Plastic

Over the years, I’ve partnered with many factories, but Feilong Acrylic stands out for their approach to custom solutions. They don’t just mass-produce displays or boxes; they collaborate to create items that fit your exact vision. Let’s see what that means for painting acrylic plastic.
Understanding Acrylic’s Unique Properties
Acrylic has its own personality. It’s not as porous as wood, and it demands precise handling. Feilong Acrylic’s team often emphasizes how moisture, temperature, and type of primer can drastically change outcomes. They focus on consistent thickness and clarity for each piece, ensuring paint can adhere smoothly.
From my perspective, this attention to detail is crucial, especially when painting multiple acrylic items for large orders. You want each piece to look exactly as intended.
Custom Solutions for Painting Large B2B Orders
Feilong Acrylic doesn’t hold a catalog for retail; instead, they tailor each order. I’ve found that if you’re a purchasing specialist aiming for uniform painted acrylic displays, it helps to involve the manufacturer early. Discuss primer compatibility, color matching, and sealing methods upfront.
I’ve heard stories where clients only addressed painting details after production, leading to incompatible surfaces. That causes delays and frustration. Communicating early usually prevents such headaches.
Quality Control and Best Practices from 13+ Years of Experience
Feilong Acrylic runs five production lines with skilled workers and advanced laser/CNC machines. That means they can handle large B2B orders with consistent outcomes. Their ISO9001 certification also ensures quality standards. My tip? Ask about their GSG-certified eco-friendly acrylic, because it pairs nicely with water-based acrylic paints.
(We’re almost at the end of our journey. Let’s tie everything together.)
Conclusion
Painting plastic with acrylic paint can be a joyful experience when you understand the steps and choose the right materials. If you’re like me, you’ll appreciate how a clean surface, proper priming, and the best application techniques can elevate the final look. Take your time, stay patient, and enjoy the creative process.
Final Thoughts on Ensuring Lasting Results
I suggest testing small samples, picking quality products, and resisting the urge to rush. A little patience goes a long way. And if you’re not sure where to start, it helps to reach out to professionals or even conduct a few test runs. In my own work, I always do a test piece before committing to painting a batch.
Where to Get Expert Help and Consultation
When it comes to B2B acrylic solutions, Feilong Acrylic offers guidance on everything from material choice to design feasibility. They specialize in custom orders and can steer you in the right direction to ensure your painted acrylic products come out just as you imagined. Visit acrylic painting techniques or check [proper storage of acrylic paints if you want more pointers.
(Thank you for reading, and I hope this helps you on your next acrylic painting adventure.)