 Skip to content

I still remember the first time I tried painting on an MDF board. I was sitting in my garage with the sun beaming through a dusty window. I felt excited to see how acrylic paint would transform a dull sheet of MDF into something that popped with color. Then reality hit: my finish looked more matte than glossy, and I realized how much I still had to learn.
Importance of a Quality Finish
I’ve learned over time that the final look of a project isn’t just about having a beautiful color. It’s also about having that smooth, reflective sheen. A quality finish can elevate your work from ordinary to captivating. It can make people stop and actually examine your piece, whether you’re displaying a custom piece of furniture or a personalized sign.
Why MDF Boards and Acrylic Paints?
MDF boards are popular because they’re stable and easy to shape. They don’t warp as readily as solid wood, and they have a consistent surface that’s perfect for painting. Meanwhile, acrylic paints dry quickly, clean up with water, and deliver vibrant color. This combination is like peanut butter and jelly: straightforward but always satisfying.
I once painted a set of MDF display stands for a client who wanted bold primary colors that would stand out at a trade show. By choosing acrylic paints, I achieved a vivid gloss without the fuss of solvents. I stayed up half the night ensuring each layer was smooth and that the edges were sealed well. Even though I was drained, the payoff was worth it. Keep reading, and I’ll share everything I’ve learned to help you make your own project shine.
Now, I invite you to join me in discovering the subtle art of acrylic painting on MDF boards. Believe me, once you see how that glossy finish catches the light, you’ll never go back.
Understanding Acrylic Paints
I always tell my fellow creators: if you want a glossy finish, you have to know what your paint can and cannot do. It’s easy to assume any acrylic paint will behave the same, but each brand has its own little quirks. Sometimes, the difference is in how it levels out or how it responds to moisture. I’ve experimented enough times to know these differences can make or break the final look.
And now, I’ll throw in a brief story: I once switched from a no-name brand to a high-quality acrylic, and the difference was startling. Suddenly, the paint didn’t drag when I brushed it on. It flowed smoothly, like a calm river on a summer evening. That gave me the confidence to keep refining my process.
Key Characteristics of Acrylic Paint
When I think of acrylic paint, I think of its quick-drying nature, water-based formula, and strong pigment load. Quick drying means we need to work fast or keep the paint surface moist to avoid streaks. The water-based nature means we don’t deal with harsh fumes. And that strong pigment load gives us vibrant, opaque coverage.
From a critical viewpoint, these benefits are balanced by a few downsides. For instance, that speedy drying can lead to rough edges if we’re not vigilant, and some cheaper acrylics might look dull once they dry. So I always recommend testing the paint on a scrap piece of MDF first.
Benefits of Using Acrylic on MDF
Acrylic paints provide bright, enduring color, which is important for showcasing your design’s details. They also bond well to primed MDF boards, resulting in fewer chances of the paint peeling off. However, if you skip prep or rush the coats, you might be left with a splotchy or uneven finish.
I look at it like this: using acrylic on MDF is much like cooking a favorite dish. You need solid ingredients—like good-quality paint—and some attention to detail. Take shortcuts, and you might end up with a disappointing result.
When I want a second opinion, I sometimes check out resources like acrylic paint usage. This helps me confirm if my brand choice aligns with the surface I’m working on. Next, let’s see which tools and materials make our paint job shine.
Tools and Materials
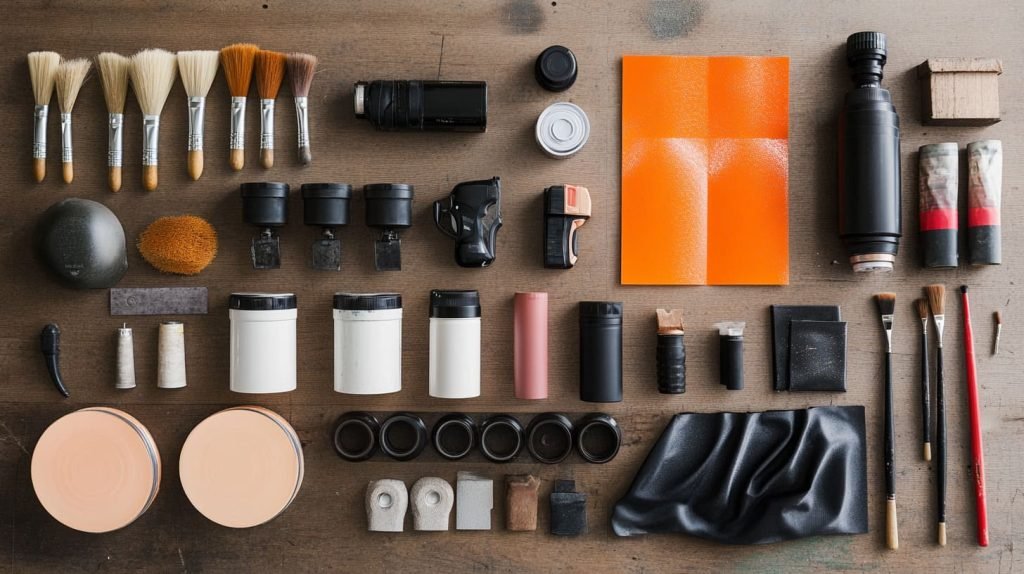
I’ll admit, sometimes I get as excited about collecting new art tools as I do about the actual painting. But in the end, quality tools often lead to quality finishes.
Essential Tools
| Tool | Purpose |
|---|---|
| Sandpaper | Smooths surface before and between coats |
| Brushes/Rollers | Applies paint evenly on large or small areas |
| Spray Gun | Provides an ultra-smooth finish |
| Protective Gear | Keeps you safe from dust and fumes |
I don’t recommend cheaping out on brushes or rollers. They can shed bristles or create lines, and we’re going for sleek and glossy, not streaky and fuzzy. If you can invest in a spray gun, you might find it opens up a whole new dimension of smooth finishes.
Recommended Materials
- Primer (Compatible with Acrylic Paints)
It’s the glue holding your paint to the MDF. A good primer seals porous MDF, preventing the paint from soaking in. - High-Gloss Acrylic Paint
This is critical for that mirror-like finish. Pick one labeled “high gloss,” or consider a gloss medium you can mix with any acrylic. - Sealants or Clear Coats
Think of this as the final protective shield. It can enhance shine and protect the paint from scratches.
In my experience, setting everything out before I start helps me stay in the flow. A bit of planning goes a long way, especially when you’re juggling multiple coats of paint and short drying times. Let’s move on, and I’ll reveal the secrets to preparing MDF boards like a pro.
Preparing MDF Boards
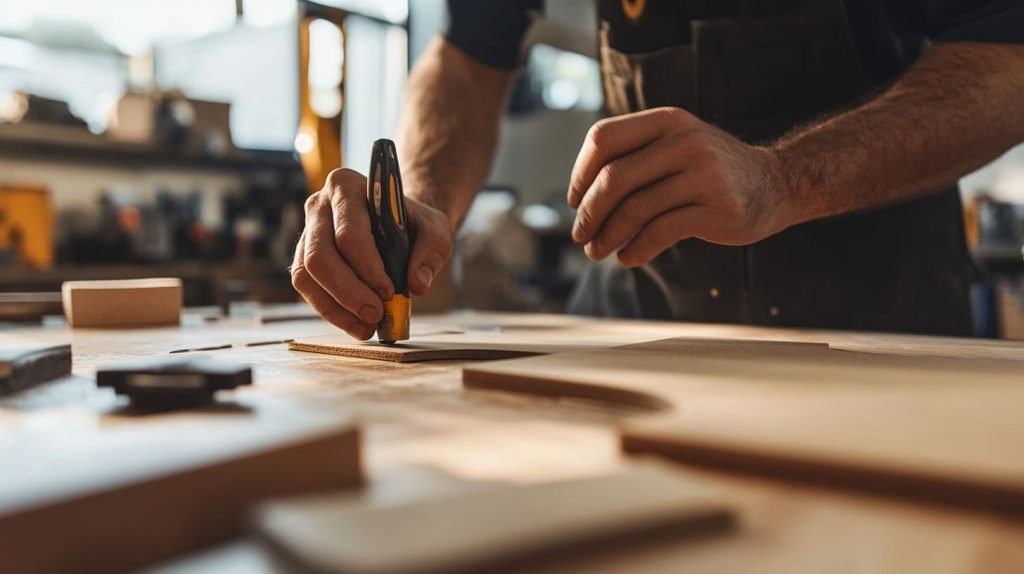
The biggest lesson I’ve learned is that a glossy finish starts way before the paint hits the board. When I used to think I could just slap on the paint directly, my results were laughably inconsistent. Once I realized the value of thorough preparation, my work changed dramatically.
Surface Inspection
First, I always examine the MDF board for any dents or chips. Because MDF is made from compressed wood fibers, any damage can telegraph right through the paint. Small imperfections might seem minor now, but they’ll stick out like a sore thumb when the surface reflects light.
From multiple perspectives, ignoring those blemishes might save you a few minutes upfront, but you’ll sacrifice a polished look. I’ve learned that if I skip this step, I pay the price later when I’m forced to sand down stubborn bumps.
Sanding Techniques
Sanding is like a meditation for me. A few passes with a medium-grit (around 120) sandpaper, followed by a fine-grit (220 or higher), makes a world of difference. I prefer sanding in a circular pattern, then switching to linear strokes. This helps ensure even coverage.
I used to slack on sanding, thinking it was an optional extra. But the truth is, it creates micro-scratches that help the primer grip better. From a critical angle, if you over-sand, you might compromise the board’s top layer. Always aim for balance: smooth but not too polished.
Sealing MDF Edges
The edges of MDF boards can absorb paint like a sponge. So I make sure to seal them with a dedicated edge sealer or a couple of coats of primer. If I skip this, I end up with edges that look dull compared to the main surface.
Now, let’s move on to the painting process. But remember: if your boards aren’t smooth and sealed, no amount of fancy paint will save you. Give it a little extra effort here, and you’ll thank yourself later.
Step-by-Step Painting Process
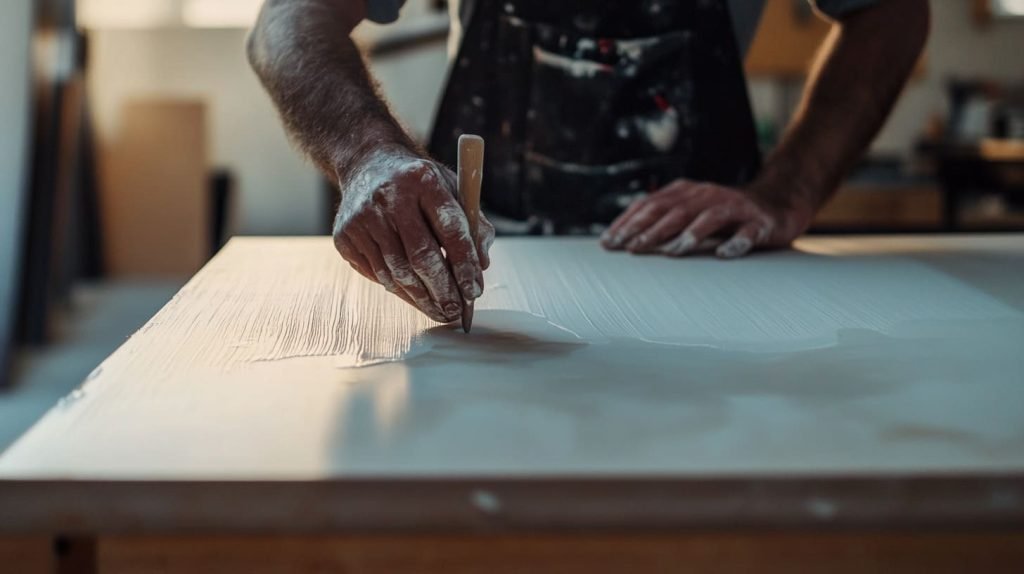
I get a little giddy when it’s finally time to paint. This is the phase where all that prep transforms into something beautiful.
Step 1: Applying Primer
I start by applying a thin coat of primer across the entire surface, including the edges. I keep my strokes consistent, and if I see any drips, I level them out immediately. Let the primer dry thoroughly, usually for a few hours.
From a critical standpoint, a good primer can make or break your finish. If your primer is uneven or poorly applied, the paint might not level well. Test a small area first if you’re unsure about how the primer reacts with your chosen brand of paint.
Step 2: Building a Smooth Base Coat
After the primer is completely dry, I apply my first coat of high-gloss acrylic paint. I often dilute it slightly with water if it’s too thick. Doing so helps achieve a more uniform coat without brush or roller marks.
Think of this as the foundation. If you spot lumps or brush lines, it’s best to deal with them now rather than trying to mask them later. Sometimes I’ll pause to check resources like MDF boards tips just to confirm best practices if I’m venturing into new territory, like a different paint brand or a large-scale project.
Step 3: Wet Sanding Between Coats
Once the base coat is dry, I lightly wet sand with very fine-grit sandpaper—often 400 to 600 grit. This levels out any imperfections. I’m gentle, using a bit of water to lubricate the surface. Wipe away the slurry and let the board dry before moving on.
I love this step because it brings me closer to that mirror-like glow. From multiple angles, wet sanding might seem tedious, but it’s a game-changer. For instance, there was a time I skipped it due to impatience. The final result looked okay until the light hit it at a certain angle, revealing all my shortcuts.
Step 4: Applying the Final Coat
This is when you hold your breath and hope all that prep pays off. I apply a final coat of high-gloss acrylic, making sure it’s thin yet thoroughly covering the previous layers. If I’m using a spray gun, I keep the nozzle moving in fluid strokes, slightly overlapping each pass.
From my experience, applying thin coats generally yields a smoother finish than one thick coat. After this last coat, I walk away—literally. I don’t hover over it or poke at it. I resist the urge to retouch any minor imperfections until it’s fully cured. Now, let’s look deeper into the steps that enhance that glossy finish.
Achieving a Glossy Finish

I’ve had people ask me why some acrylic finishes look flat while others seem to beam with a radiant glow. The answer often lies in application methods and finishing products, not just the paint itself.
Proper Application Methods
I always keep an eye on the environment. Too much humidity can cause hazy results, while too low humidity can speed drying and lead to brush marks. I also remind myself not to rush. Each coat should be fully dry before the next, or else I risk trapping moisture underneath, dulling the final shine.
Stepping back and viewing the surface from multiple angles helps me catch inconsistencies in the finish. When I see a reflection, I know I’m on the right track.
Using High-Gloss Clear Coats
Sometimes, I’ll top everything off with a clear coat designed for acrylic surfaces. This magnifies the gloss and adds an extra layer of protection. One time, I accidentally bumped a freshly cured piece against my workbench, but the clear coat took the brunt of the impact. That’s when I realized how valuable it could be.
From a critical perspective, a clear coat can also highlight flaws. If your base layers are bumpy, the topcoat will reveal them. So make sure everything is smooth before you apply that final layer.
Polishing and Buffing
For an ultra-reflective look, I might do a light polish once the paint is fully cured. Using an automotive polishing compound and a soft cloth can really elevate the finish. But you have to be cautious not to burn through the paint. Slow and steady is the name of the game.
I typically recommend polishing only if you’re going for the highest level of gloss, like a piano-like finish. If that’s not your goal, you can skip this step. Speaking of caution, let’s talk about some common missteps that can derail your glossy aspirations.
Common Mistakes and How to Avoid Them

I’ve definitely had my share of mishaps. Over time, these mistakes taught me valuable lessons that I carry into each new project.
Overlooking Surface Prep
Skipping a thorough inspection or a proper sanding job is the quickest way to ruin a glossy finish. MDF can have small dents or rough edges that become glaringly obvious once the paint shines on them. I’ve seen people try to sand after the final coat, which can be more work than simply doing it right the first time.
Skipping Drying Times
I’ve been guilty of this more times than I’d like to admit. Sometimes I’m so eager to see the final product, I rush to the next coat. Unfortunately, that often leads to a gummy surface or trapped moisture. Next thing you know, the paint cracks or develops a haze.
Using Incompatible Primers or Paints
Not all primers are friends with all acrylics. If you mix products that don’t align, you might see peeling or lack of adhesion. I always do a small test when I’m unsure. Testing is a form of insurance: it saves you from large-scale mishaps later.
All this talk about preventing mistakes has me thinking about how each step ties together. Let’s bring it all home with a quick wrap-up, and I’ll share my final thoughts.
Conclusion
Recap of Key Steps
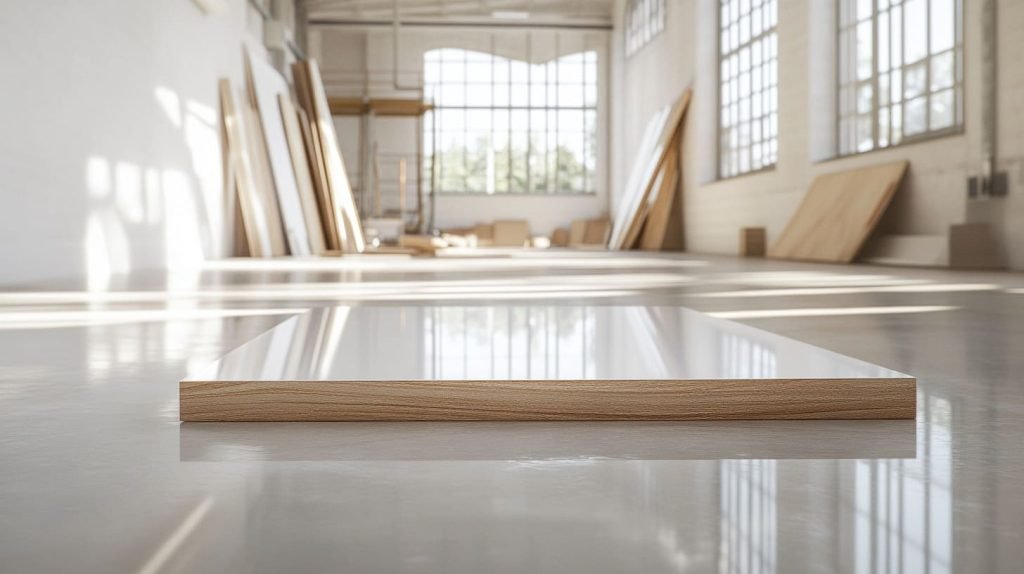
When I reflect on the process, I see how each step is essential to achieving that perfect gloss. It starts with surface inspection and sealing those pesky edges, then building up layers of primer and paint, with careful sanding in between. Finally, a good clear coat can elevate the shine even more.
Final Recommendations
In my journey, I’ve found that painting MDF boards with acrylic paints calls for patience, attention to detail, and a little daring. Don’t be afraid to test new primers or topcoats. Keep practicing, and soon you’ll have the glossy finish you’ve always pictured in your mind. If you ever need inspiration, remember that Feilong Acrylic stands for quality and precision. I often keep custom acrylic solutions in mind because our brand aims to blend craftsmanship with creativity. And as I’ve discovered, that’s really the heart of a glossy, professional-looking project.




