 Skip to content
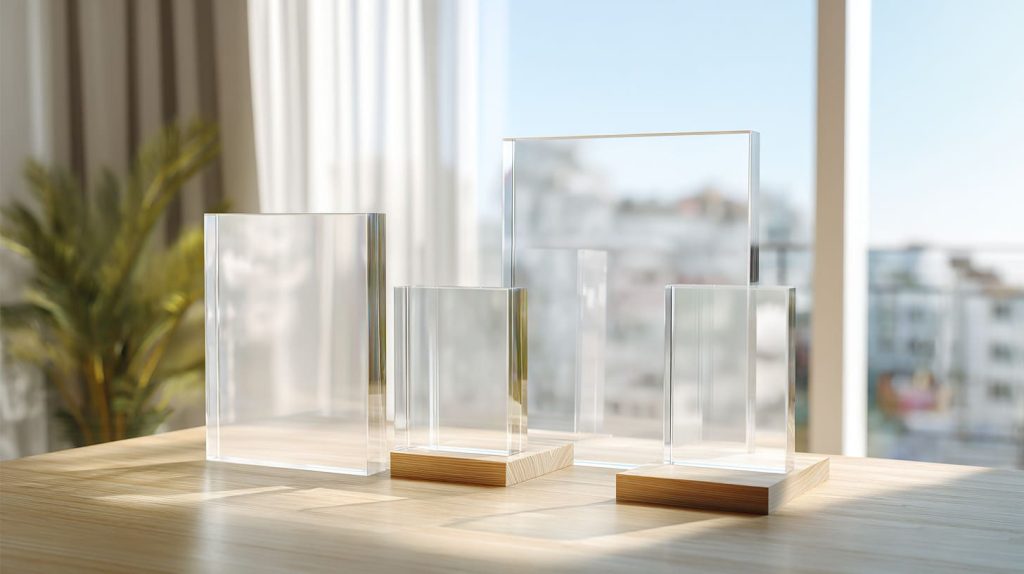
Acrylic photo frames did not become popular by accident. I have seen that change happen slowly, then all at once.
At first, many people still held onto glass. Glass felt traditional. It felt familiar. It had that old-school framing logic behind it. But the more buyers cared about shipping safety, cleaner modern lines, lighter weight, and custom sizing, the more acrylic started to win. Not loudly. Just steadily.
I noticed this most clearly when display design began to lean toward simpler visual language. Retail spaces looked cleaner. Home décor became more minimal. Product photography started to favor bright edges, floating layouts, and crisp transparency. Glass could still do part of that job, of course. But acrylic made the whole process easier. It cut transport risk. It gave designers more freedom. It reduced fear during assembly. That mattered more than many people expected.
I remember talking with a buyer who had approved a batch of framed prints for a store rollout. The design looked good on paper. The samples looked elegant. But the glass version made everyone nervous. Too heavy. Too fragile. Too stressful for packing. When the team switched to cut-to-size acrylic, the mood changed. The design still looked sharp, but the project felt more manageable. That is a small difference on a drawing. It is a big difference in real work.
I do not think acrylic is better only because it is lighter. I think it became popular because it fits the way modern products are actually made, shipped, displayed, and replaced.
That is what I want to cover here. I want to walk through how to make a photo frame with cut-to-size acrylic, both from a DIY angle and from a business angle. If you want to make one frame for yourself, this guide will help. If you are thinking like a buyer, designer, or sourcing manager, this guide will help there too.
One detail often tells me whether a frame idea will survive real use: I do not judge it by the front view alone, because the real test starts when someone packs it, hangs it, cleans it, or drops it once by accident.
Acrylic frames look simple. That is exactly why people underestimate them. So let me start with the question that usually decides the whole project.
Why Choose Cut-To-Size Acrylic for Photo Frames?
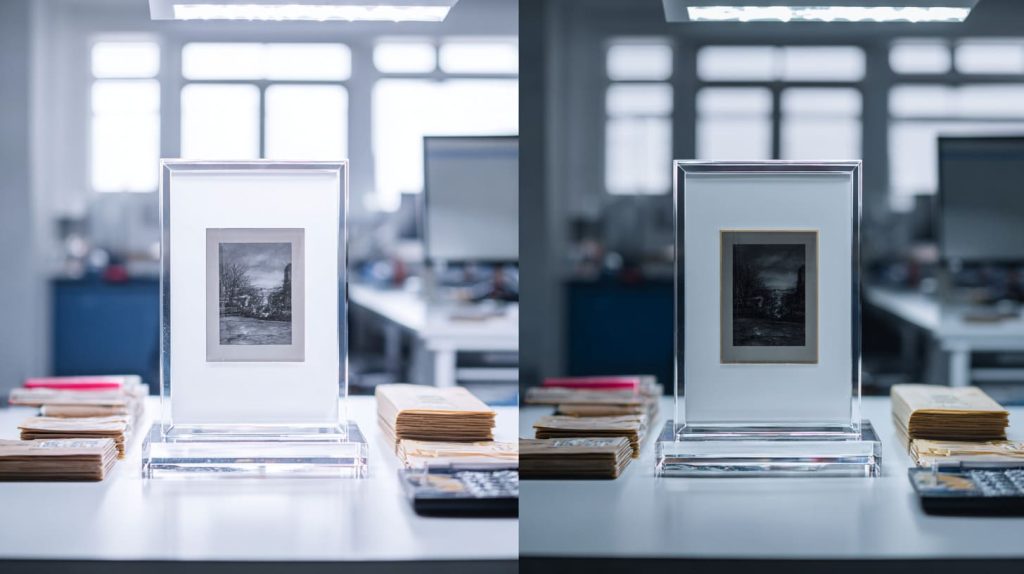
I have seen people choose acrylic for the wrong reason. They look at the price, or they look at a glossy sample, and they think the decision is easy. It is not. Acrylic is useful because it solves several problems at once, but it also creates a few new ones. That is why I like to look at both sides before making a call.
What makes acrylic better than glass?
The first thing I notice is weight. Acrylic feels easier from the start. It is easier to move, easier to mount, and easier to pack. When someone needs a larger photo frame, that difference becomes very obvious.
Glass has a kind of quiet authority. I understand that. But acrylic gives me more control in daily use.
Here is a simple comparison:
| Feature | Acrylic | Glass |
|---|---|---|
| Weight | Light | Heavy |
| Impact resistance | Stronger against breakage | Breaks more easily |
| Shipping safety | Better | Riskier |
| Clarity | Very high | Very high |
| Scratch resistance | Lower | Higher |
| Ease of cutting custom sizes | Better | Harder |
I also like acrylic because it is safer to handle. That matters in homes, stores, exhibitions, and offices. A broken glass frame creates drama very fast. A broken acrylic frame usually does not fail in the same dangerous way.
Then there is visual clarity. Good acrylic can look extremely clean. In some retail or branded display settings, that clean look works beautifully. The edges can catch light in a way that feels modern and bright.
Still, I do not treat “clear” as the whole story. Cheap acrylic can look good from far away and disappointing from close up. It can have slight distortion. It can scratch too easily. It can feel less premium in the hand.
That is why I always check the material grade, not just the word acrylic on the quote sheet.
When acrylic is NOT the best choice
This is where the conversation gets more honest.
Acrylic scratches more easily than glass. That is real. If the frame will be cleaned often, touched a lot, or used in a rough public setting, that weakness matters. I have seen beautiful acrylic fronts lose their charm because somebody cleaned them with the wrong cloth or the wrong liquid.
Heat is another issue. Acrylic does not love high heat. It also does not respond well to every chemical cleaner. That means material choice should match the environment.
Here is where acrylic can become a poor fit:
- Very high-touch public areas with rough cleaning habits
- Places near heat sources
- Environments where harsh cleaning chemicals are common
- Premium applications where scratch resistance matters more than weight
I have learned to pause when a buyer says, “It only needs to look good at the start.” That sentence usually hides a future complaint.
Why custom cut-to-size matters in real projects
Cut-to-size acrylic solves a problem that many standard frames cannot solve well: fit.
When I work on a real framing project, the artwork size is rarely the only dimension that matters. I also need to think about hole position, border spacing, mounting hardware, brand layout, backing thickness, and visual balance. That is why custom sizing changes everything.
A standard frame can force the design to adapt to the frame. A cut-to-size acrylic frame lets the frame adapt to the design.
That matters for:
- Custom artwork sizes
- Promotional frames
- Retail signage
- Branded tabletop displays
- Bulk commercial orders with repeated dimensions
Here is a quick view:
| Project Type | Standard Frame | Cut-To-Size Acrylic |
|---|---|---|
| Family photo | Often enough | Useful but optional |
| Store display graphic | Often limited | Very suitable |
| Branded promo frame | Usually weak fit | Strong fit |
| Odd-size print | Hard to match | Easy to build around |
| Bulk identical units | Less flexible | Better control |
My own rule is simple here: once the frame needs to support branding, exact fit, or repeat production, I stop thinking like a casual shopper and start thinking like a production person.
That shift matters. Because once size becomes part of function, materials and tools start to matter much more. So let’s talk about what you actually need on the table before the work begins.
What Materials and Tools Do You Need?
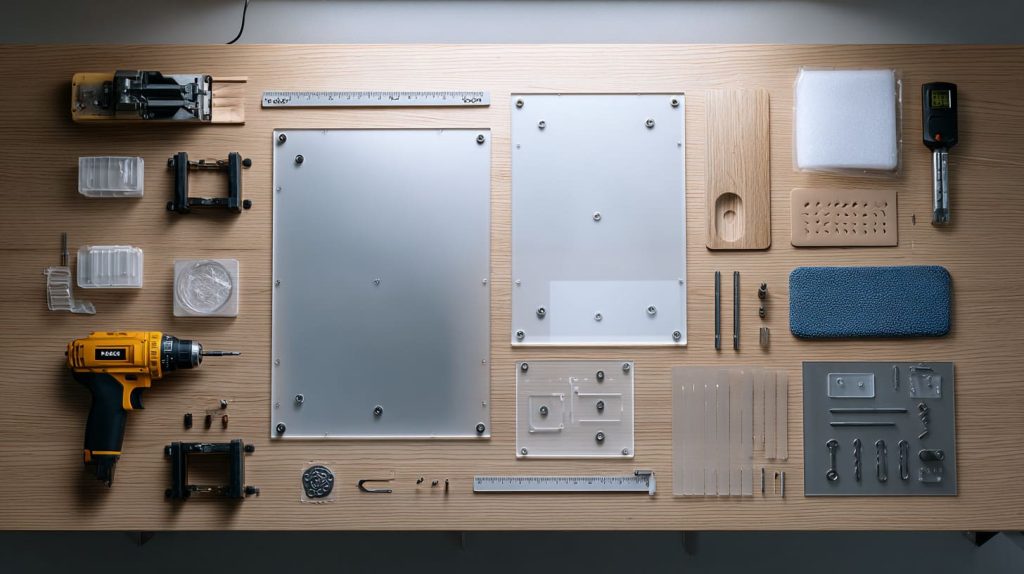
I like simple projects. I really do. But photo frames have a way of punishing vague preparation. If the materials are wrong, the frame feels cheap. If the tools are wrong, the finish tells on you. A clean result usually starts with a boring truth: good preparation saves ugly rework.
Essential materials checklist
At the most basic level, I need a few core parts:
- A cut-to-size acrylic front panel
- An optional acrylic back panel or another backing board
- The printed photo or artwork
- A support material such as MDF, PVC, or cardboard
- Fasteners like screws, standoffs, clips, or magnets
Here is how I usually think about the main materials:
| Material | What it does | My note |
|---|---|---|
| Acrylic front panel | Protects and displays the image | This is the visual hero |
| Acrylic back panel | Adds a clean rear look | Nice for sandwich styles |
| MDF backing | Gives rigidity | Good for cost control |
| PVC backing | Cleaner and more moisture resistant | Better for modern commercial use |
| Cardboard backing | Cheap and light | Fine for very simple jobs |
| Standoffs / clips | Hold the layers together | Style choice and function choice |
A lot of people forget that the backing changes the whole feel of the frame. A nice acrylic front with a weak backing can still make the product feel low-end.
One thing I never ignore is how the backing behaves over time, because a frame can look flat on day one and still bend or soften later if the support behind it is too weak.
Tools for DIY vs factory production
The tool list depends on the goal. One handmade frame for home use is very different from one hundred retail-ready pieces.
For DIY, I usually keep it basic:
- Ruler or tape measure
- Pencil or marker
- Microfiber cloth
- Drill
- Masking tape
- Acrylic scoring knife or cutter
- Sandpaper for light cleanup
For factory production, the tool set changes a lot:
- CNC cutting machine
- Laser cutting machine
- Polishing machine
- Drilling station
- Edge finishing tools
- Inspection tools for tolerance and surface quality
This side-by-side view helps:
| Task | DIY Method | Factory Method |
|---|---|---|
| Cutting | Hand scoring | CNC or laser |
| Hole making | Manual drilling | Precision drilling |
| Edge finish | Hand sanding | Flame, diamond, or machine polish |
| Cleaning | Manual wipe | Controlled cleaning process |
| Repeat consistency | Harder | Much better |
I have seen buyers assume a factory frame and a handmade frame are basically the same thing, just at different scale. That is not really true. The bigger difference is control. Scale only makes that difference more visible.
This is where a normal acrylic frame can start to look more intentional.
Some upgrades I often consider are:
- UV-resistant acrylic for artwork exposed to light
- Anti-glare acrylic for better viewing in bright spaces
- Matte finish surfaces for a softer look
- Polished edges for a more premium display effect
- Anti-scratch coatings for higher-touch settings
Here is a quick premium upgrade table:
| Upgrade | Why use it | Best for |
|---|---|---|
| UV-resistant acrylic | Helps reduce fading | Art prints, retail graphics |
| Anti-glare surface | Cuts reflections | Bright rooms, public display |
| Matte acrylic | Softer visual feel | Interior décor |
| Polished edges | Improves appearance | Premium photo frames |
| Anti-scratch coating | Reduces surface wear | Busy commercial settings |
I do not add upgrades just to sound impressive. I add them when the user will notice the difference later. That is the real test.
Once the materials and tools are clear, the next problem shows up fast: measurement. And this is usually where a clean-looking idea starts going crooked.
How to Measure and Cut Acrylic Correctly?
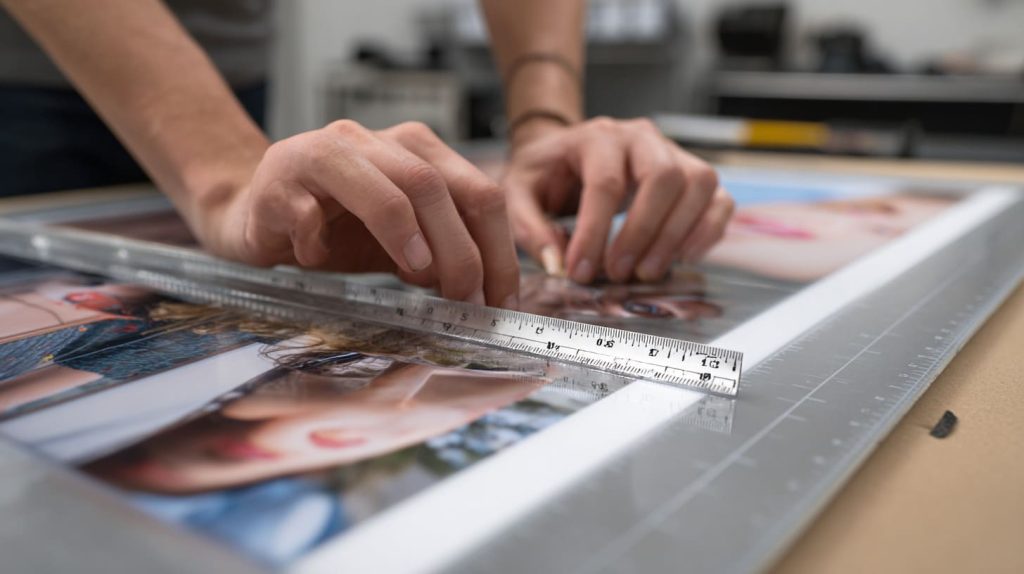
I have seen more frame problems start with measurement than with cutting. Cutting gets blamed because the damage is visible. Measurement is quieter. It creates mistakes early, then waits for assembly to expose them.
How to determine the right dimensions
The first size I care about is not the frame size. It is the photo size. Then I work outward.
I ask a few basic questions:
- Is the photo meant to sit flush or with a visible border?
- Will there be mounting holes?
- Does the hardware need edge clearance?
- Is the frame for wall use or desktop display?
- Will there be one acrylic panel or two?
That is why the “correct size” is never just the print dimension.
Here is a basic size thinking table:
| Element | What I check |
|---|---|
| Photo size | Exact print width and height |
| Border | Whether I want extra visual space |
| Mounting holes | Distance from edge and symmetry |
| Hardware size | Screw head, standoff, or clip allowance |
| Panel thickness | Affects feel and assembly |
| Expansion space | Important for fit and stress control |
Acrylic also expands and contracts a little with temperature. People do not always think about that. On a small frame, the risk may stay minor. On a larger frame, it matters more.
I tend to get suspicious when a design leaves no margin for error at all, because real materials rarely behave as perfectly as software drawings do.
Cutting methods explained
For small DIY jobs, hand scoring can work. I score the acrylic several times along a straight guide, then snap it carefully. This method is cheaper, but it depends on patience and a steady hand.
Laser cutting gives cleaner detail and more design freedom. CNC cutting gives strong repeat accuracy and is excellent for production. Each method has its place.
Here is how I compare them:
| Cutting Method | Best for | Pros | Limits |
|---|---|---|---|
| Hand scoring | Simple DIY jobs | Low cost, accessible | Rougher result, limited precision |
| Laser cutting | Detailed custom work | Clean cuts, flexible shapes | Heat effects possible on edges |
| CNC cutting | Bulk production | Strong consistency, repeat accuracy | Higher setup cost |
I do not romanticize hand cutting. It can work well, yes. But if the frame needs polished edges, perfect repeat size, or batch consistency, machine cutting starts to make much more sense.
Common mistakes in sizing
The mistakes usually sound small when people say them out loud.
“I thought the holes would line up.”
“I assumed the back panel matched.”
“I used the print size as the full frame size.”
Then the parts arrive, and nothing sits comfortably.
The most common mistakes I see are:
- Ignoring border space
- Forgetting hardware clearance
- Skipping expansion allowance
- Misaligning front and back panels
- Drilling too close to the corners
This table sums it up well:
| Mistake | What happens |
|---|---|
| No expansion gap | Stress, tighter fit, possible cracking |
| Wrong hole position | Poor alignment or unusable parts |
| Front and back mismatch | Uneven edges |
| Tight corner drilling | Higher crack risk |
| No tolerance planning | Hard assembly and visual defects |
The hard part is this: measurement mistakes do not always look dramatic at first. They just make the final product feel wrong.
Once the pieces are cut right, the work becomes more satisfying. Then it is time to put the frame together without scratching, shifting, or ruining the clean look you worked for.
How to Assemble an Acrylic Photo Frame Step by Step?
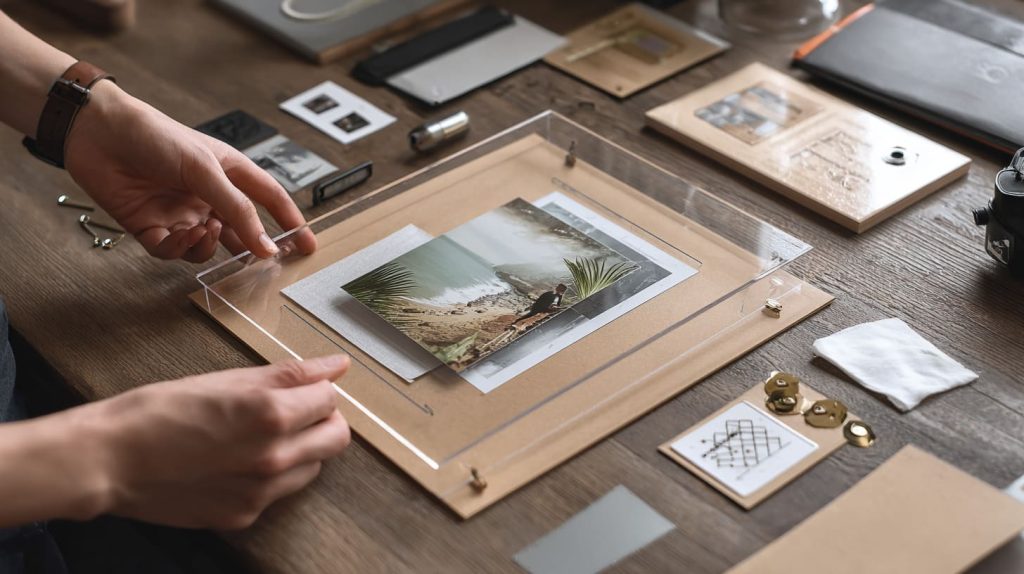
Assembly is where a frame stops being a set of parts and starts becoming a product. I enjoy this stage, but I also respect it. A nice cut panel can still end up in a messy frame if the assembly is rushed.
Step 1: Prepare and clean materials
I start with a clean table. That sounds obvious, but dust loves acrylic. So do fingerprints. So do tiny bits of grit that leave ugly marks before you even notice them.
I remove the protective film carefully. Sometimes I leave part of it in place until the last moment, especially if I want extra scratch protection during handling.
Here is my cleaning habit:
- Use a microfiber cloth
- Avoid rough paper towels
- Use acrylic-safe cleaner only
- Keep the work surface dust-free
- Handle edges gently
| Cleaning Choice | Good or Bad | Why |
|---|---|---|
| Microfiber cloth | Good | Soft on acrylic |
| Paper towel | Bad | Can scratch |
| Acrylic-safe cleaner | Good | Safer for surface |
| Alcohol or harsh chemical | Risky | May damage surface |
I start to worry when I see people peel every protective layer too early, because the frame still has several chances to get marked before the work is finished.
Step 2: Align photo and backing
Now I place the photo and backing into the correct layer order. If I am making a sandwich frame, I stack it in a way that keeps the image centered and flat.
The order usually looks like this:
- Front acrylic panel
- Photo or printed image
- Backing board or rear acrylic panel
That sounds easy. Still, photos can shift. Corners can move. Dust can get trapped. Even a tiny misalignment becomes visible once the clear front is in place.
I often use light positioning marks or temporary guides to keep everything centered.
| Assembly Layer | Role |
|---|---|
| Front acrylic | Display surface |
| Photo print | Main visual content |
| Backing board | Support and stability |
| Hardware | Holds system together |
If the image needs to look premium, I slow down here. Fast hands create crooked frames.
Step 3: Fix the panels together
This part depends on the frame style.
Screw-mounted frames
These feel secure and structured. They are common in wall displays and premium signage. They work well, but the hole placement must be correct.
Magnetic frames
These are clean and user-friendly. I like them for desktop use or retail swaps where the image changes often.
Clip-style frames
These are simple and practical. They can work for lower-cost frames, though they may not feel as refined.
Here is a quick style comparison:
| Fixing Method | Look | Strength | Ease of Use | Best Use |
|---|---|---|---|---|
| Screws / standoffs | Premium | Strong | Medium | Wall display |
| Magnets | Clean and modern | Medium | Easy | Desktop or changeable display |
| Clips | Simple | Medium | Easy | Budget or casual use |
This is one of those moments where I stop thinking about what looks nicest in a photo and start thinking about how the user will actually open, clean, or hang the frame later.
Step 4: Final inspection
Before I call it done, I inspect everything.
I check:
- Surface scratches
- Dust inside the layers
- Hole alignment
- Edge cleanliness
- Tightness of hardware
- Visual symmetry
I like using a plain checklist, even for simple jobs:
| Final Check Item | What I look for |
|---|---|
| Front surface | No scratches or haze |
| Interior view | No dust or trapped fiber |
| Photo position | Centered and straight |
| Hardware tension | Tight but not over-tight |
| Edge line | Even and clean |
I have learned this the hard way: a frame can be technically assembled and still not be ready. A good final check protects all the work that came before it.
Once assembly is under control, the fun part begins. The same material can produce very different frame styles, and style changes how the product feels in the room.
What Are the Different Acrylic Frame Styles You Can Make?

This is the part where many people wake up a little. They start with “I just need a photo frame,” and then they realize acrylic can be shaped into very different visual personalities. Some styles feel soft and minimal. Some feel commercial. Some feel expensive. Some feel useful but plain.
Frameless acrylic sandwich frames
This style is clean and modern. I like it because it lets the image breathe. The frame does not shout. The photo gets the attention.
Two panels hold the image in the middle, and the result feels light, simple, and neat.
It works well for:
- Modern interiors
- Art prints
- Minimal product displays
- Small office décor
Still, it is not perfect for every situation. If the edges are poor, the whole frame looks weak. This style has nowhere to hide mistakes.
Wall-mounted standoff frames
These are the ones that often feel more premium. The hardware lifts the frame away from the wall, and that floating effect gives the display more presence.
I have seen this style work especially well in:
- Company lobbies
- Showrooms
- Branded displays
- Retail environments
| Frame Style | Visual Feel | Best Setting |
|---|---|---|
| Frameless sandwich | Minimal, clean | Home or studio |
| Standoff wall frame | Premium, architectural | Office, retail, gallery |
| Desktop acrylic frame | Friendly, practical | Desk, shelf, counter |
The extra depth changes the mood. That is why standoff frames often feel more intentional than flat wall frames.
Desktop display frames
These are practical and popular. L-shaped acrylic stands are common because they are simple. Magnetic desktop frames are also useful because they make image changes easy.
I usually think about desktop frames in terms of convenience:
- How often will the image change?
- Will the frame be touched often?
- Does the user want a formal or casual feel?
For small business uses, countertop frames are very effective. They display offers, menus, photos, or brand stories with little fuss.
Custom branded frames for B2B buyers
This is where things get more interesting for buyers like Jacky.
Acrylic frames are not only for personal photos. They can become branded display tools. A logo can be printed. A message can be engraved. The frame can be matched to store fixtures, product launches, or promotion kits.
Typical B2B applications include:
- Retail promotions
- Cosmetic displays
- Hotel room visuals
- Office branding
- Exhibition display packs
| Branding Option | Effect |
|---|---|
| Printed logo | Clear and direct |
| Engraved logo | More subtle and premium |
| Custom shape | Strong brand identity |
| Special thickness | Better perceived value |
I tend to be more careful with branded frames than personal ones, because business buyers do not only judge appearance. They judge repeatability, cost control, and how the frame supports the brand story.
Once style is decided, the next question shows up almost immediately: how do I make the frame look premium instead of merely acceptable?
How to Make Your Acrylic Frame Look Premium?

Acrylic can look cheap very easily. I say that without hesitation. It can also look beautiful. The difference often comes from details that buyers skip when they focus too hard on basic size and cost.
Edge finishing techniques
Edges say a lot. Rough edges make the frame feel unfinished. Clean edges make the whole piece feel intentional.
The main options are usually:
- Sanded edges
- Flame-polished edges
- Diamond-polished edges
Here is how I think about them:
| Edge Finish | Look | My view |
|---|---|---|
| Sanded | Basic | Fine for simple work |
| Flame polished | Glossy | Nice visual effect, but must be controlled well |
| Diamond polished | Very sharp and premium | Best for high-end look |
Flame polishing can look attractive, but if it is done badly, it creates more problems than value. Diamond polishing usually gives a more refined result.
I pay more attention to the edge than many people expect, because the edge is often what tells the hand whether the frame feels custom-made or mass-cheap.
Choosing the right thickness
Thickness changes both strength and perception. A very thin frame can look neat in a photo, then feel weak when somebody lifts it.
Here is a practical thickness table:
| Thickness | Use Case | Feel |
|---|---|---|
| 2mm | Small frames, low-cost displays | Light, but less solid |
| 3mm | General-purpose frames | Balanced |
| 5mm | Premium or larger frames | Stronger, more upscale |
I do not choose thickness only by size. I also think about user expectation. A gift frame, a retail display frame, and a wall-mounted branded frame do not all need the same feel in the hand.
A buyer may save a little money by going thinner. Sometimes that is smart. Sometimes that saving destroys the premium impression in one second.
Surface treatments that matter
Surface treatment can help a lot when the frame is used in demanding spaces.
Useful options include:
- Anti-scratch coating
- Anti-glare finish
- Matte surface
- UV-resistant grade
| Surface Option | Benefit | Best for |
|---|---|---|
| Anti-scratch | Helps reduce daily wear | High-touch spaces |
| Anti-glare | Better readability | Bright lighting |
| Matte finish | Softer appearance | Interior décor |
| UV-resistant sheet | Better long-term display | Art and retail graphics |
The trick is not to over-specify everything. Too many upgrades can push cost up without adding much real value. I like a premium frame that feels honest, not overloaded.
And once you try to make a frame look premium, you quickly run into the ugly side of the process: the usual failures that ruin otherwise good work.
What Problems Usually Happen (And How to Avoid Them)?
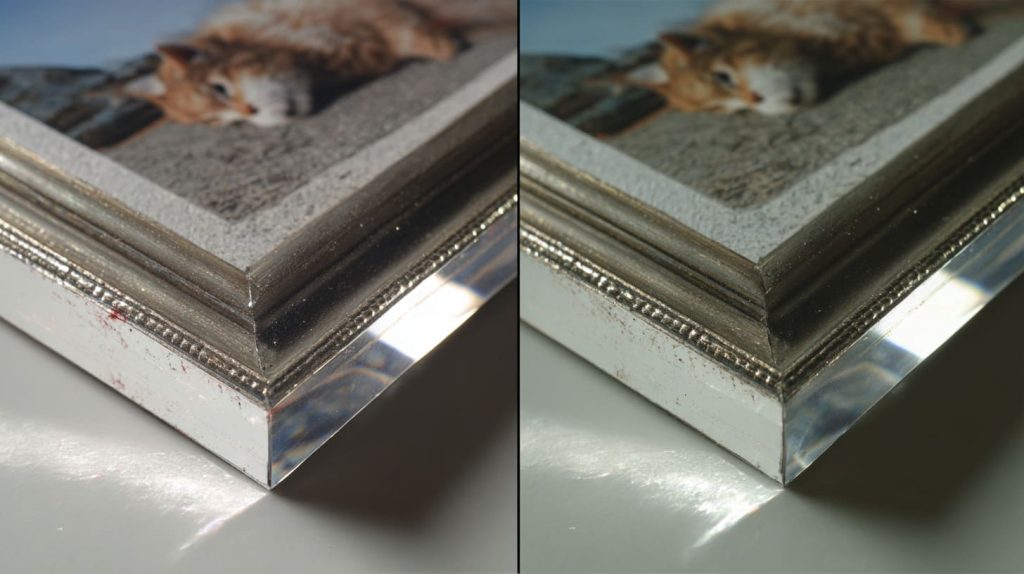
I do not trust a product category that only talks about the best-case version. Acrylic frames have common failure points. They are not mysterious. They are usually predictable. The good news is that most of them can be avoided if I respect the material.
Scratches during handling
This is one of the most common problems.
Acrylic picks up scratches more easily than many first-time users expect. The frame can leave the cutting stage looking clean and still get damaged in assembly, packing, or wiping.
To reduce scratch risk, I try to do these things:
- Leave the protective film on as long as possible
- Use microfiber cloths only
- Avoid rough packaging contact
- Do not stack unprotected panels carelessly
| Scratch Cause | Prevention |
|---|---|
| Early film removal | Keep protection on longer |
| Rough cleaning cloth | Use microfiber |
| Dusty workbench | Clean before assembly |
| Loose packing | Add soft separators |
I have learned that surface damage usually comes from routine handling, not dramatic accidents, so I watch the boring moments more closely than the obvious ones.
Poor alignment or loose assembly
A frame can be clear, polished, and still look wrong if the alignment is off.
Common causes include:
- Hole position errors
- Weak hardware choice
- Poor tolerance control
- Uneven layer stacking
Here is a simple check table:
| Problem | Root Cause | Fix |
|---|---|---|
| Crooked image | Bad positioning | Use guides or marks |
| Loose structure | Weak hardware | Upgrade fixing method |
| Uneven panel edge | Poor cutting match | Improve tolerance control |
| Hardware stress | Hole mismatch | Redesign hole layout |
This is one of those problems that buyers notice fast, even if they cannot explain it. They just say the frame feels cheap or awkward.
Cracking or stress marks
Acrylic does not forgive certain mistakes.
If the drilling is poor, or the hole is too close to the edge, or the hardware is tightened too much, the sheet can develop stress marks or cracks. Sometimes the problem appears right away. Sometimes it shows up later.
That delayed failure is especially annoying because the product may pass inspection and still fail in use.
| Cause | What happens |
|---|---|
| Over-tightening screws | Stress around holes |
| Hole too near edge | Crack risk rises |
| Bad drilling method | Chipping or surface damage |
| Low material quality | More unstable behavior |
I do not fully relax just because the panel survives assembly, because stress often hides first and only shows itself after transport, temperature change, or a few weeks of use.
Most of these problems are manageable. The bigger question is whether I should even make the frame myself in the first place. Sometimes yes. Sometimes no.
DIY vs Custom Manufacturing: Which One Should You Choose?
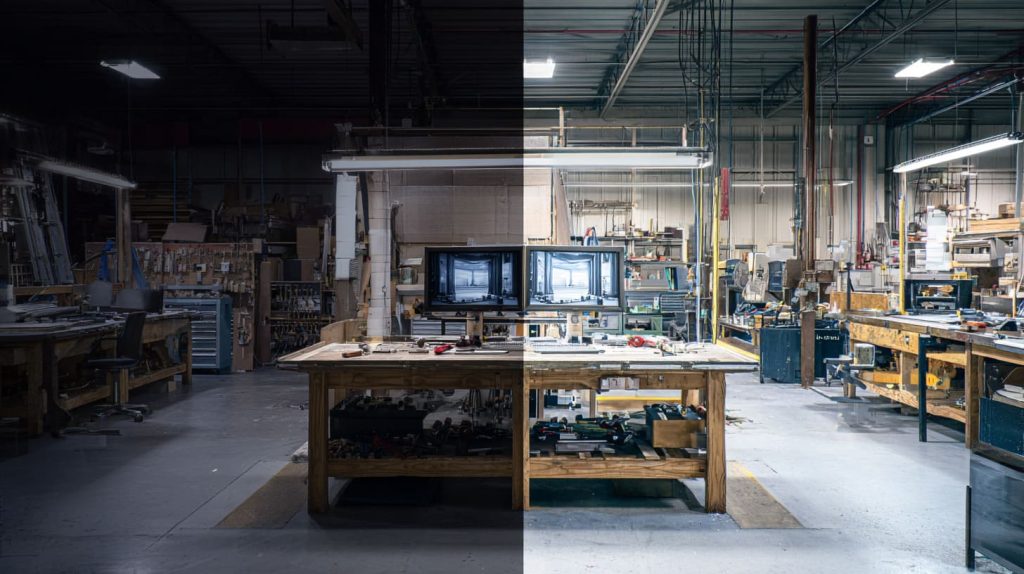
I like DIY work. It teaches respect for details. But I also know when DIY becomes expensive in the wrong way. Not because the material costs too much. Because mistakes cost time, and inconsistent results cost confidence.
When DIY makes sense
DIY works well when:
- I only need one or a few frames
- I want to prototype an idea
- The design is simple
- The finish standard is modest
- I want to test dimensions before bulk production
For personal use or concept testing, DIY can be very smart.
| DIY Situation | Why it works |
|---|---|
| One-off home frame | Low risk |
| Prototype review | Fast learning |
| Small custom gift | Flexible and personal |
| Design experiment | Good for testing ideas |
DIY also helps me understand the assembly logic before I commit to production.
When to work with a factory
Factory production makes more sense when:
- Quantity is larger
- Repeat quality matters
- Branding is required
- Precision and finishing matter
- Delivery time must be more controlled
This becomes even more important in B2B work. A business buyer is not only buying a frame. He is buying consistency.
| Factory Advantage | Why it matters |
|---|---|
| Better repeat accuracy | Easier batch consistency |
| Cleaner cutting and drilling | Better assembly result |
| Stronger edge finishing | More premium feel |
| Controlled packaging | Lower shipping risk |
| Branding options | Better market fit |
The point where I switch from DIY thinking to factory thinking is usually not quantity alone; it is the moment defects stop being personal inconvenience and start becoming business cost.
Cost vs quality trade-offs
This is where the real decision happens.
DIY may look cheaper at first. Sometimes it is. But if I waste material, scratch panels, redo hole positions, and spend hours fixing finish issues, the real cost moves up quickly.
Factory work costs more upfront in some cases. But it often lowers unit error, improves packing, and protects the final visual quality.
Here is a practical comparison:
| Factor | DIY | Custom Manufacturing |
|---|---|---|
| Upfront cost | Lower | Higher |
| Labor time | Higher | Lower for buyer |
| Consistency | Lower | Higher |
| Branding options | Limited | Strong |
| Best for | Small runs | Bulk or business use |
I do not chase the cheapest route anymore. I try to find the route with the least painful total cost.
And if the answer is factory production, then the next challenge is obvious: finding a supplier who does not create a new problem while solving the old one.
How to Source Reliable Cut-To-Size Acrylic Frames for Your Business?

This part matters more than many articles admit. A good design can still turn into a bad order if the supplier is careless. I have seen this happen with acrylic displays, acrylic boxes, and yes, acrylic photo frames too. On paper, every sample can sound fine. Real sourcing is more selective than that.
What experienced buyers like Jacky look for
A buyer like Jacky usually does not get distracted by pretty promises. He has seen enough factories. He has handled enough samples. He knows that surface clarity alone means very little if the thickness is unstable, the polishing is rushed, or the lead time keeps sliding.
The things I would check first are very practical:
- Is the acrylic thickness consistent?
- Are the edges clean and repeatable?
- Are the dimensions stable across the batch?
- Does the supplier understand packaging risk?
- Can they keep lead time steady?
| What to Check | Why it matters |
|---|---|
| Sheet clarity | Affects display quality |
| Thickness consistency | Affects assembly and feel |
| Edge quality | Affects premium appearance |
| Packing method | Reduces shipping damage |
| Lead time stability | Protects planning |
I trust a supplier more when his sample solves small practical issues well, because that usually tells me he understands production instead of just presentation.
Key questions to ask suppliers
I like direct questions. They save time.
Here are the questions I would ask:
- What is your MOQ for this frame style?
- What thickness options do you support?
- What tolerance can you hold?
- What edge finishing methods do you offer?
- Can you do logo printing or engraving?
- How do you protect the acrylic surface during packing?
- What quality checks do you run before shipment?
A table makes this easier to review:
| Supplier Question | What the answer should reveal |
|---|---|
| MOQ? | Whether the project fits your volume |
| Tolerance? | Whether the supplier controls precision |
| Finish options? | Whether the frame can reach your target look |
| Material grade? | Whether clarity and durability are reliable |
| Packing method? | Whether the supplier thinks beyond production |
| Certification? | Whether process control is credible |
A weak supplier often gives broad answers. A good one gives specific answers.
How Feilong Acrylic supports custom projects
At Feilong Acrylic, this is exactly the kind of project we understand well. We work on custom acrylic products, not generic shelf stock. That changes the whole mindset. We look at the drawing, the use case, the packaging, the finish, and the display goal together.
We support OEM and ODM work. We have more than 13 years of export experience. We use advanced laser and CNC equipment. We run with skilled workers and ISO9001-based quality control. We also work with high-transparency eco-friendly acrylic materials.
For buyers who care about clean custom sizing, stable production, and practical communication, that matters.
| Feilong Acrylic Strength | Value for Buyer |
|---|---|
| Custom-focused production | Better fit for special projects |
| 5 production lines | Better capacity support |
| CNC and laser capability | Better precision and cleaner finish |
| ISO9001 quality control | More reliable process checks |
| OEM/ODM support | Easier branding and design adjustment |
I do not think the best supplier is the one who says yes the fastest. I think it is the one who notices the hidden risks before the order turns into a complaint.
That brings me to the last part. A photo frame may look like a small product. It is not. Not when you care about quality.
Conclusion
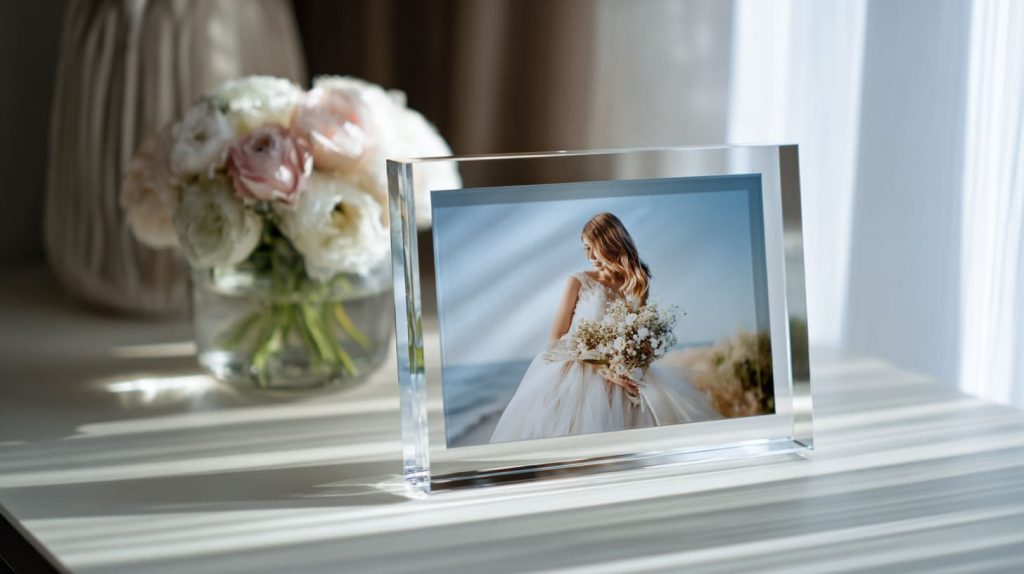
Making a photo frame with cut-to-size acrylic sounds simple at first. In one sense, it is. You need a clear panel, a photo, a backing, and a way to hold everything together. But in real work, the result depends on many small decisions. Thickness changes the feel. Edge finishing changes the perceived value. Hole position changes the whole assembly. Packaging can decide whether the frame arrives looking premium or disappointing.
That is why I never see acrylic frames as “just a simple product.” I see them as detail-sensitive products. They reward care. They also expose shortcuts very quickly.
If I am making one frame for myself, I can enjoy the process and learn a lot from it. If I am buying for business, I need more than a nice sample. I need repeatability, clean finishing, reliable tolerances, and packaging that protects the work I paid for.
For me, the smartest decision is usually the one that balances look, use, and risk instead of chasing the lowest quote or the fastest fix.
If you are planning a custom acrylic photo frame project and want a cleaner path from idea to finished product, you can use this guide as your starting point. And if you need a manufacturing partner for custom cut-to-size acrylic frames, branded display frames, or other acrylic products, Feilong Acrylic is ready to help you turn the idea into something solid, clear, and worth showing.




