 Skip to content

Cutting thick plexiglass often sounds simpler than it really is.
On paper, it’s just a straight line and a power tool. In reality, that cut usually happens right in the middle of a project—when the dimensions are already fixed, the material is already paid for, and there’s no room for mistakes. The question then becomes very practical: Can I do this cleanly with the tools I have right now?
This is where the jigsaw enters the conversation.
I’ve seen many people treat a jigsaw as a “last option” for acrylic. Too rough. Too risky. Not precise enough. And to be fair, those concerns don’t come from nowhere. Used the wrong way, a jigsaw can melt edges, chip surfaces, or even crack a thick sheet halfway through a cut.
But used the right way, it can also be a controlled, reliable tool—especially for custom shapes, short runs, or workshop-level fabrication.
In this article, I’ll walk through how I cut thick plexiglass with a jigsaw. Not in theory, but in practice. We’ll look at what the material actually needs, where jigsaws make sense, and how small setup choices can decide whether a cut feels stressful or smooth.
If you’ve ever paused before pulling the trigger on a jigsaw, this is for you.
Understanding Plexiglass (Acrylic)
I didn’t always understand the material I worked with. Back in early days, I thought acrylic was just acrylic. But after years in custom fabrication, I learned there are differences that change how you cut it.
What Is Plexiglass?
Plexiglass is a common name for clear acrylic sheets. It’s lightweight. It’s tough. It’s a favorite for displays, frames, boxes, and store fixtures. But it also scratches and chips if you treat it the wrong way.
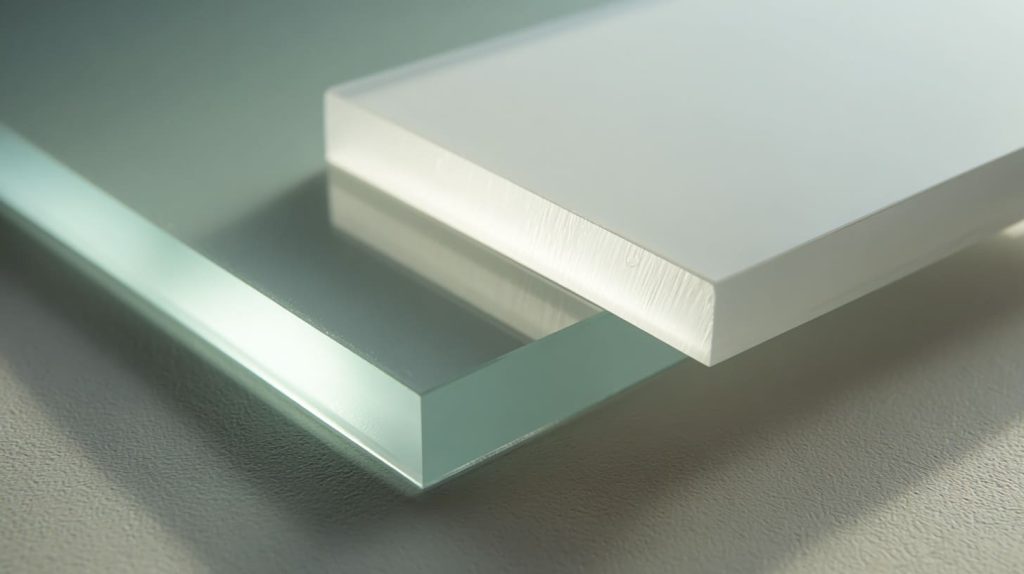
Differences Between Acrylic Types
| Feature | Cast Acrylic | Extruded Acrylic |
|---|---|---|
| Clarity | High | Medium |
| Cutting Ease | Easier clean cut | Slight melting |
| Cost | Higher | Lower |
Cast acrylic tends to cut cleaner. That’s because it has a more consistent internal structure. Extruded can melt more easily if you generate heat. Knowing what you have changes how you cut it.
How Thickness Affects Cutting Challenges
Thicker sheets are simply harder to manage. They can:
- heat up
- crack under stress
- bend or wobble if not supported
So thickness isn’t just a number. It changes your whole approach.
To see how this material behaves, I’ll show you my go‑to method next. Stick with me — it gets practical soon.
Is a Jigsaw Suitable for Cutting Thick Plexiglass?
I love a good jigsaw. It’s versatile. It’s common in small shops. But the first question I always ask is this:
Should I use a jigsaw at all?
Pros and Cons of Using a Jigsaw
Here’s how I see it:
Pros
- Easy to use
- Good for curves and patterns
- More forgiving than a table saw
Cons
- Can melt acrylic
- Edges are rougher
- More skill needed
A jigsaw works. But you must choose the right blade and technique.
Comparing Jigsaw to Other Tools
| Tool | Best For | Downsides |
|---|---|---|
| Jigsaw | Curves, portable jobs | Rough edges |
| Table Saw | Straight cuts | Needs setup |
| Router | Smooth edges | Slower |
| Scoring | Thin sheets | Not for thick |
There are times when a table saw or router is better. But your jigsaw still has a place, especially for custom shapes.
When to Choose a Jigsaw
I use a jigsaw when:
- I don’t need a perfect factory edge
- I’m cutting curves or patterns
- I don’t have other machines ready
Now that we agree a jigsaw can work, let’s talk tools.
Preparation: Tools and Workspace
Preparation is half the job. I tidy my workspace. I prepare tools. I check safety gear. This helps me stay focused and safe.
Choosing the Right Jigsaw
For plexiglass, pick a jigsaw with:
- Adjustable speed
- Good blade guidance
- Comfortable grip
Lower speed helps reduce heat. Heat melts acrylic. That means rough, cloudy edges.
Blade Selection
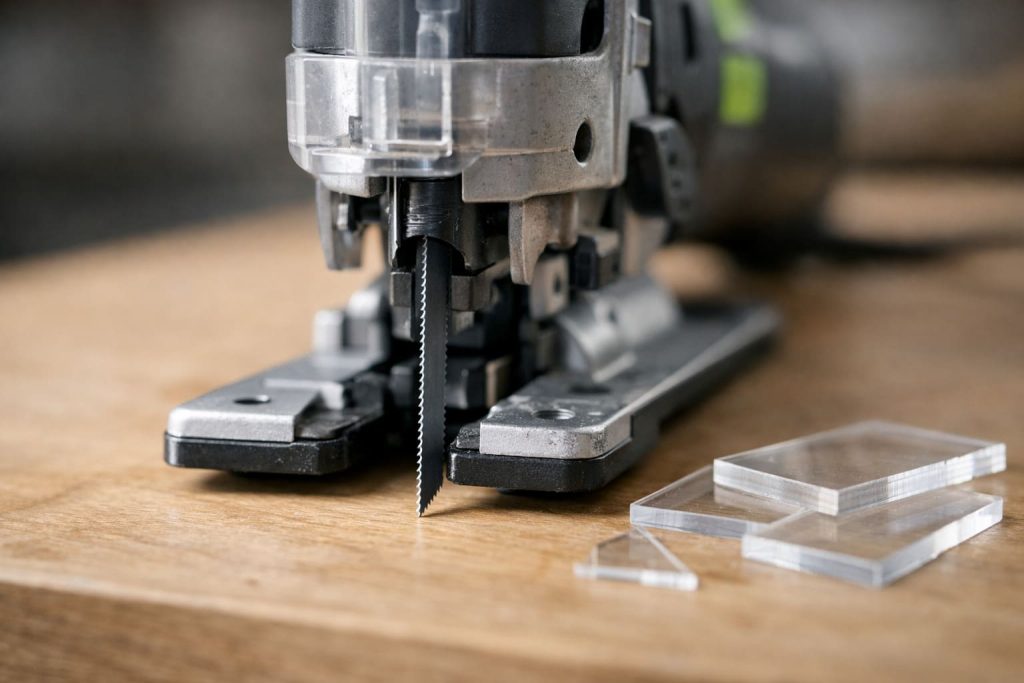
Blades matter. I always choose fine‑tooth blades.
| Blade Feature | Why It Matters |
|---|---|
| High TPI (10–14) | More teeth = smoother cut |
| Carbide tipped | Stays sharper |
| Reverse teeth | Reduces chipping |
Fine teeth are key. They cut without pulling too hard.
Additional Equipment
Don’t skip these:
- Clamps
- Straight edge guide
- Masking tape
- Safety glasses
- Gloves
Clamps hold the sheet. The straight edge keeps your cut straight. Tape helps reduce chipping. Safety gear keeps you safe.
Alright — tools ready? Let’s cut.
Step-by-Step Cutting Process

When I teach someone to cut thick plexiglass with a jigsaw, I never start with the blade.
I start with habits. Small ones. Because acrylic forgives nothing when you rush.
Below is the exact step order I follow in the workshop.
Step 1: Mark the Cut Line Clearly and Calmly
I always begin with a clean sheet.
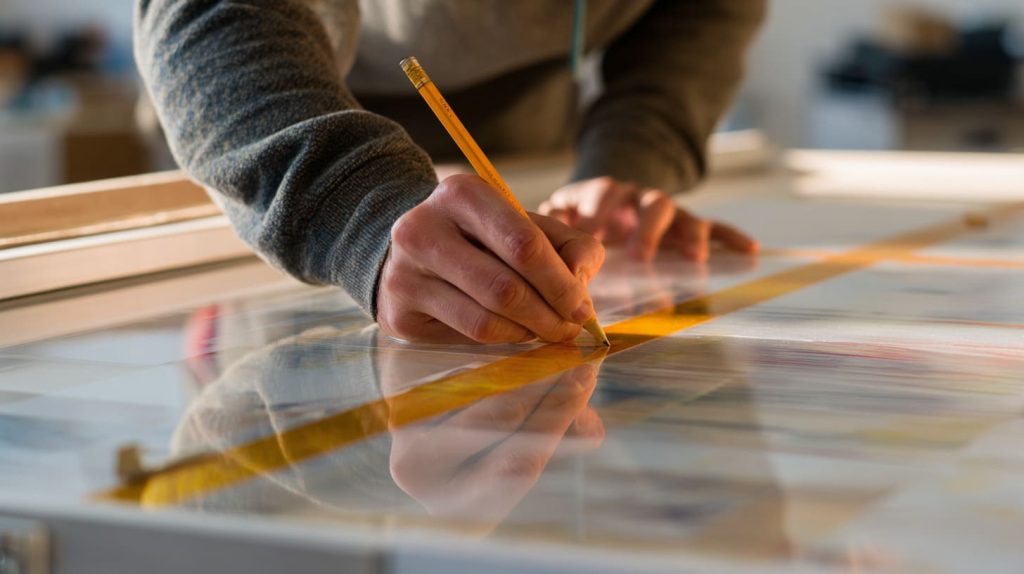
I wipe off dust. I keep the protective film on if possible. Then I mark the cut line using a felt-tip marker or pencil. I avoid thin pens. Thin lines disappear once the blade starts moving.
After that, I apply masking tape along the cut line.
This does three things:
- It reduces surface chipping
- It makes the line easier to follow
- It protects the surface from scratches
This step feels slow, but it saves material later.
Step 2: Support and Secure the Plexiglass Fully
This is where many cuts fail.
I never let thick plexiglass hang in the air. I place the sheet flat on a workbench and support both sides of the cut. Then I clamp it down.
If the sheet vibrates, the blade will grab.
If the sheet bends, cracks will appear.
My rule is simple:
- No movement
- No bounce
- No stress points
If I can shake the table and nothing moves, I’m ready.
Step 3: Install the Correct Blade and Set the Speed
Before cutting, I double-check the blade.
I use a fine-tooth blade with a higher TPI. For thick acrylic, I stay patient. Fewer teeth cut faster, but they also chip more.
Then I set the jigsaw speed lower than I think I need.
High speed creates heat.
Heat melts acrylic.
Melted acrylic sticks to blades.
Slow speed feels wrong at first, but it gives cleaner edges.
Step 4: Start the Cut Slowly and Let the Blade Work
I don’t force the jigsaw into the sheet.
I place the blade at the start point, power on, and let it reach speed before touching the acrylic. Once it starts cutting, I move forward gently.
I focus on three things:
- Straight pressure
- Even motion
- No side force
If I push, the blade bends.
If the blade bends, the cut drifts.
So I slow down. Every time.
Step 5: Adjust Technique for Straight Cuts vs Curved Cuts
For straight cuts, I always use a guide.
It can be a metal ruler or a straight piece of wood clamped to the sheet. This keeps the jigsaw from wandering.
For curved cuts, I change my mindset.
I don’t chase the line.
I follow it slowly.
Tight curves need small movements and patience. If the curve is sharp, I sometimes make relief cuts first. That removes stress and keeps the acrylic from cracking.
Step 6: Control Heat When Cutting Thick Sheets (Over 6 mm / 1/4")
Thick plexiglass needs respect.
When the sheet is over 6 mm, I slow everything down:
- Slower feed
- Steady hand
- Full support under the sheet
I also pause during long cuts.
If I see melted chips sticking to the blade, I stop. I let the blade cool. Sometimes I clean it before continuing.
Rushing thick acrylic is how cracks happen.
Slowing down is how clean cuts happen.
When the cut is finished, I never judge it yet.
The edge always looks rough at this stage.
That’s normal.
Finishing comes next.
Preventing Common Problems
I’ve seen a lot of mistakes with acrylic. Most are easy to avoid.
Minimizing Chipping and Cracking
Masking tape helps. Also, keep your blade sharp. A dull blade tears the plastic.
Reducing Heat and Melting
Heat is the enemy. Here’s what I do:
- Slow speed
- Short cutting bursts
- Keep the blade clean
Sometimes I pause and let the blade cool. This makes a big difference.
Avoiding Vibration and Sheet Bounce
Clamp everything tight. If the sheet moves, it chips.
What to Do If the Sheet Starts to Crack
Stop. Don’t force it. Check your clamps. Re‑adjust. Start again slowly.
Once you have your rough edge, you need to finish it.
After Cutting: Finishing the Edges
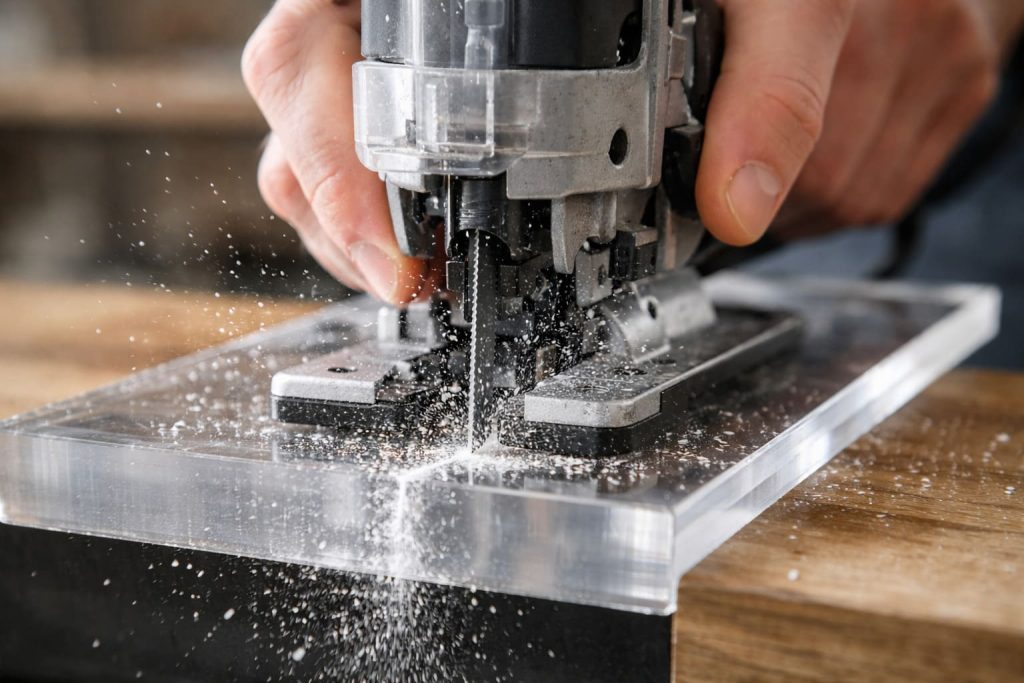
Cutting with a jigsaw rarely leaves a final, polished edge. You need a bit of finishing work.
Sanding and Smoothing
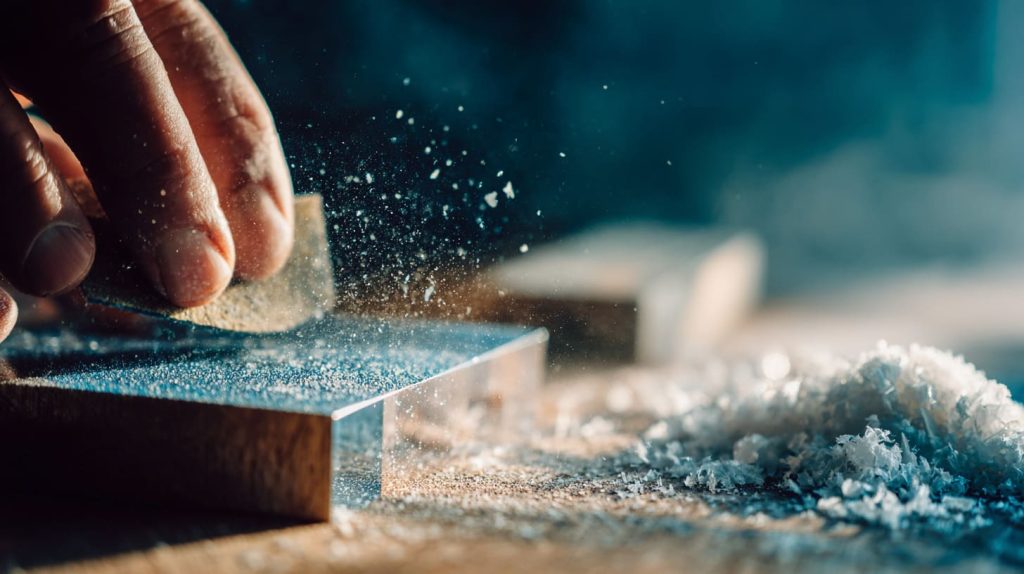
I start with coarse sandpaper (100 grit). Then I move to finer grit (220–400). Always sand in one direction.
Polishing for Clear Edges
After sanding, I use plastic polish. A soft cloth buff makes the edge clear and smooth.
Tools for Edge Finishing
- Sandpaper (100–400 grit)
- Polishing compound
- Soft cloth
- Optional: Rotary tool with polishing bits
Here is where patience pays off. A smooth edge changes the look completely.
Now that we have clean edges, we must stay safe.
Safety Considerations
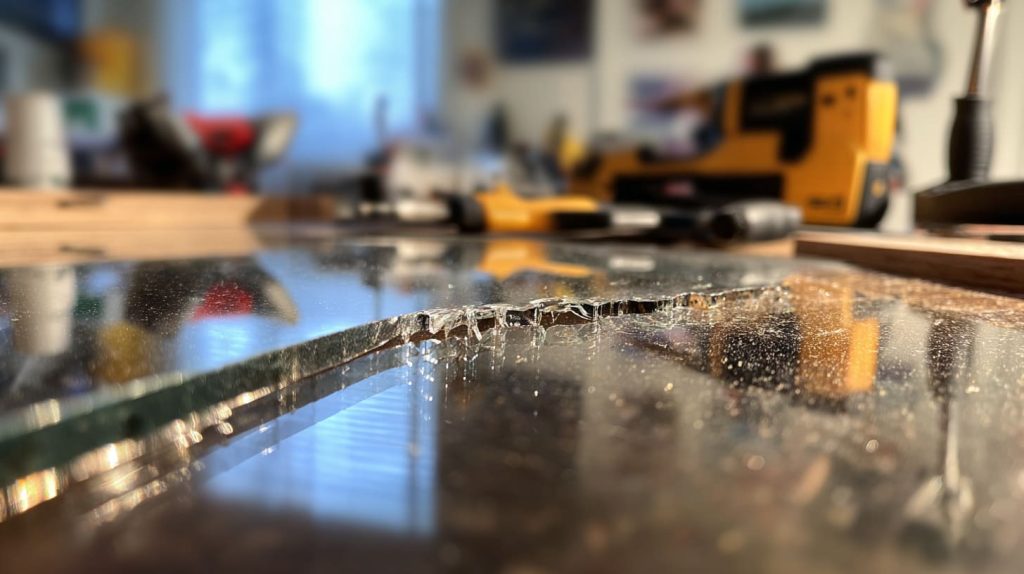
Safety isn’t a side note. It’s part of the process.
Essential Safety Gear
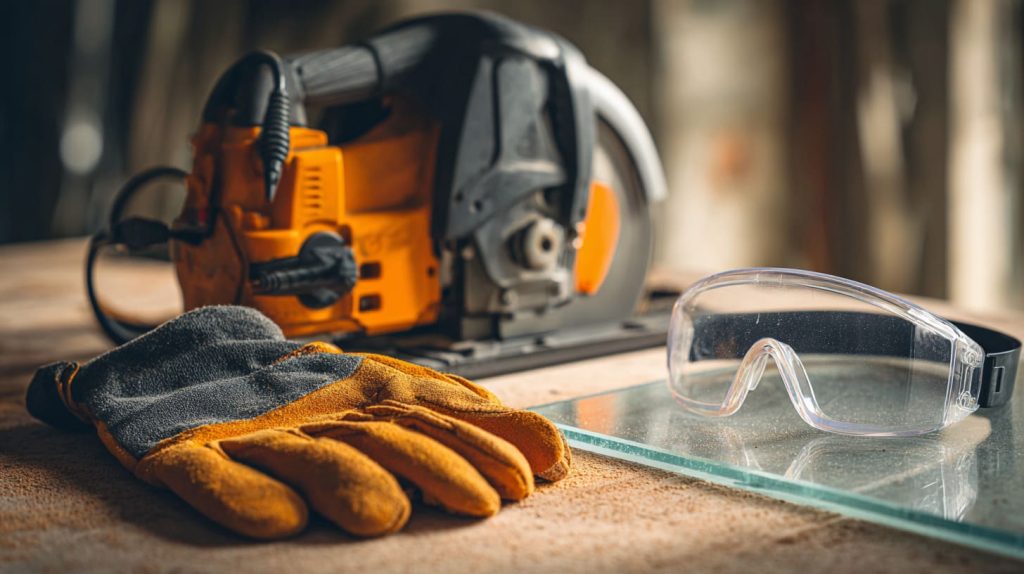
I always wear:
- Safety glasses
- Gloves
- Ear protection
Acrylic chips can fly. They can hurt.
Workplace Setup Best Practices
Work in a clean area. Make sure nothing slips. Have good lighting.
Handling and Storage After Cutting
Store sheets flat. Avoid bending. Thick sheets can crack if mishandled.
Alright, we’re almost done. One more section.
Expert Tips and Best Practices
Here are a few things I’ve learned the hard way.
Speed & Feed Recommendations
Slow and steady always wins. Rushing heats the plastic.
Blade Maintenance and Replacement
Replace blades often. A dull blade ruins cuts.
When to Practice on Scrap Material
Always cut scrap first. It builds confidence. It saves good material.
Conclusion
Cutting thick plexiglass with a jigsaw is a skill. It’s not magic. It’s about tools, technique, and patience.
Here’s what matters most:
- Choose the right blade
- Feed slowly
- Support the sheet
- Finish with sanding and polish
If you practice and pay attention, your cuts will improve fast. This method doesn’t replace a table saw or router. But in many custom jobs — especially curved or one‑off parts — it works very well.
Ready to try it on your own project?




